Elevation Gain: ~2200m
Distance: ~15km
Total Time: 45 hours 58 minutes
Date: July 31st to August 1st
Note that my GPX stopped just before the climb, but should still be useful for the approach and descent.
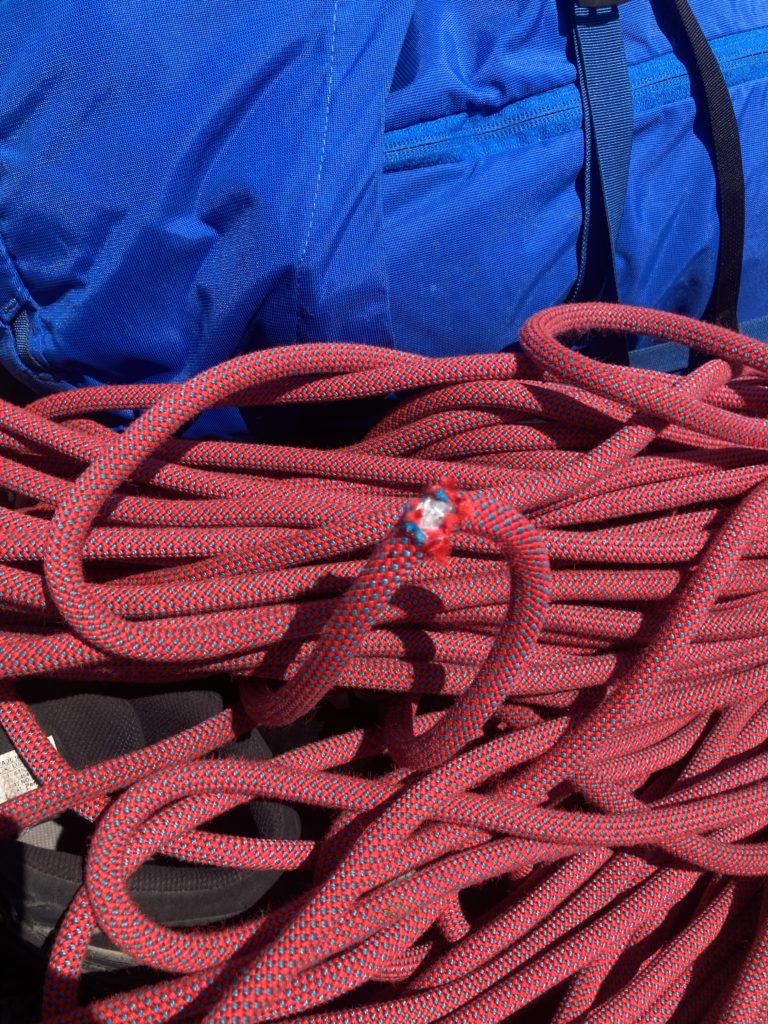
Some time around 2021 I came across a route known as “The Tuning Fork”; touted as one of the classic climbs of BC. It scales the 500m north face of Mount Bardean over ~15 pitches up to 5.9. Back then I was not yet climbing outdoors, let alone alpine, but I thought it would be a super cool route to strive for some day. Fast forward to 2023 and I was super eager to get out on some longer alpine routes after a full summer of climbing in Squamish. Once again, “The Tuning Fork” surfaced itself from my memory and after doing some research, I figured it was within my wheelhouse to try. I reached out to my friends Brayden and Geoff about taking on this lofty goal and both were keen, but unfortunately Geoff had last minute family plans. Brayden was still in, so we pushed forward to climb it over two days on the July 31st weekend.
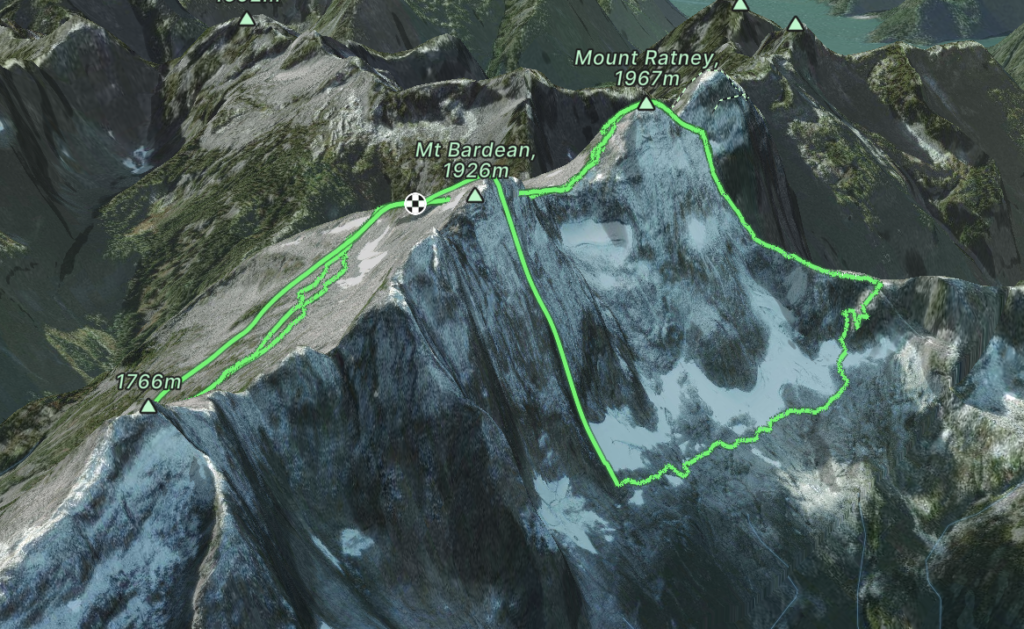
The standard approach is to hike in and then bushwhack from the Statlu Lake side. This spits you out right at the base of the climb, but requires a prolonged bushwhack and rappelling the entire face of Mount Bardean to return to your gear. However, while researching, I read a comment from Bruce Kay mentioning that one could approach from the Skwellepil FSR, same as for Stone Rabbit, and then descend off of Mount Ratney to reach the base of the climb. The bonus to that is when you finish the climb you top out next to your camp site with no further rappels required. There was some beta in the new Mclane Alpine select book that filled in some gaps on the Ratney descent line and we decided that should be enough to make a successful trip from the Skwellepil side.
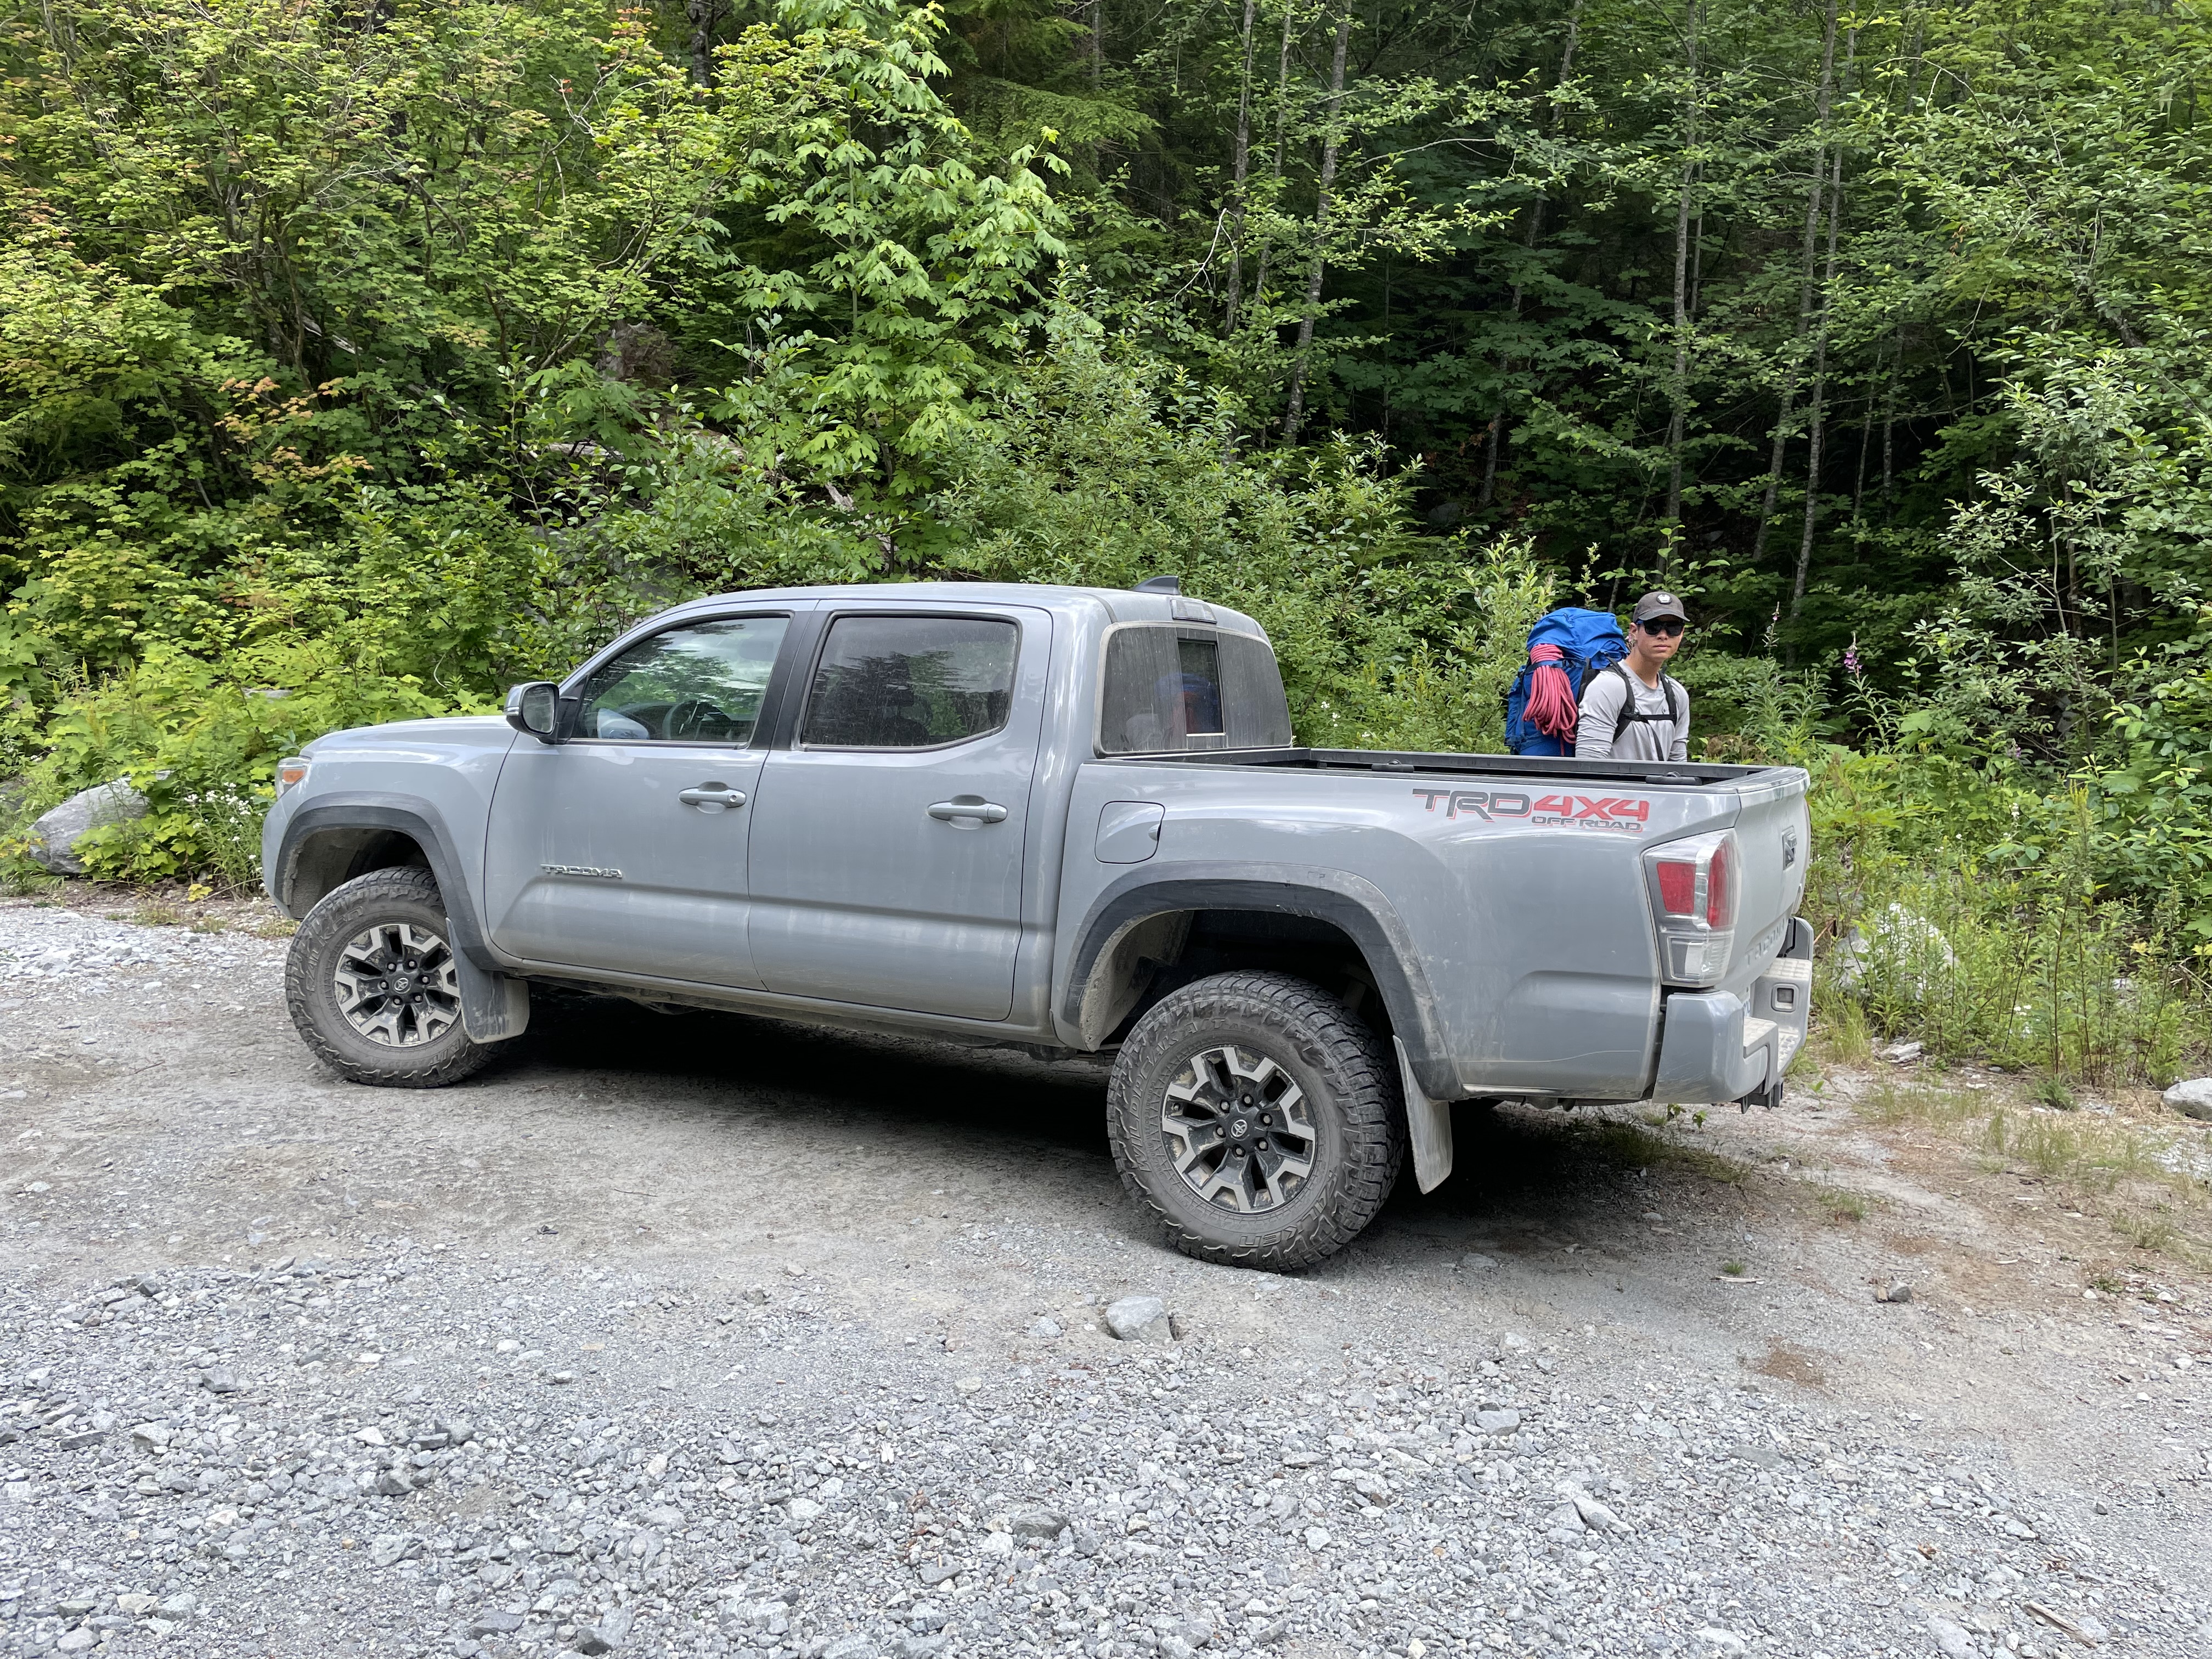
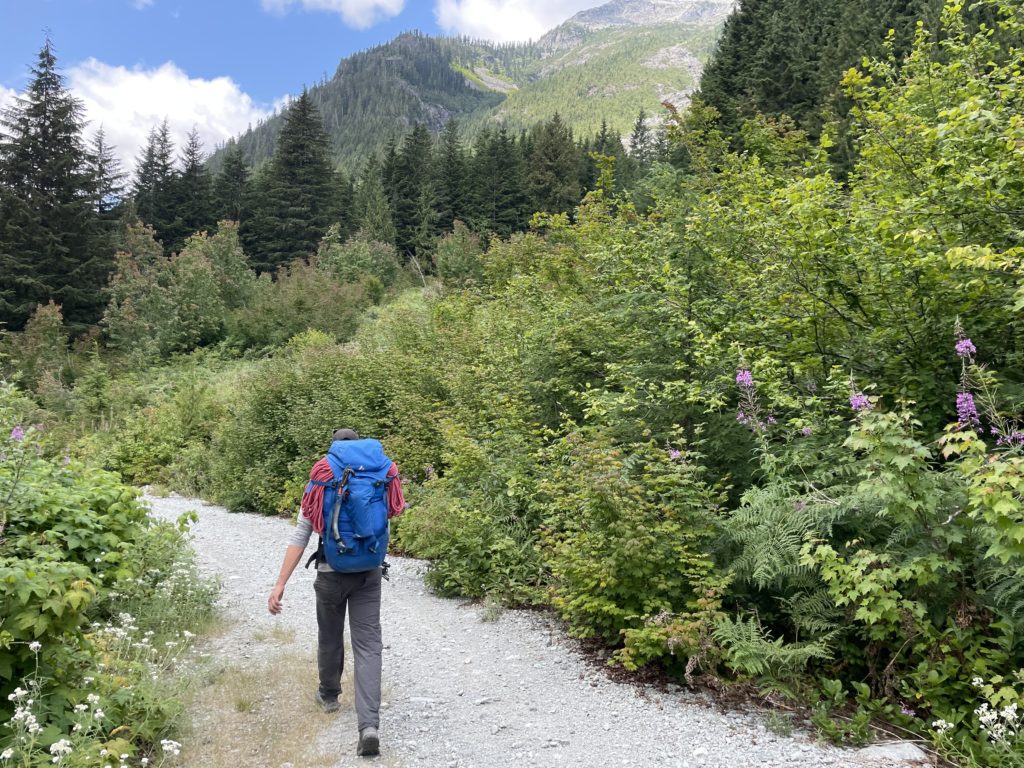
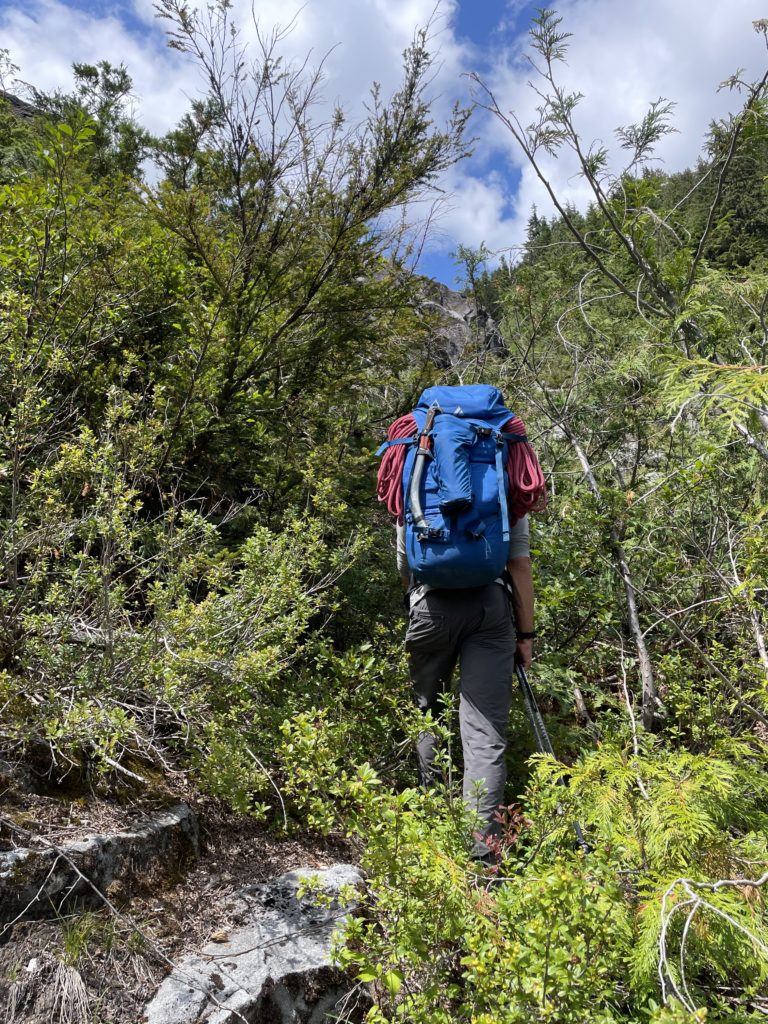
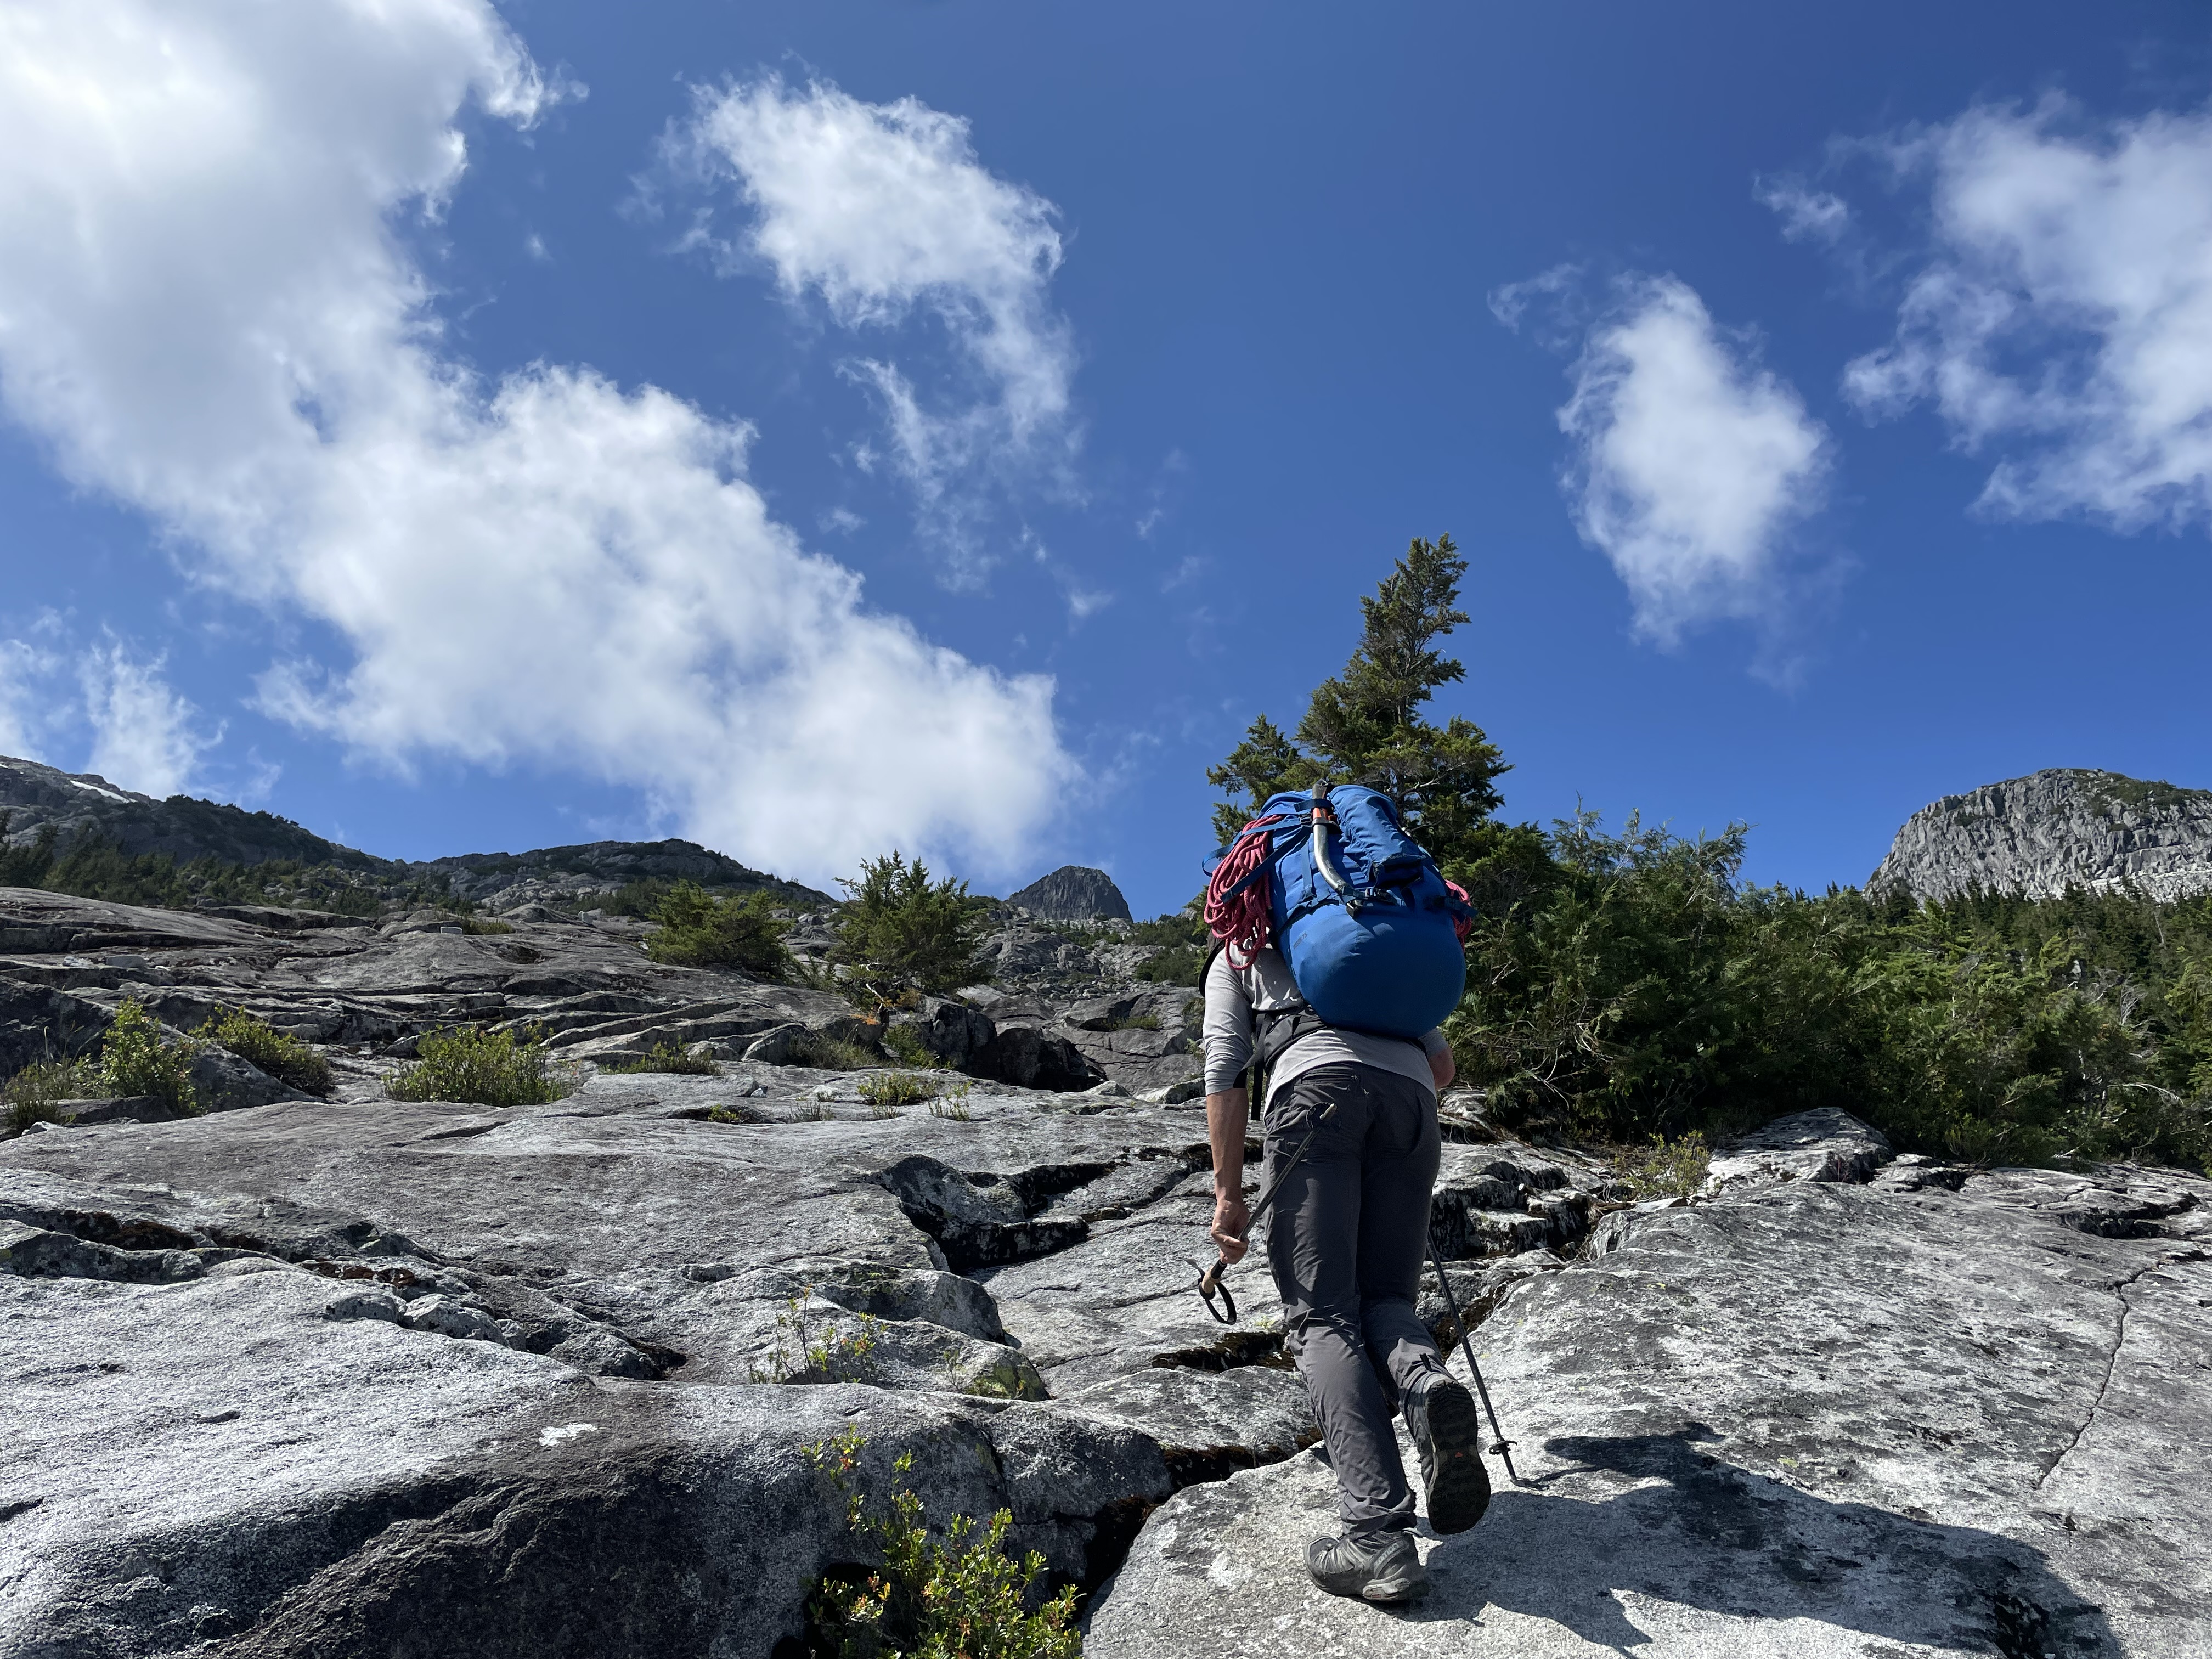
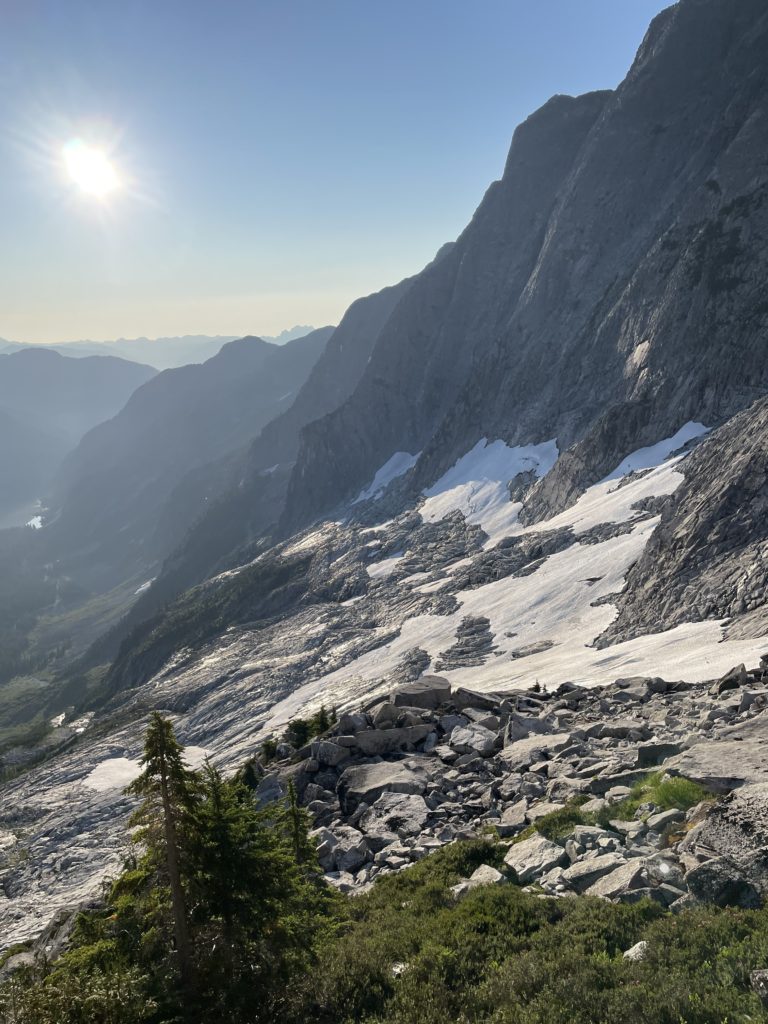
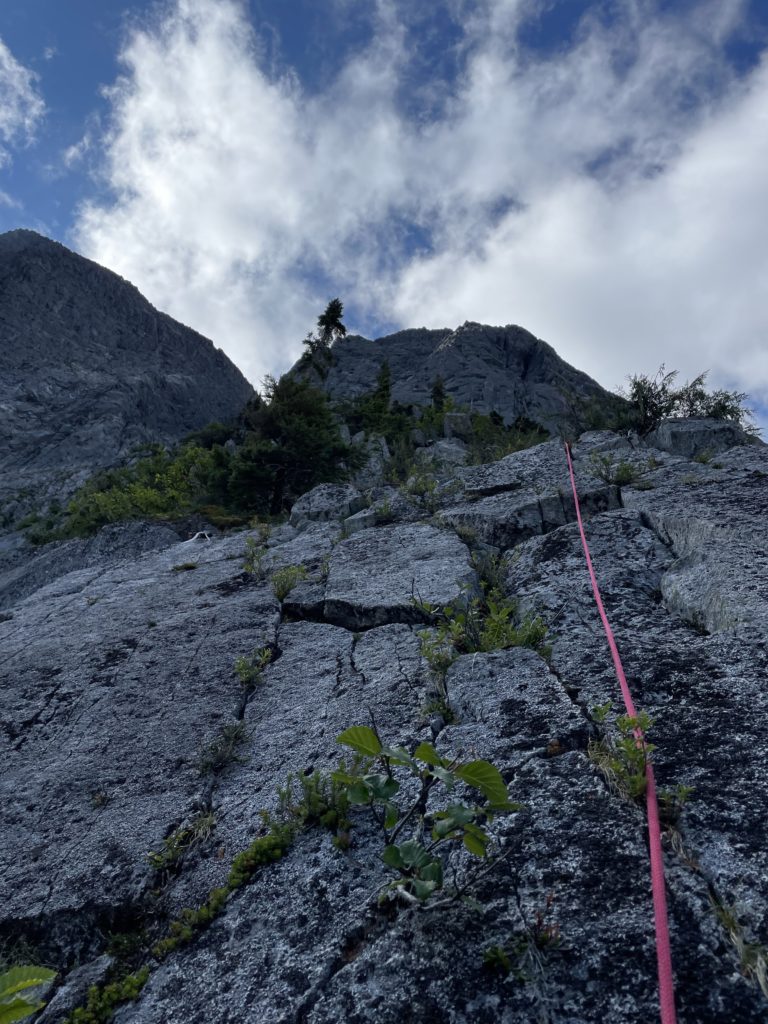
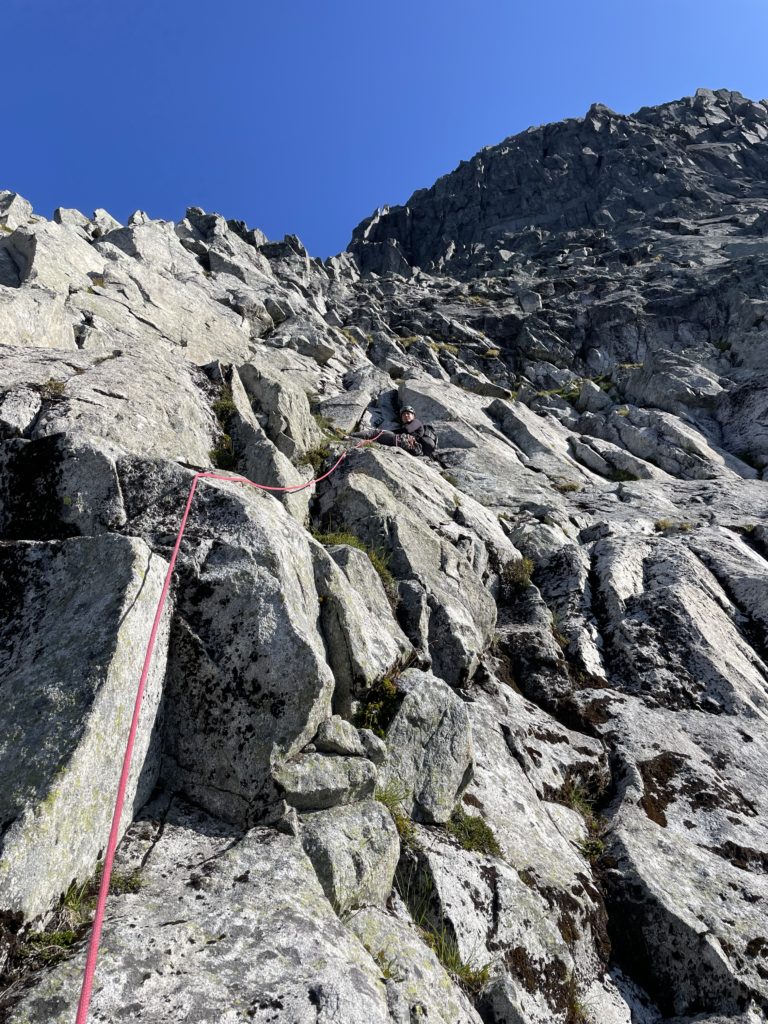
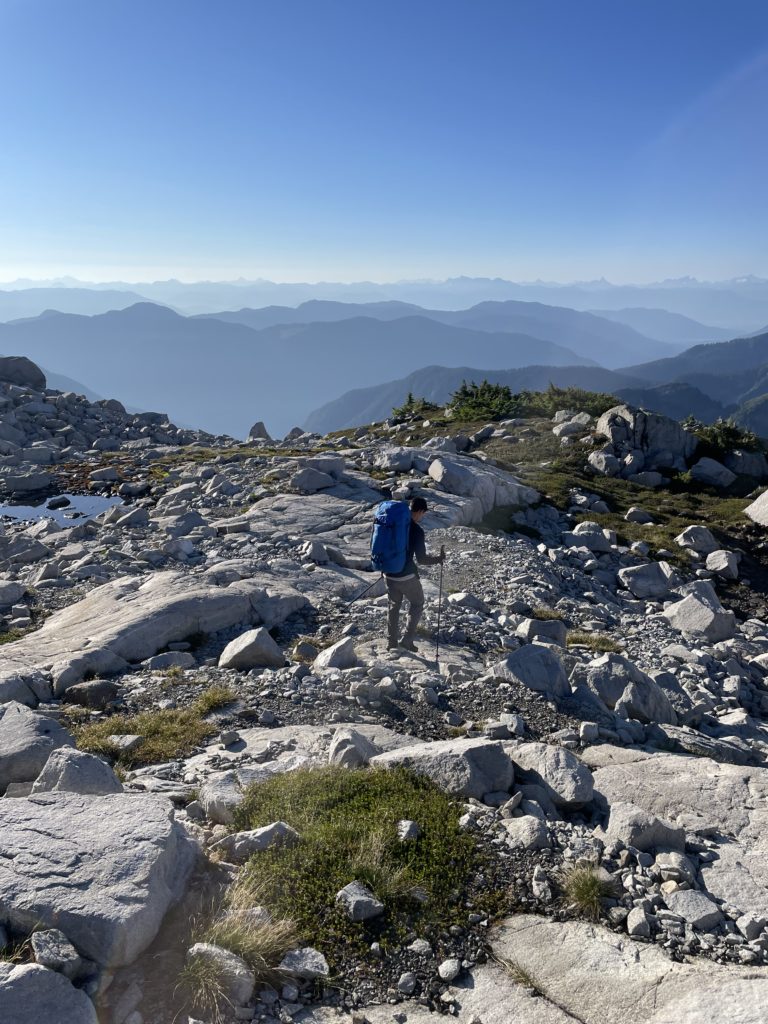
On the Sunday, Brayden and I met at the Whatcom rest stop for 9am and headed down the Chehalis FSR where some newly graded sections sped up our drive in. About 12km before the Skwellepil FSR turn off the road returned to its former state of pot holes, but we made good time overall. Then there was 4km of rough 4×4 driving down to a major wash out on Skwellepil where we parked and started down the trail. Our only goal for the day was to climb ~1300m up the slopes of Bardean to set up camp, so we weren’t in a major rush for the day.
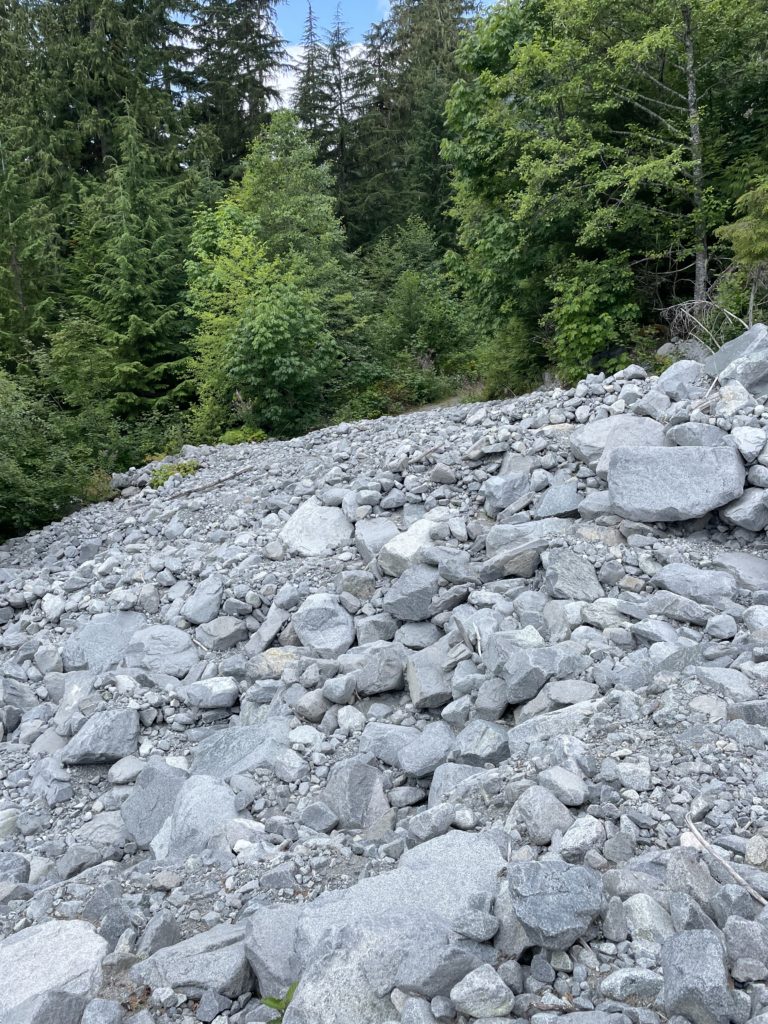
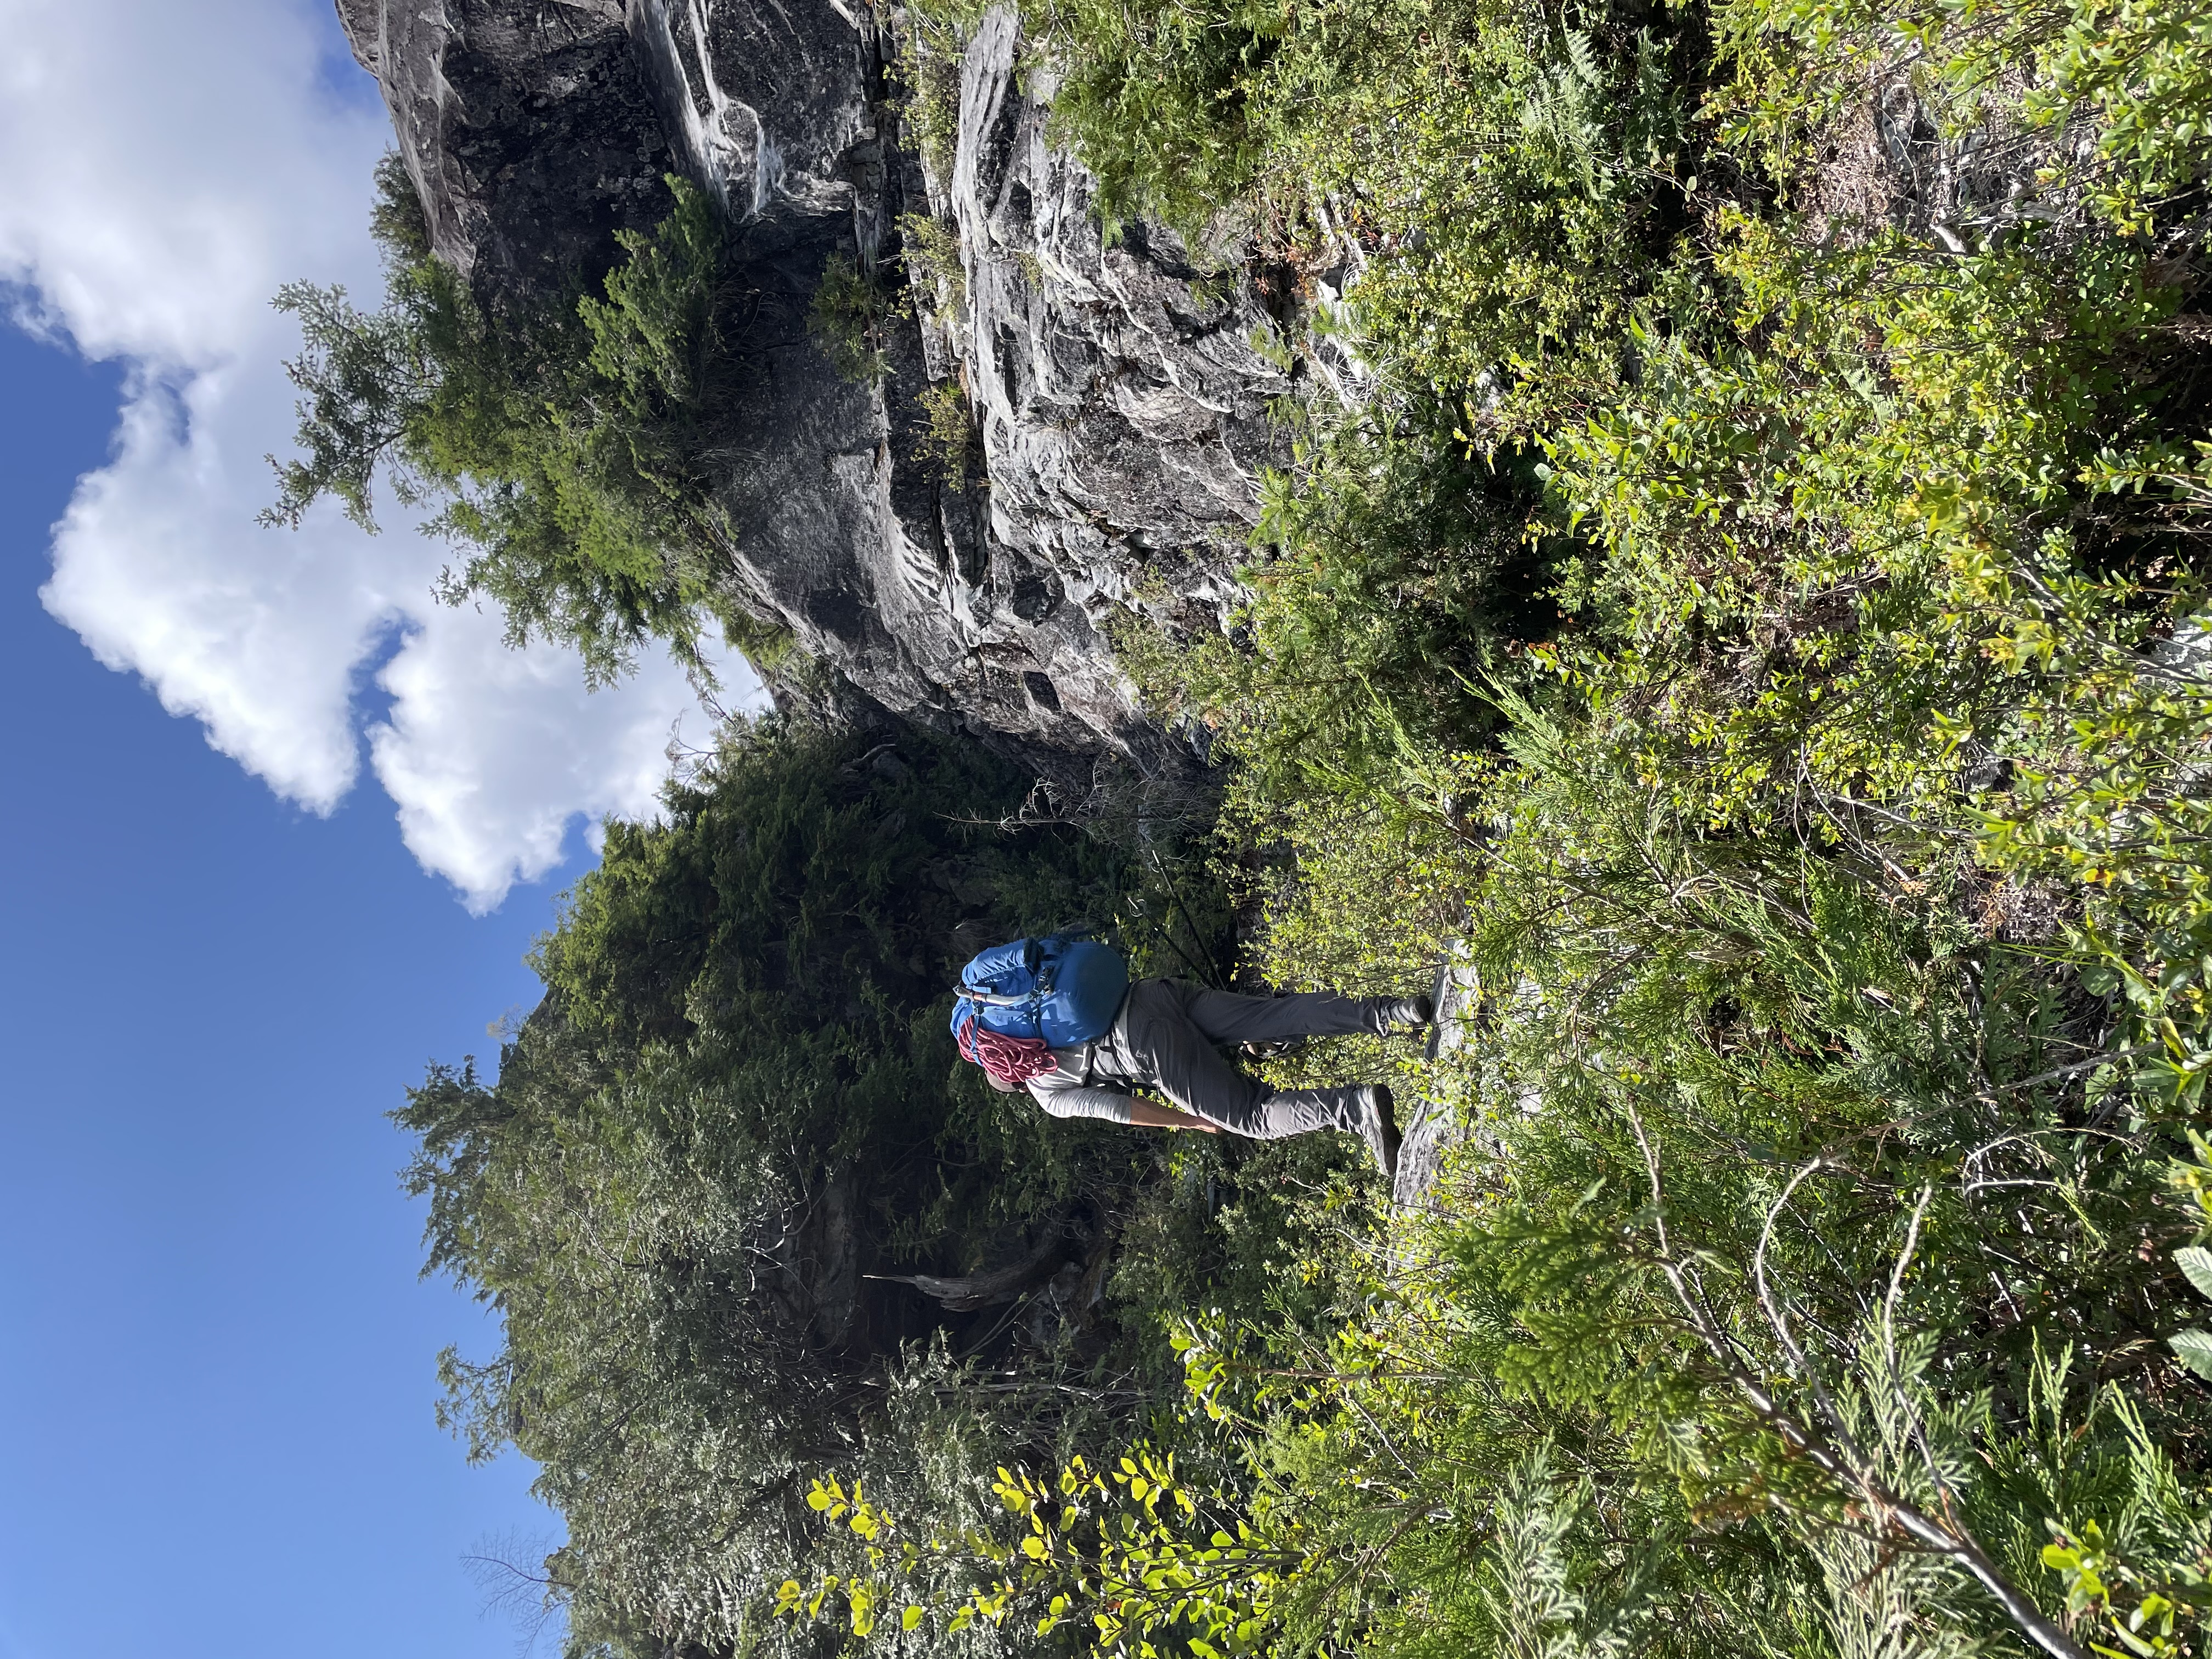
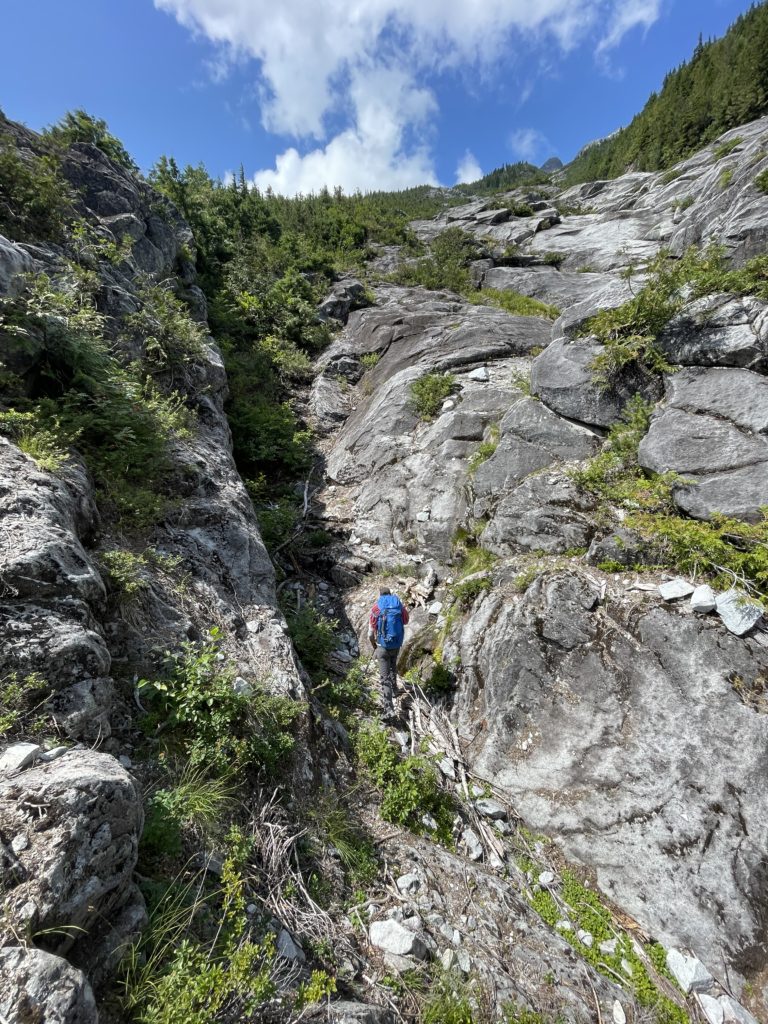
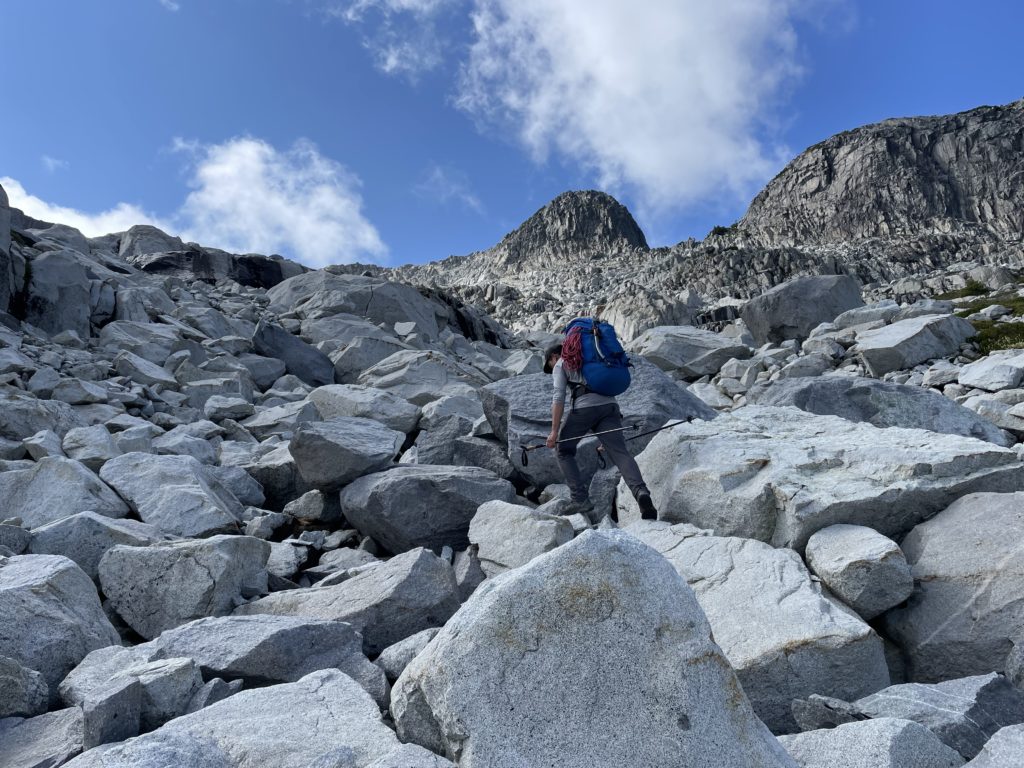
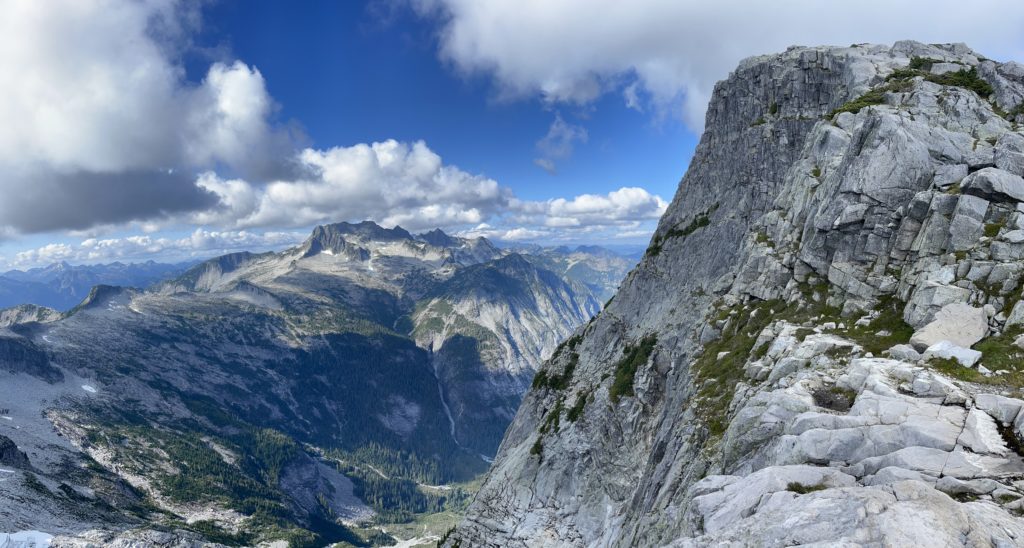
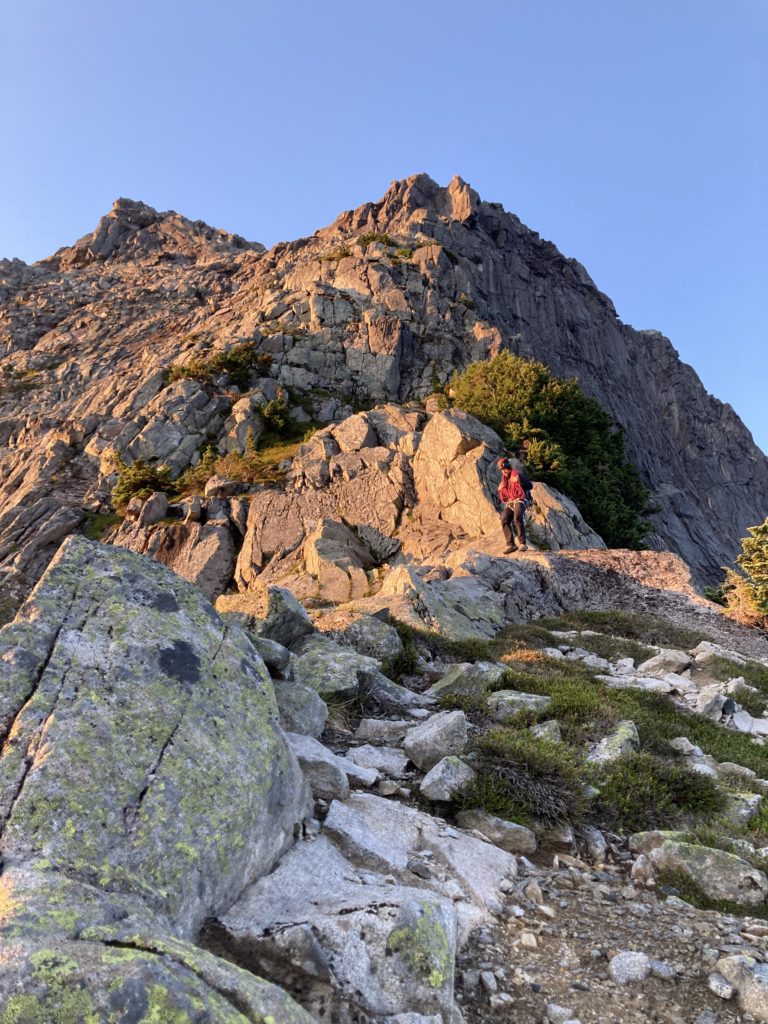
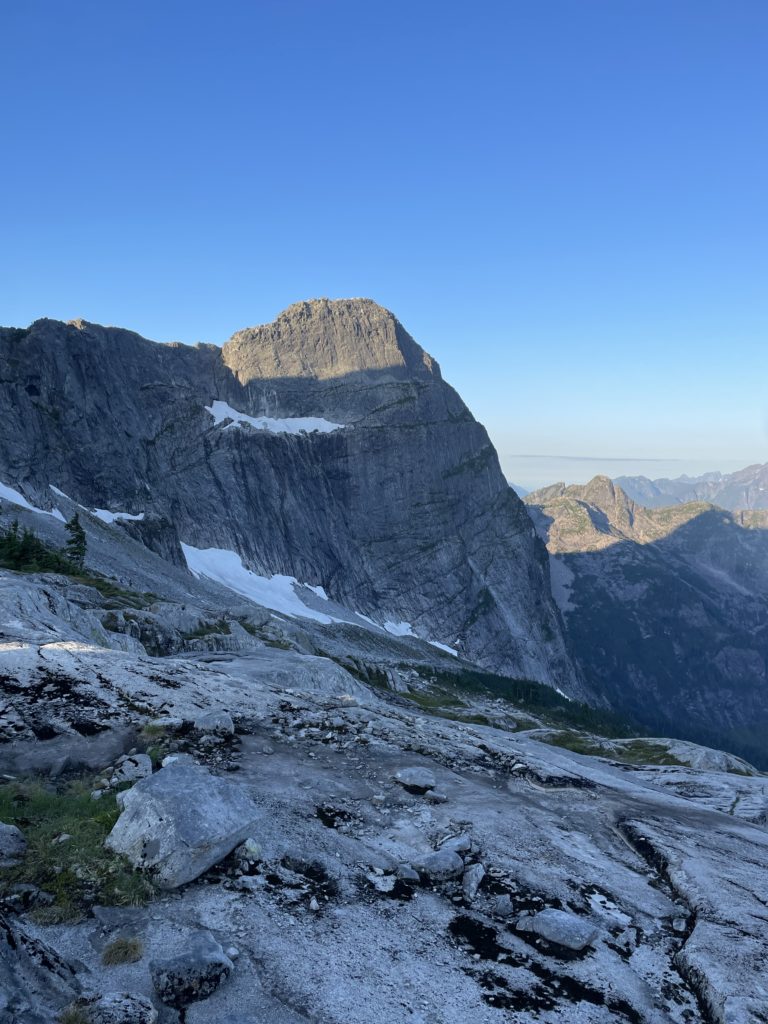
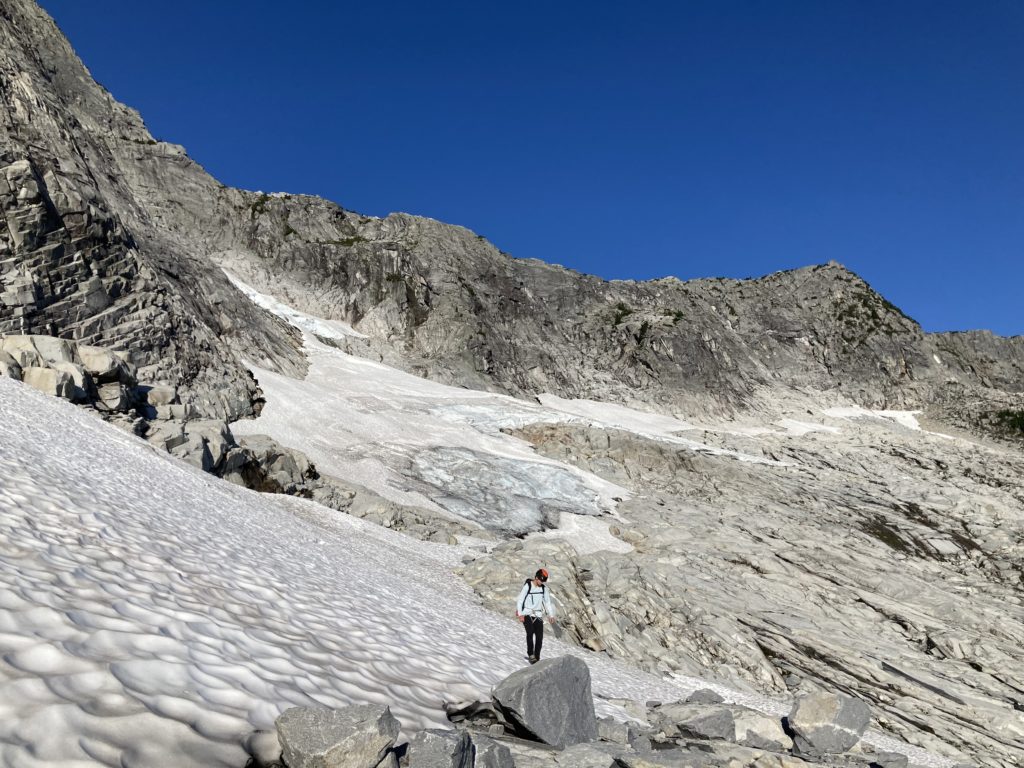
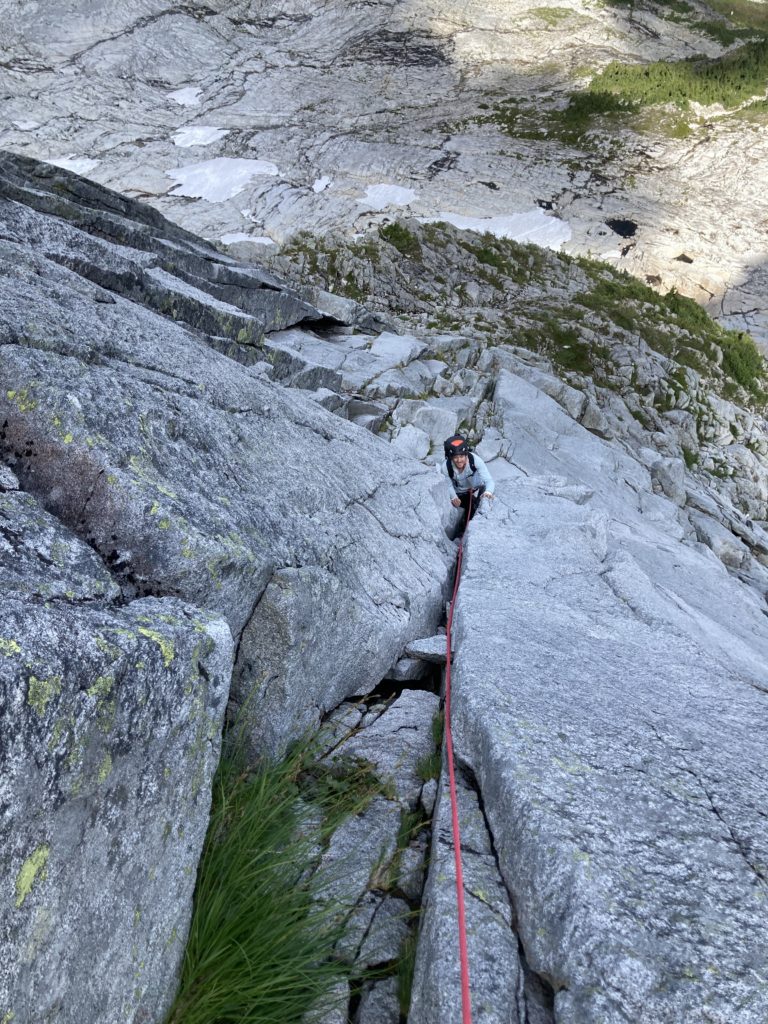
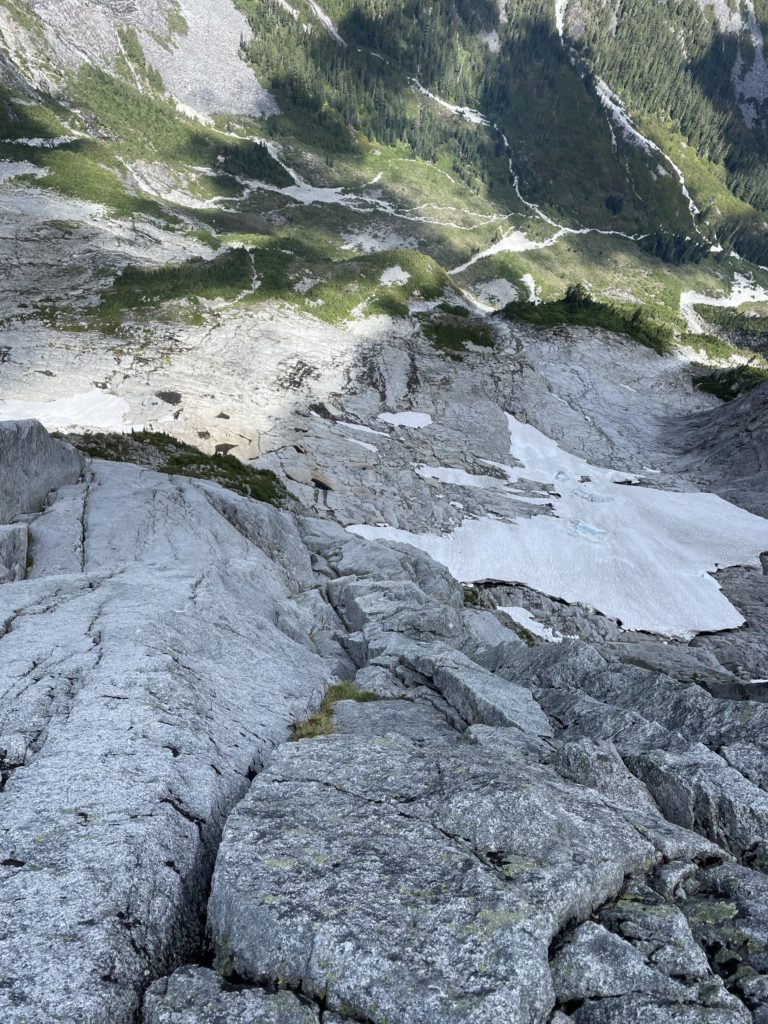
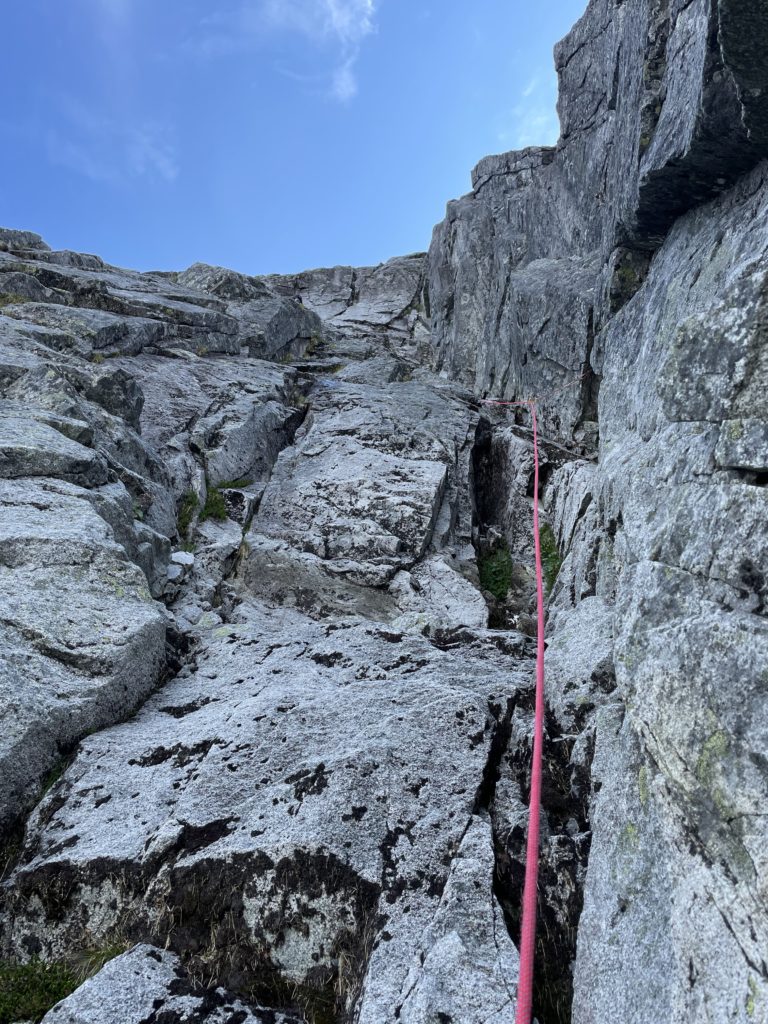
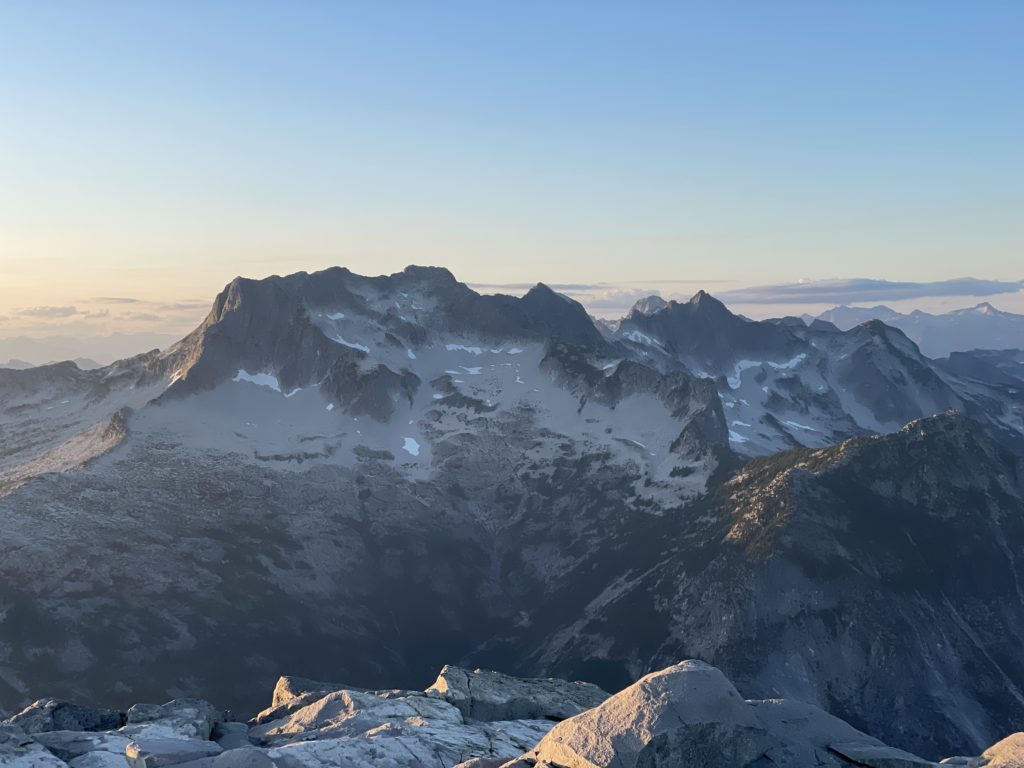
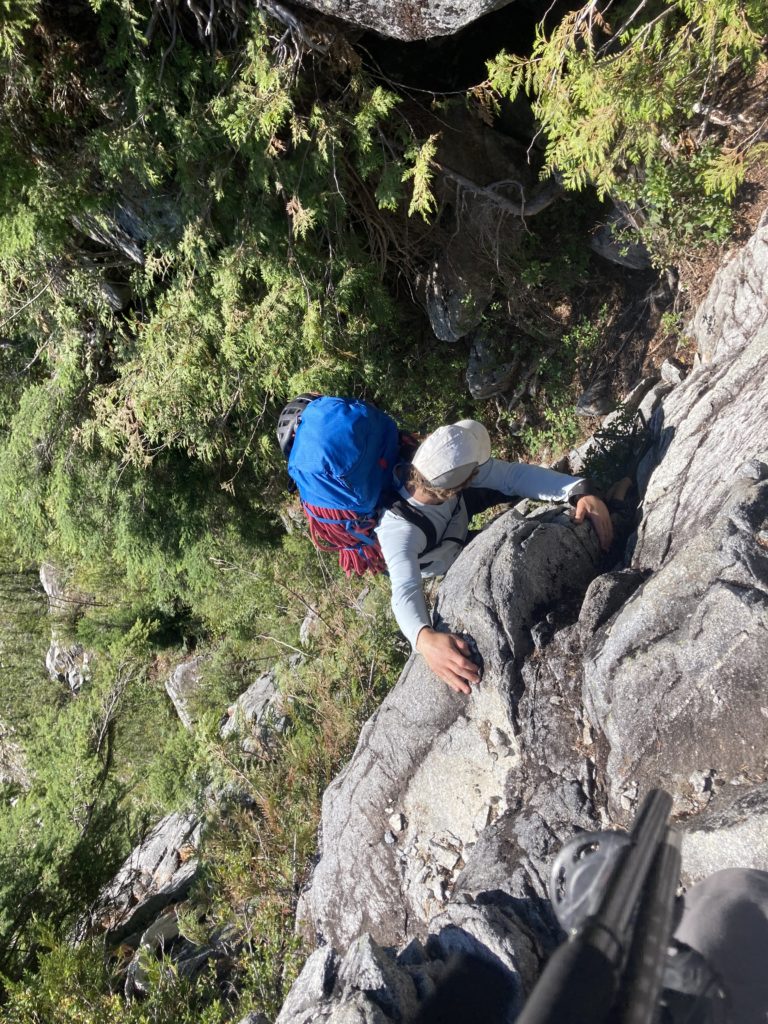
We walked approximately 1km down the road before reaching a major granite slab gully that ran all the way to the summit of Mount Bardean. I knew from Alan’s report in 2019 that this route would go, so we started our way up with ~1300m of elevation gain ahead of us. The initial section followed through a distinct trail in the woods before exiting on some slabs and from there we were on our own. Thankfully, the route finding was straight forward enough with one section of bushwhacking low down that took us to 4th class gully. We exited the gully and then crossed onto the east side of the creek running down the slabs. From there we picked the path of least resistance following granite slabs all the way to ~1200m. A long talus bench seemed to offer the best way around to the Ratney-Bardean col so we boulder hopped along that until we reached our target for the day.
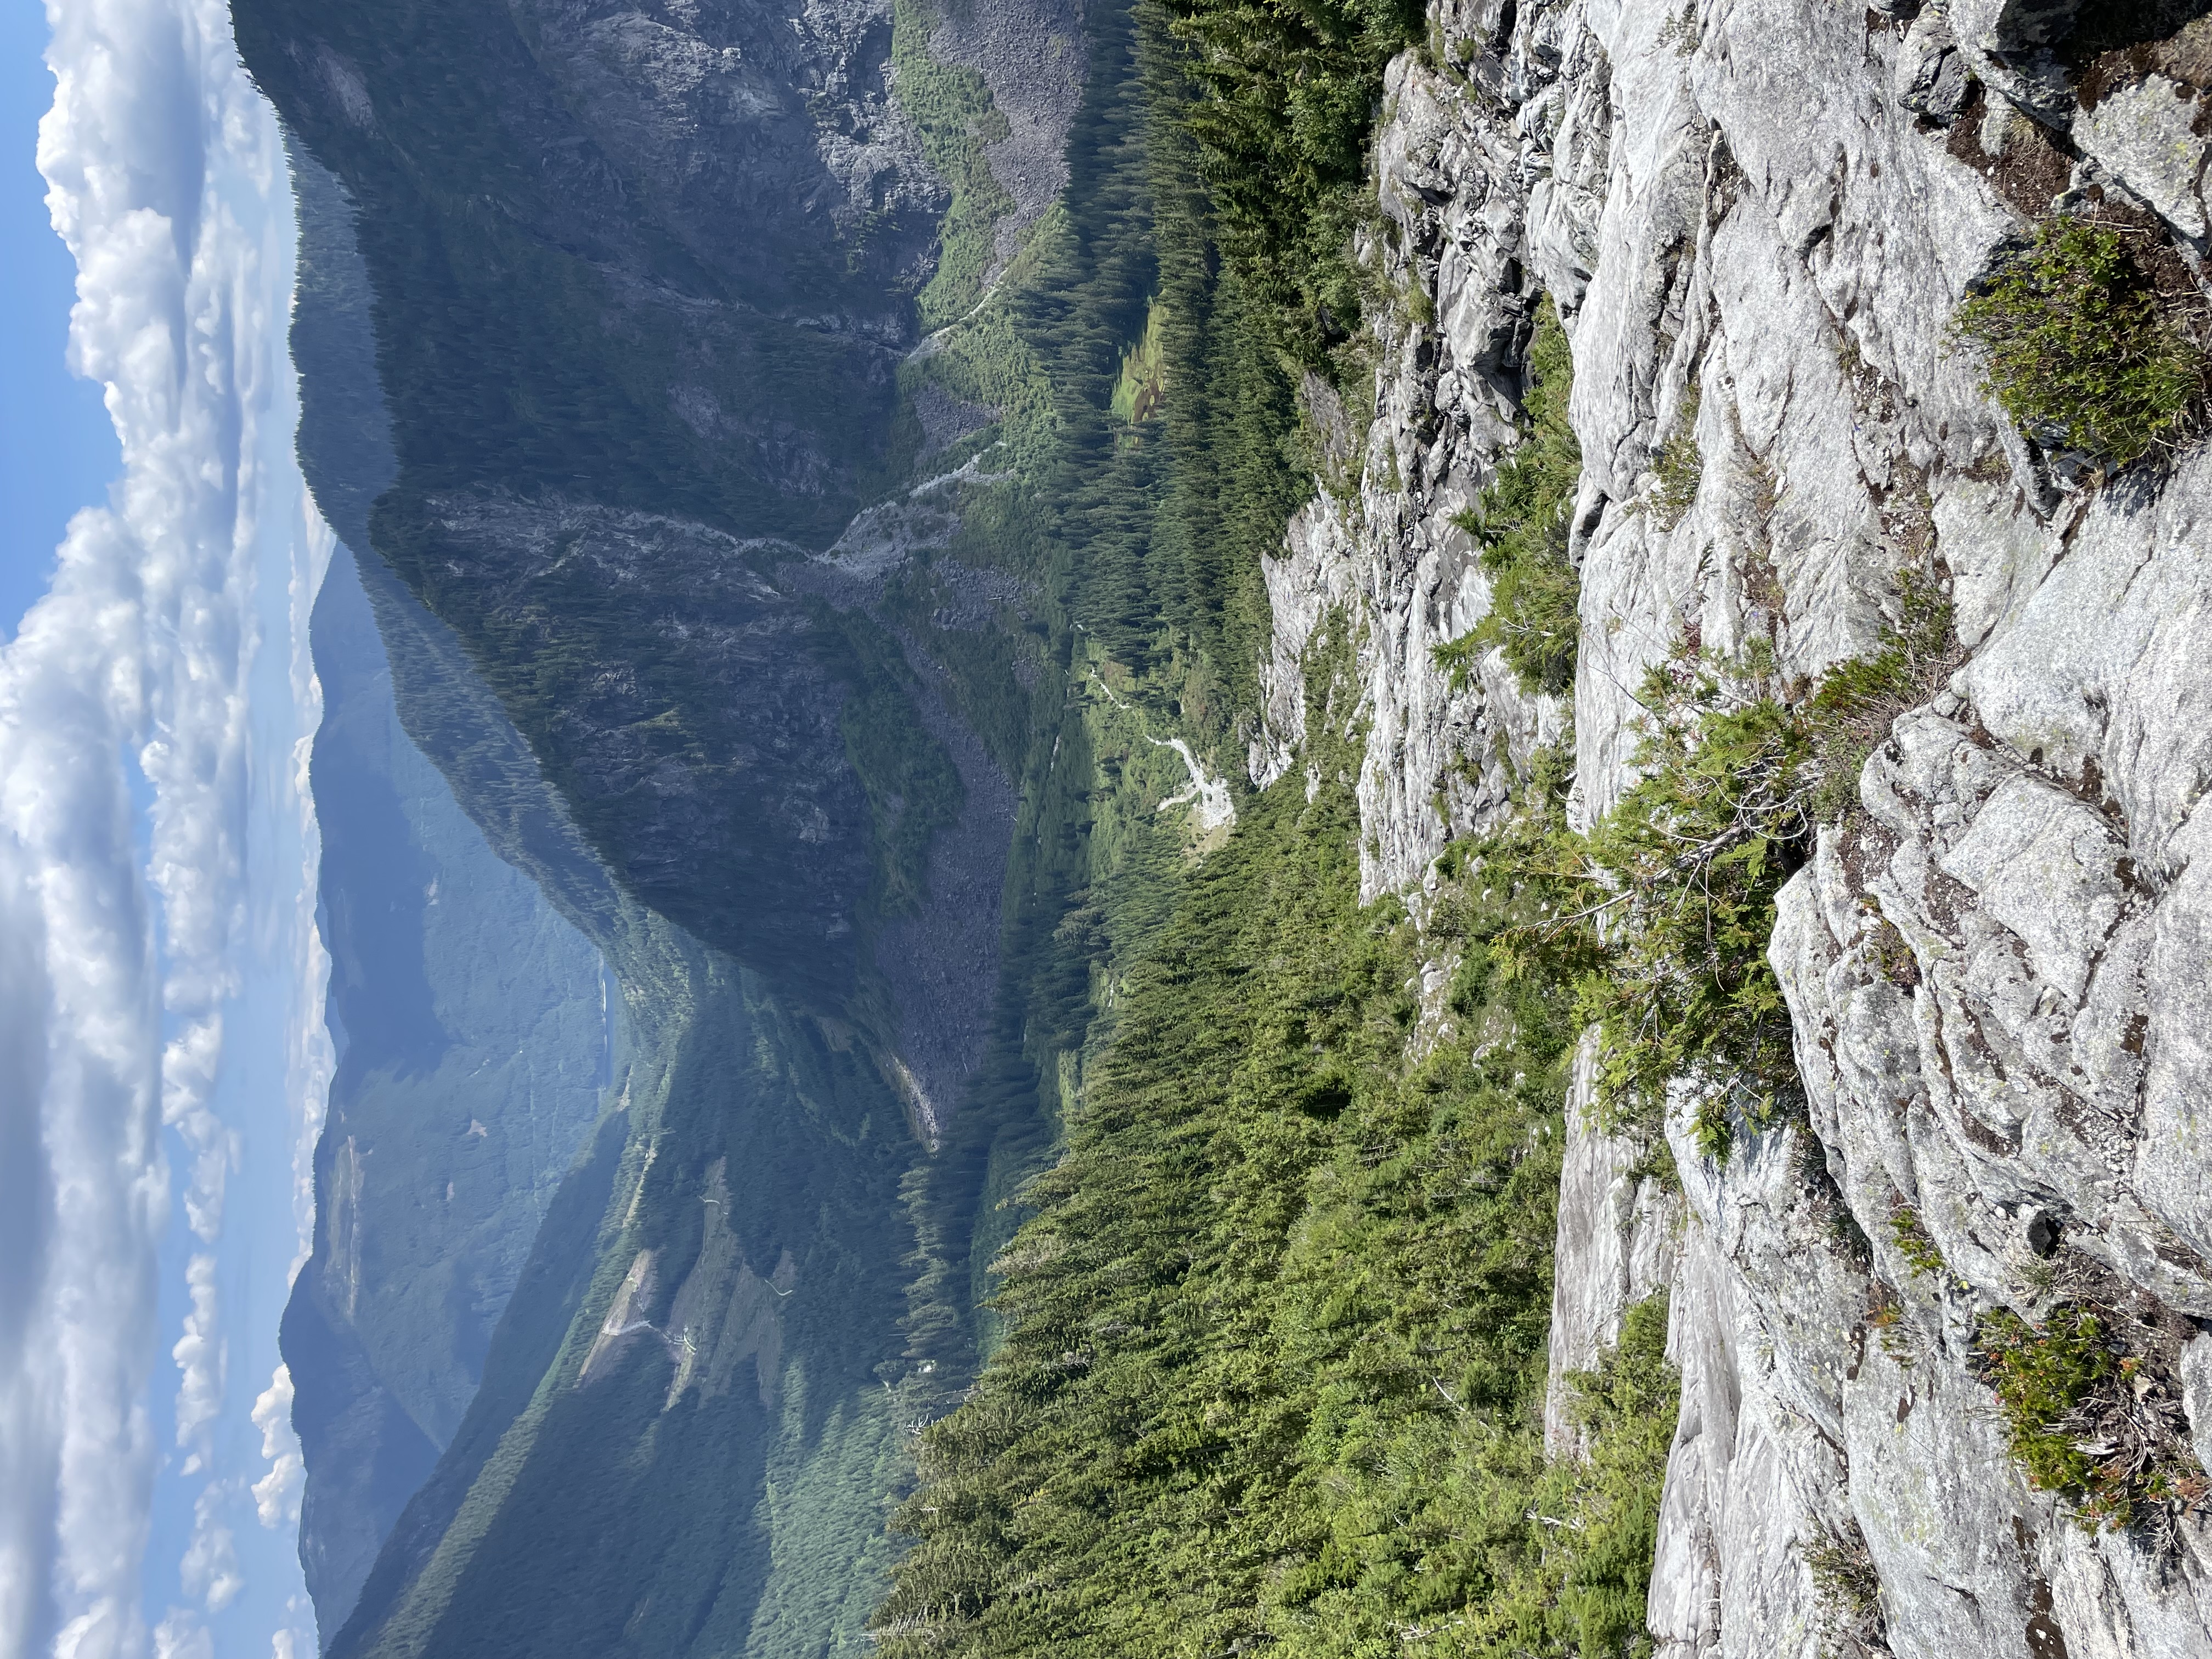
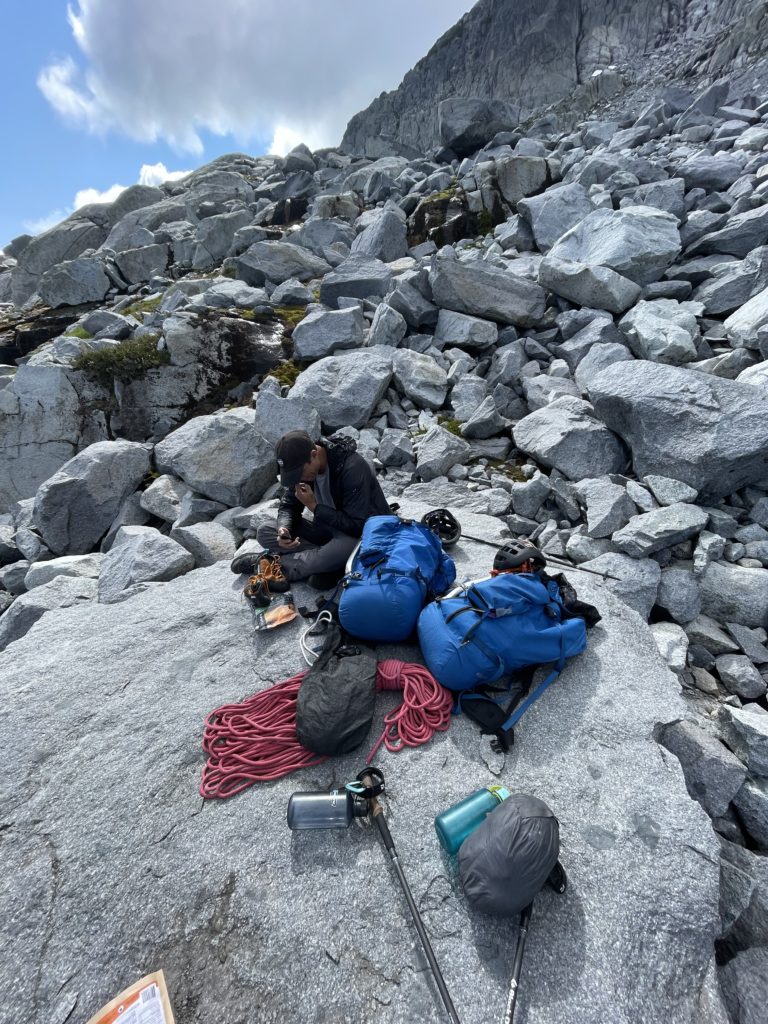


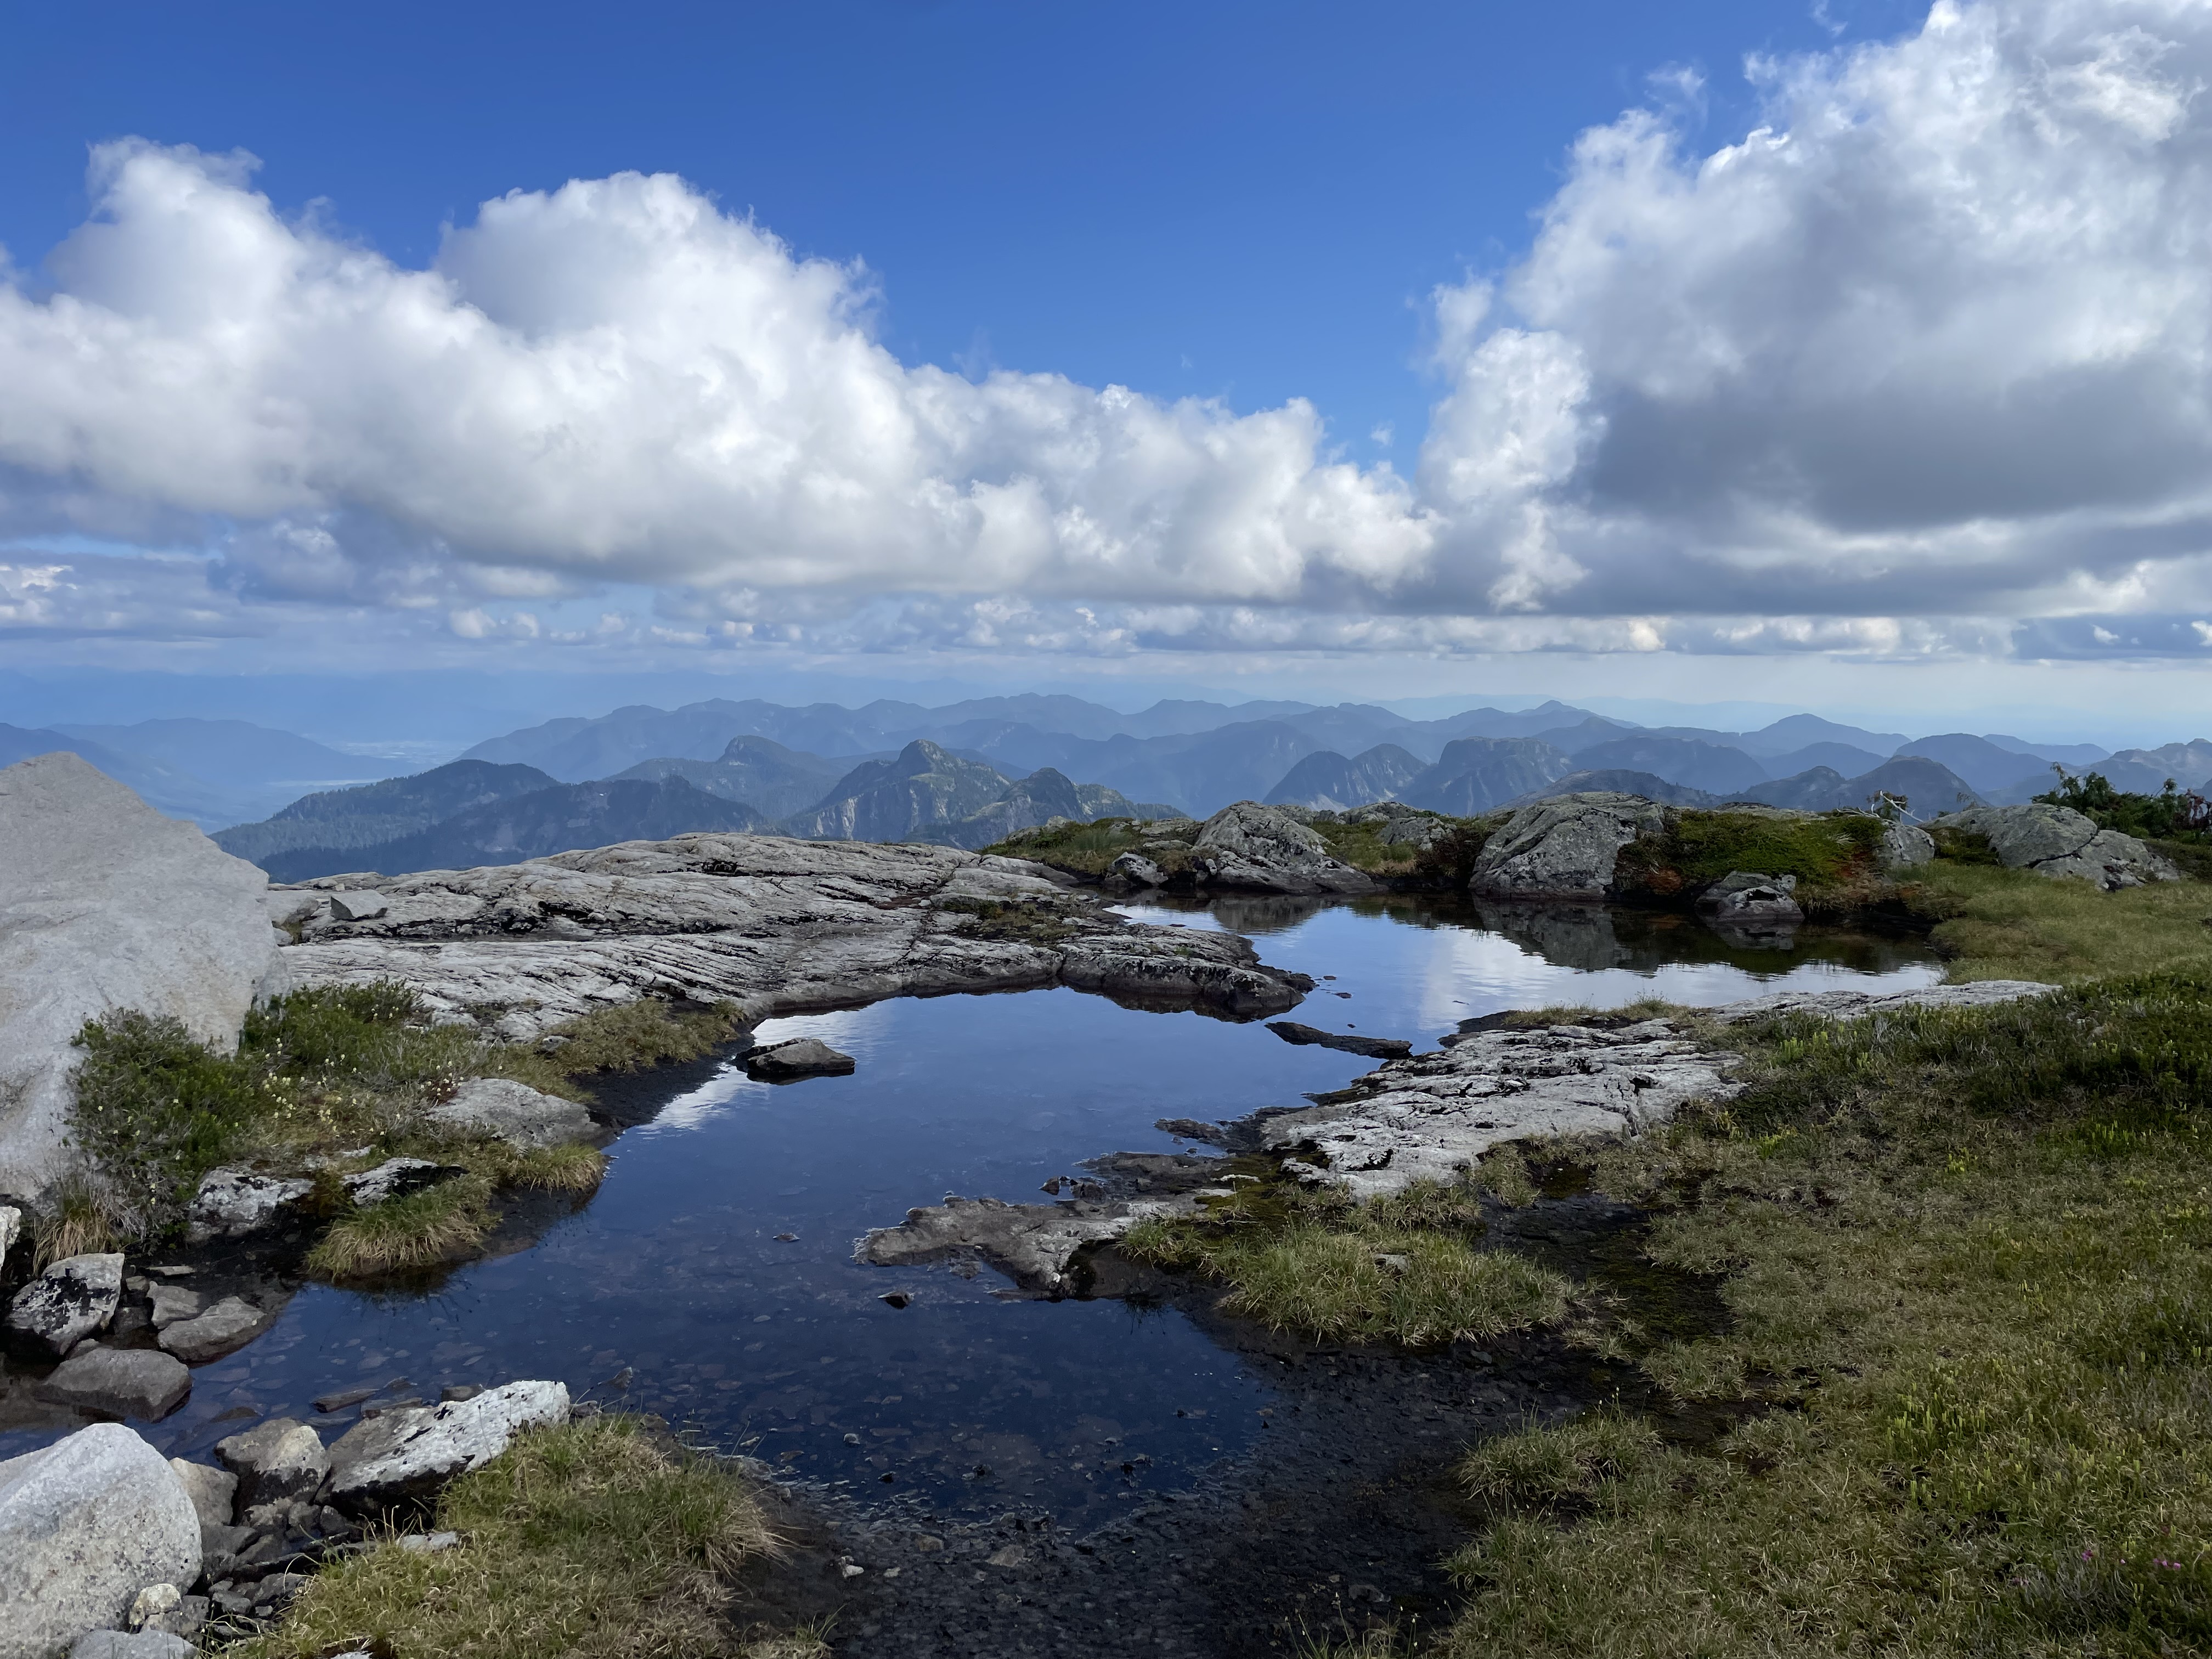
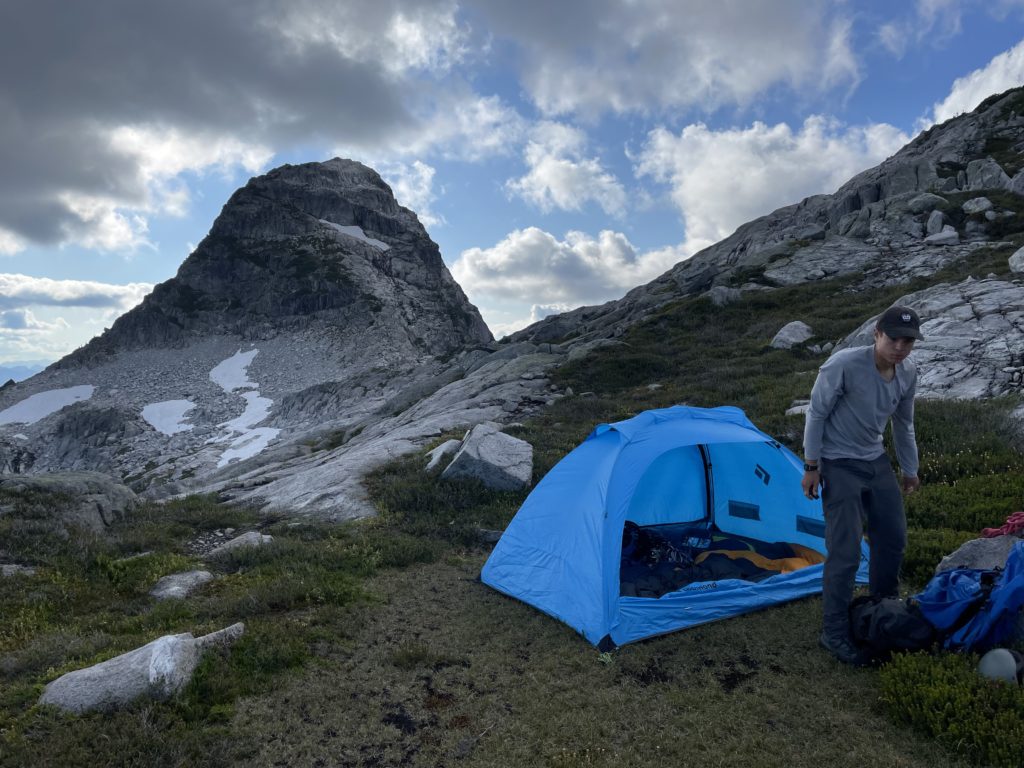
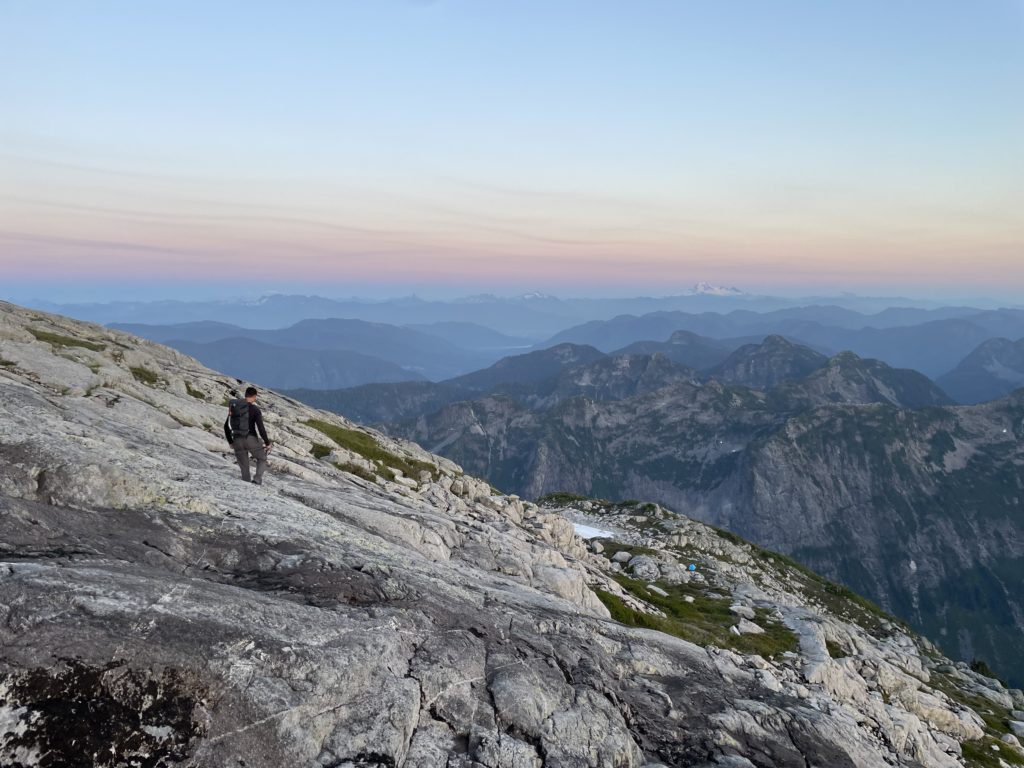
By some luck we stumbled across a perfect flat camp spot as soon as we had the col in sight and opted to pick that after a quick search produced no better options. Now settled in for the night we decided to scramble up Mount Ratney and scope out the descent line for the following day. Once we returned we set the alarms for 3:30am and tried to squeeze in 5-6 hours of sleep before the long day.
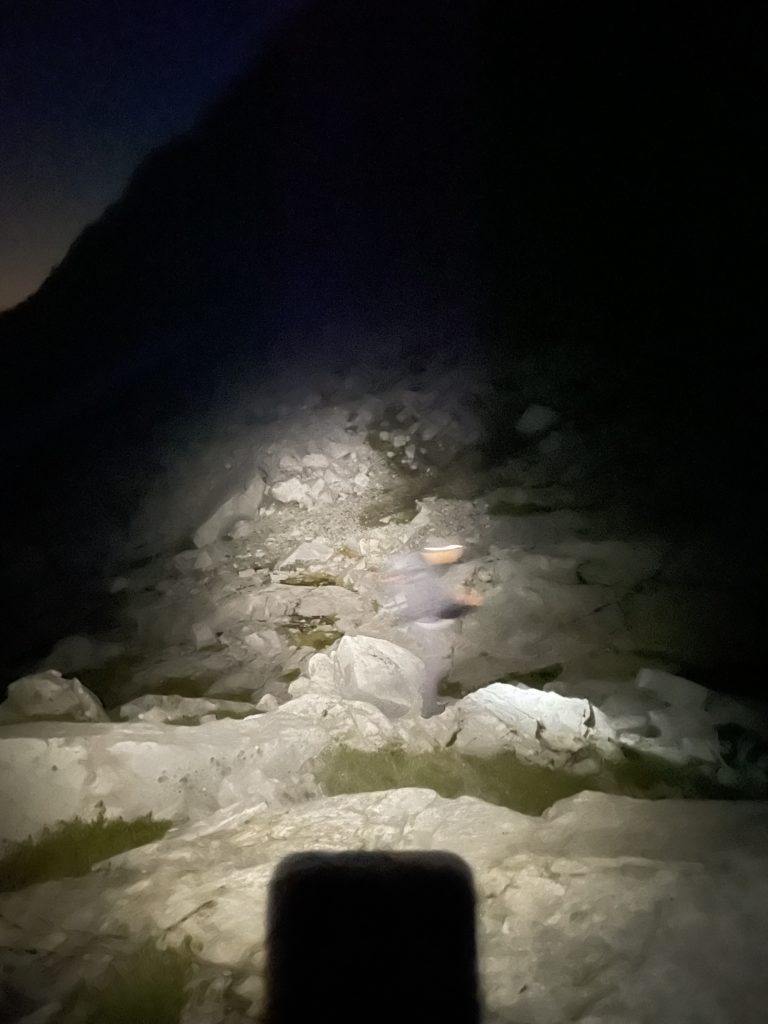
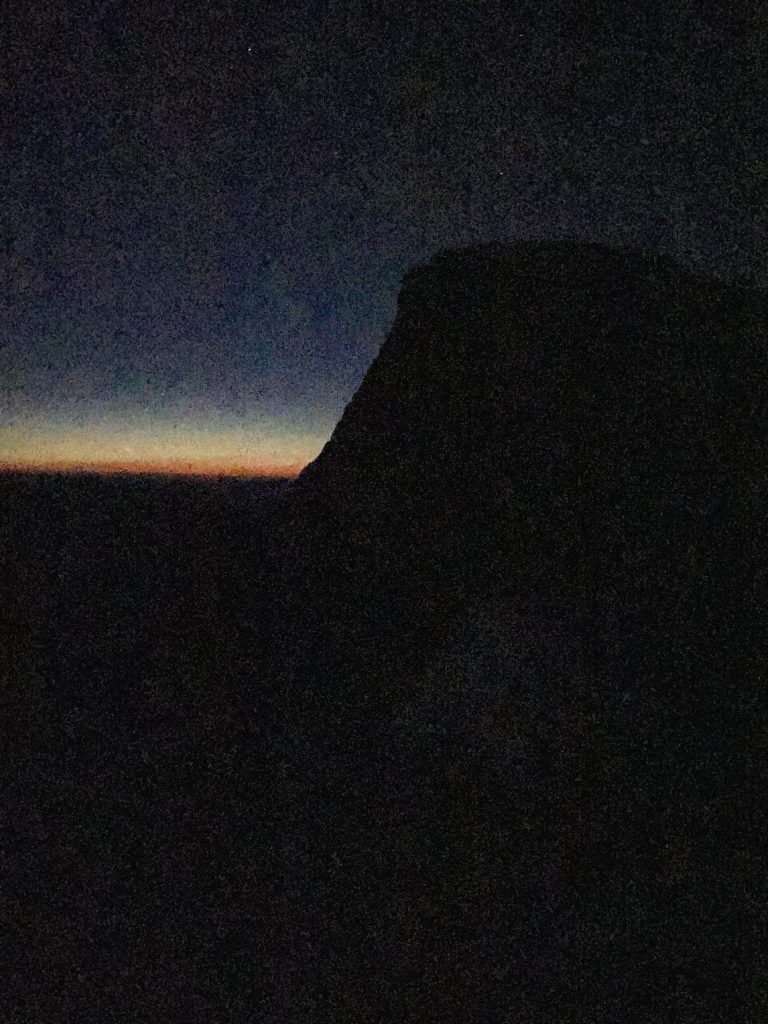
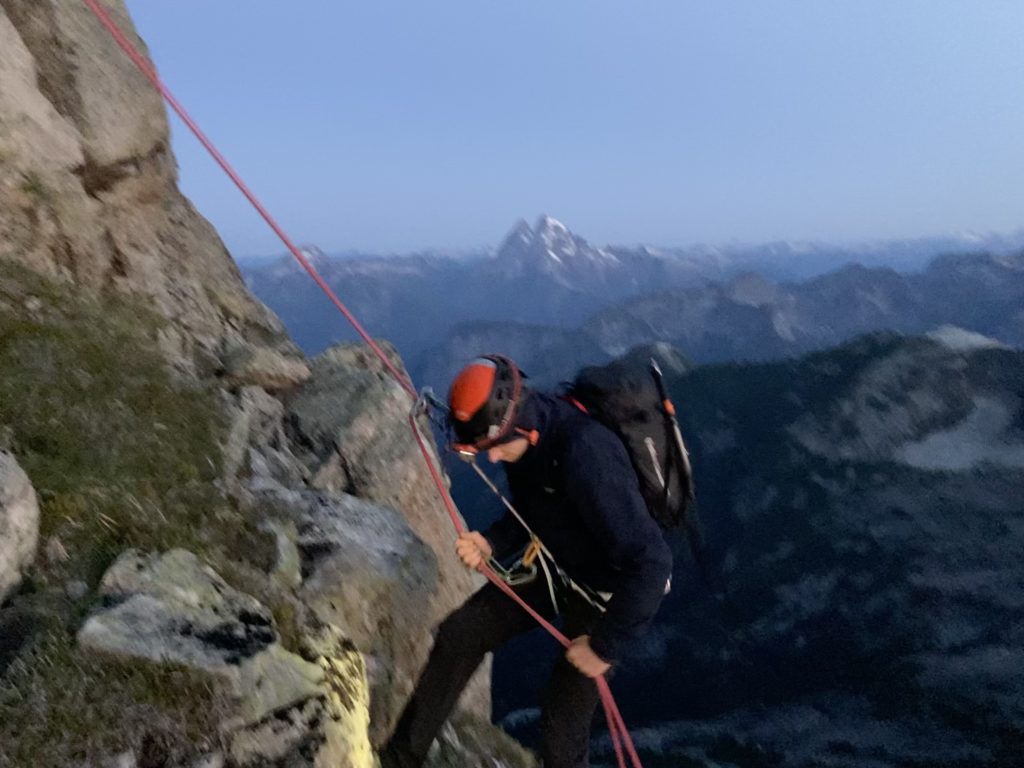
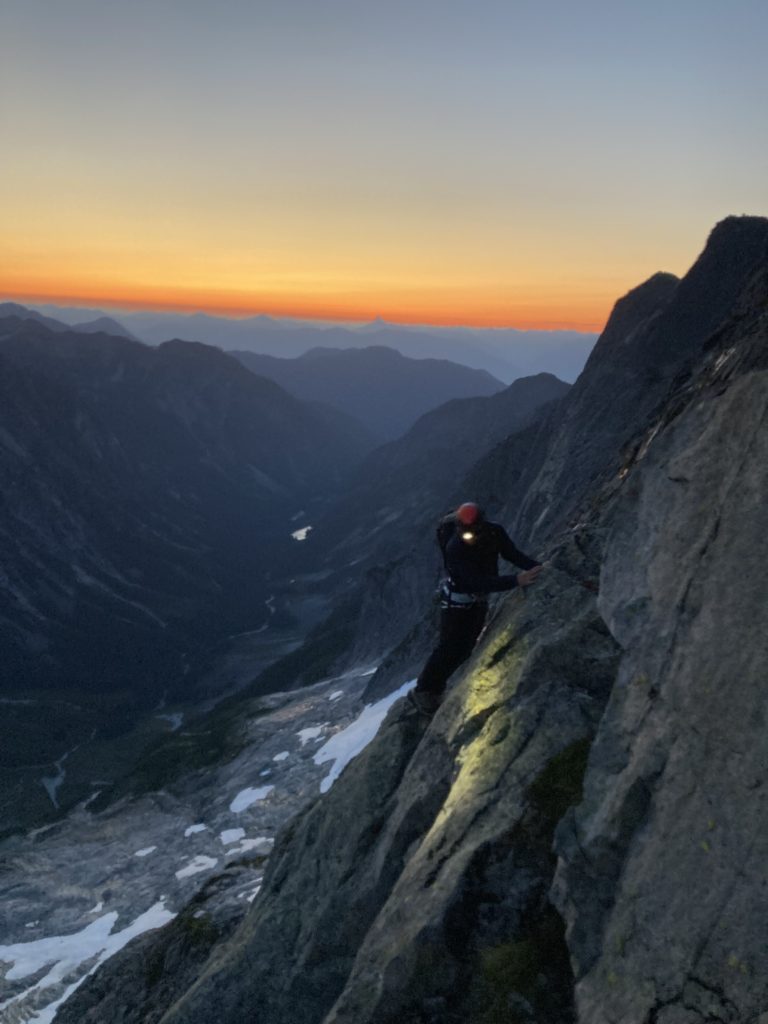
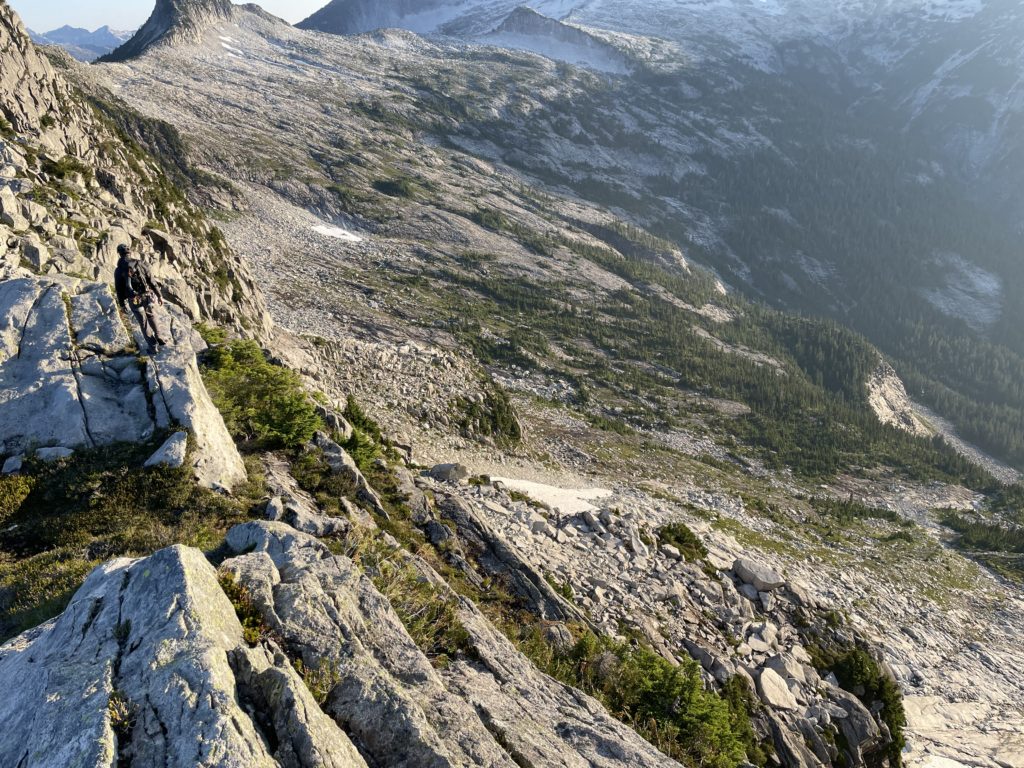
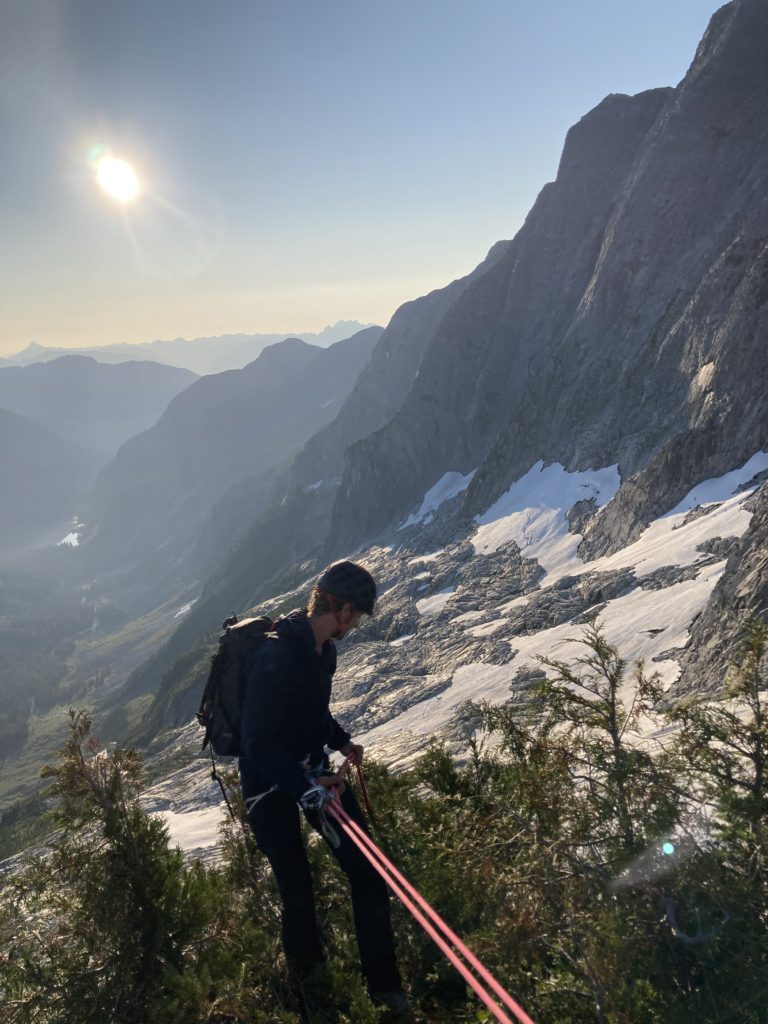
When my alarm finally went off it wasn’t as painful as expected as I managed a decent sleep. However, the wind made for a stiff welcome to the alpine air and I quickly slunk back into the tent after retrieving our food stash. Once we finished breakfast, it was time to get rolling. We headed out under a dark sky, but off in the distance the lights of the Fraser Valley provided some frame of reference. As we re-scrambled up Mount Ratney I was glad to have checked out the route beforehand, as we reached the first rappel in good time.
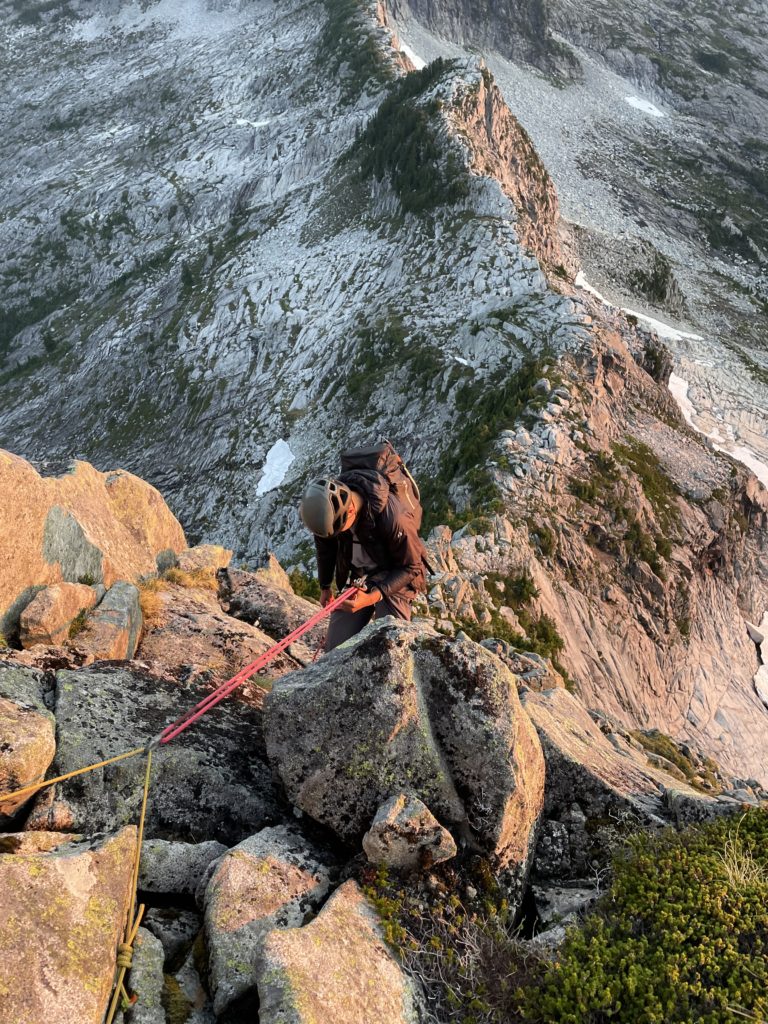
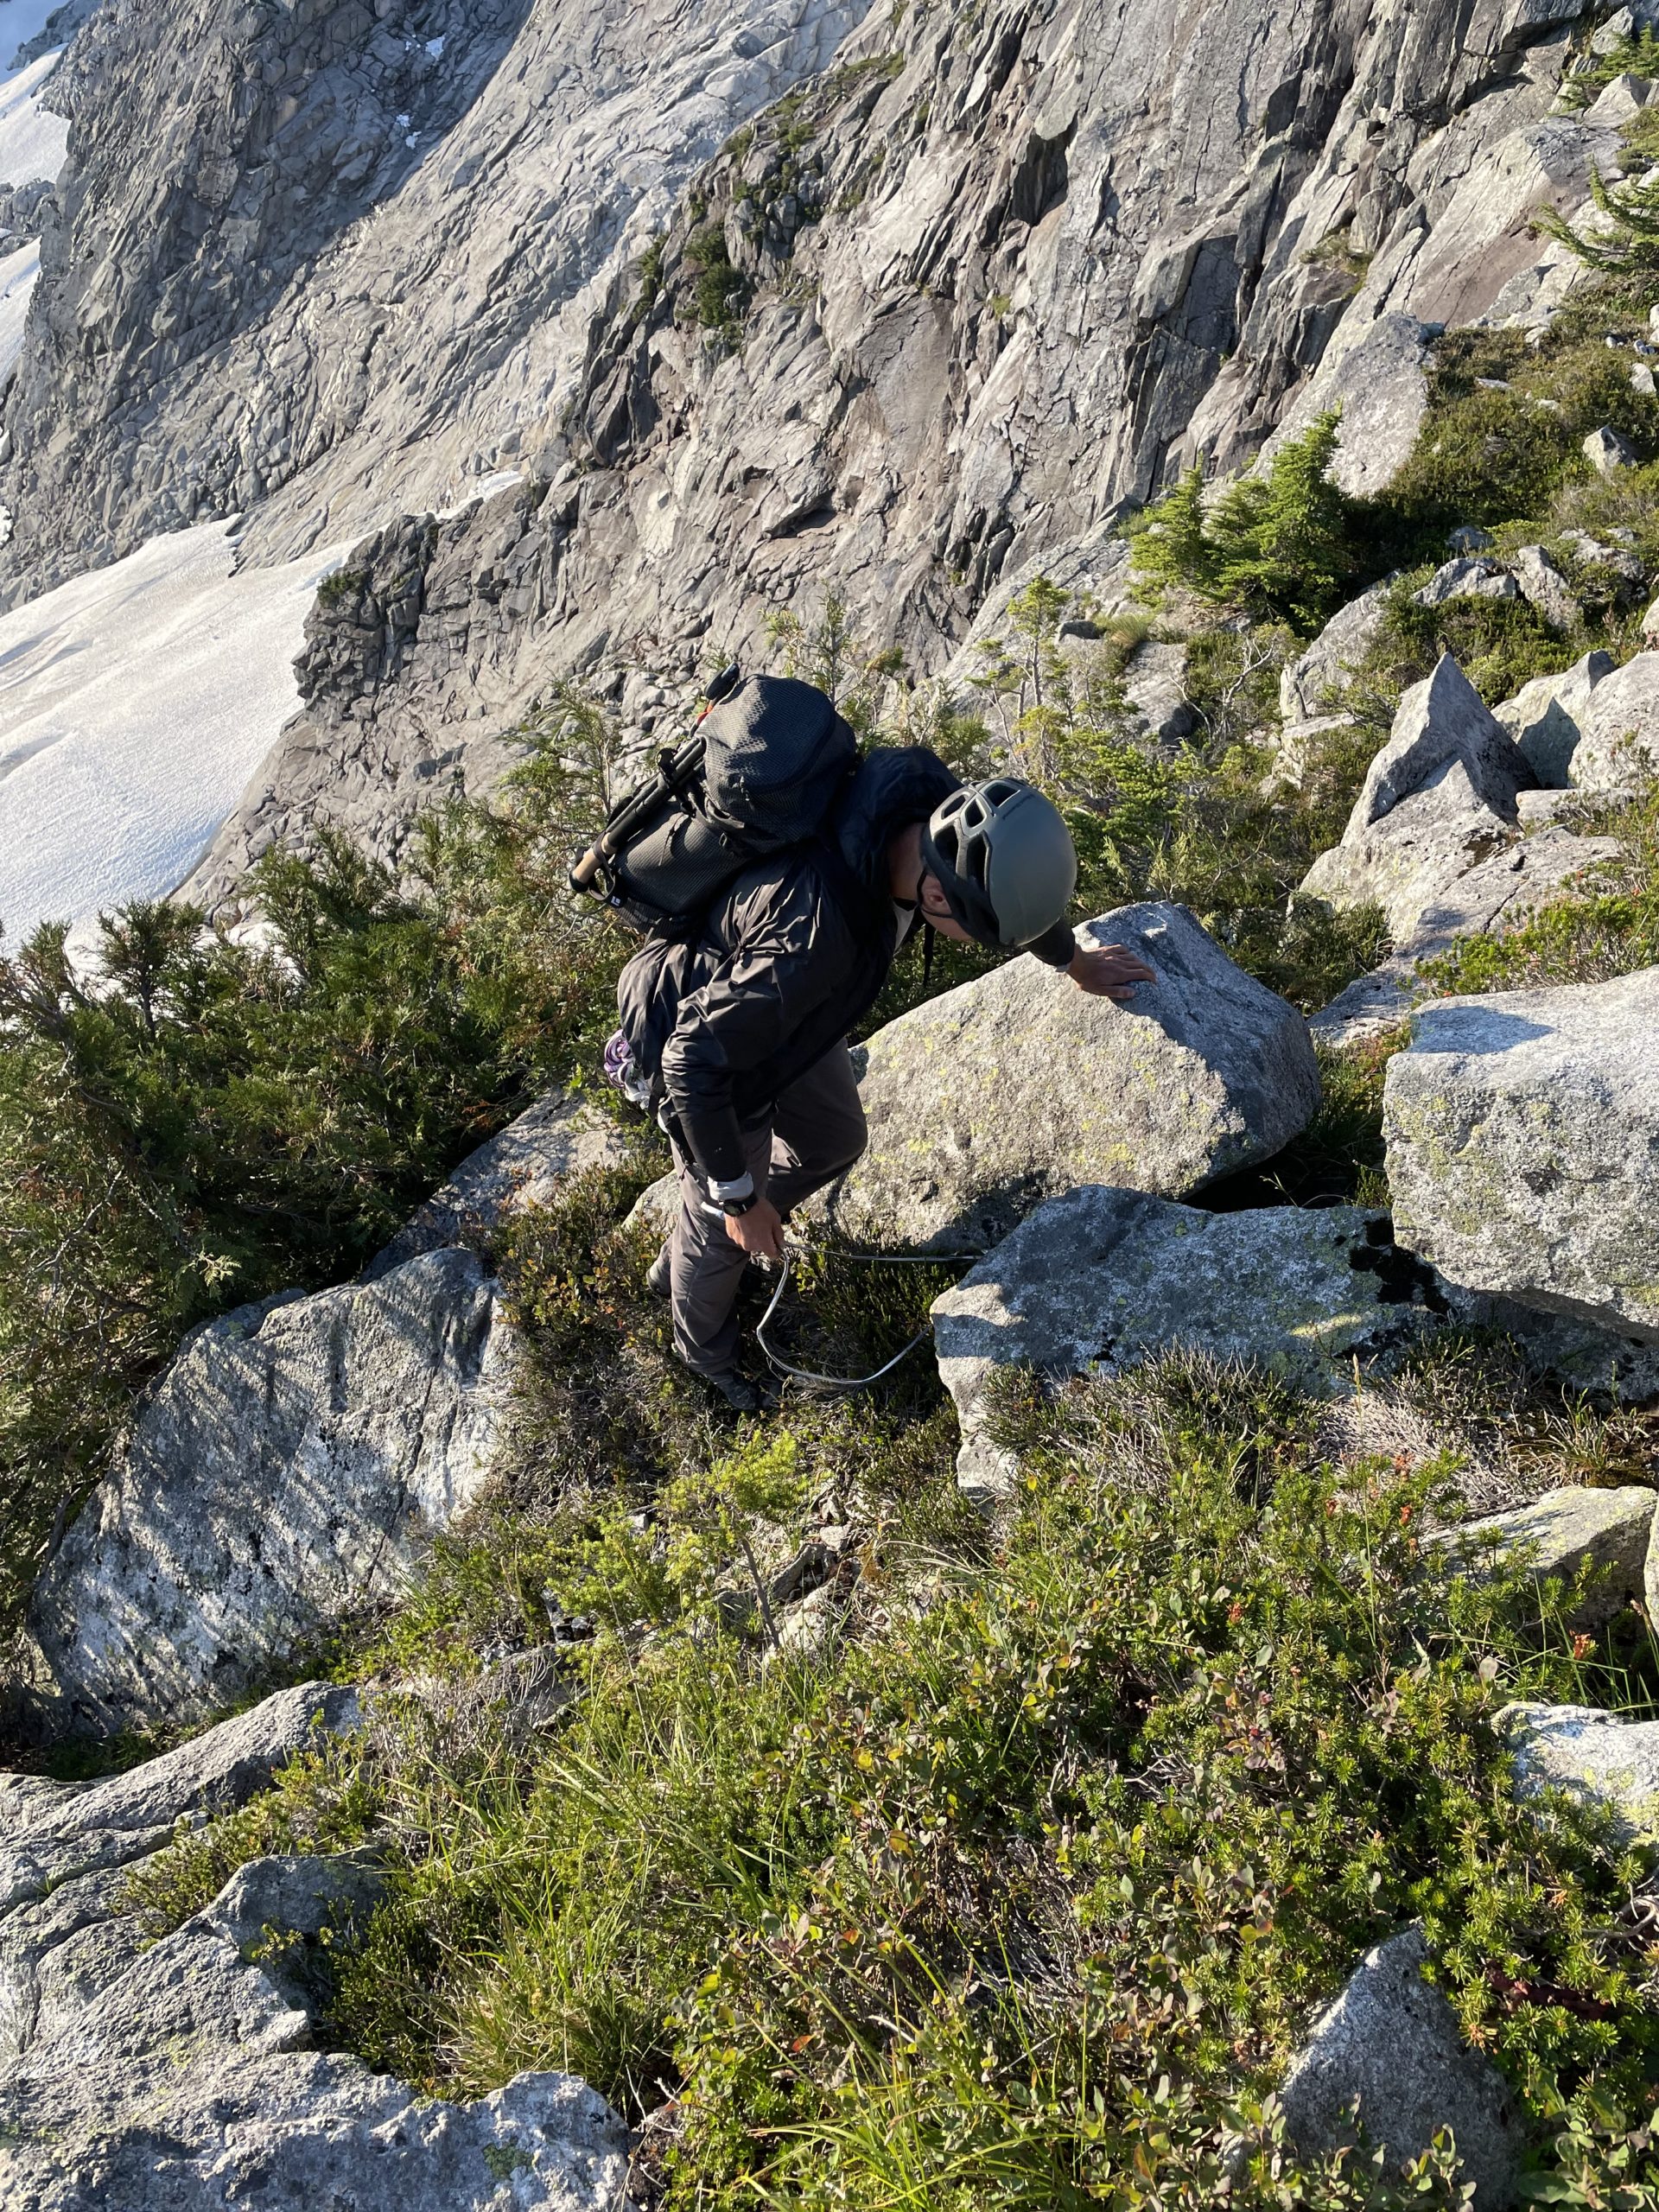
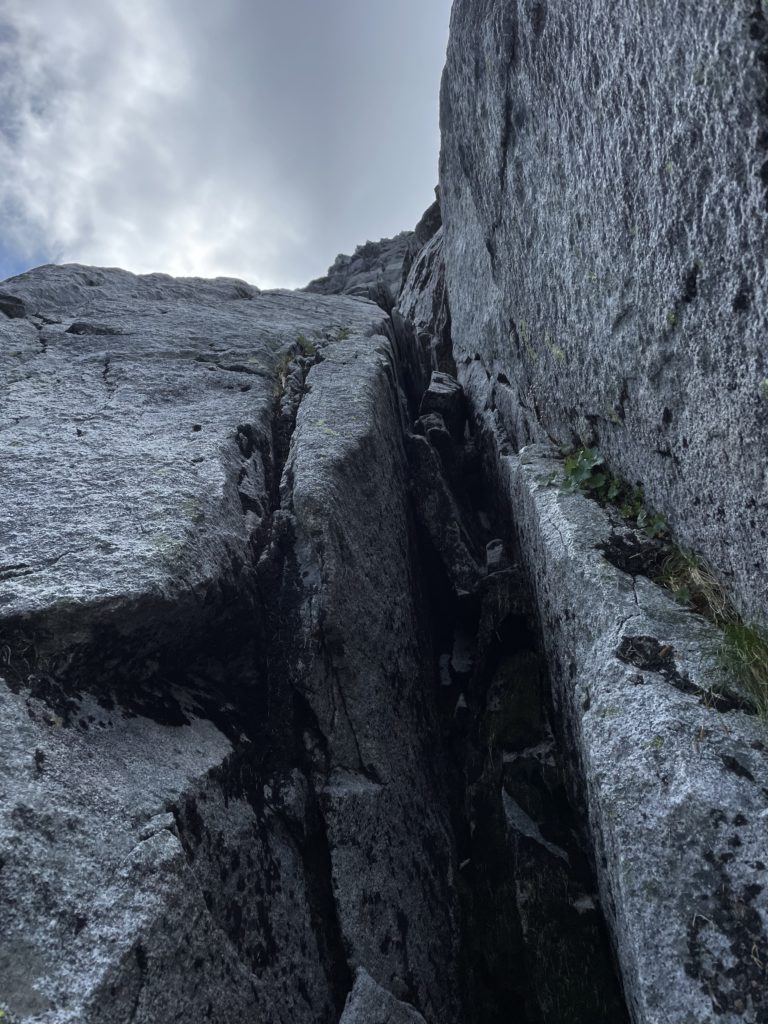
Our first rappel landed us below a large head wall and from there the only beta we had stated that “rappels or slabby down climbing” may be required to gain the ridge. Most of the ledges below were overgrown with dew covered heather patches and that didn’t appeal much to either of us. Thankfully we located a second rappel station and took that option. This landed us at the top of a ledge with no other rappel anchor in site. I started to downclimb to a heather ramp below while Brayden coiled the rope. The down climbing proved tricky with some 5th class moves and Brayden setup a quick hand line off a block and joined me at the heather ramp. We down climbed a bit further and located a third rappel station. Initially we thought to continue down climbing to save time, but Brayden’s probe of the terrain further down showed more wet down sloping heather so we setup for a third rappel.
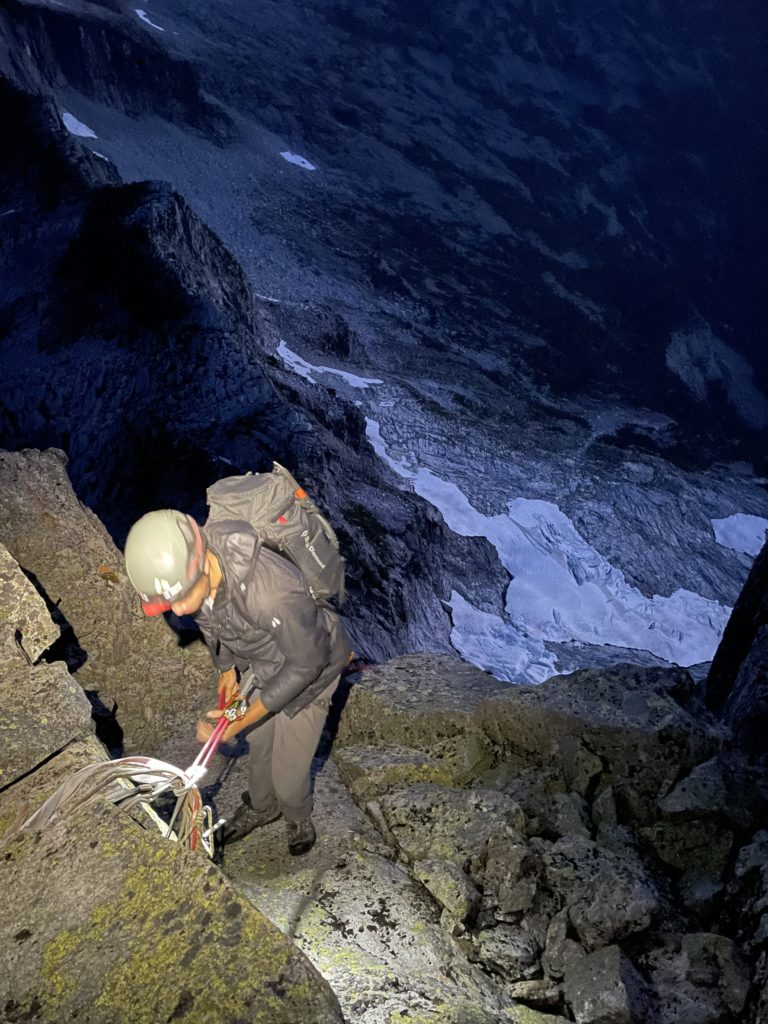
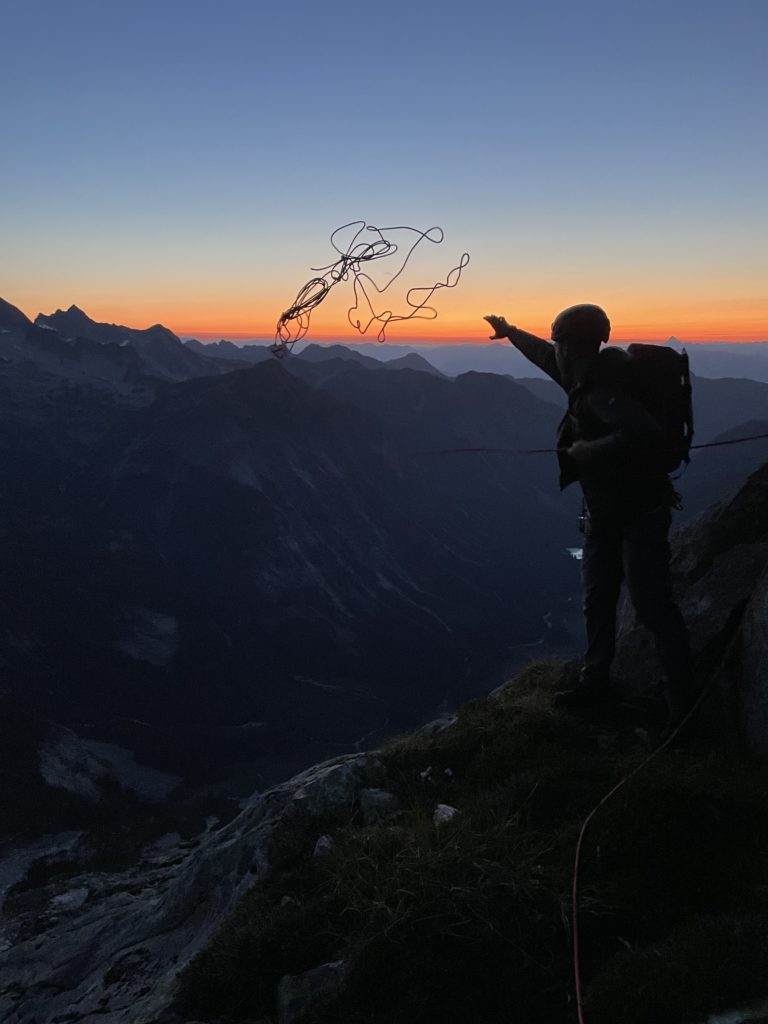
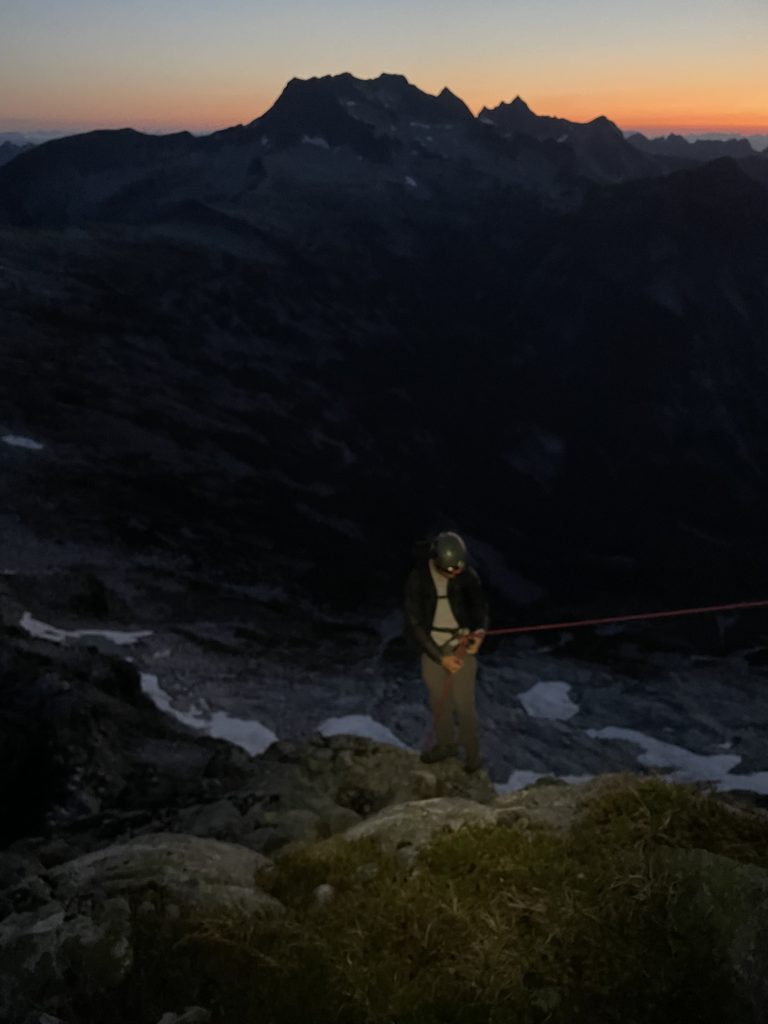
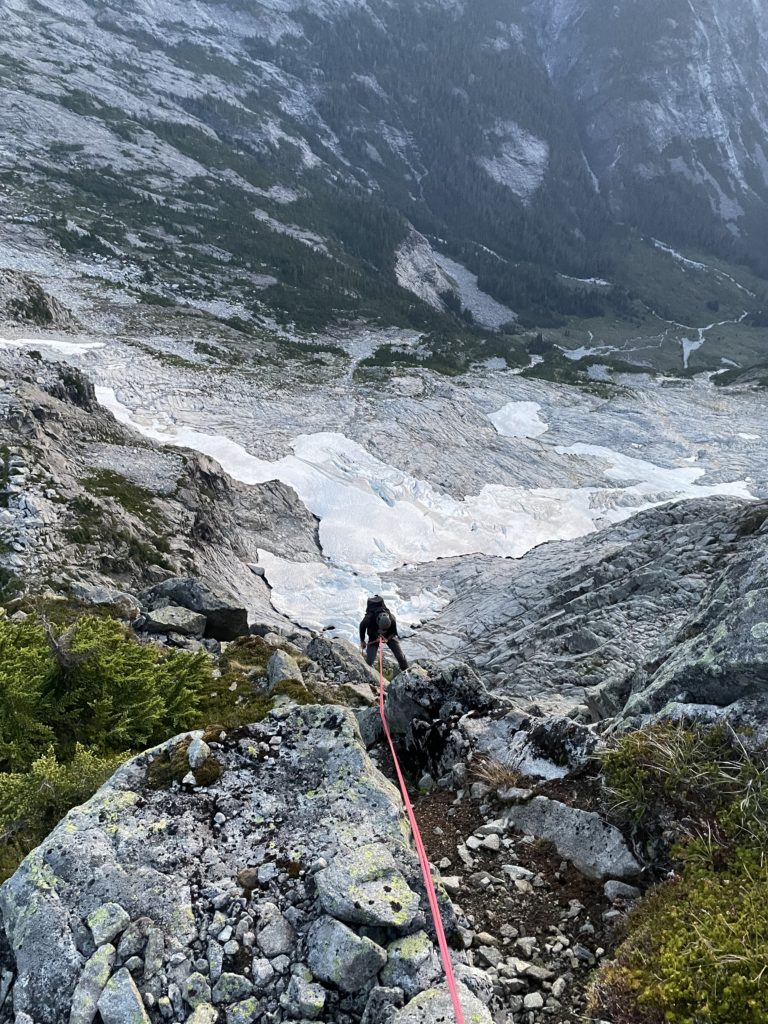
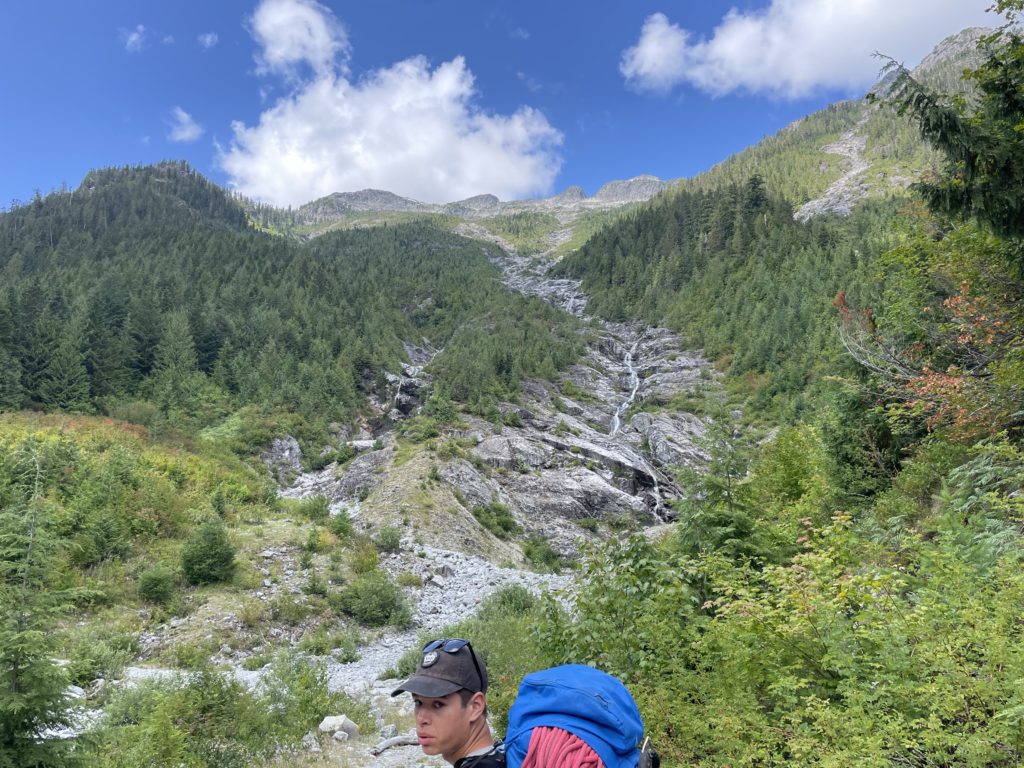
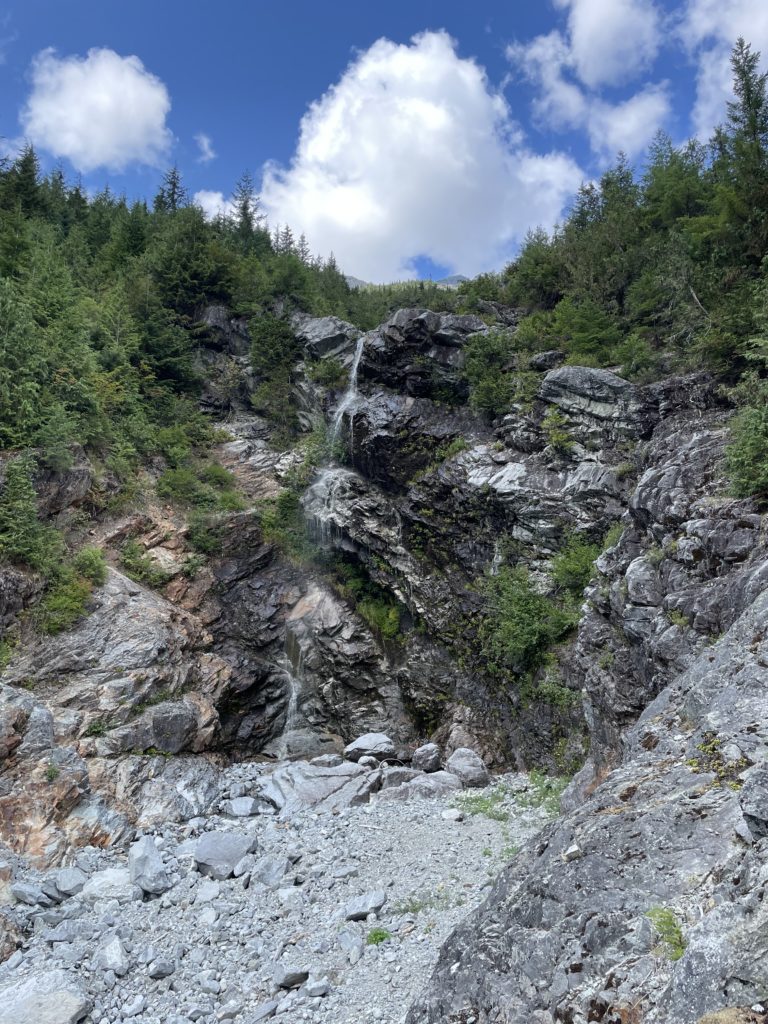
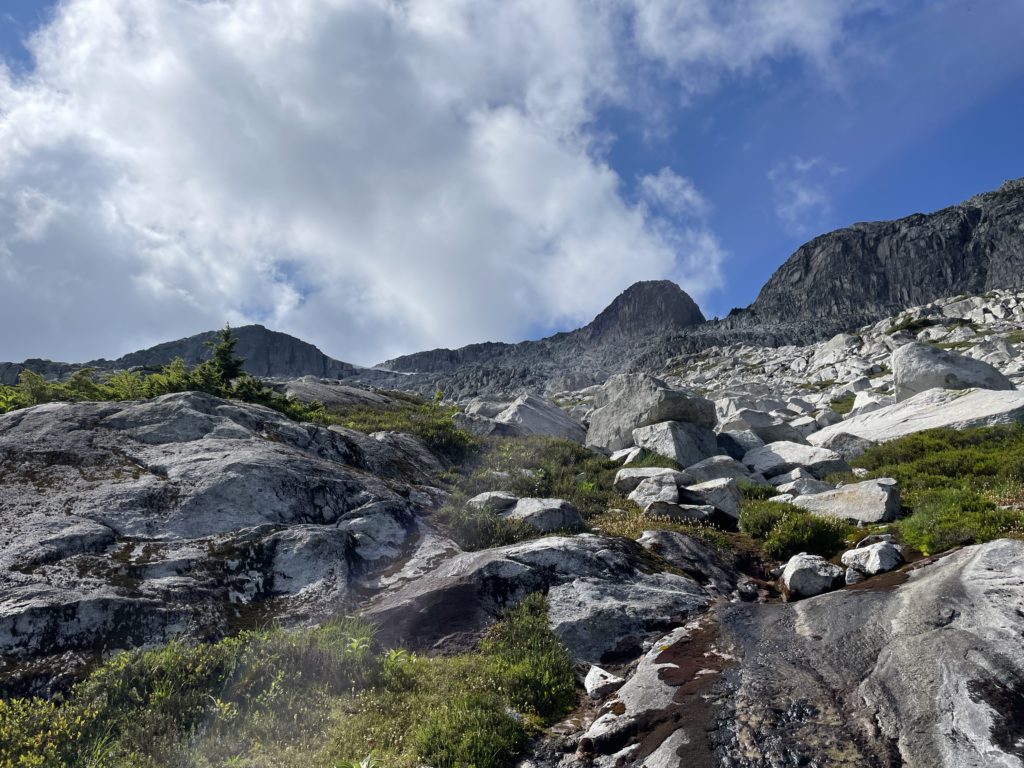
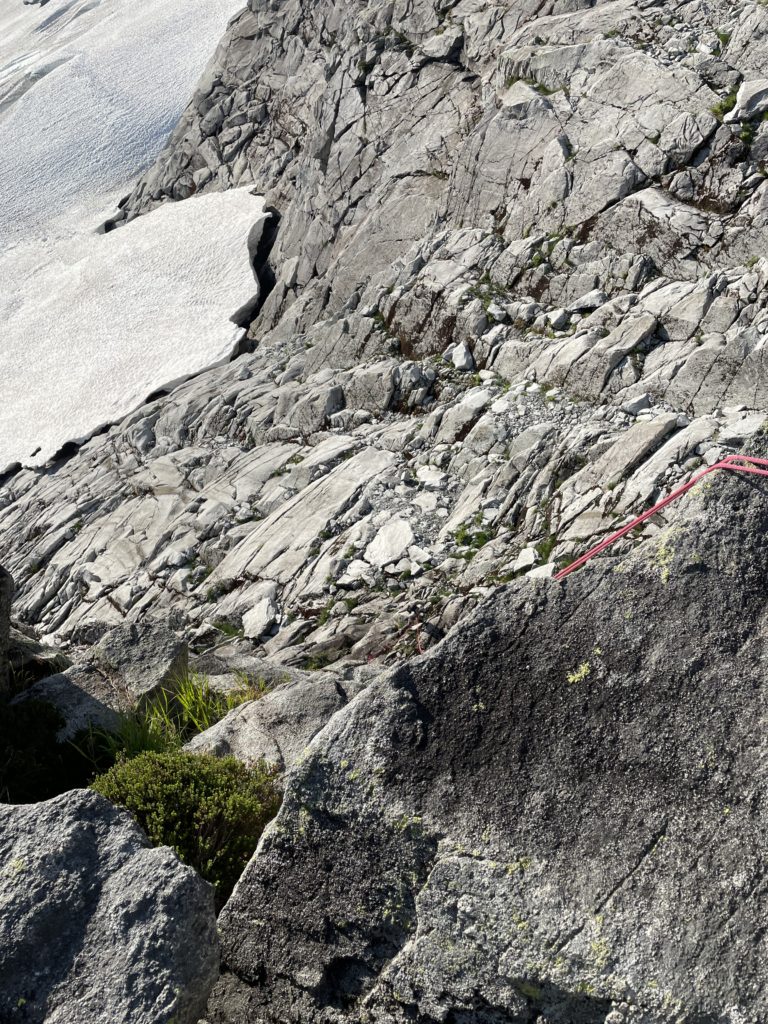
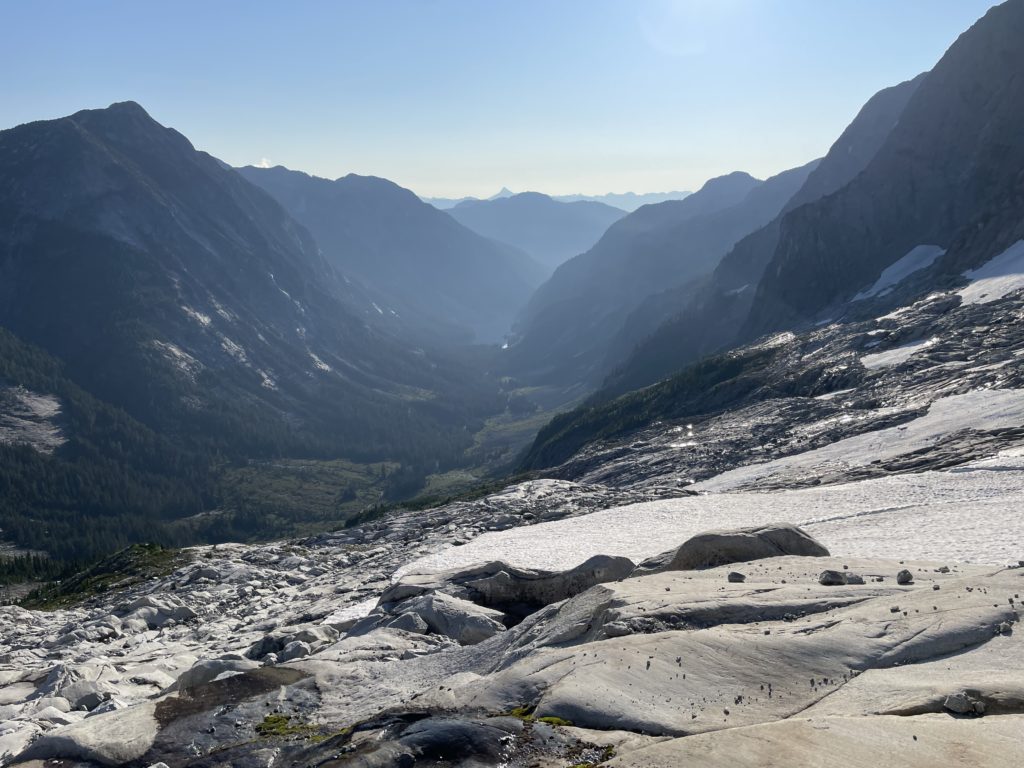
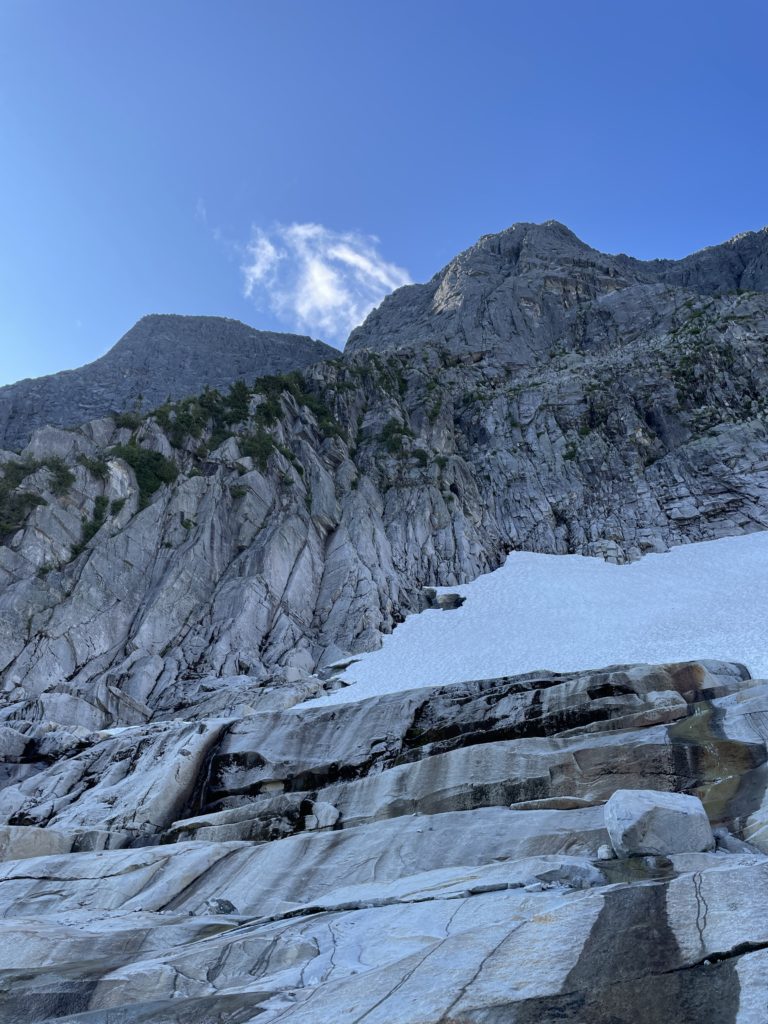
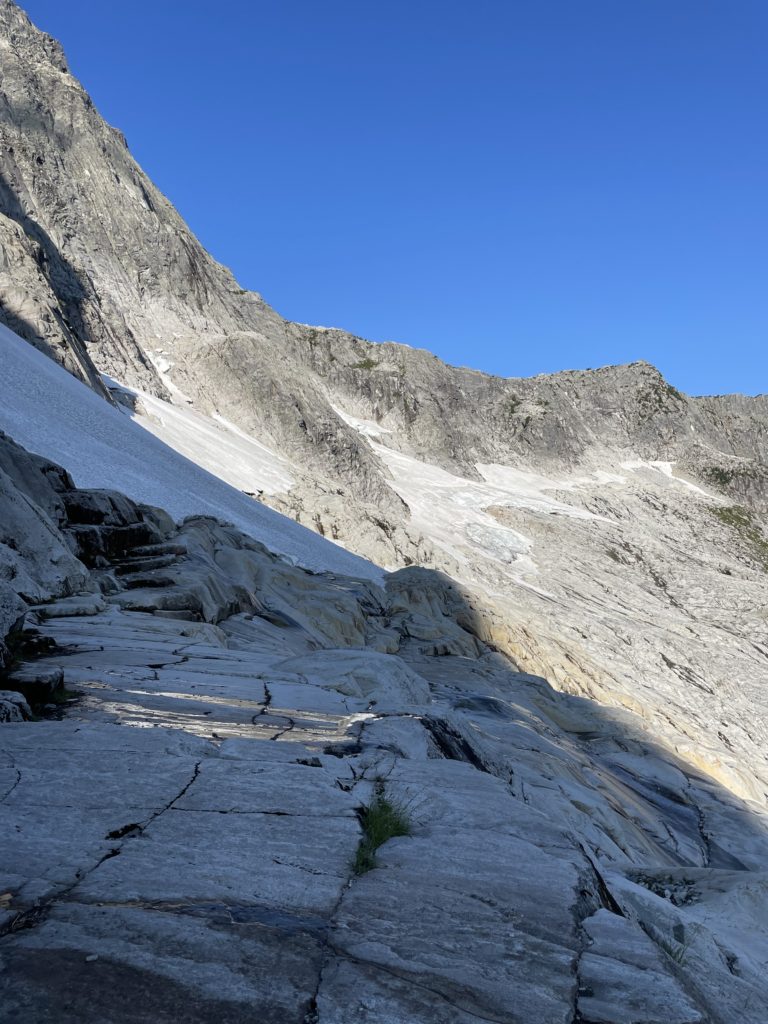
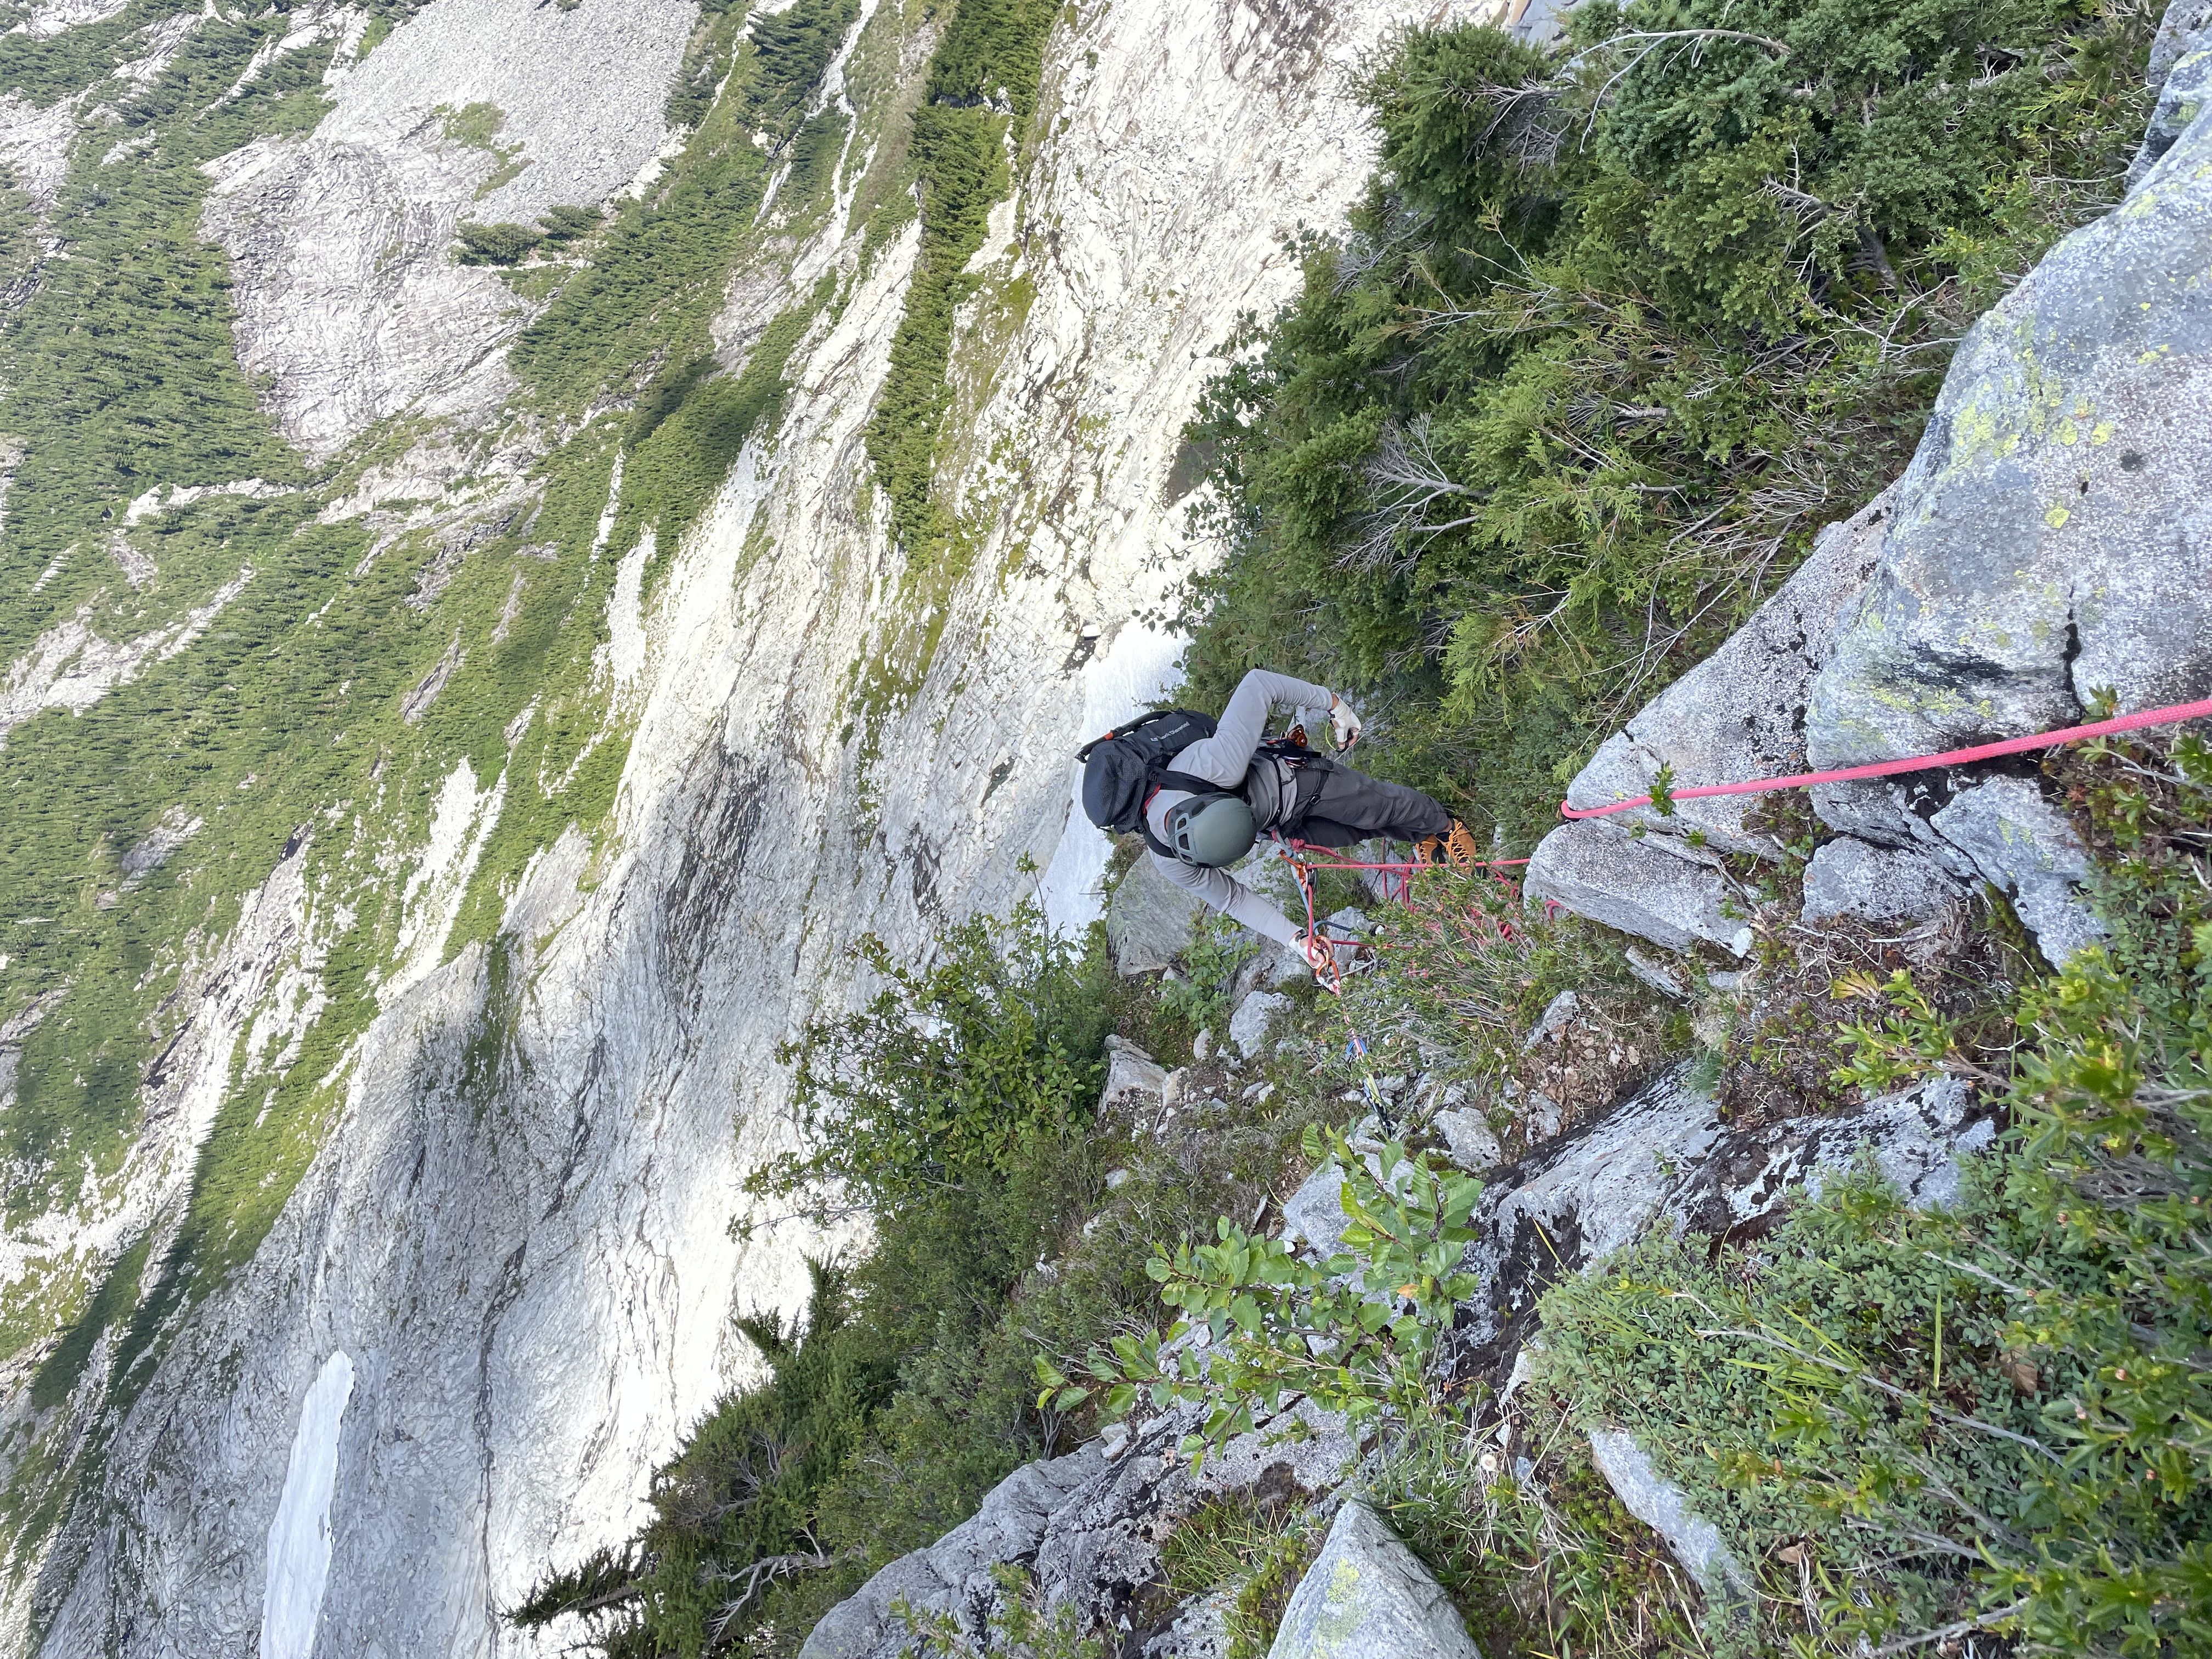
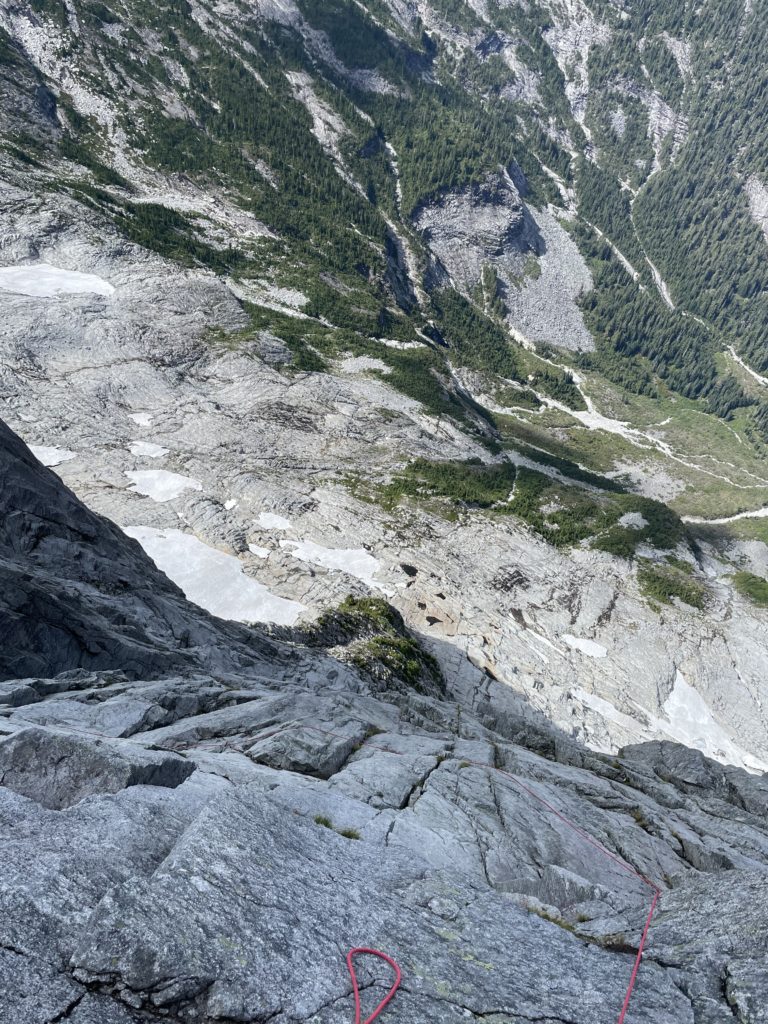
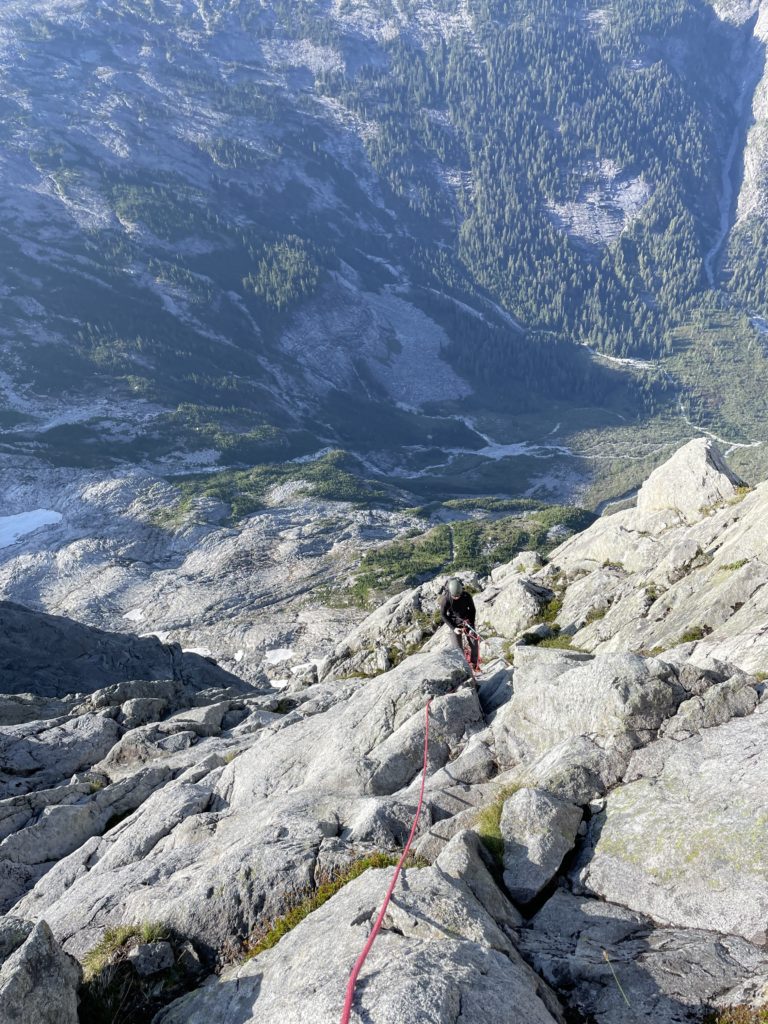
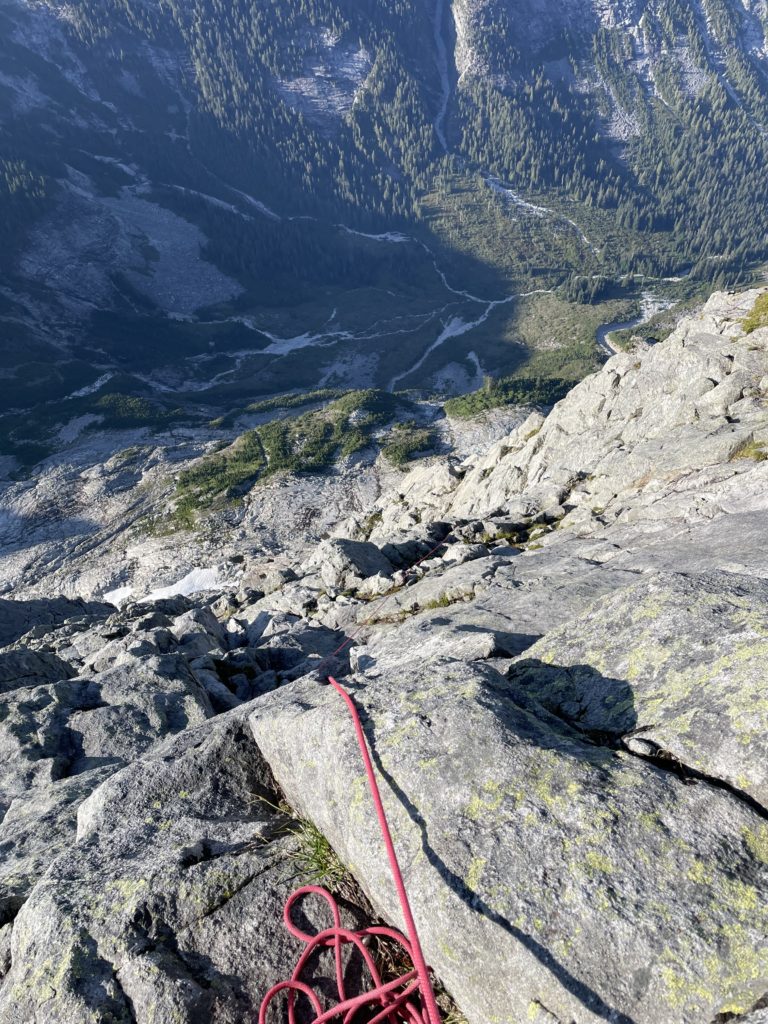
From there we linked 2 more rappels for a total of 5 to reach the tamer section of ridge line below. We followed the ridge to the lowest point, as outlined in the Mclane book and did a rappel to a talus bench below. I scoured around for a down climbing option but didn’t spot one. On the south side of the bench I located a rappel anchor and so we did our 7th and final rappel of the descent to reach the glacial bedrock below. Brayden lead us across a short patch of glacier and then we hopped across smooth granite slabs all the way to the base of the climb. Thanks to Richard So’s trip report we were able to roughly locate the start of the climb.
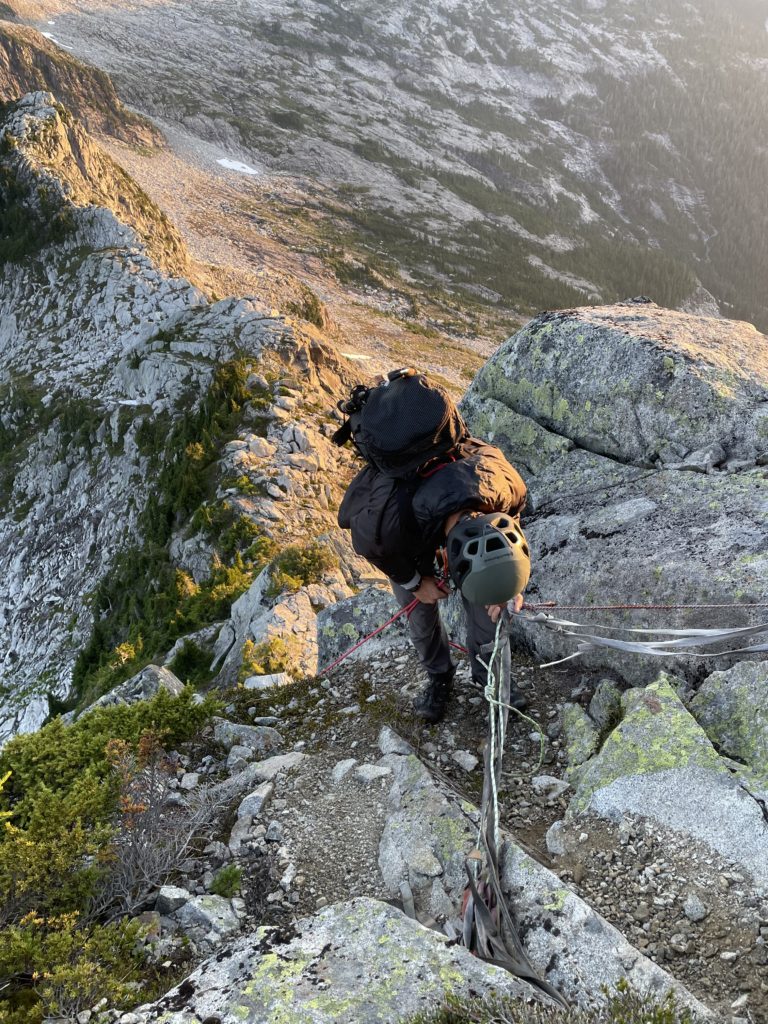

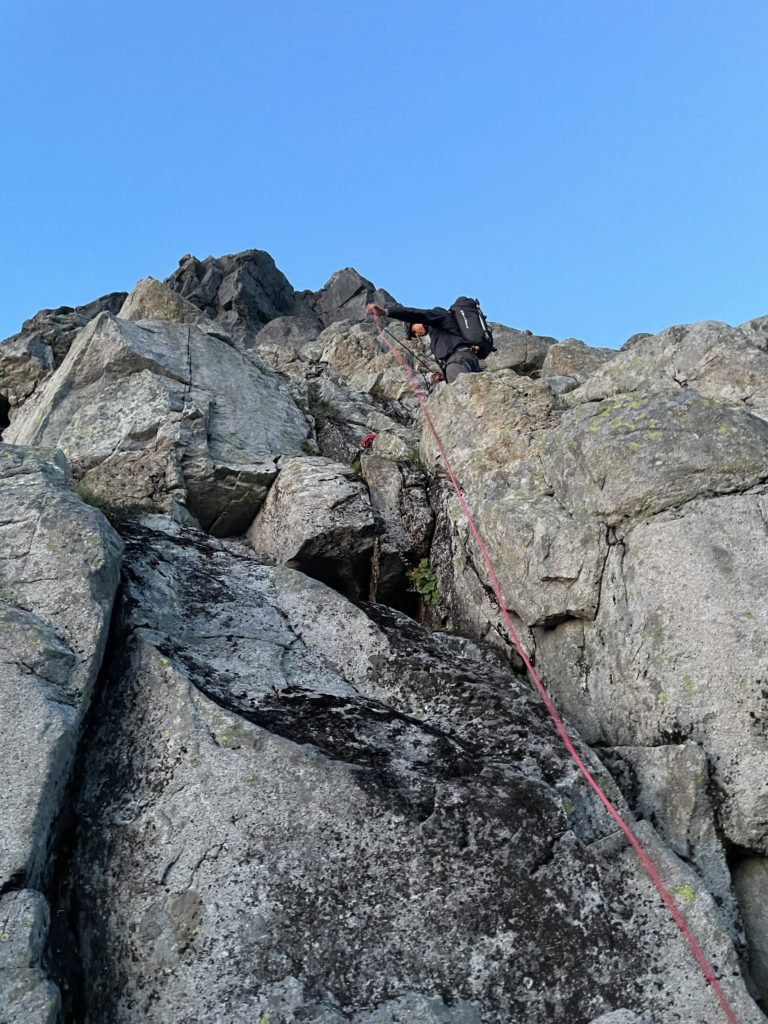
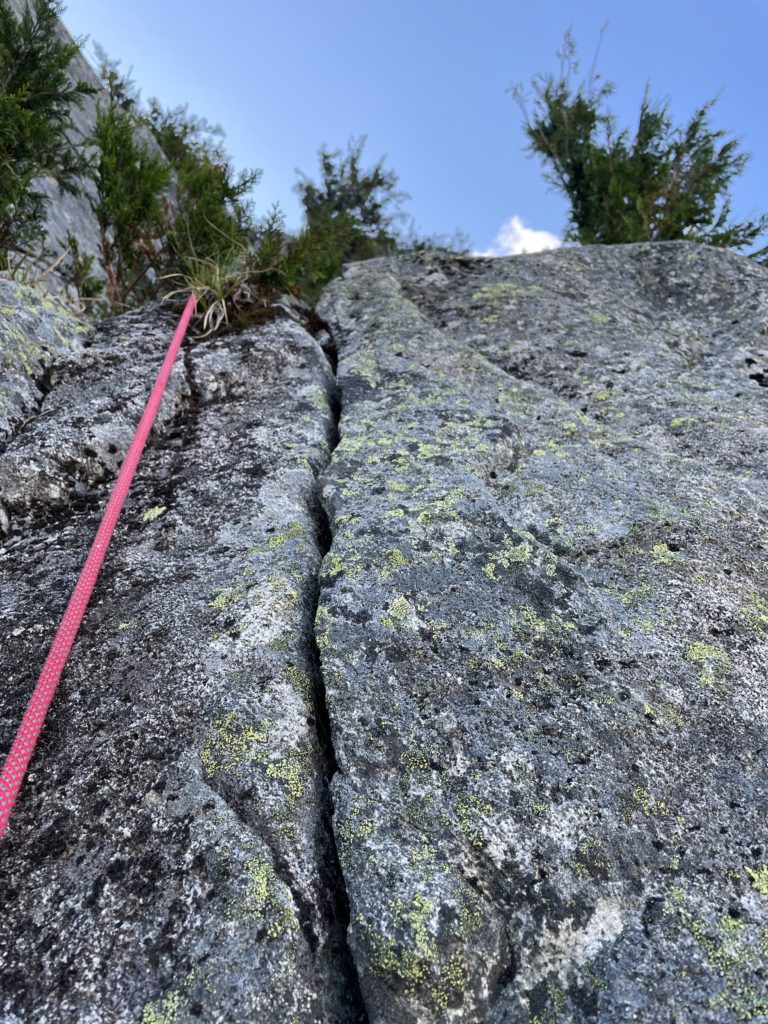
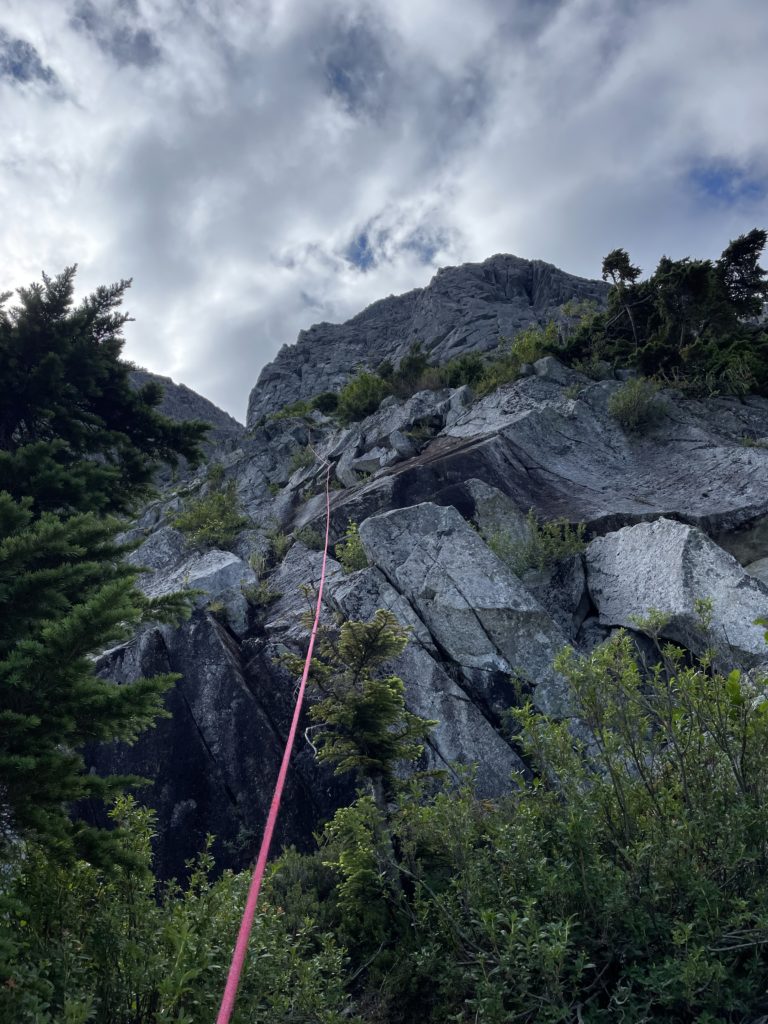
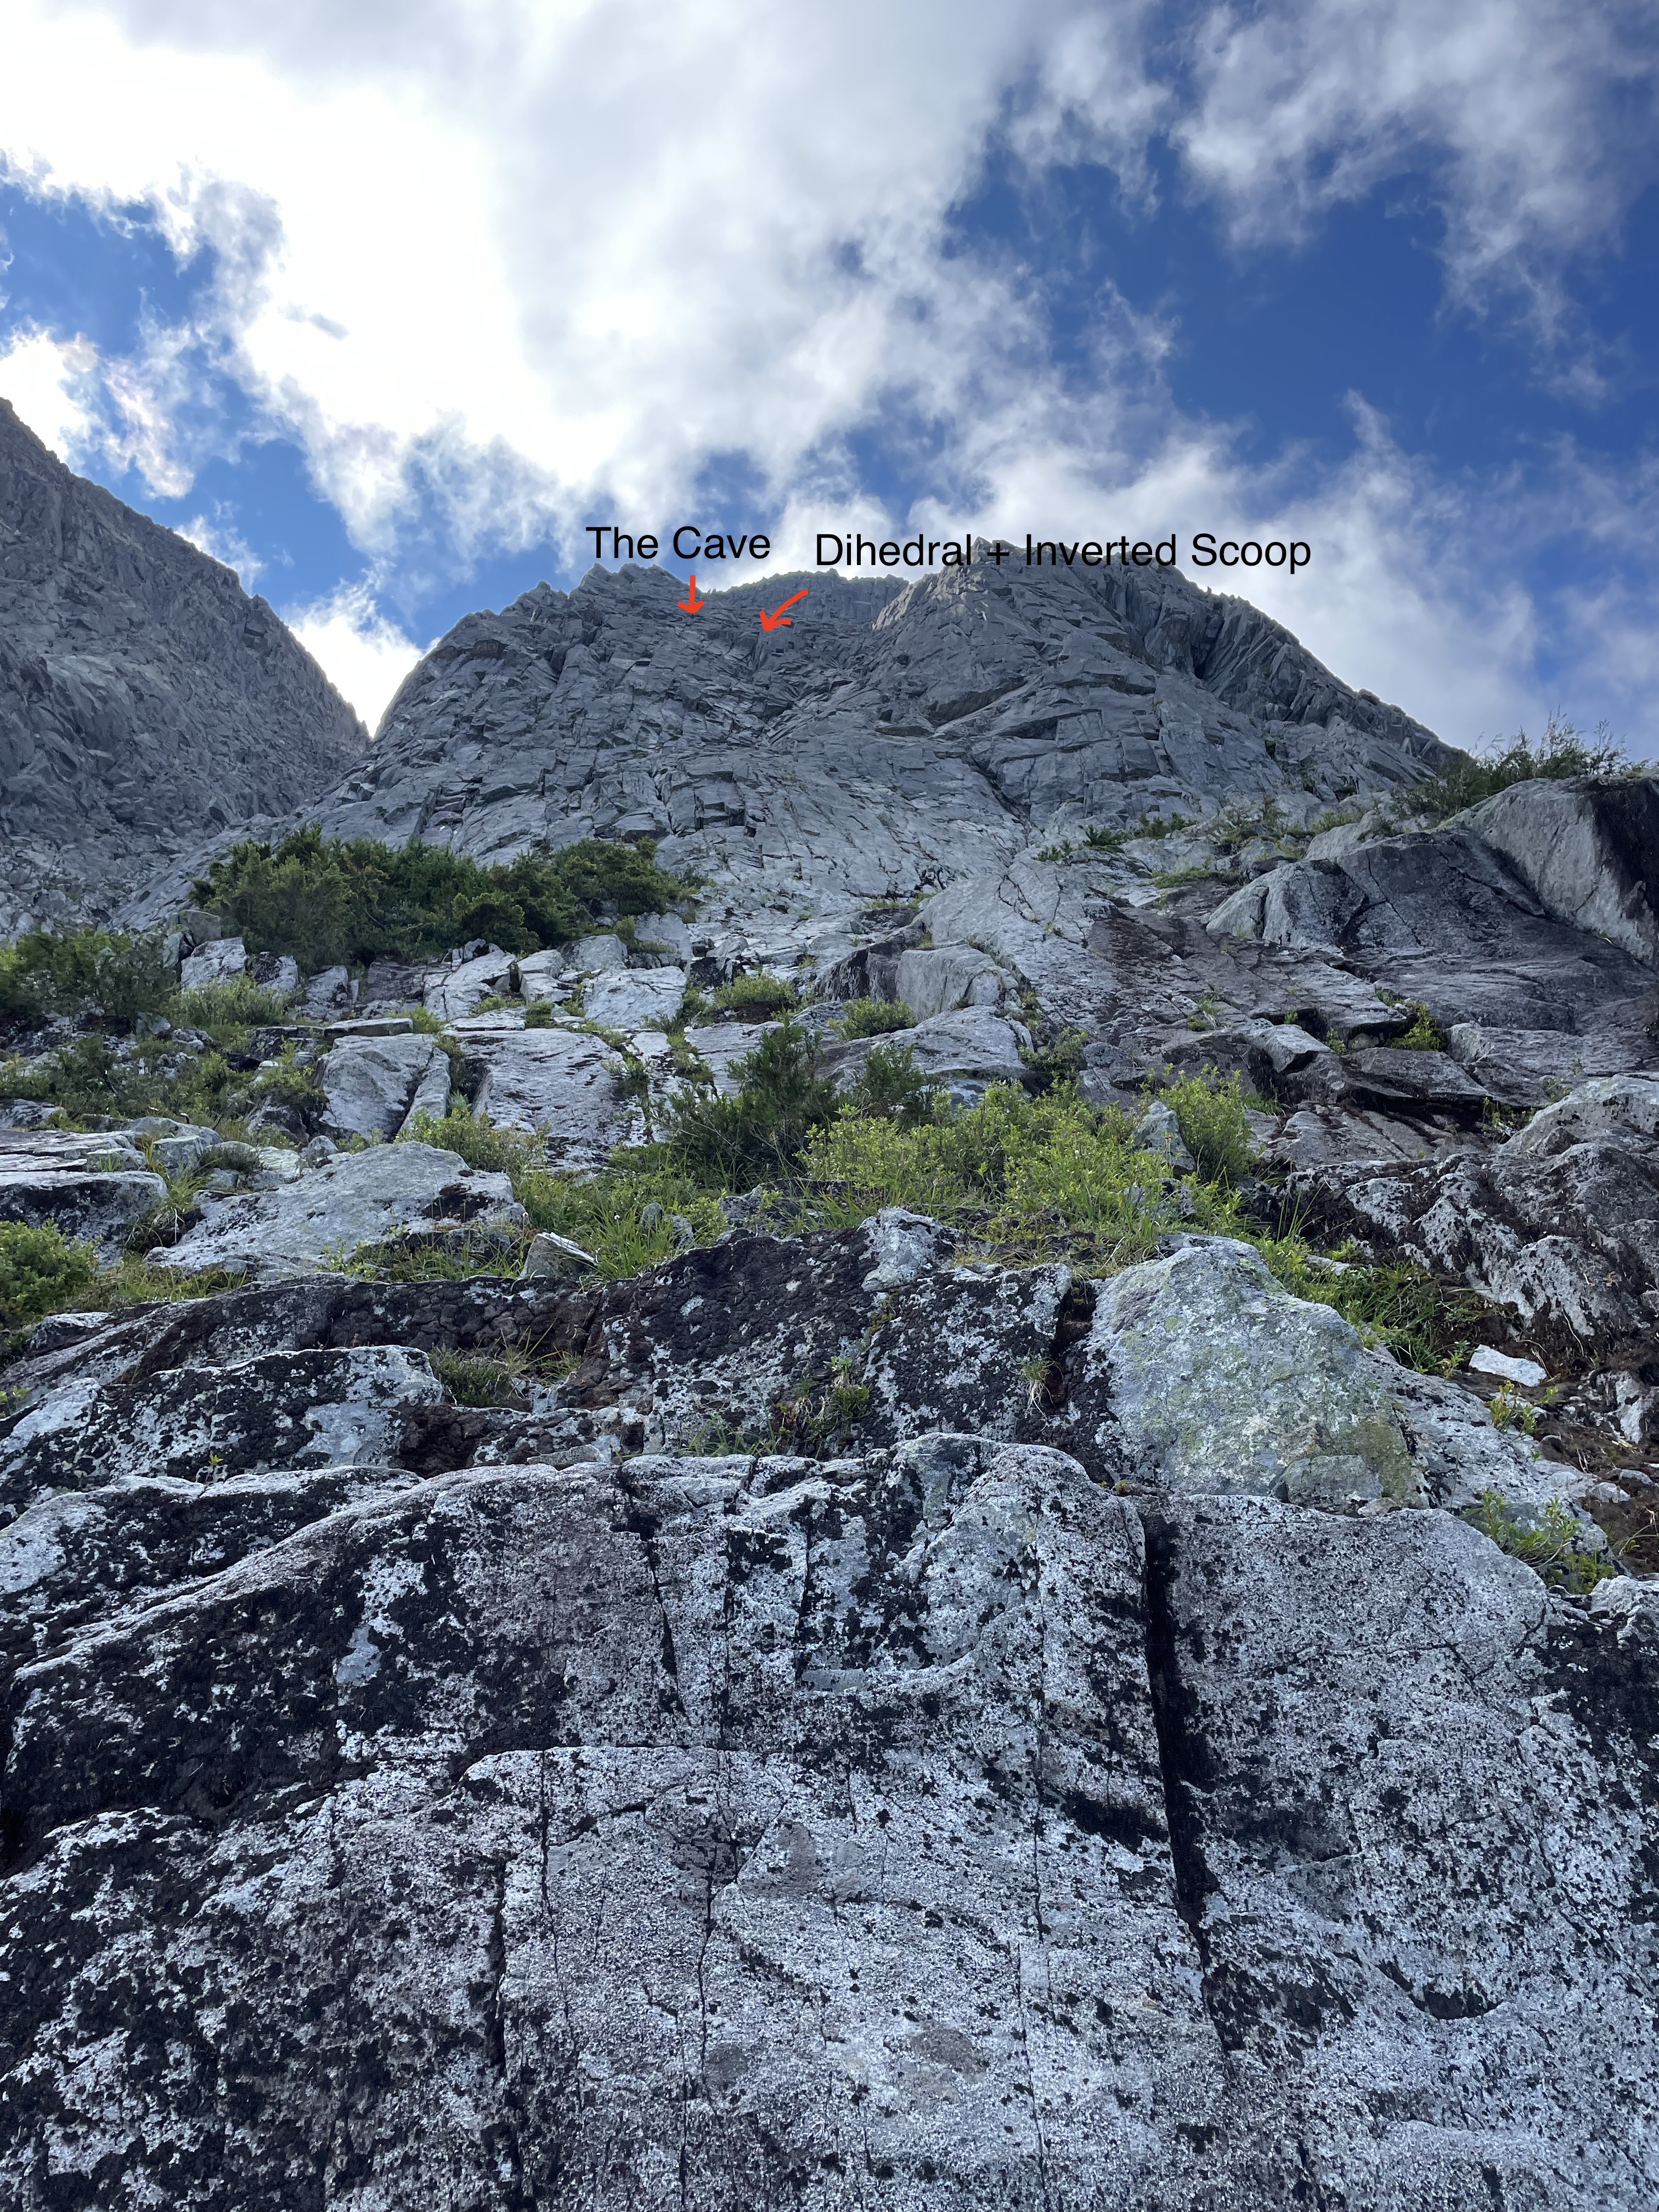
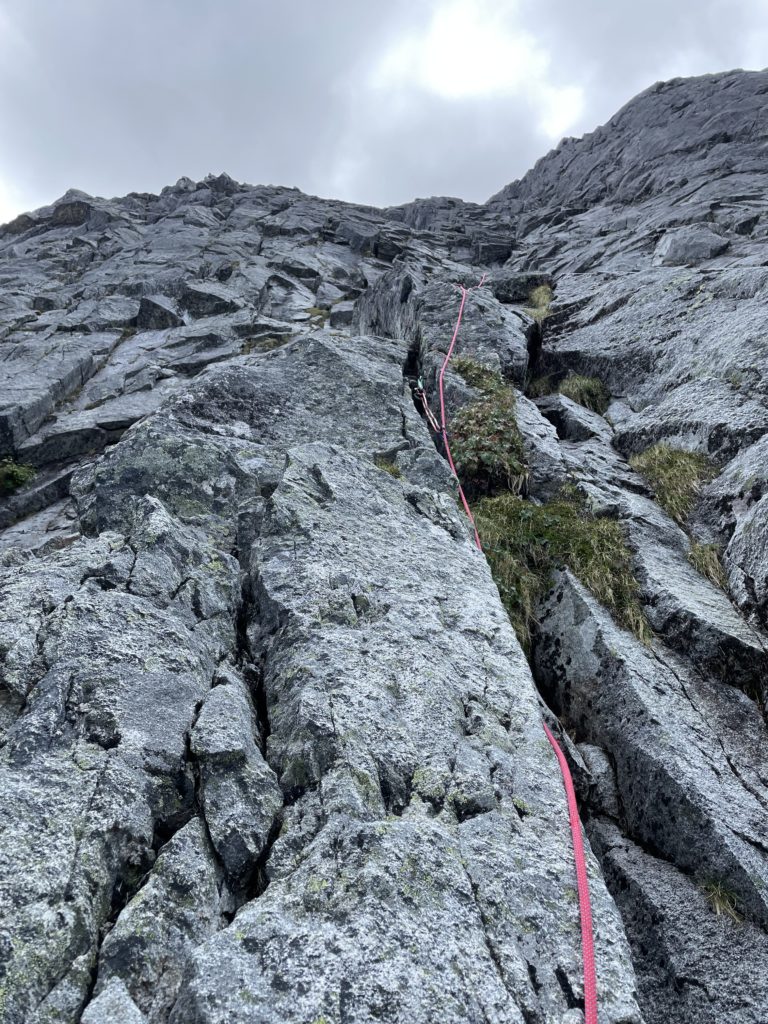
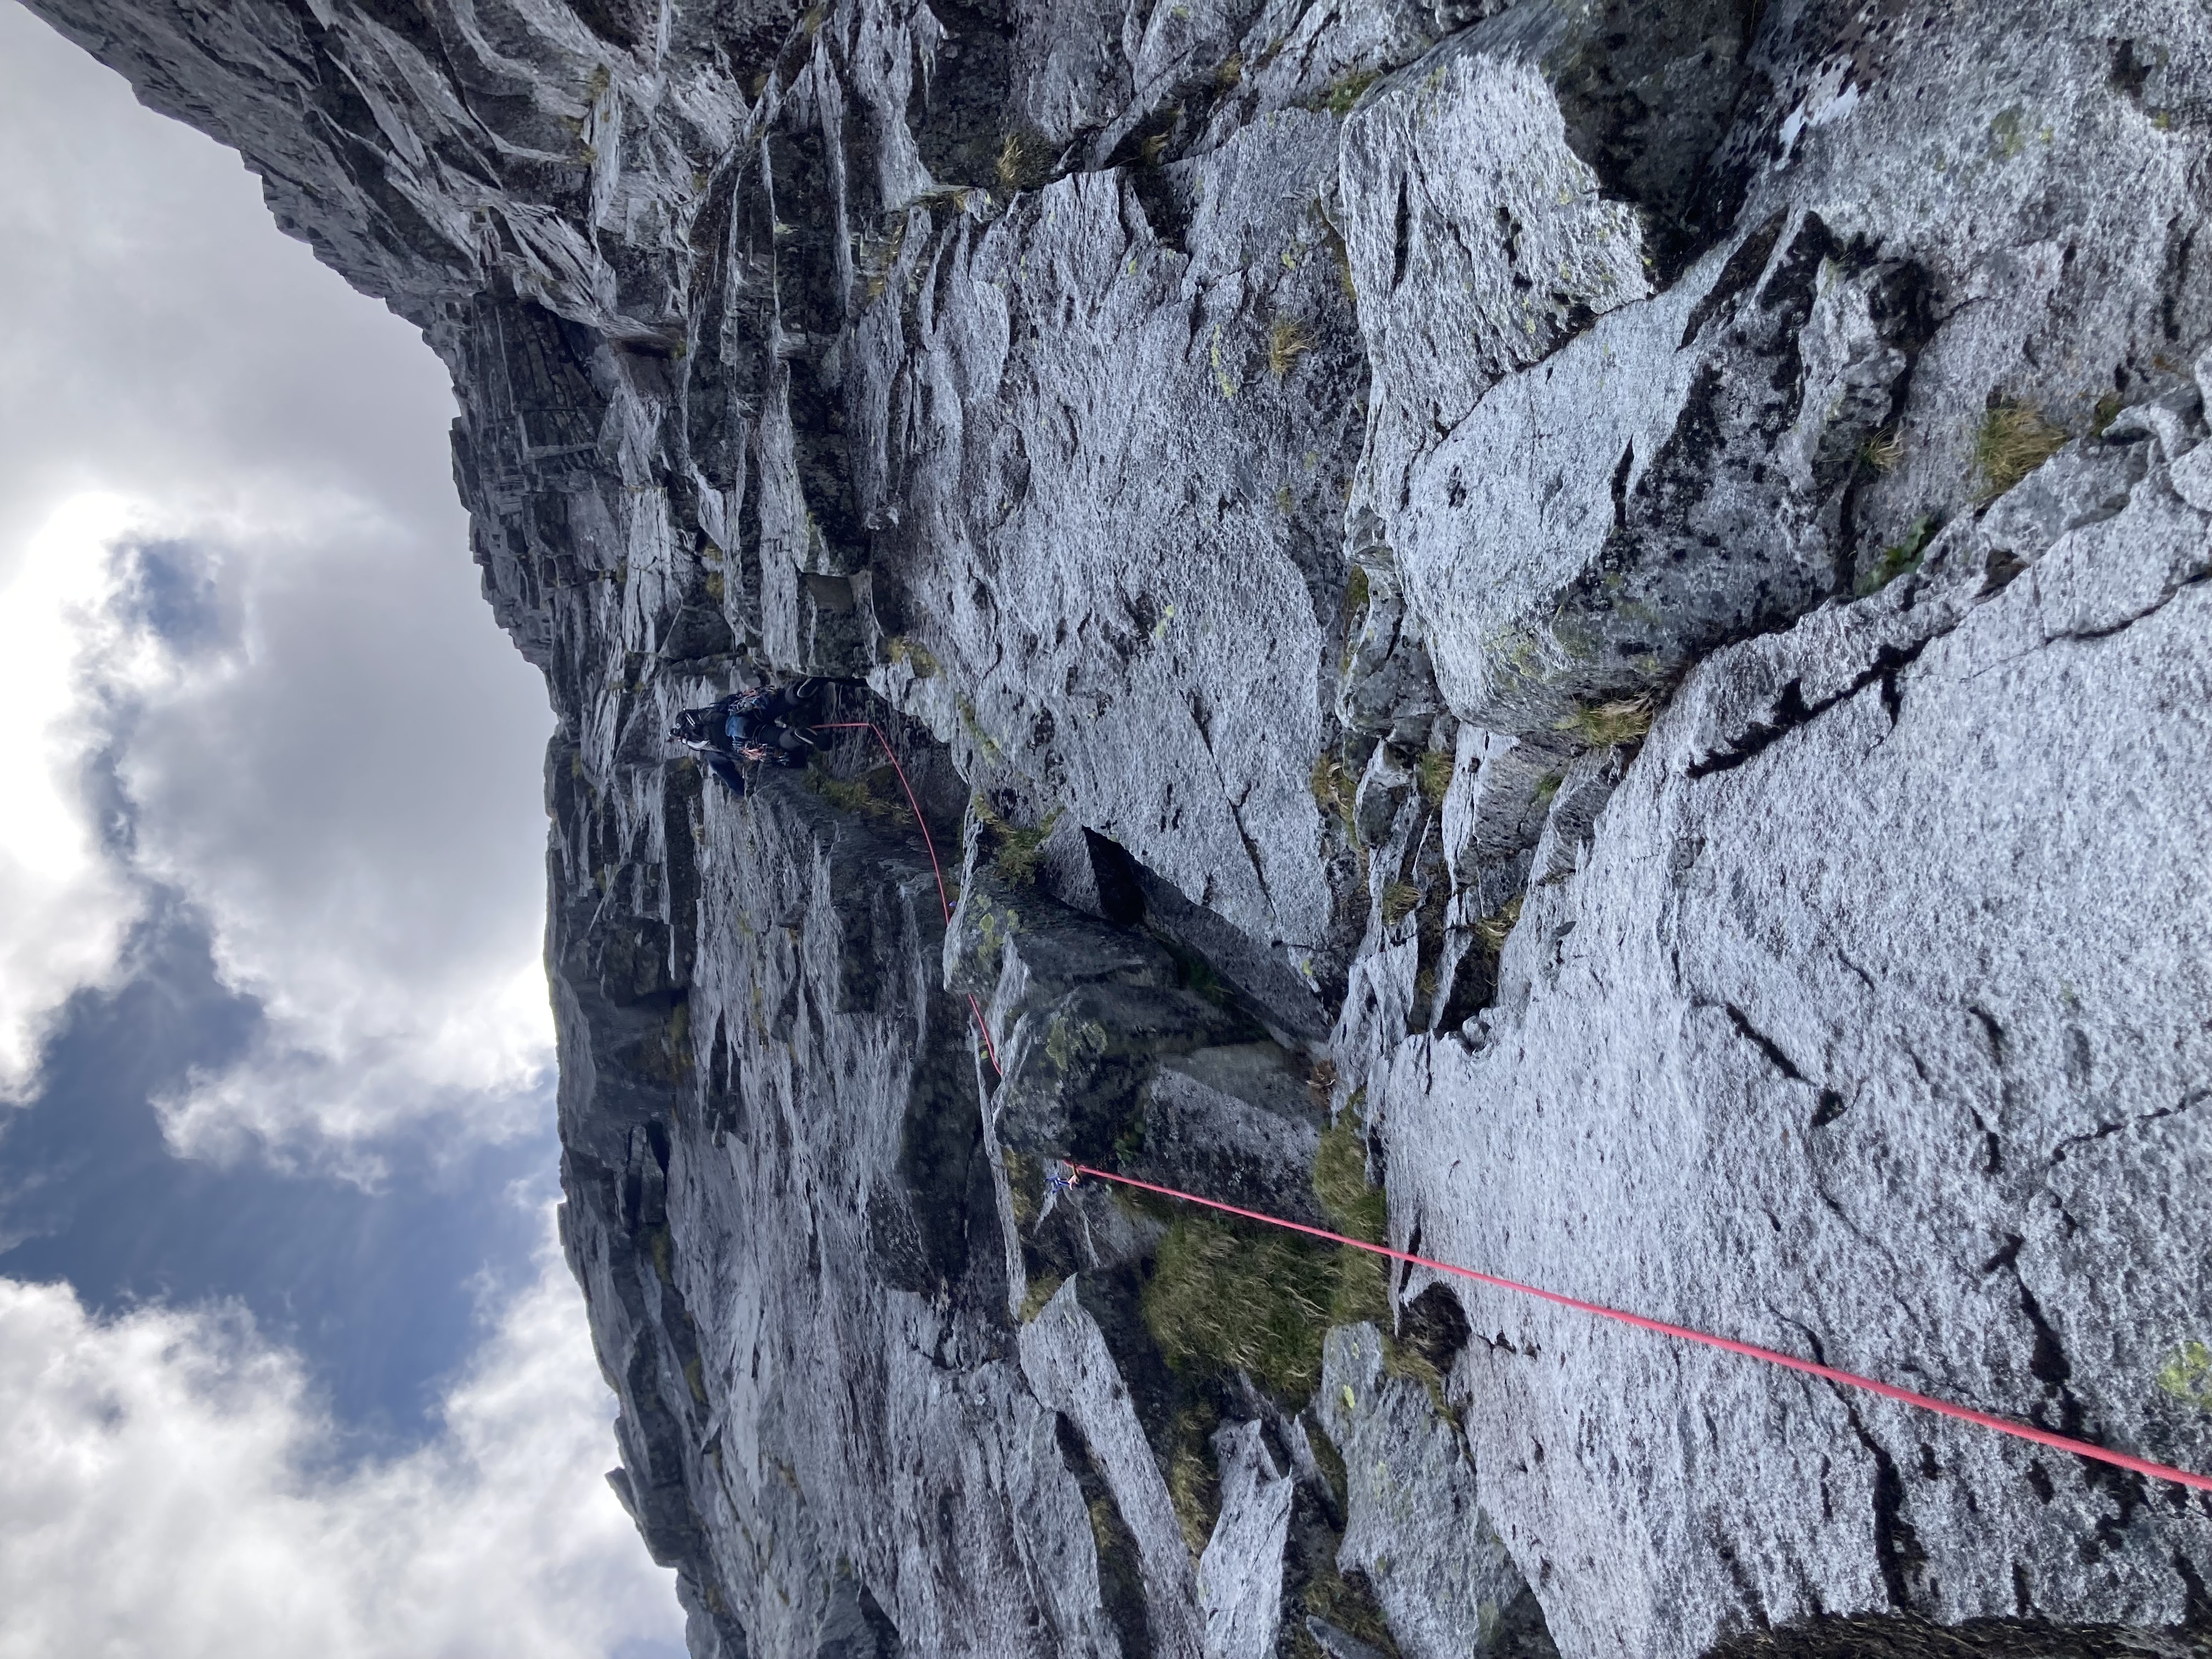
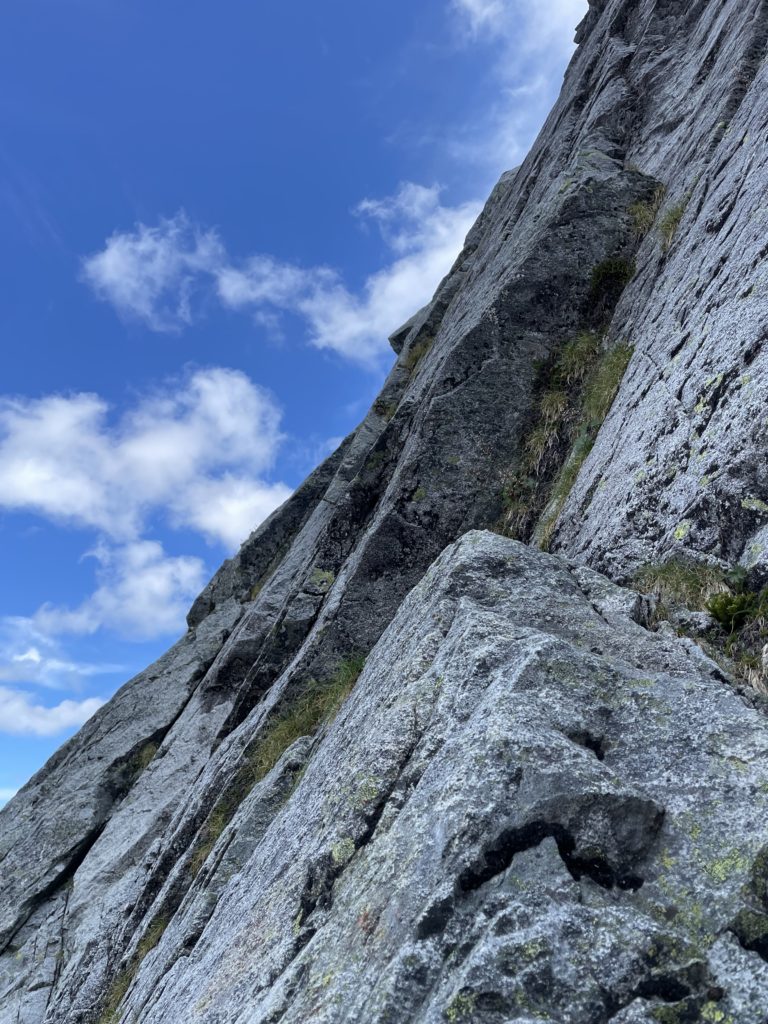
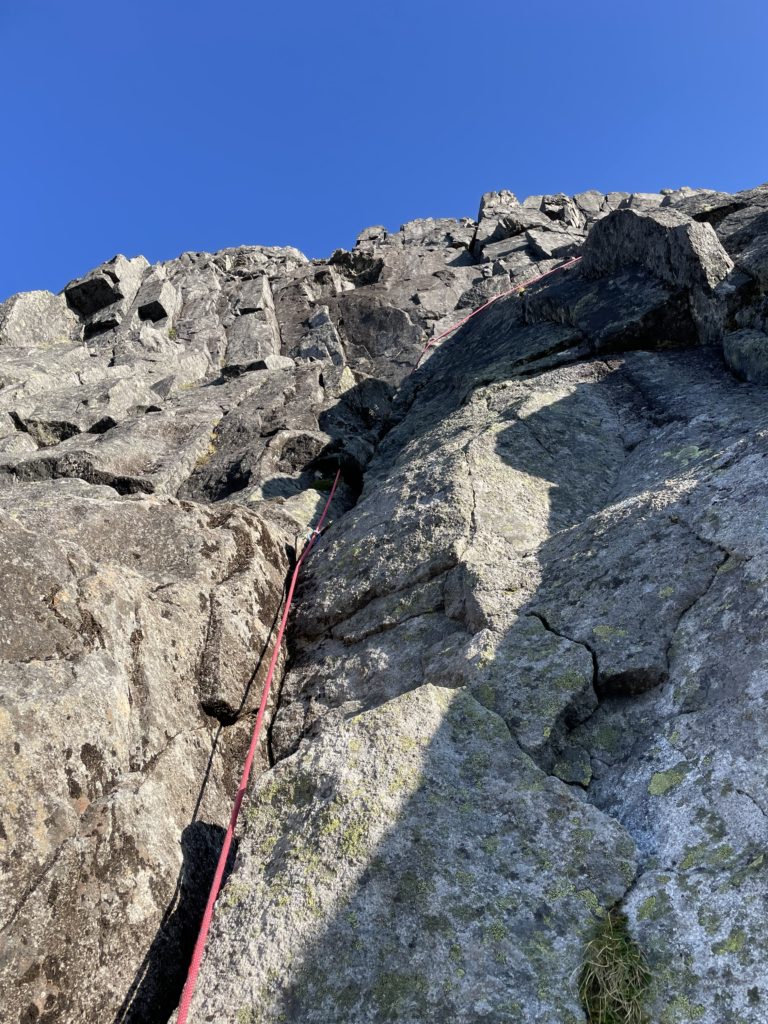
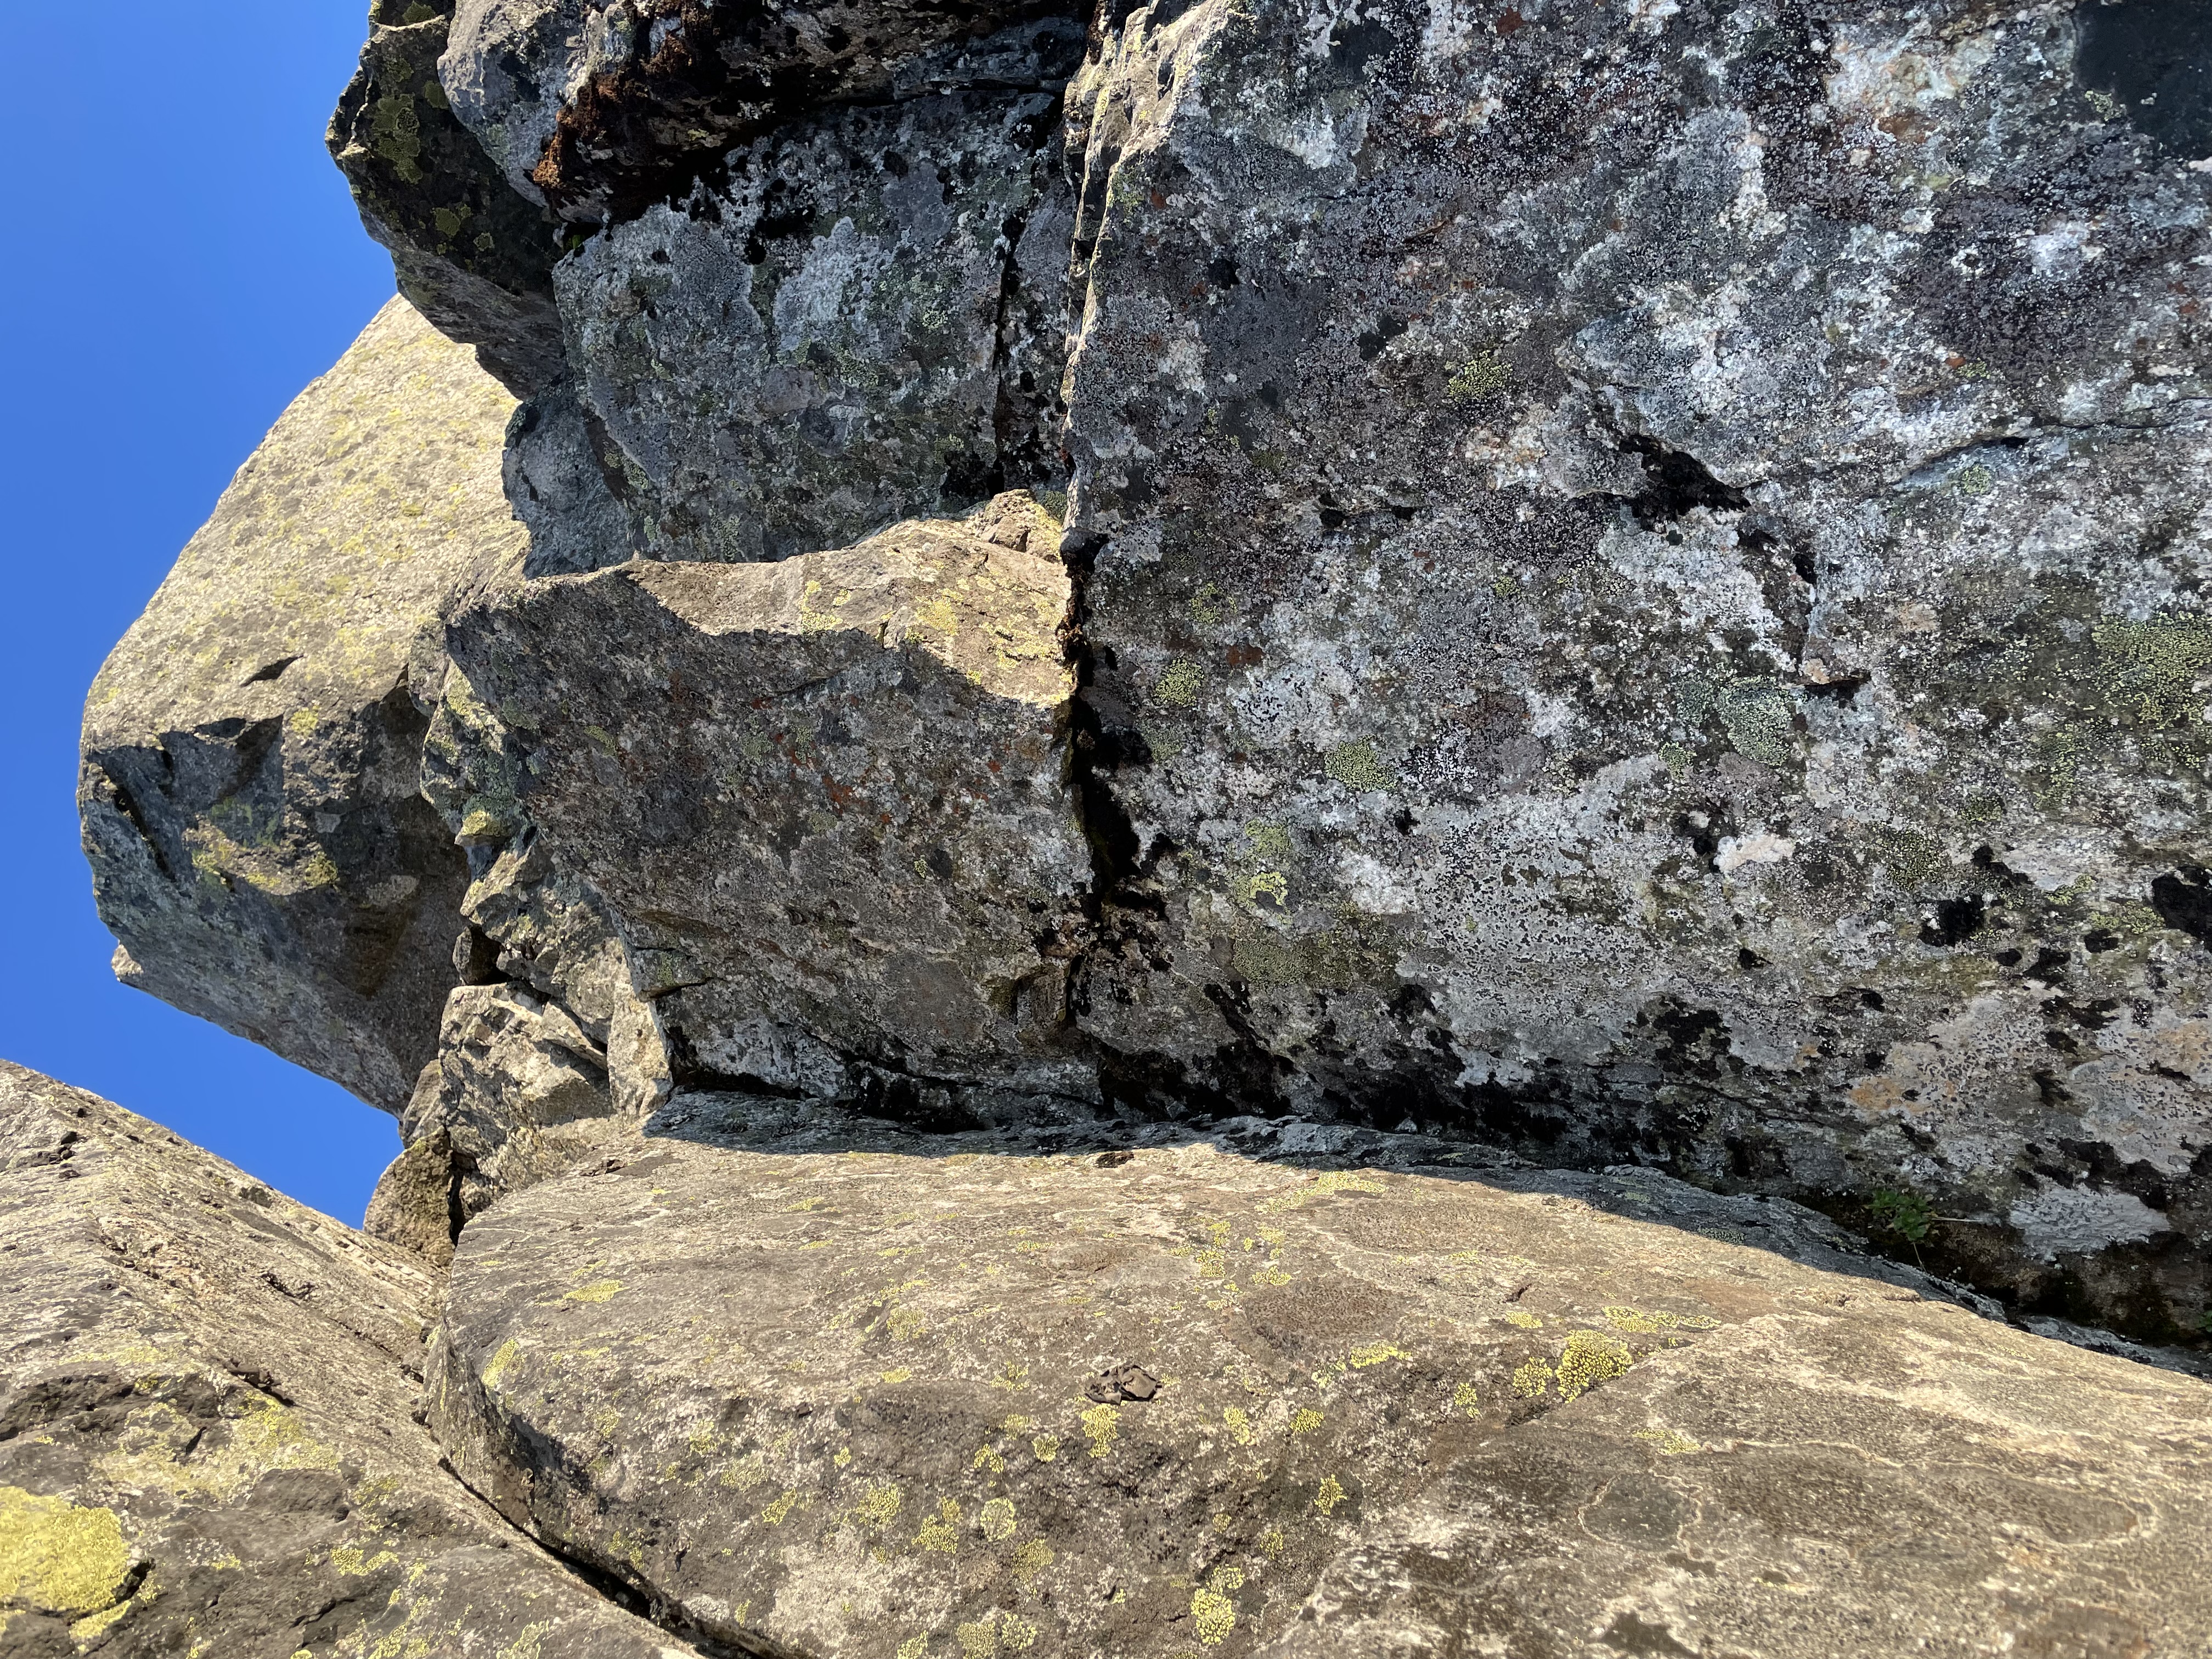
From here it was going to be a bit exploratory. The route description for all 15 pitches occupies a single paragraph in McLane’s alpine select and there is a marginally more detailed description on Mountain Project. There’s also a photo in McLane’s book with a rough outline of where to go, but the photo appears to be from the air making a bottom up ascent a bit challenging to match against it. What we did know is that there’s ~6 pitches up to 5.8 through a long spur of bushy terrain. From there the route should deviate left and then trend into a dihedral which sits below an “inverted scoop”. Near the top of this scoop we should then trend left and stay near the left buttress until reaching a head wall below the summit with a few pitches up to 5.9. The problem was, an “inverted scoop” could have matched a number of features and as we’d find out later the dihedral is obstructed by a sloping ledge above making it hard to spot the ingress point.
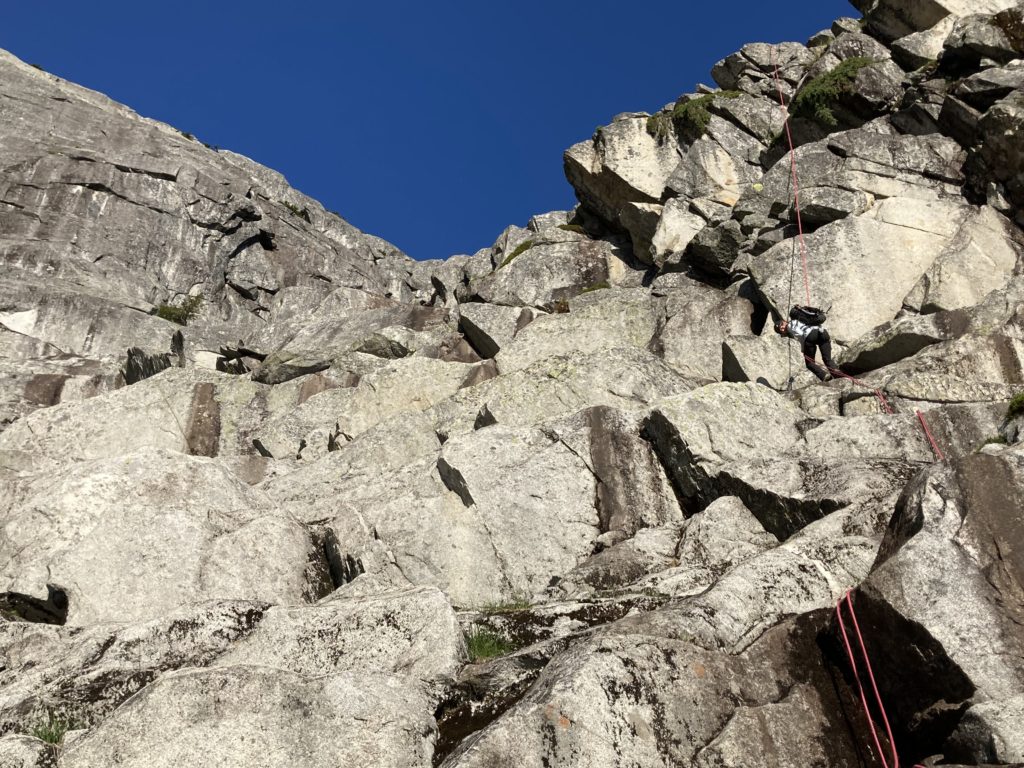
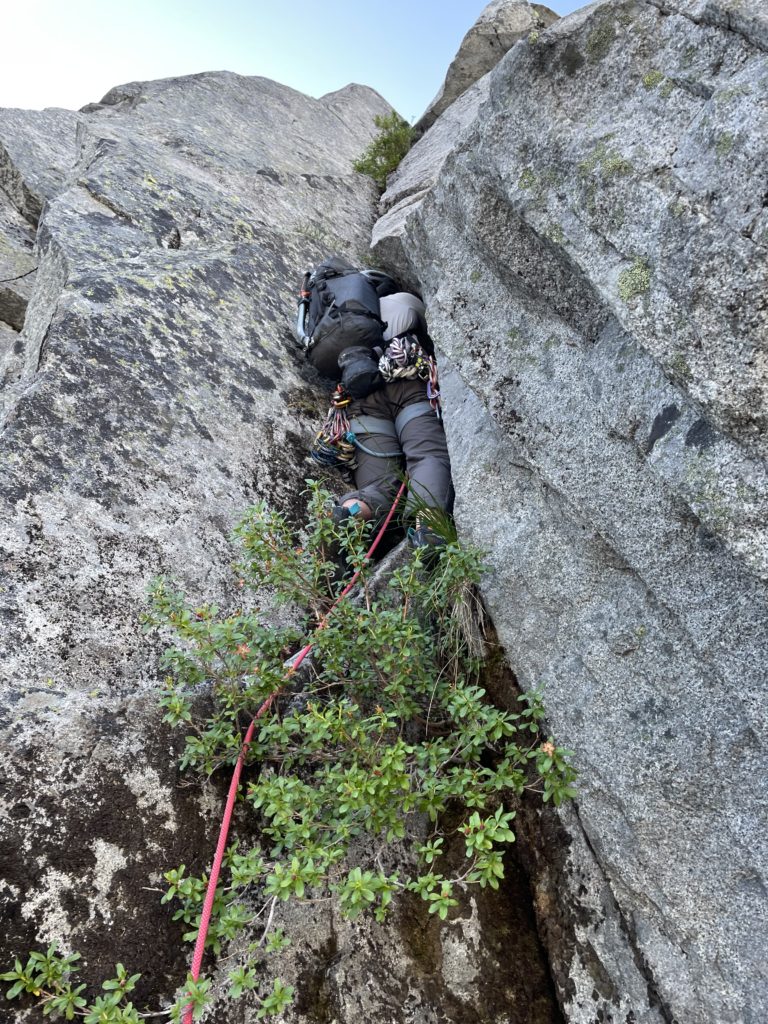
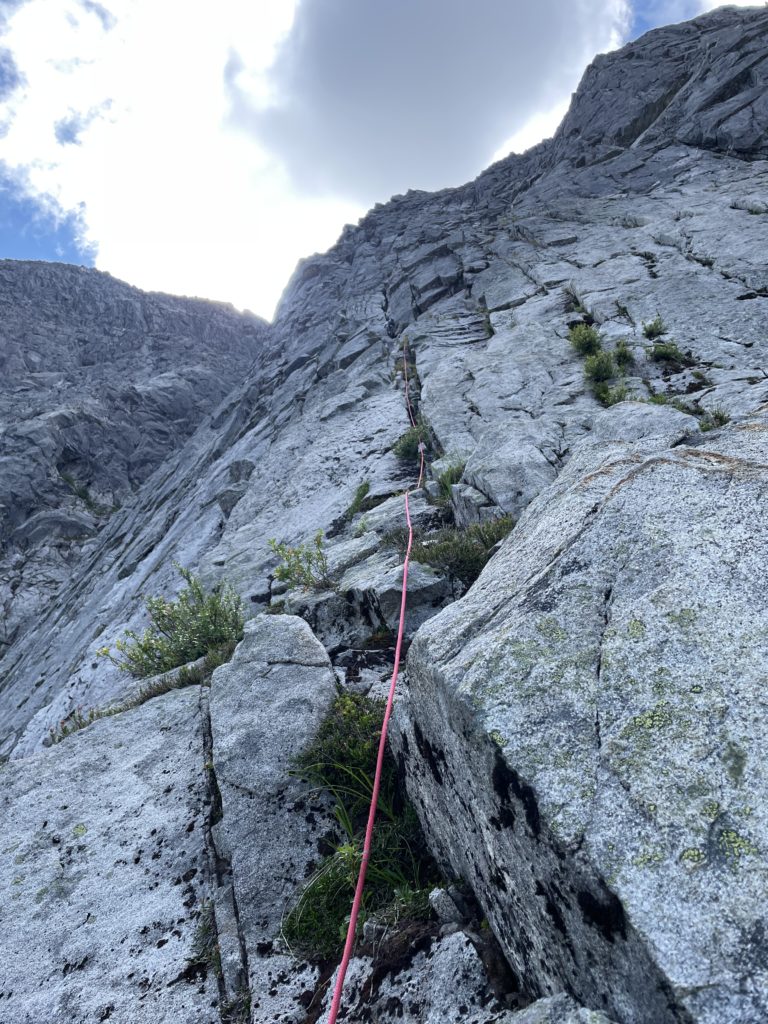
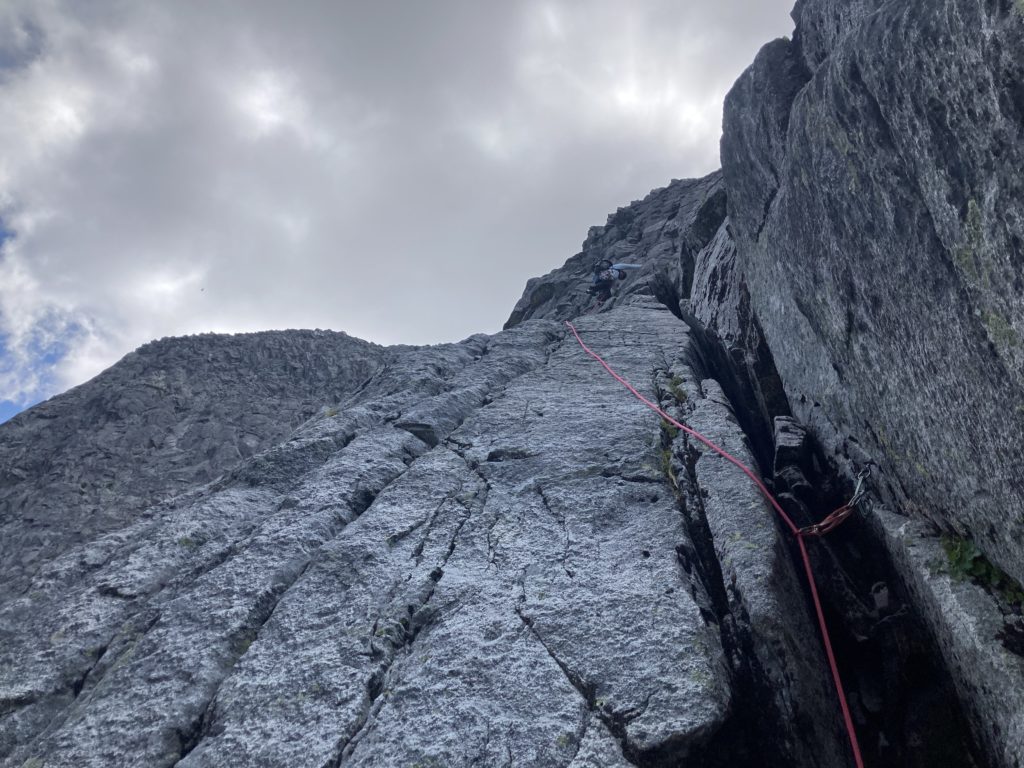
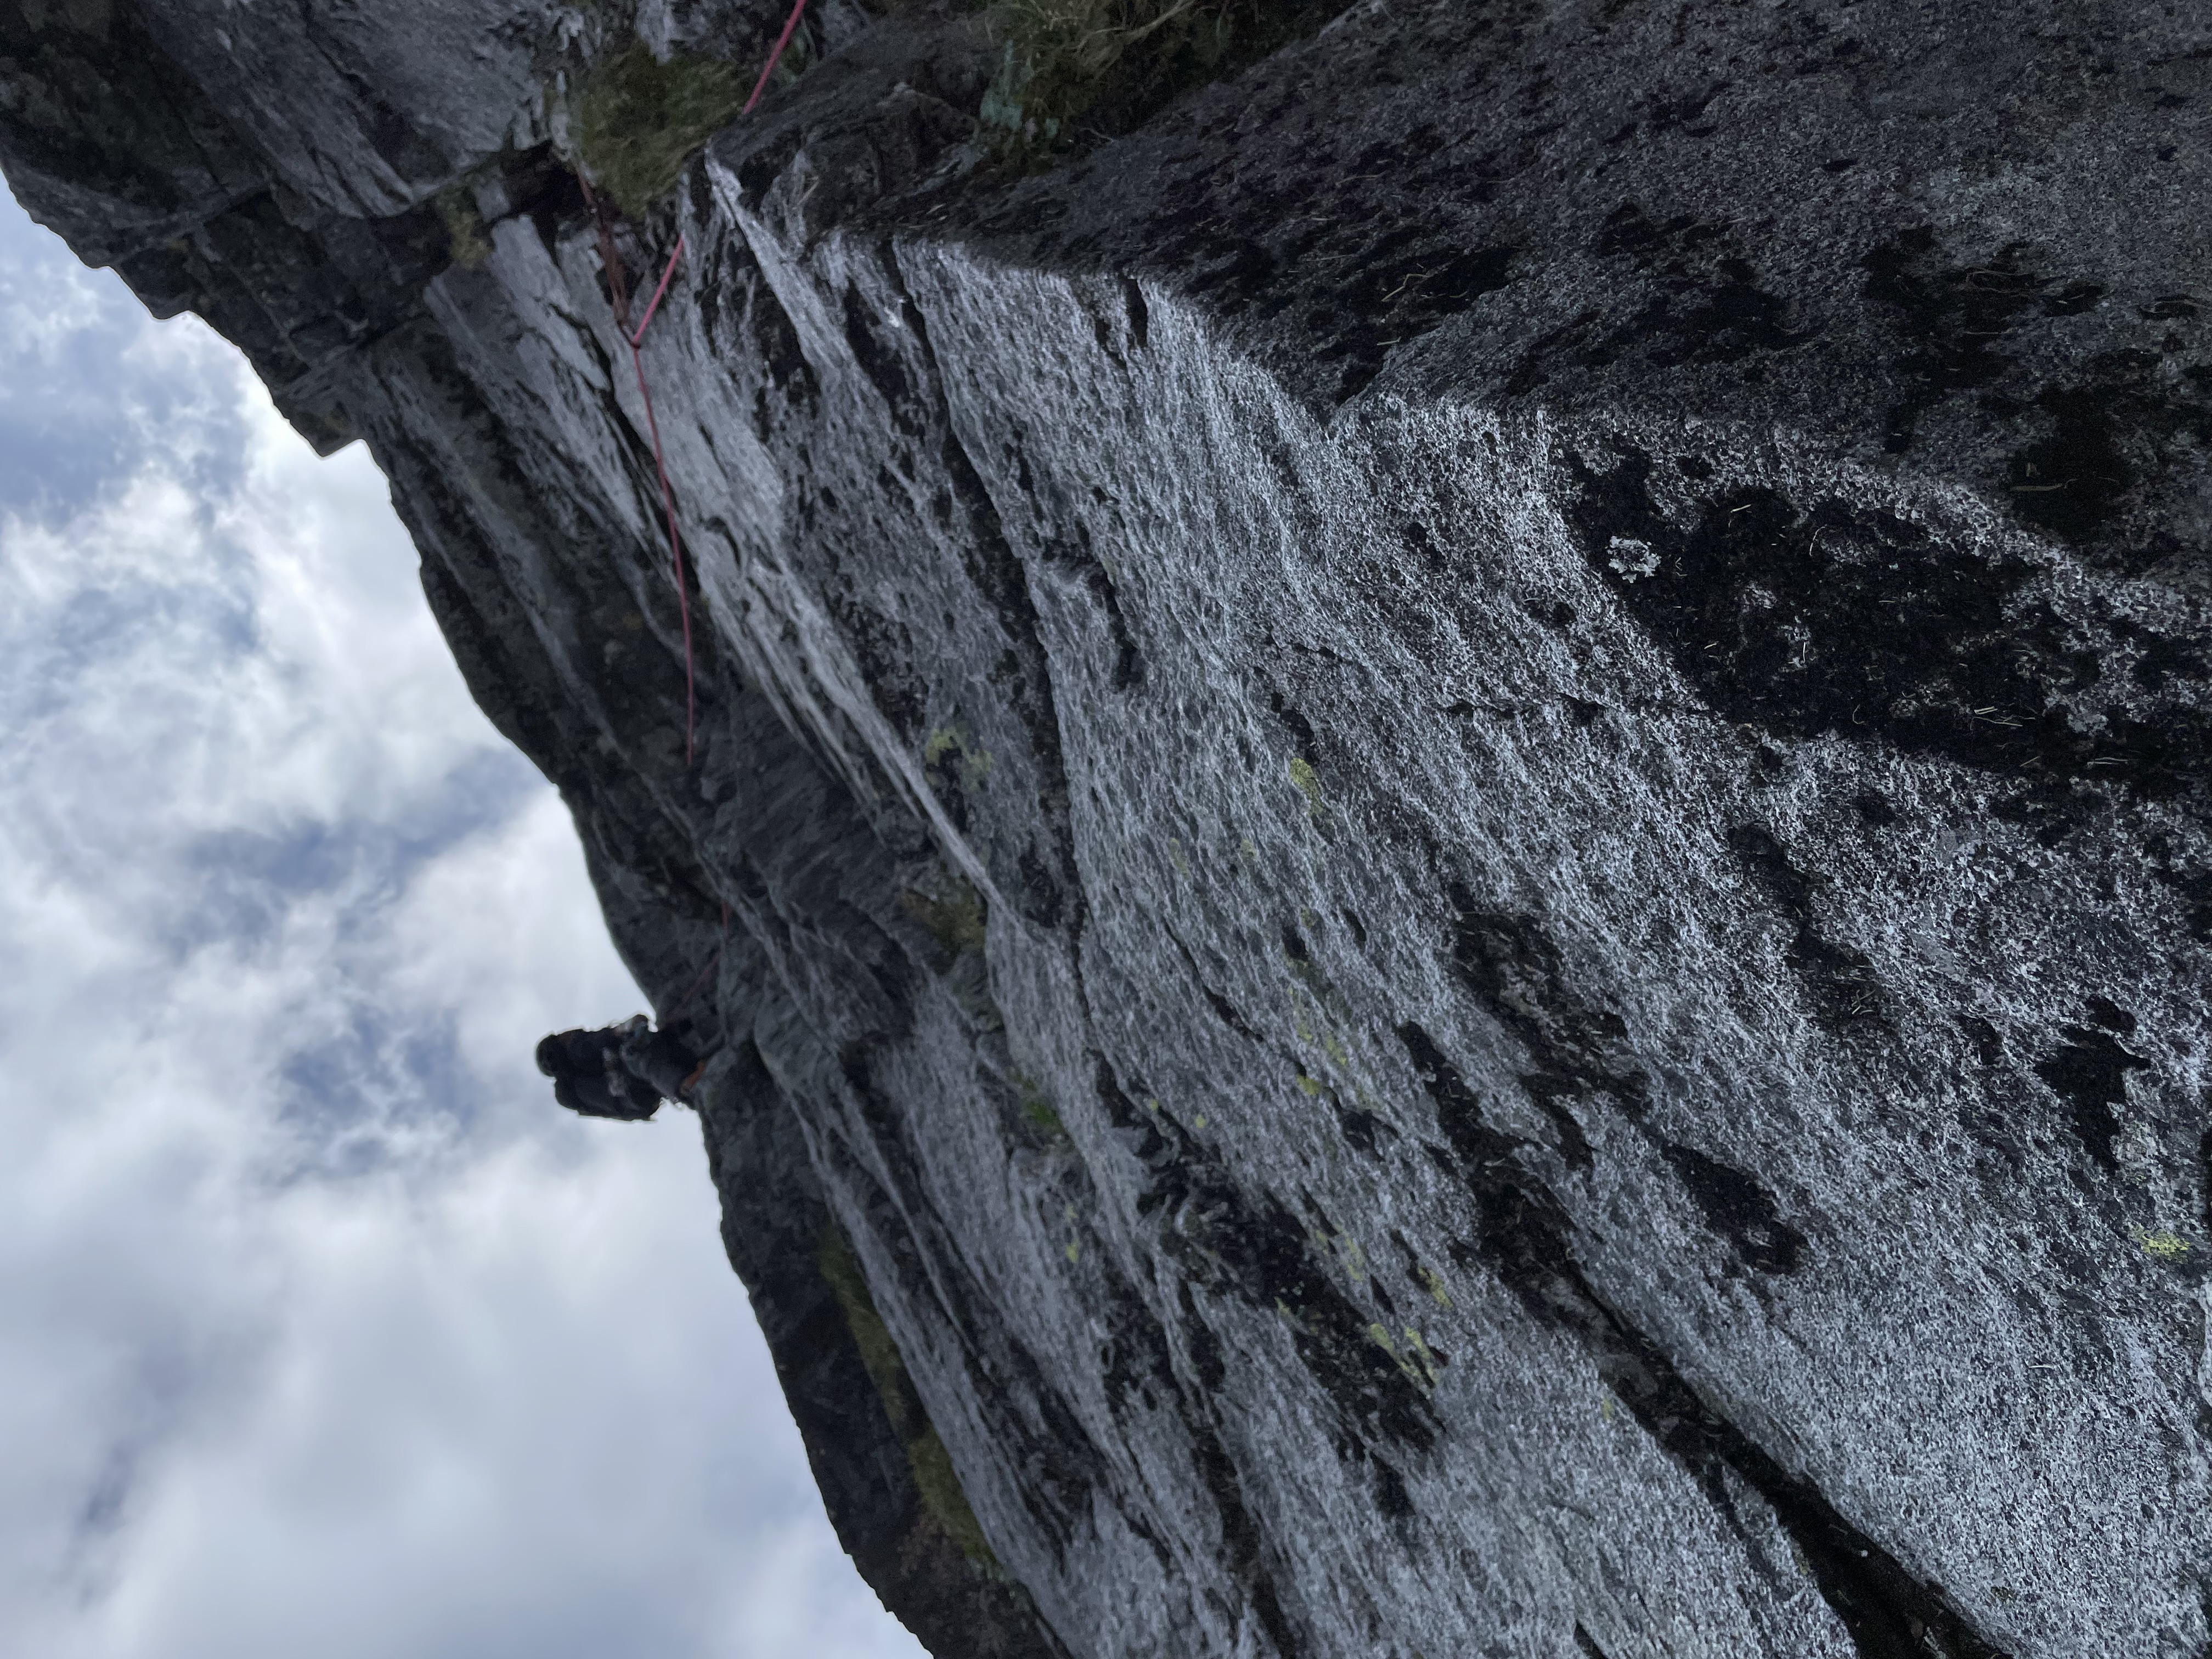
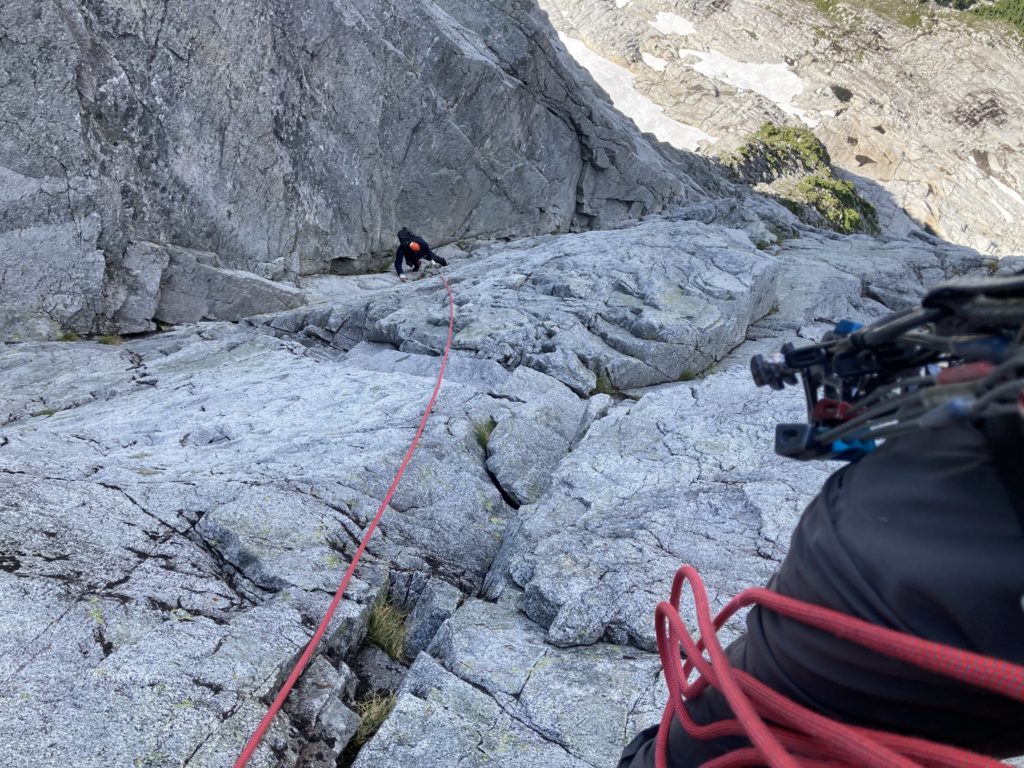
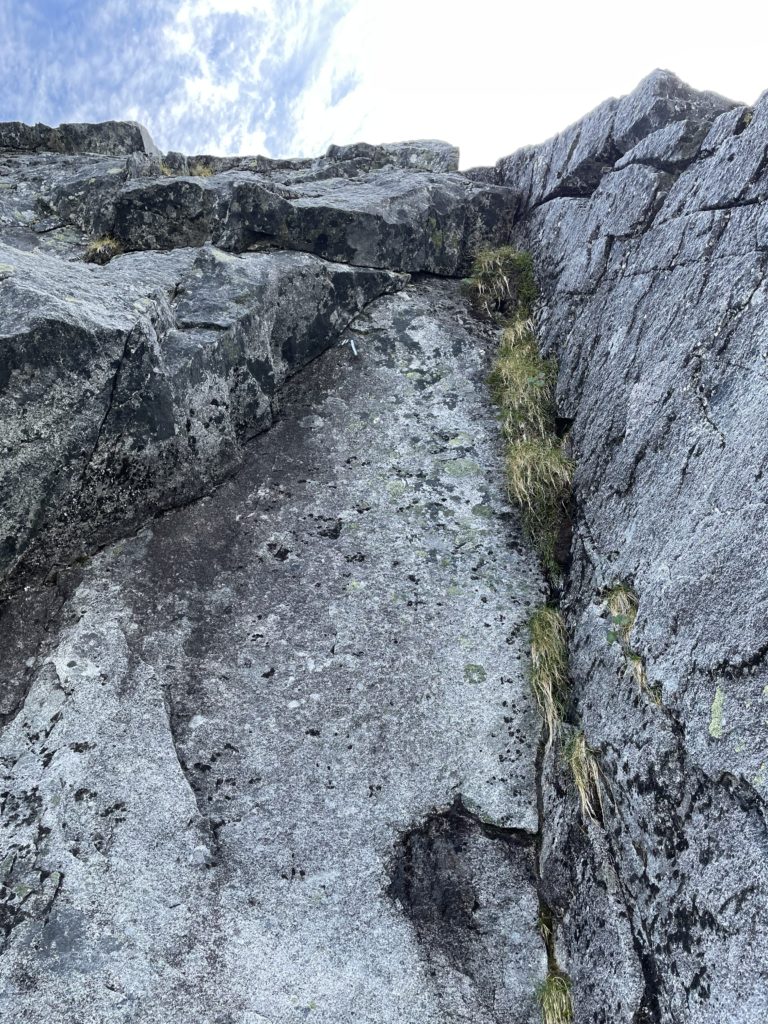
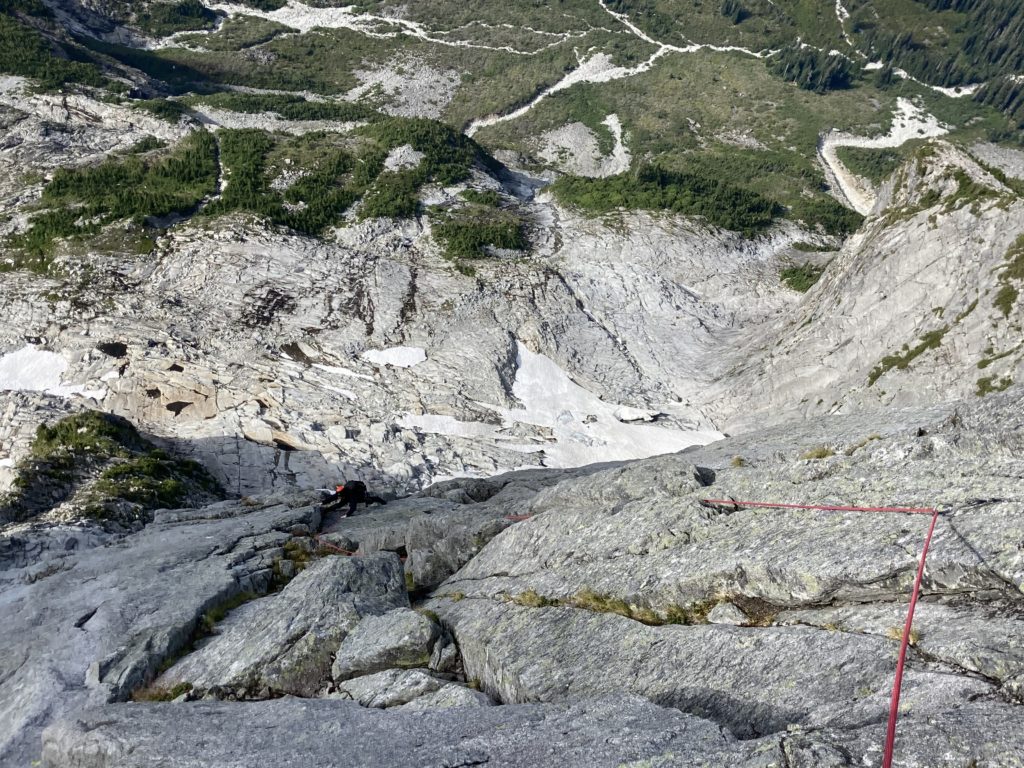
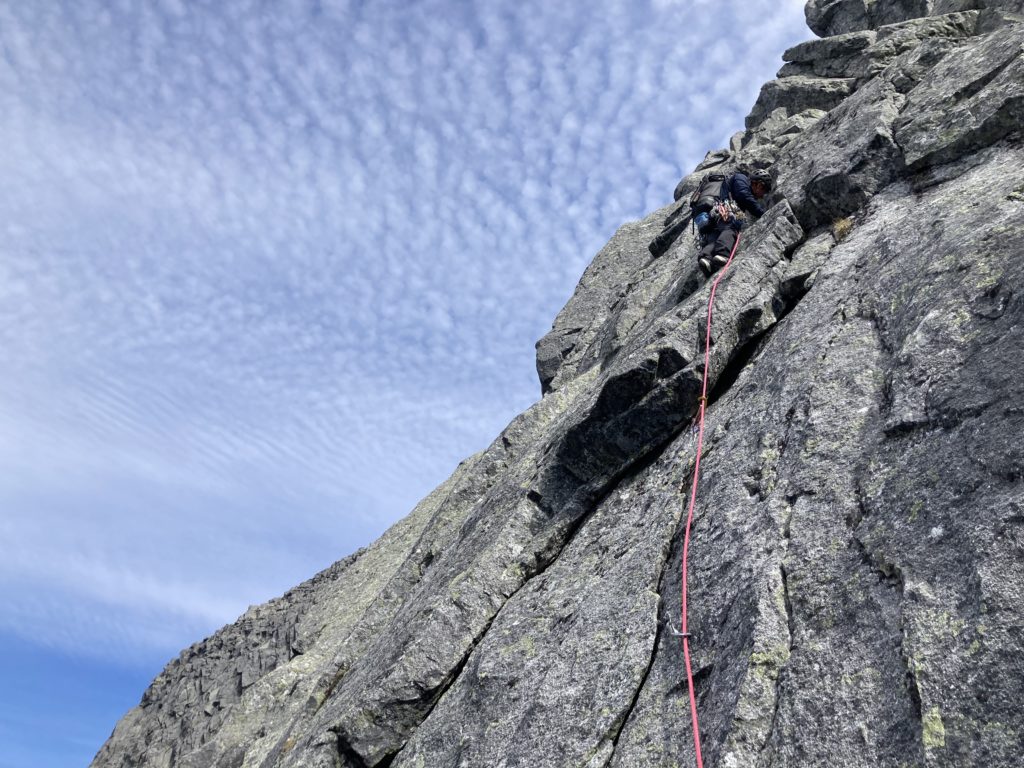
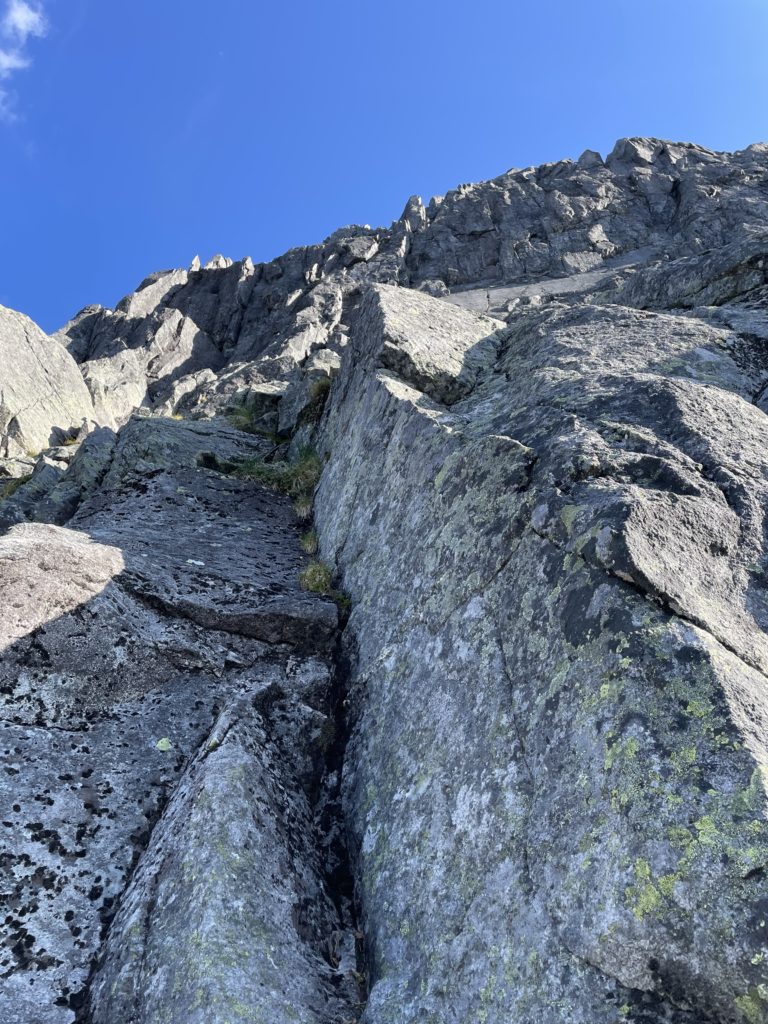
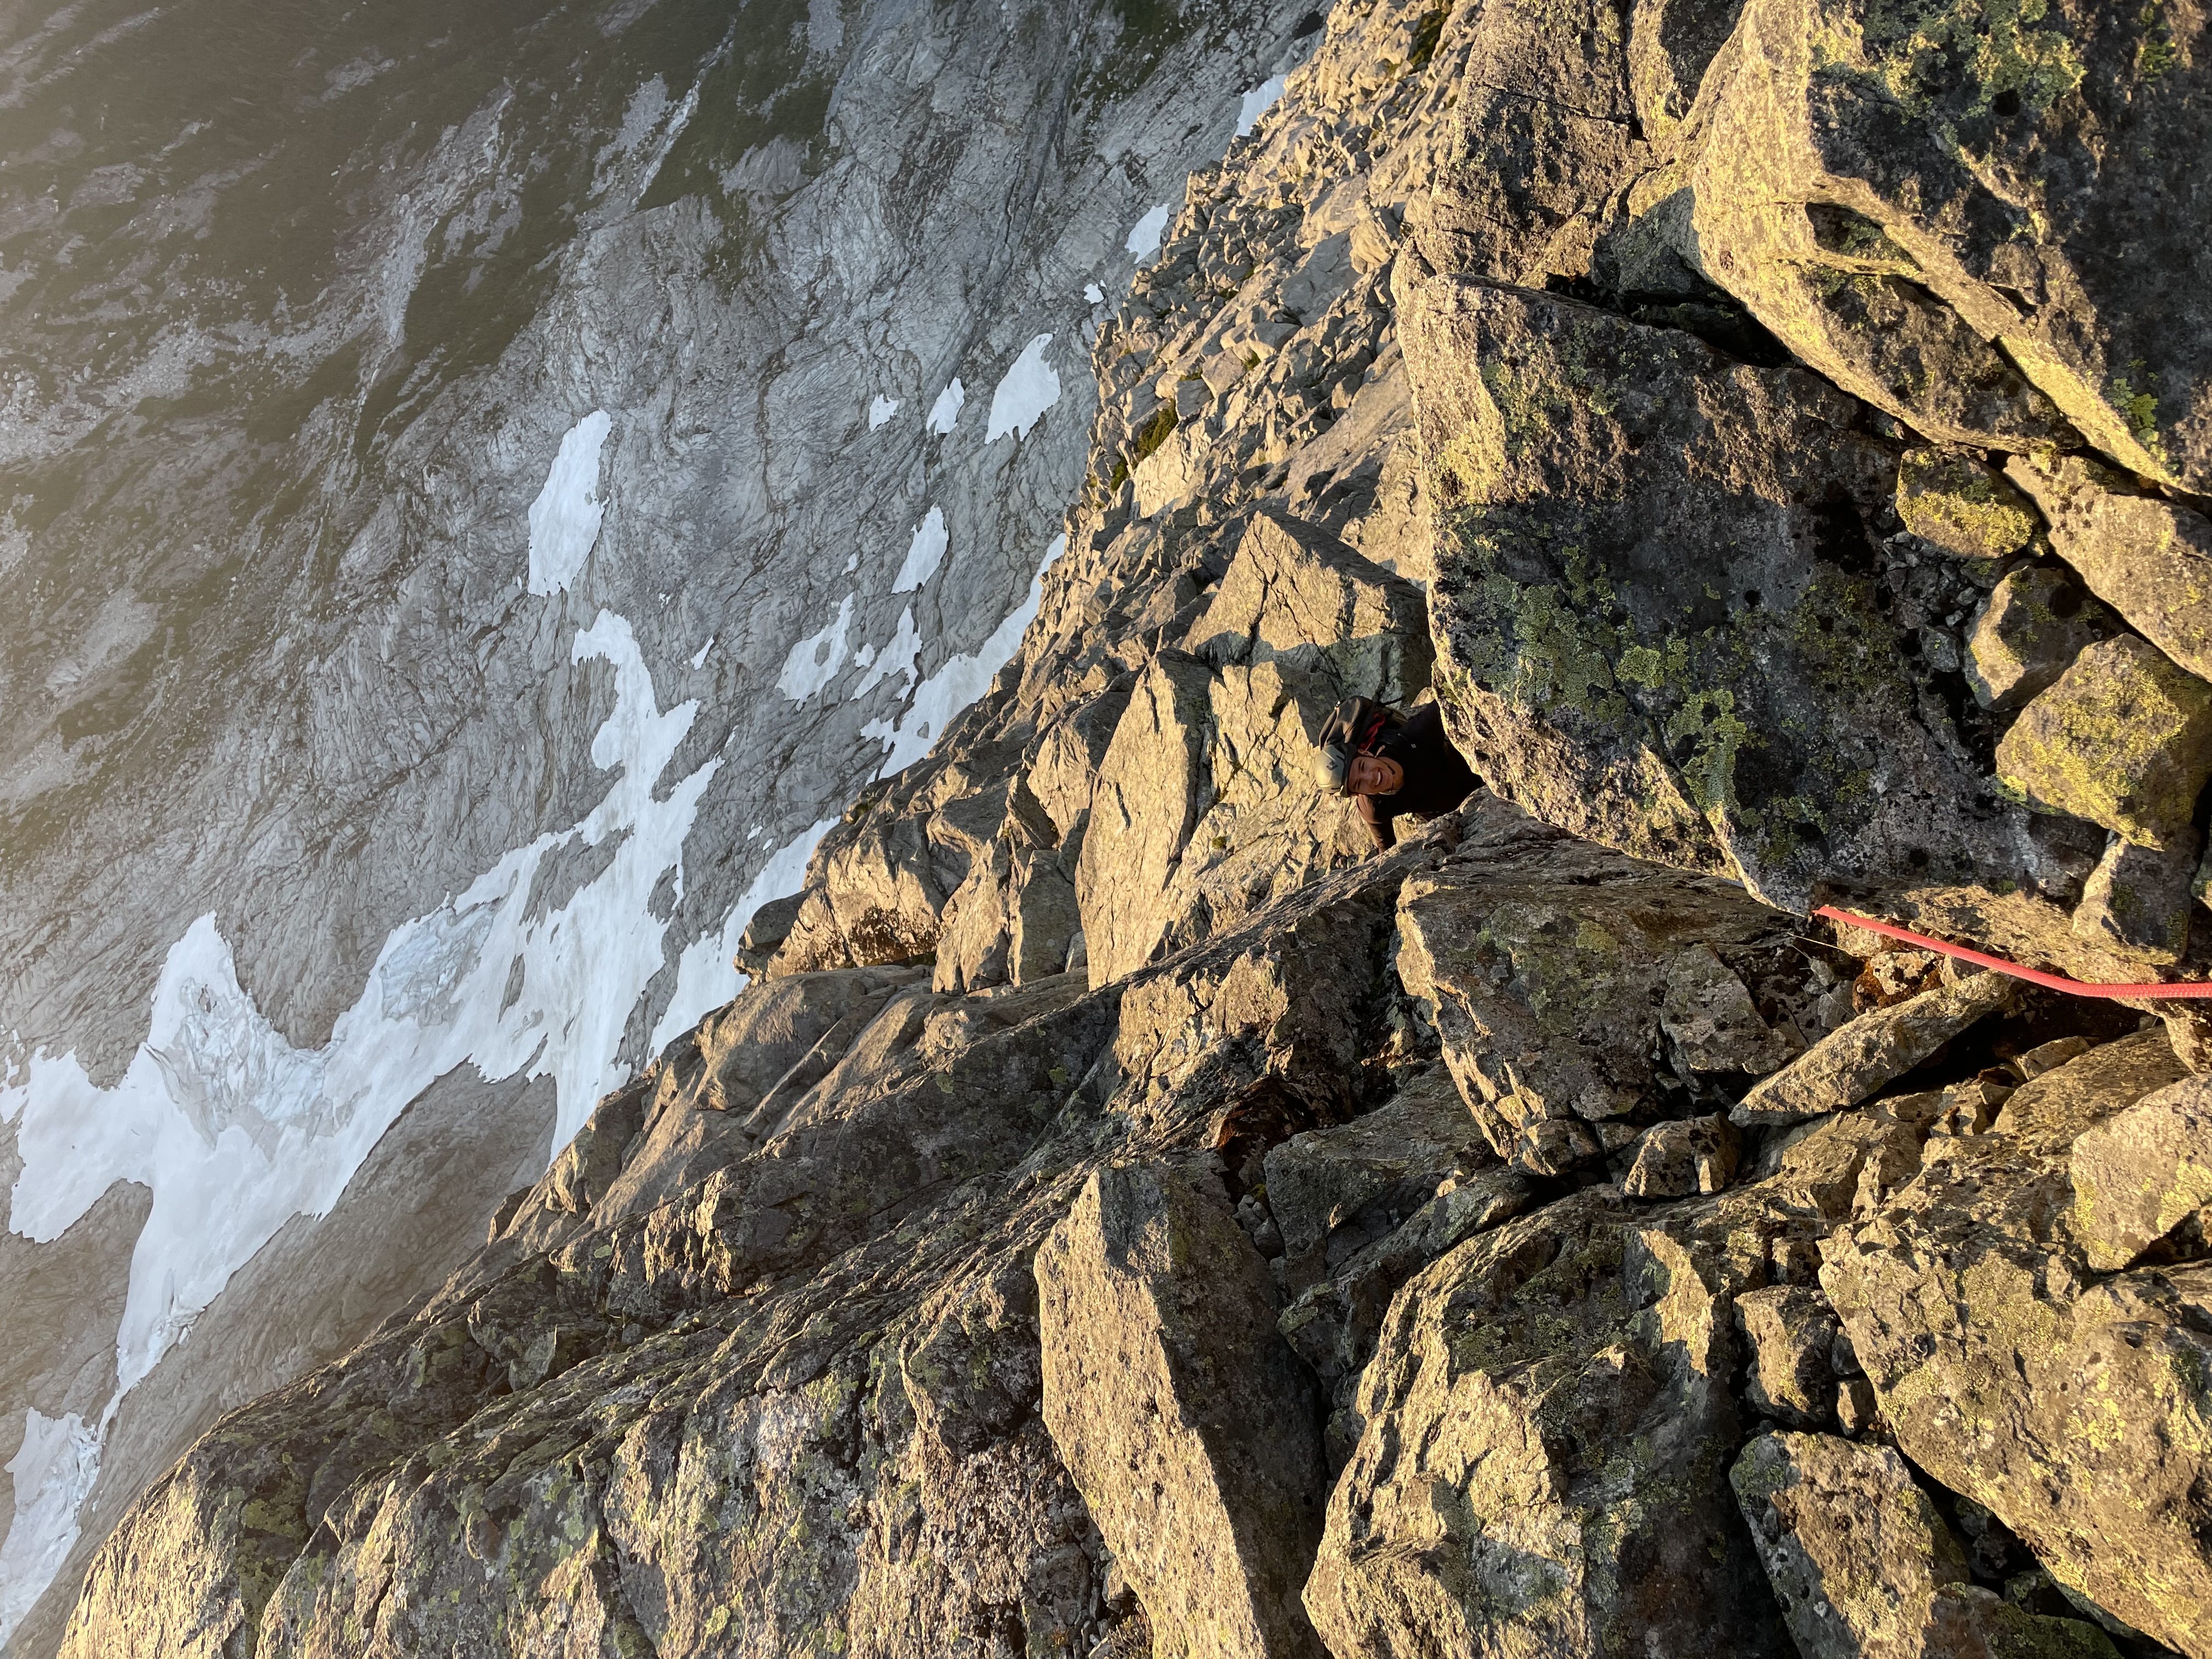
Nonetheless, we came for an adventure so off we went! Brayden lead the first pitch up a burly and wide chimney and then did some vertical bushwhacking to small ledge. I seconded up and then scoped around for the best option up. Above the belay stance was large hanging block that produced a moderately angled dihedral with a rattly finger sized crack in the back. I opted for this line, but had to excavate the sealed crack before placing my first piece. I then cleaned out more of the crack as high as I could reach and then pulled a strenuous mantle up the block and into the dihedral. I climbed up laybacking a bit more until I could stem up and out of the corner. From there I rambled through low-5th/4th class terrain to a nice ledge. I belayed Brayden up and then he picked #4 sized crack devoid of bush to escape higher up. From there he continued almost a full rope length on low 5th class terrain. We swung leads once more and I took us to the end of the bushwhack climbing and the base of the steeper and cleaner looking rock ahead. All told it took us about 4 pitches to exit this bushwhack section but two of the pitches were almost full 70m length climbs.
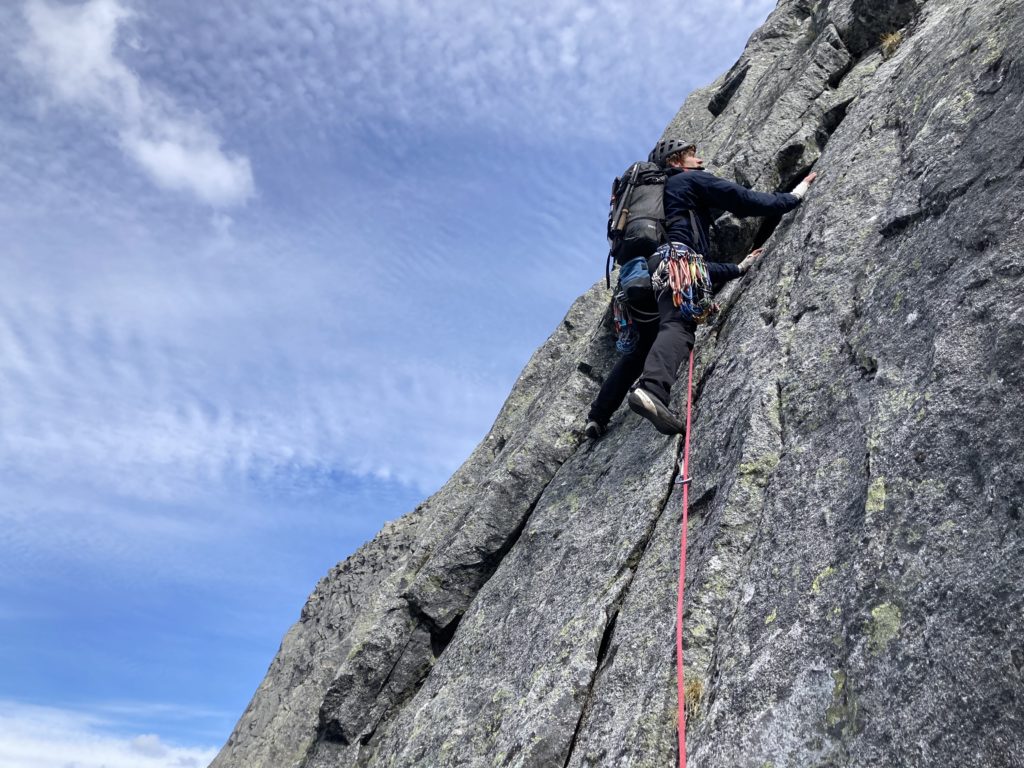
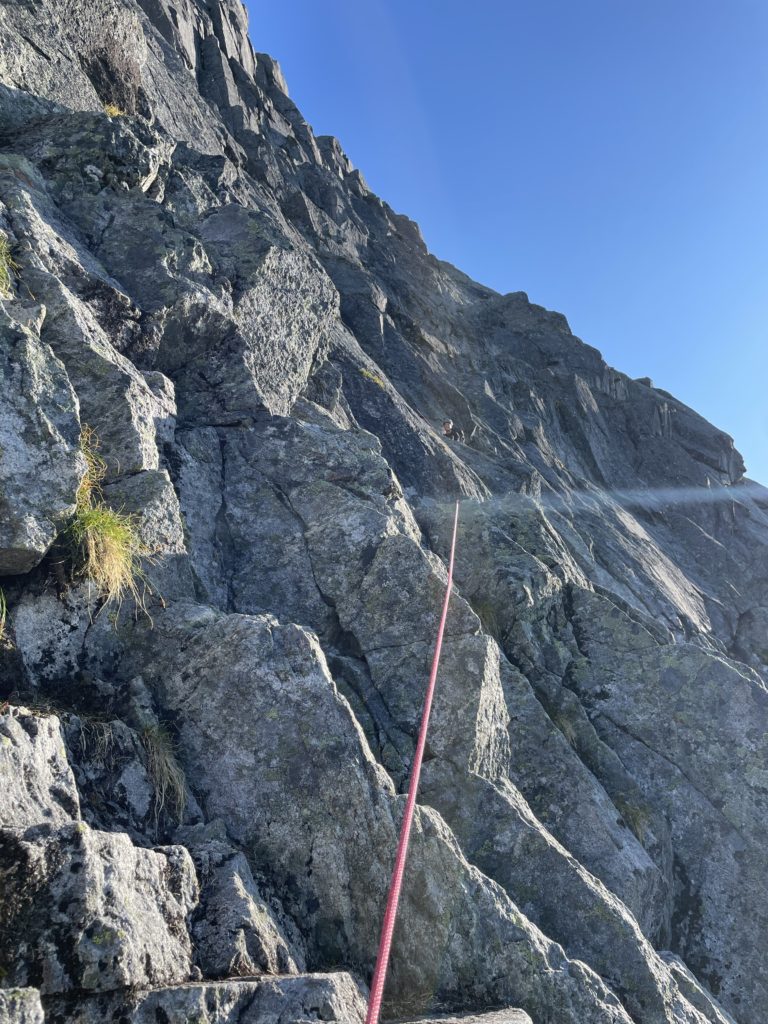
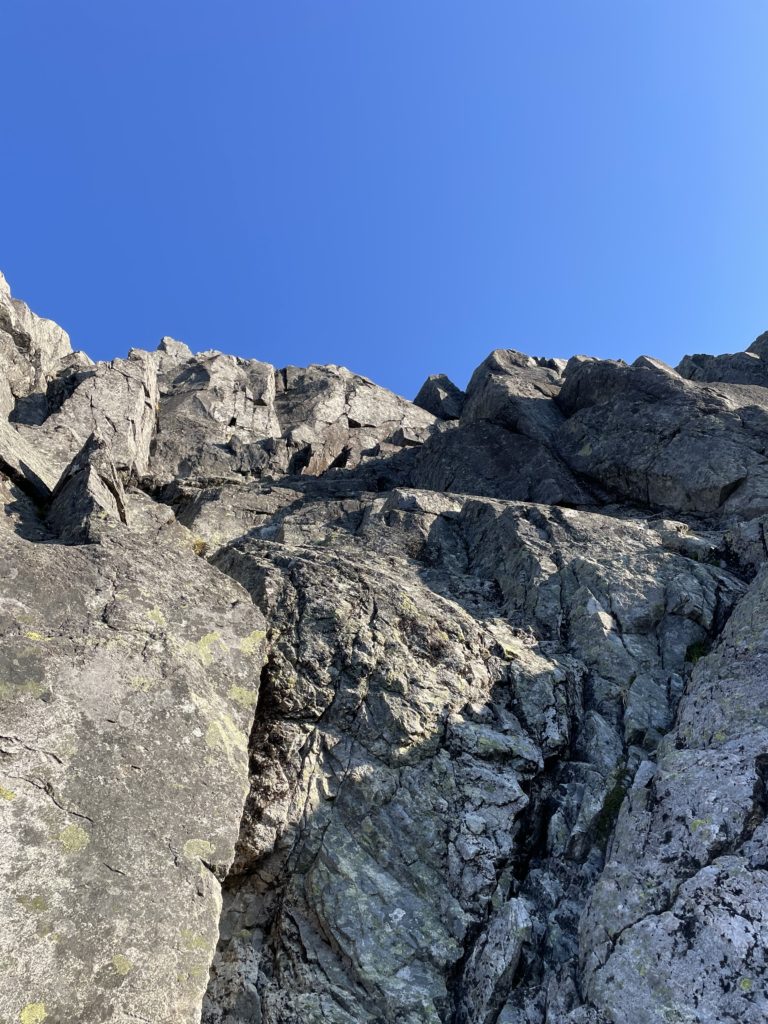
Brayden kicked us off up the first clean pitch of the day and trended towards a section of off-width. With the rope almost all out, he setup a rappel at a nice ledge and I swung leads to get us out of the chimney. I’m not great at off width so stepped out left onto an exposed face climb with limited options for protection. There were only a few thin moves and then I shifted back into the thinning crack and climbed a bit further to another good belay. Brayden came up and then lead us through a steep section of cracks and face climbing. Just above we could now see what we thought was the dihedral described in the book. However, the terrain was quite steep above and I started to sense we were off route. We appeared to have missed a section of traversing climber’s left. Oh well, it was my turn to lead and so I started up.
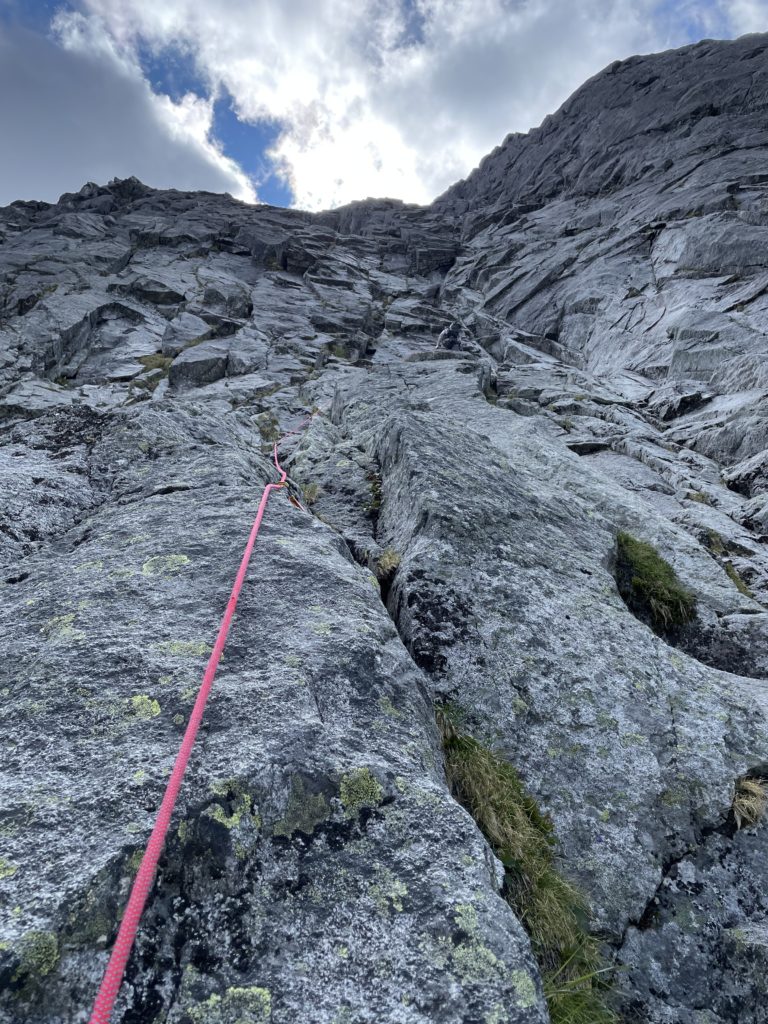
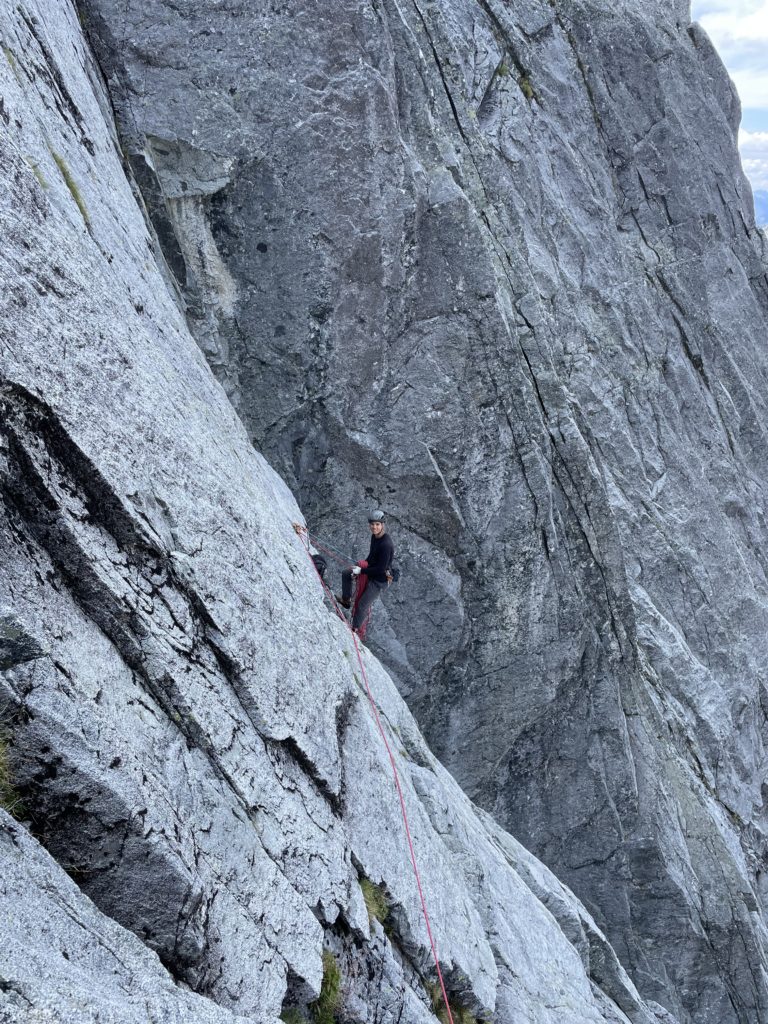
The lower section was okay but then the route steepened up to a short overhang where the options appeared to run out. I spent a great deal of time trying to figure out a reasonable sequence. Above was a rattly finger seam that someone had partially cleared for pro, but the sequence looked to hard for me without taking a potential fall. After scrounging around for all too long I finally spotted a ledge out climber’s right and had Brayden lower me while I did a short pendulum swing across. I then climbed up on easier blocks and setup a belay anchor in a thin crack behind a flake. It didn’t sound hollow, but it wasn’t my favourite. Brayden pulled the strenuous moves without my bypass and soon reached me. He then lead a challenging pitch up to another over hang before traversing on thin feet out to a better crack and then all the way up the dihedral.

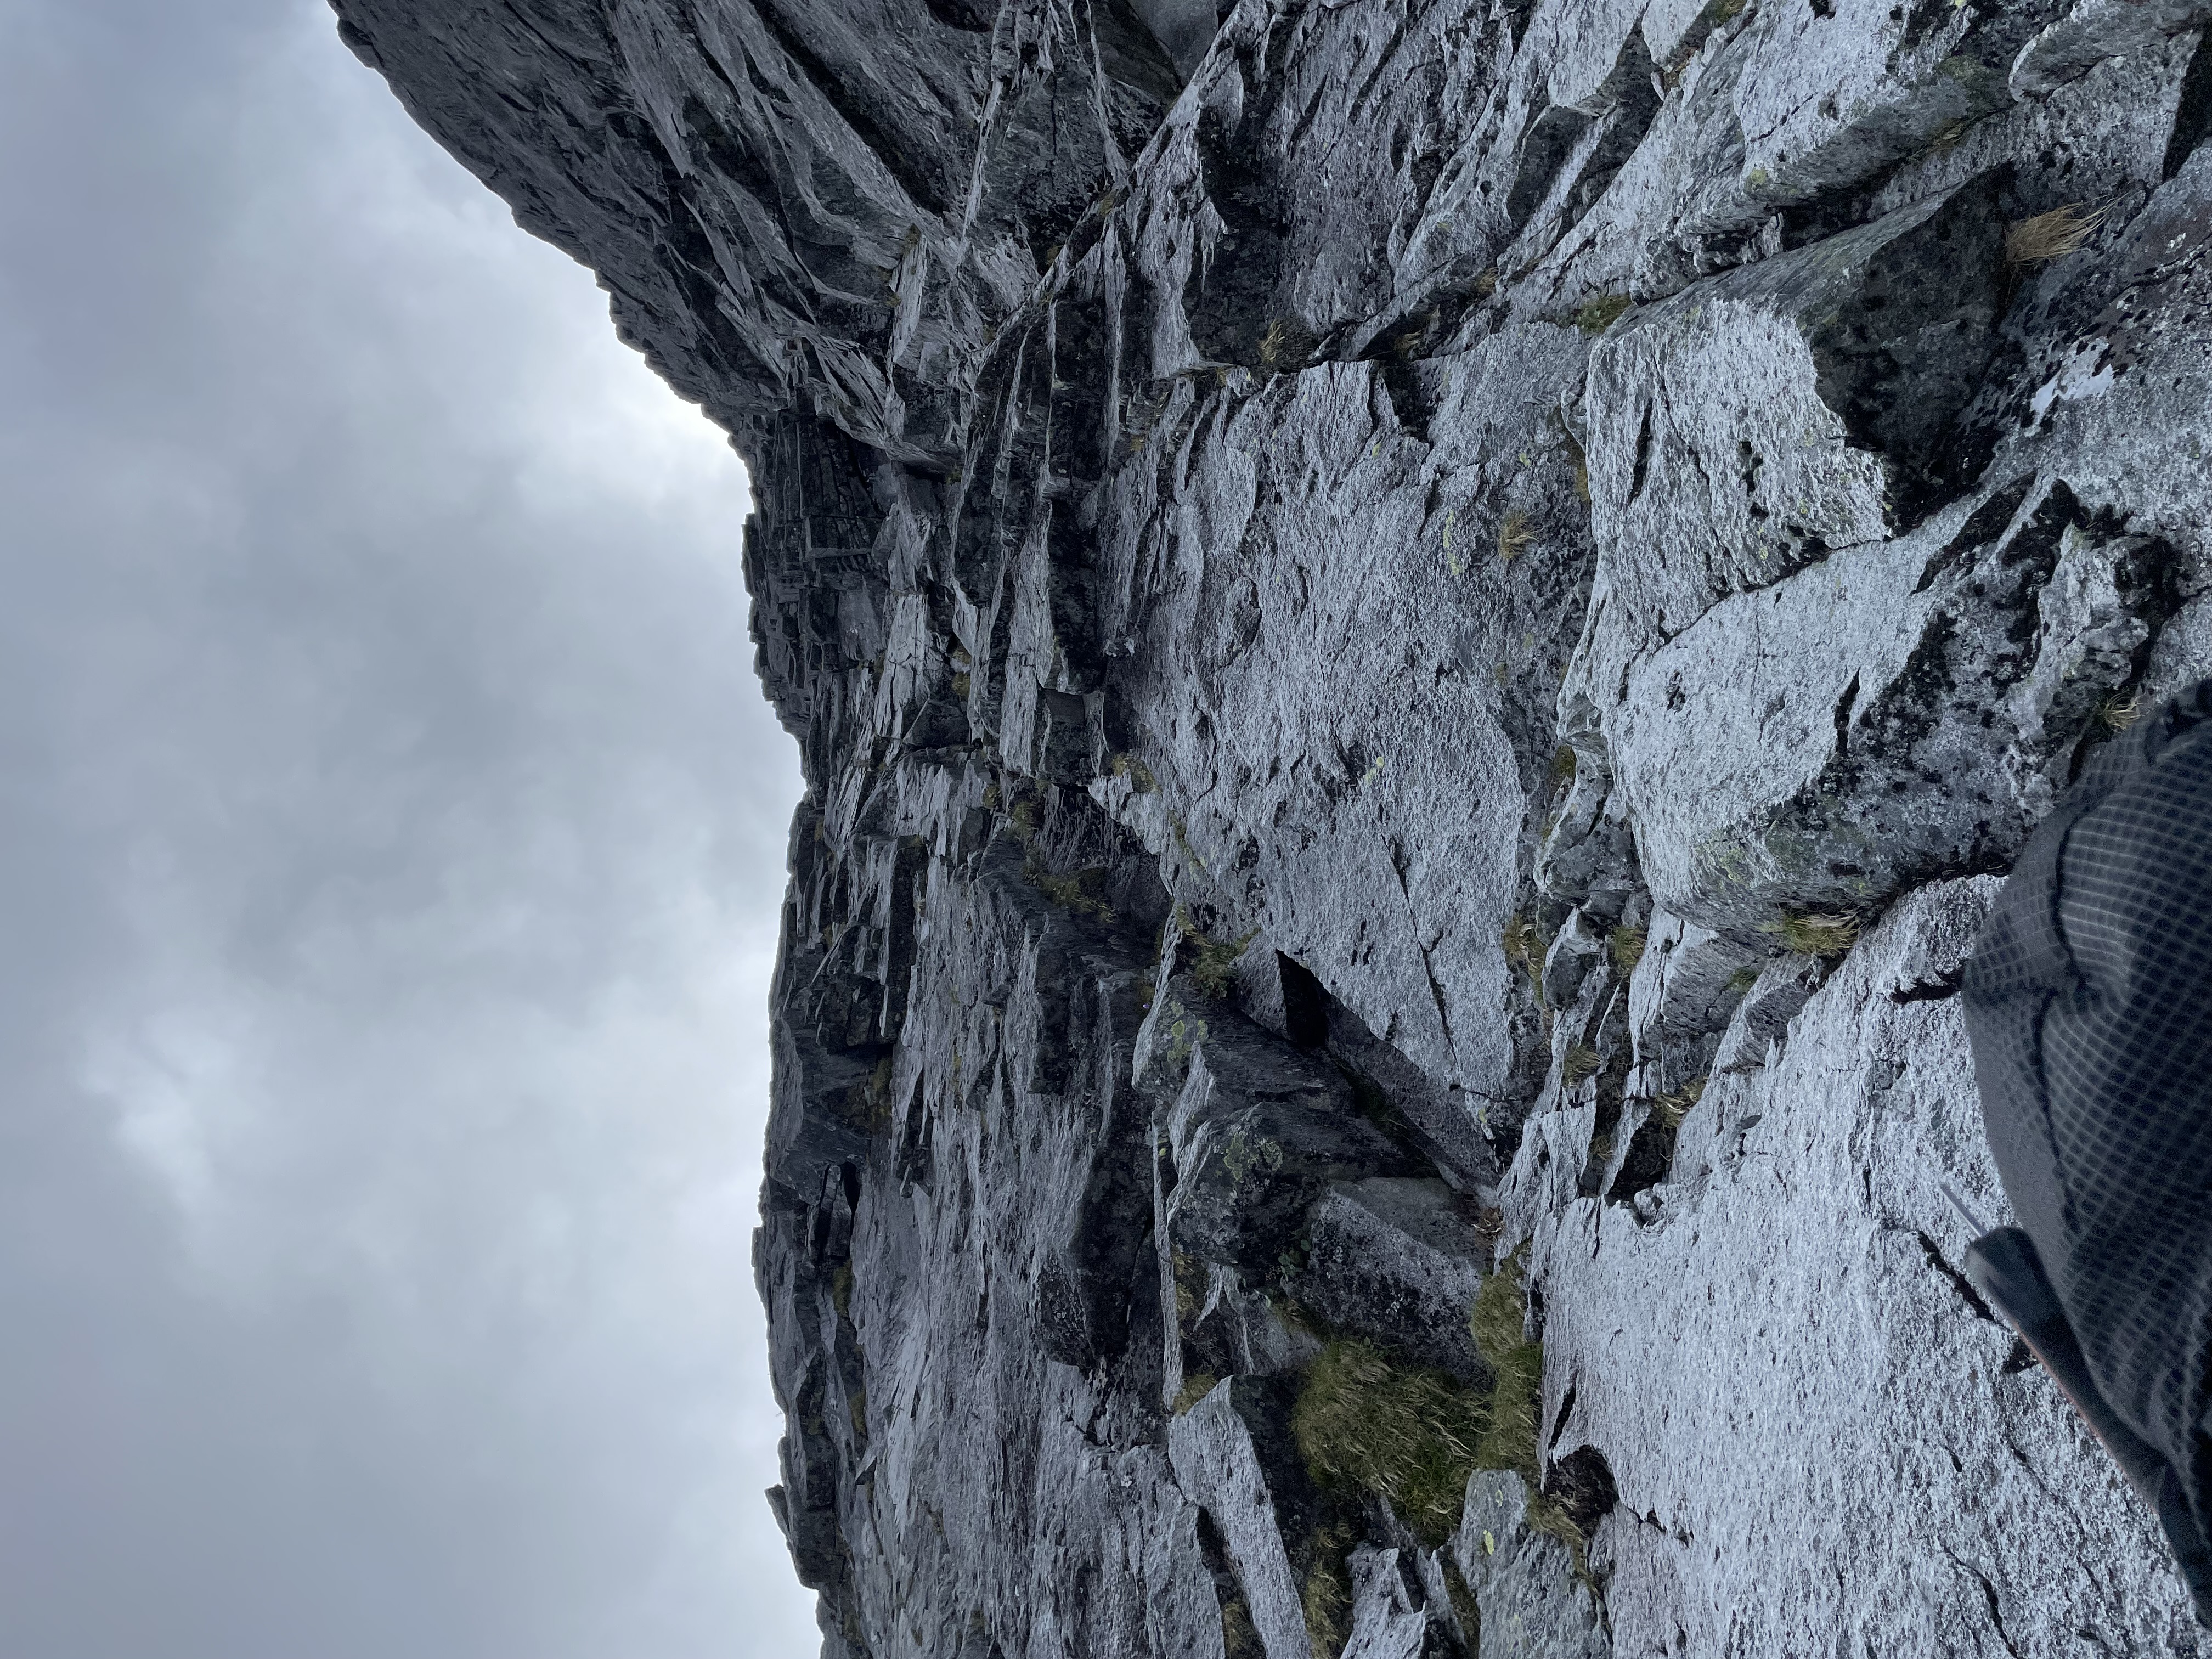
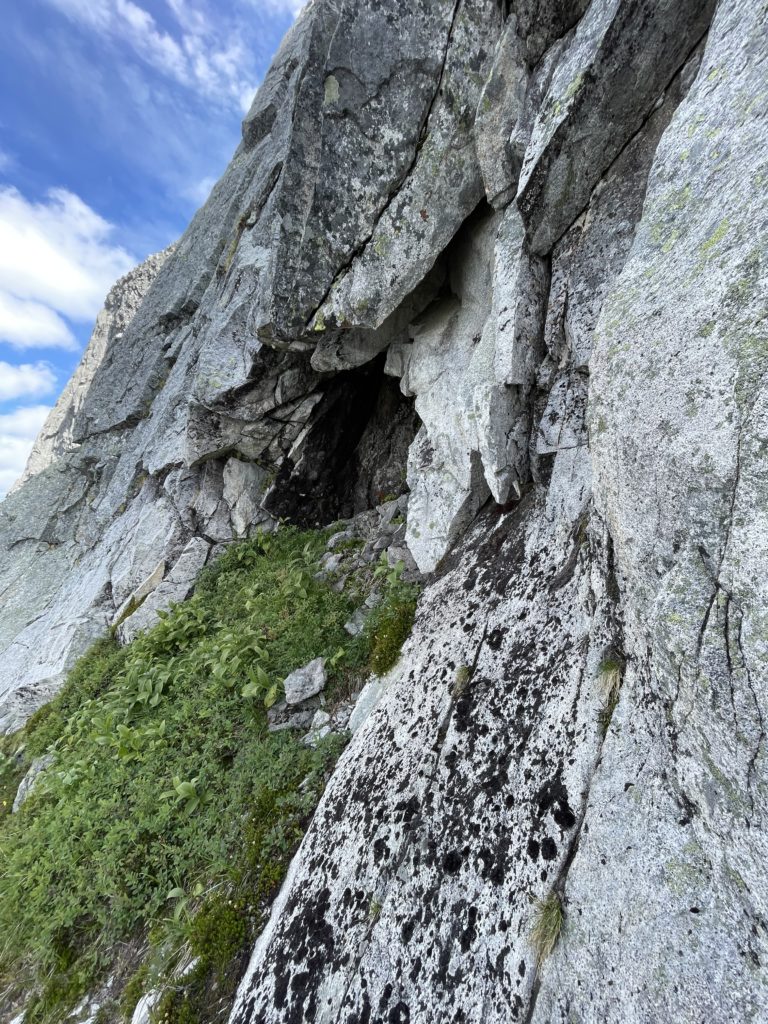
I found this section the hardest and that was even on second. The dihedral was easy and based on photos we had of the route it did appear we were on route again. I swung leads now and lead a traverse out climber’s left and up to a cave that the route topo had described. I traversed climber’s right up to a short dihedral and roof, but the rope drag was too much to continue. In any event, I wasn’t feeling strong enough to pull this next move sans rope drag and thankfully Brayden was able to get us up and out of the crux. The moves looked challenging with a strenuous layback on mediocre feet to place a piece and then more thin face climbing up to a fixed piton. From there he disappeared out of site and climbed out a full rope length on to slightly lower angle terrain.

I took the next pitch, but it was a short one. I reached for one hold and it immediately blew off. Thankfully, I had some mistrust for it and was prepared for it to dislodge. I stepped up on to the new foot hold and climbed about 25m up steep terrain to the base of large overhang. Again, I didn’t feel confident enough to pull these moves and setup an anchor beyond with what I had left on my rack. I setup another anchor and belayed Brayden up. He pulled a few stemming moves to get out of the over hang and then followed a short hand crack up to another overhanging block. With a good heave he pulled himself out of the overhang at climber’s left and then onto easier climbing above.

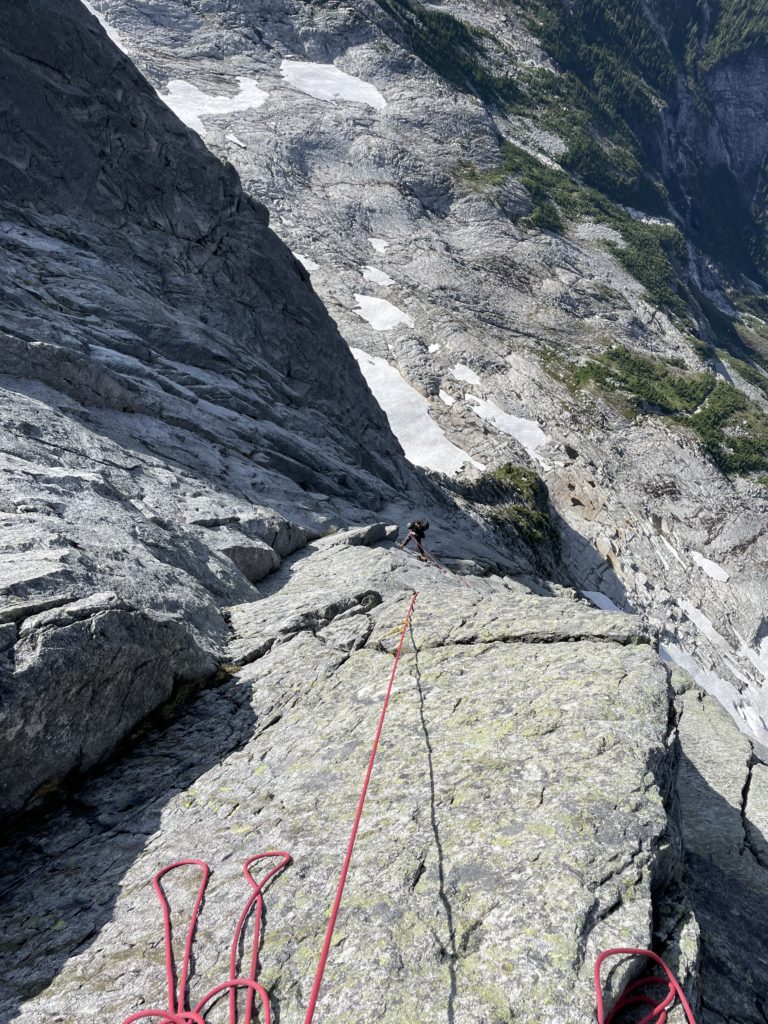
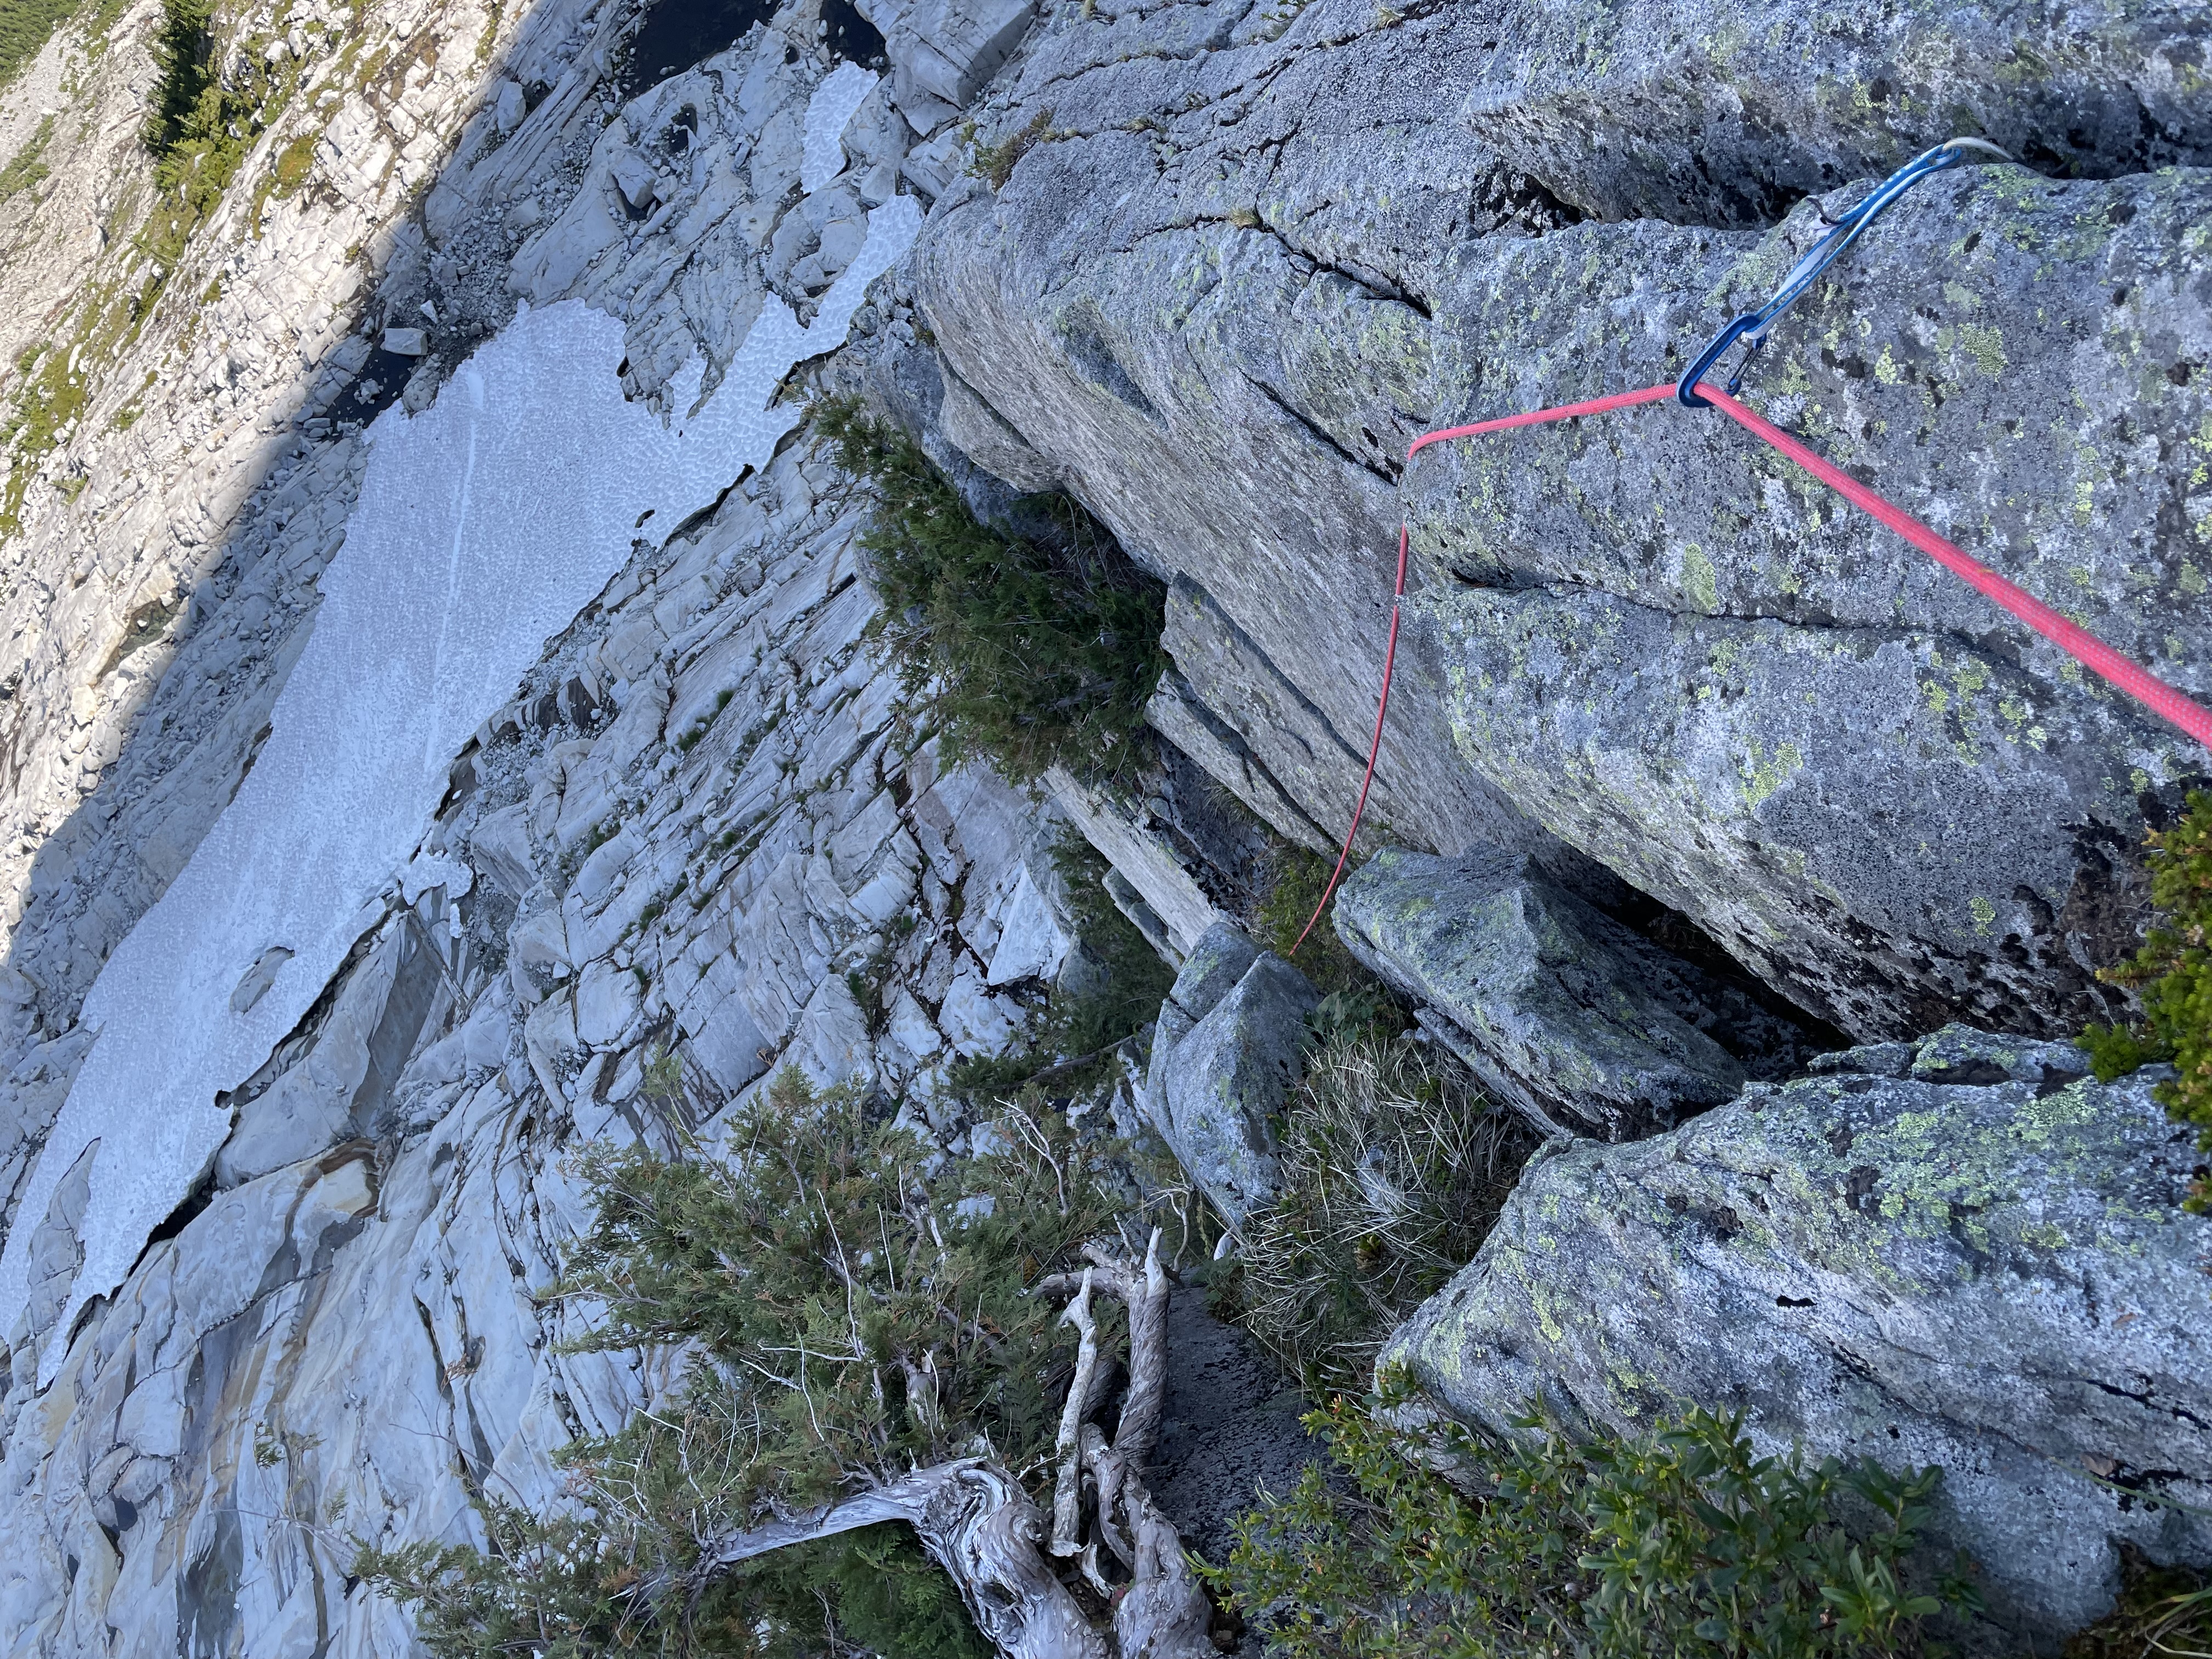
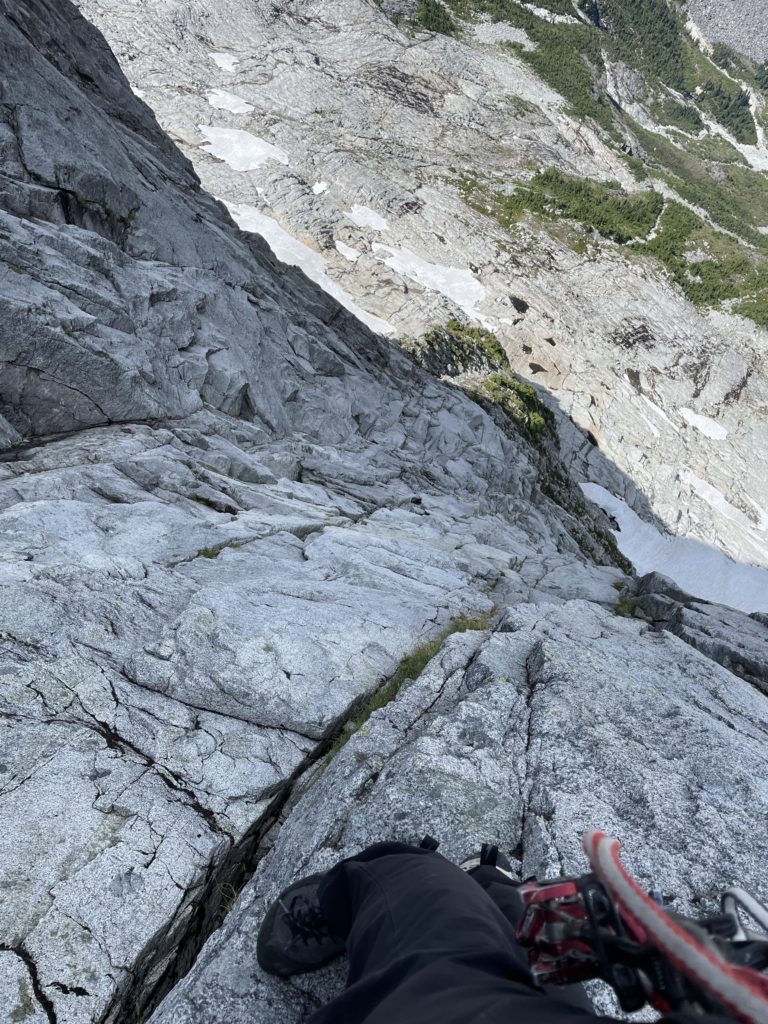
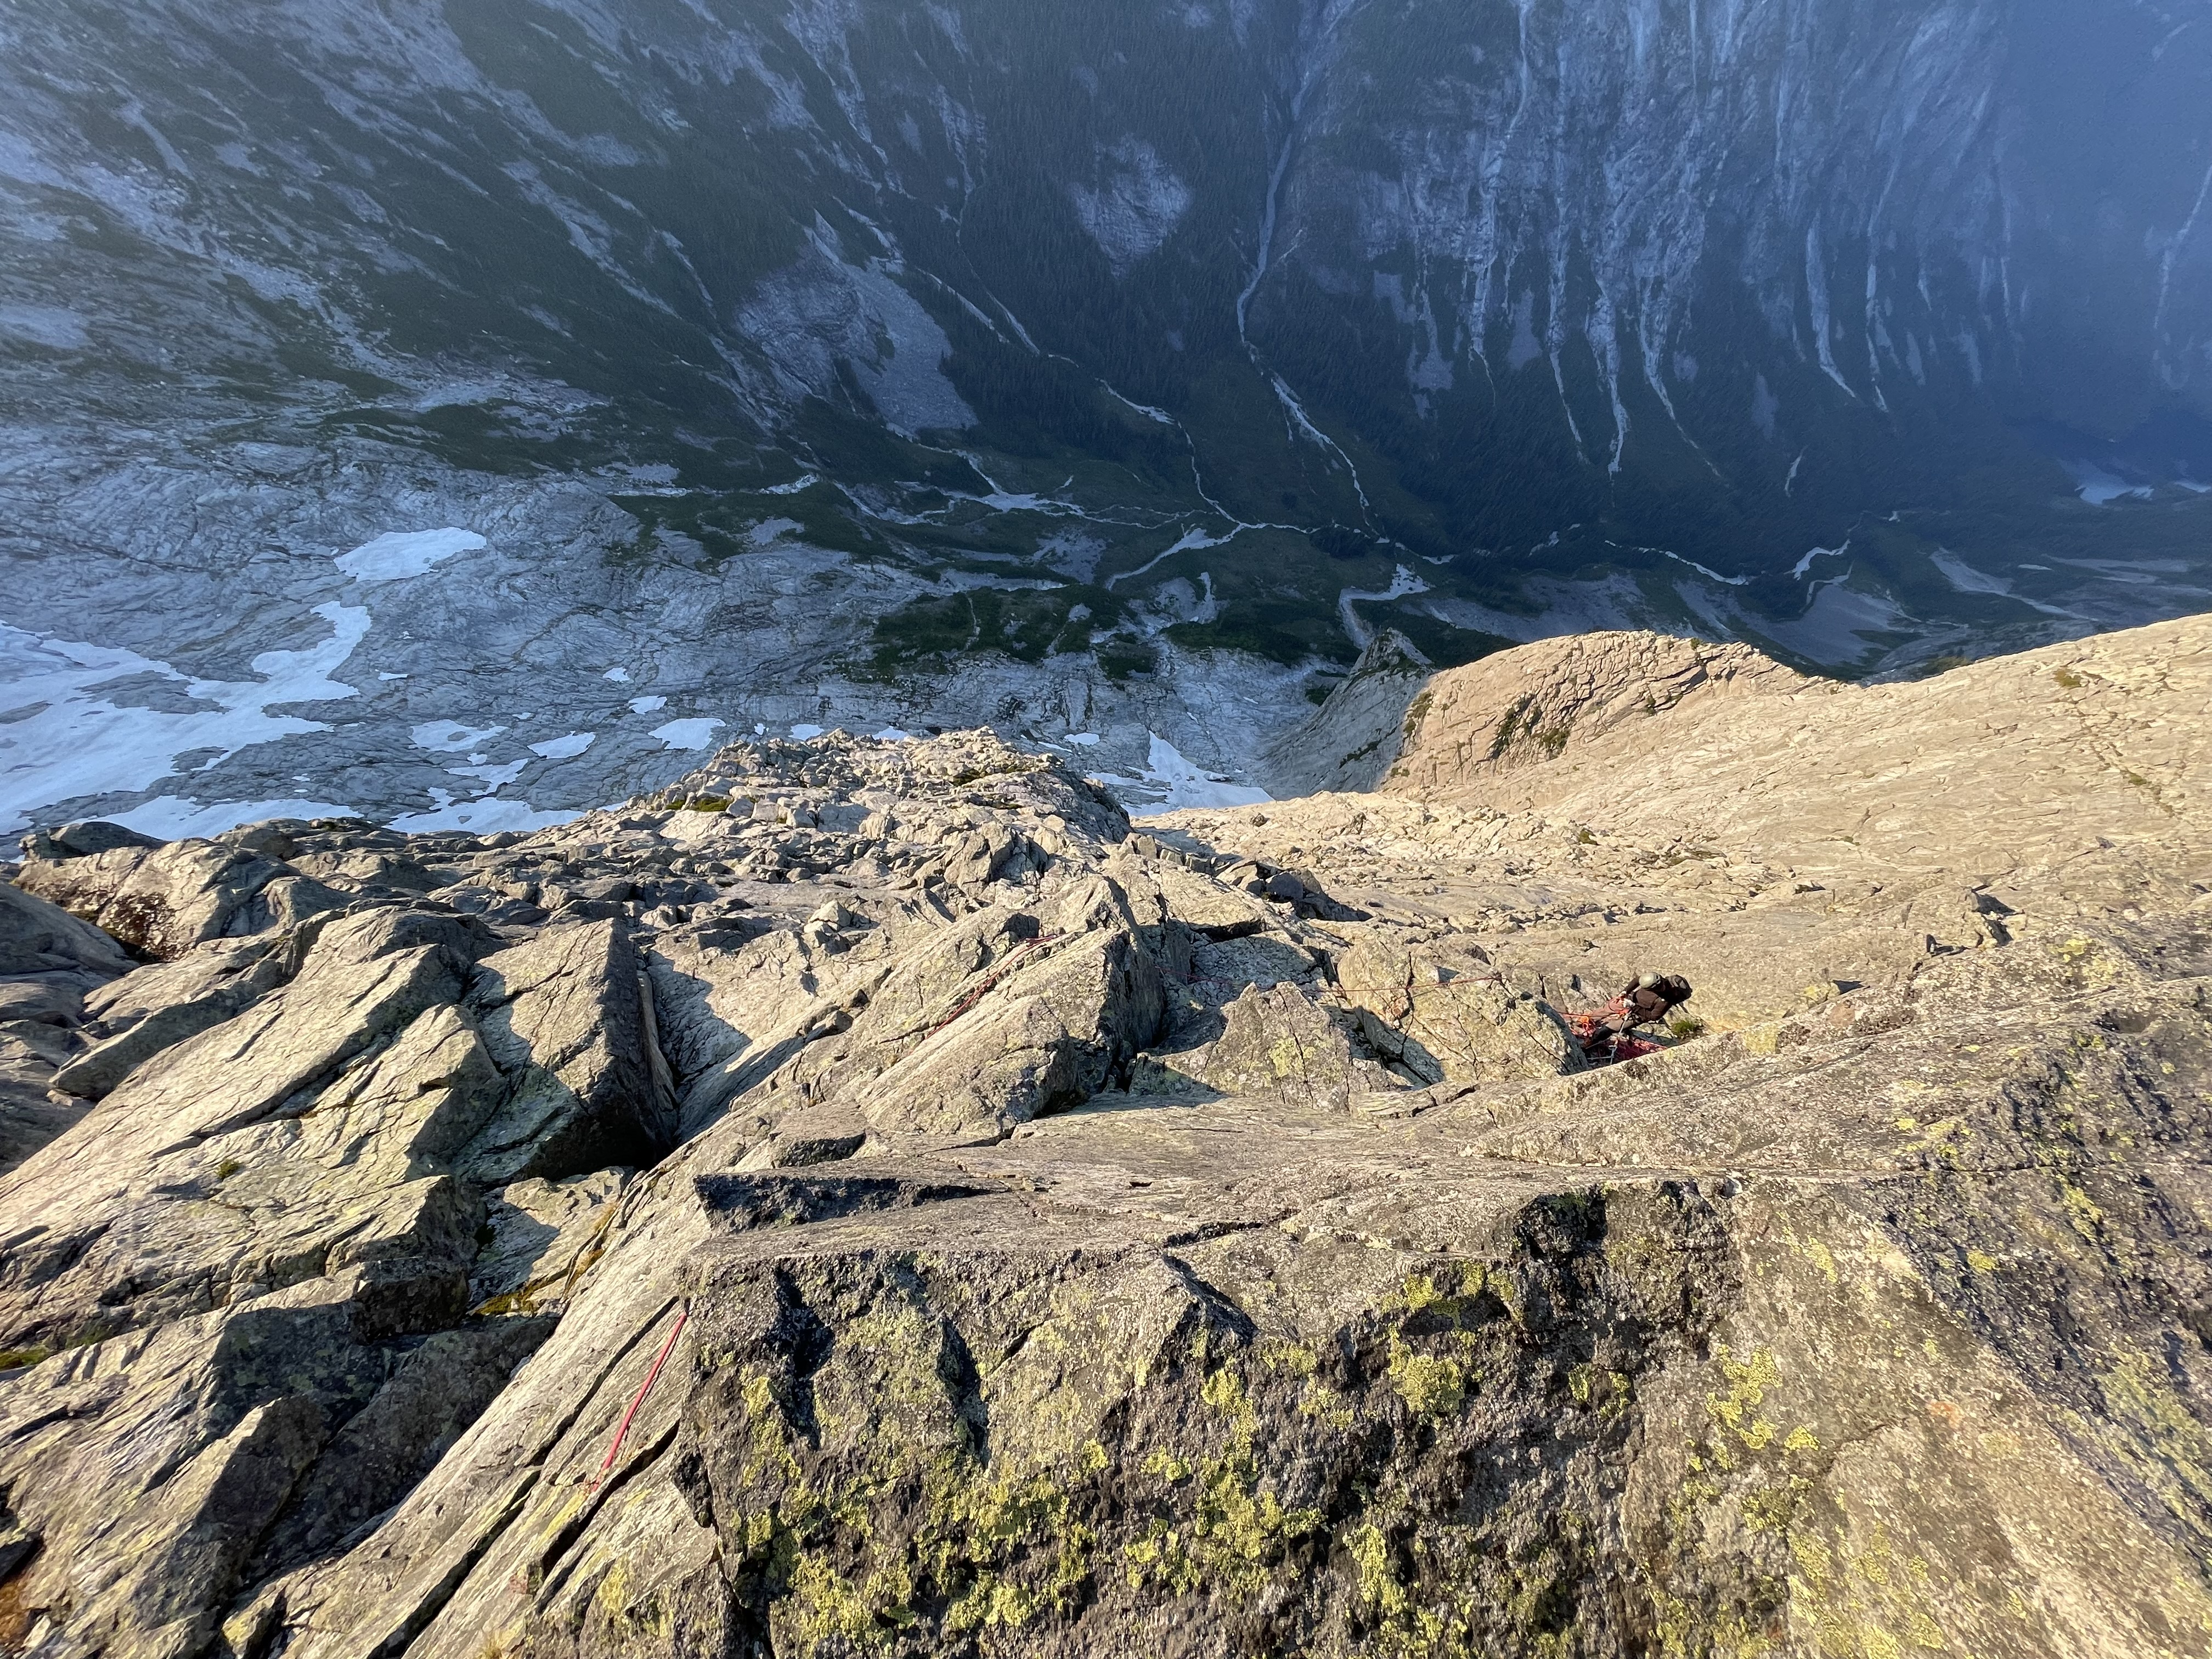
We were now within a pitch or two of the final head wall below the summit. I took this lead and found low 5th terrain for the most part, albeit with sparse pro. I took us up about 60m before finding a suitable anchor station. Unfortunately, it didn’t quite reach the base of the headwall so we couldn’t quite see the best route option. Brayden seconded up and then he climbed another 15m to the headwall to scout out some options. There appeared to be a direct line straight ahead, albeit more challenging than 5.9. We knew from Richard So’s trip report that they had gone off route at the head wall and stuck in run out 5.10b terrain. Neither of us was keen to repeat that so Brayden took the line that seemed to offer good protection. He made it about halfway up before realizing the line got too challenging ahead. After a few tricky down climbing moves he reached the base of the head wall again and this time decided to belay me up so I could get a view as well.
Once at the base of the head wall, I spotted a long ledge system out climber’s right and followed it until I spotted 5.6/7 terrain that further ran diagonally climber’s right. This part confused us a bit as the topo in Mclane’s book showed a route line that traversed climber’s right but did not go all the way over to the top of the right buttress. However, nothing below 5.10 presented itself where the route line showed and so we were a bit hesitant to commit. However, the easiest terrain did in fact appear right above the right butress, so off we went.
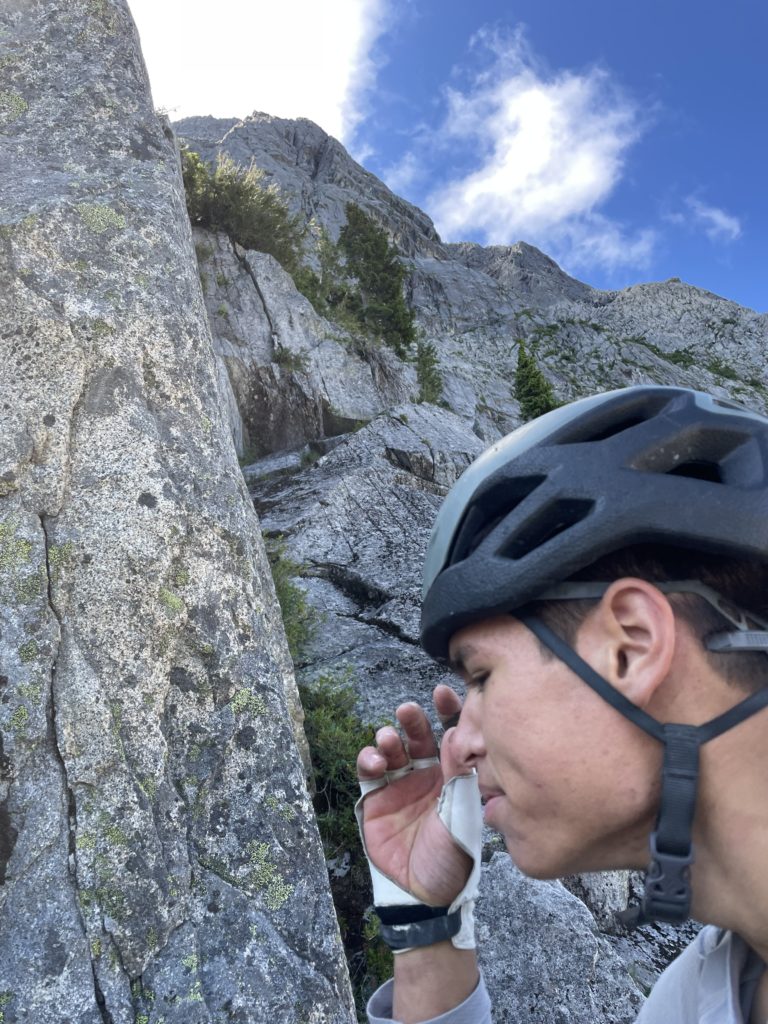
I setup a new station on a slung block and Brayden started his lead up. He found a seeping corner, so placed two pieces as a contingency and then climbed a bit further up. The next moments will forever live in my memory. I heard a brief shout and then some form of “fuck” or “falling” before witnessing a microwave sized block snag Brayden’s rope end and pull him off the face. He did a full somersault as the rock crashed down next to him, kicking off a cloud of dust. I watched the rock ricochet off a ledge and then freefall at least 100m down the face before striking down out of sight. I quickly turned my attention back to Brayden where the dust had settled and I could see he was still attached to the wall. A wave of relief turned over me and I yelled out to see if he was okay. A got an unsure “I think so”, followed by a more confident “yep, just my toe doesn’t feel great”. He took a minute to collect himself and assess the situation. I lowered him to a ledge where he checked out his foot and it appeared maybe a broken toe but nothing more. Brayden bravely finished his lead after ensuring he was mostly injury free and then I seconded up. We decided I would take all the leads on after this as he couldn’t put much pressure on the injured foot.
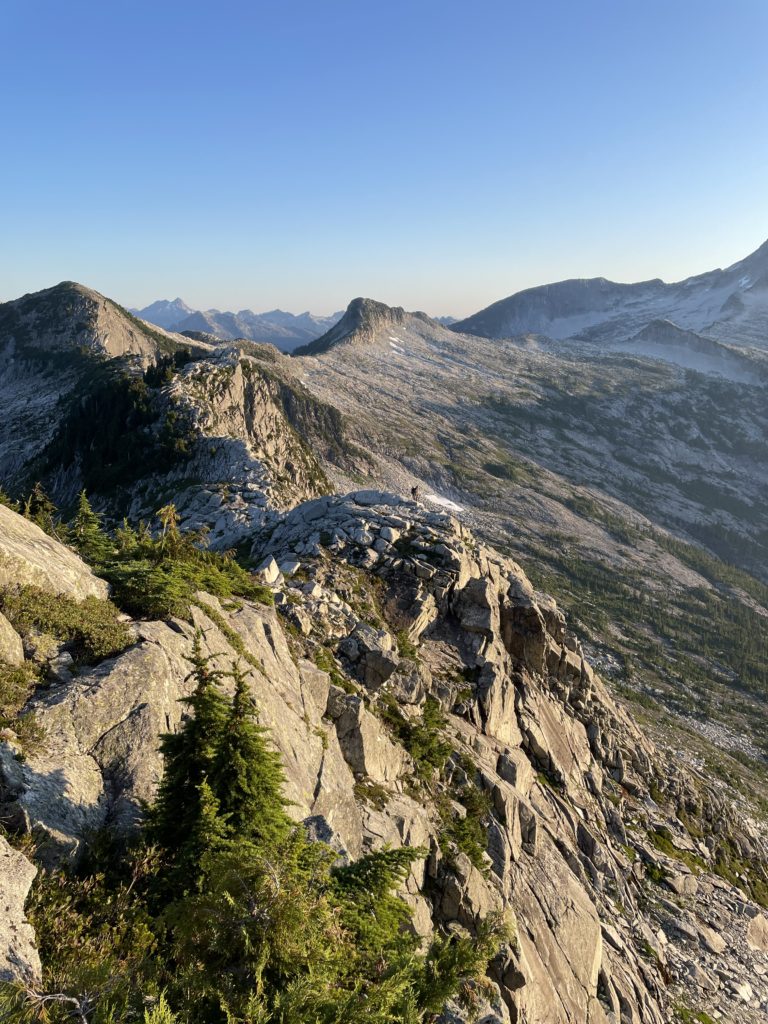
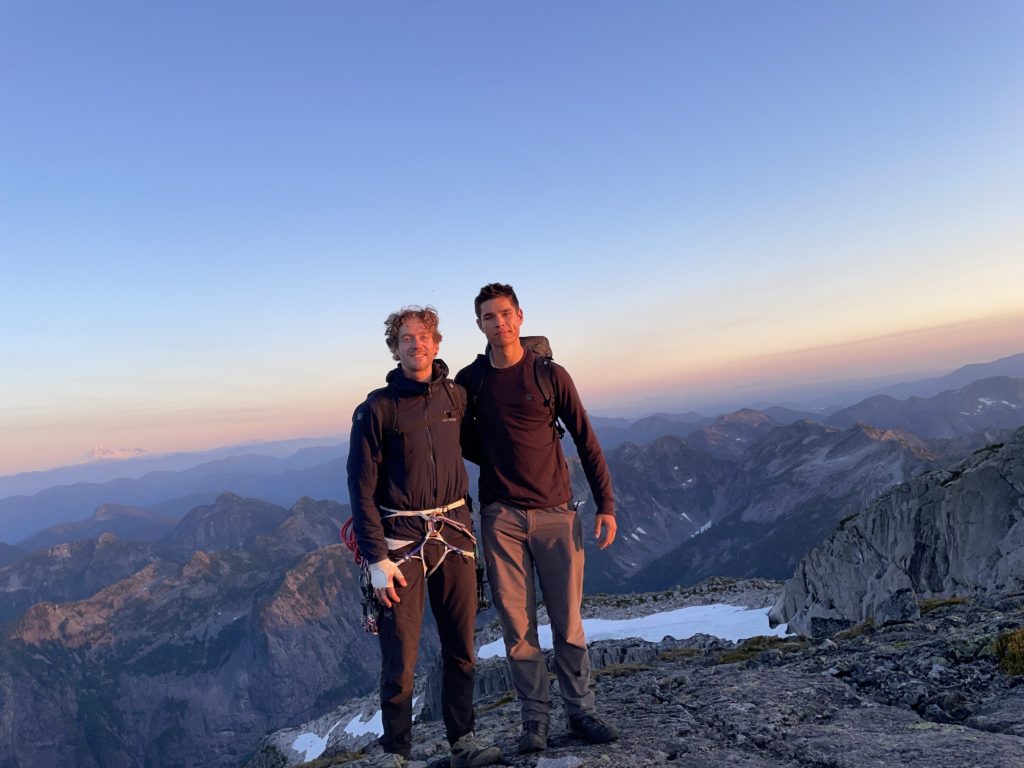
Ahead looked to be more 5.6/7 terrain but it was a bit unknown and exploratory. I climbed about 35m up to a ledge and then spotted a few options. Above was a steep dihedral that looked do-able and had some protection. There was also a ledge system out right that could lead to easier terrain. I didn’t want to try the dihedral without a closer belay, so I brought Brayden up and then set off to get us to the summit. I traversed climber’s right to the ledge system to check it out first and found it wrapped around to a short corner with easy stemming. I decided to commit to this and climbed up about 4m where I topped out to the summit at last! The sight of the summit cairns was one of the best I’ve had in awhile.
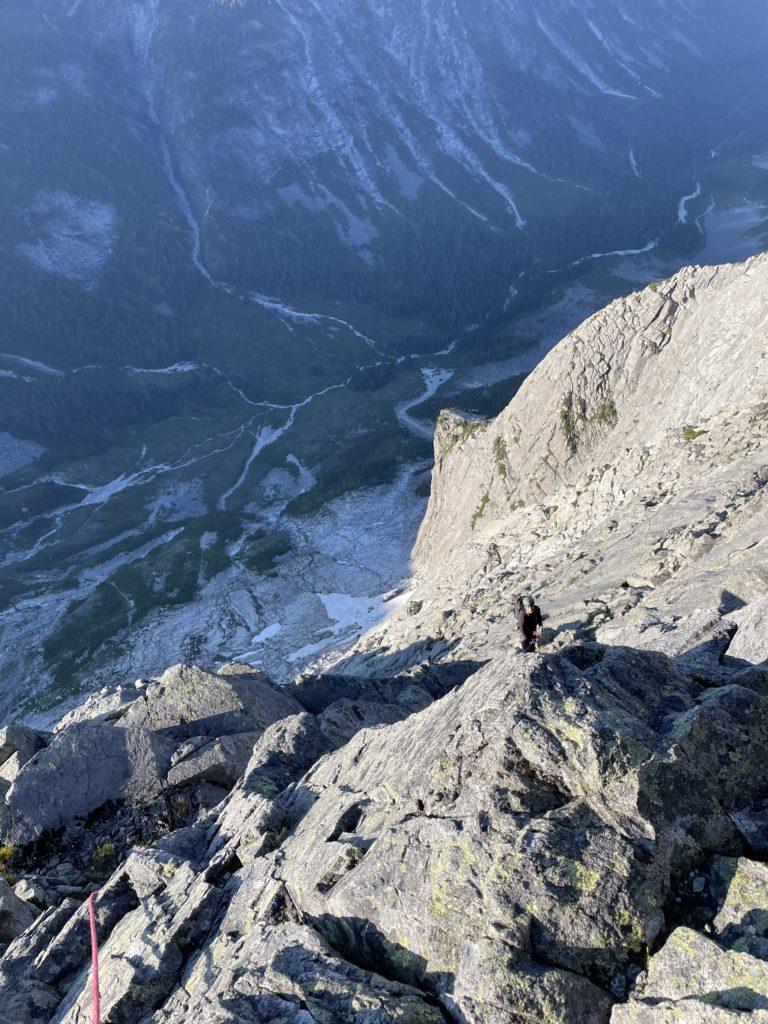
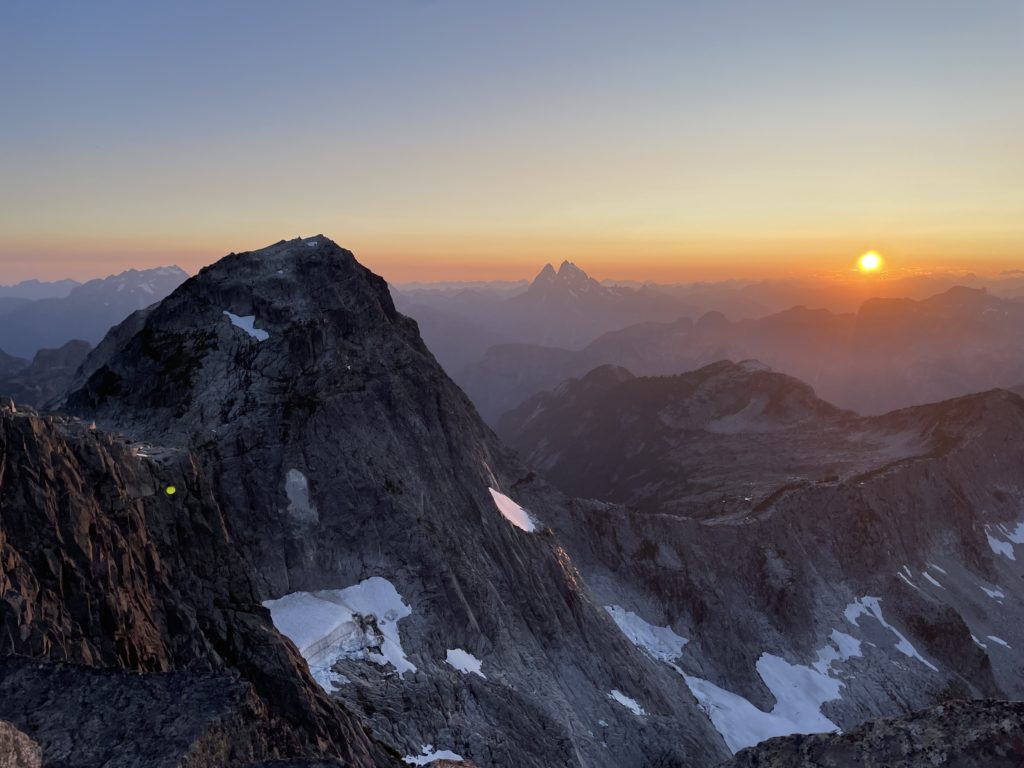
Brayden joined me on the summit a few moments later and we were both relieved to finally finish the climbing. By now it was 8PM and it had taken us about 12 hours to complete the route. That posed another dilemma as the sun would soon be setting and we had at least 3.5 hours back to the car descending on non-trivial slabby granite terrain. First though, we headed up to the summit, swapped into some more comfortable shoes and packed our climbing gear away. We then started scrambling off the summit while we mulled over spending an unplanned extra night at the col.
About 30 minutes of straightforward scrambling later and we arrived at the tent. I finally made the call to spend an extra night as I was too tired to make the descent down and drive all the way home in the middle of the night. I was exhausted and thankful Brayden agreed to my request even though he preferred to do a straight shot home. We pre-packed our bags for the morning and promptly passed out. I had set an optimistic wake up time for 4:30am and that turned out to be 3 hours too optimistic as we easily slept in until 7:30am.

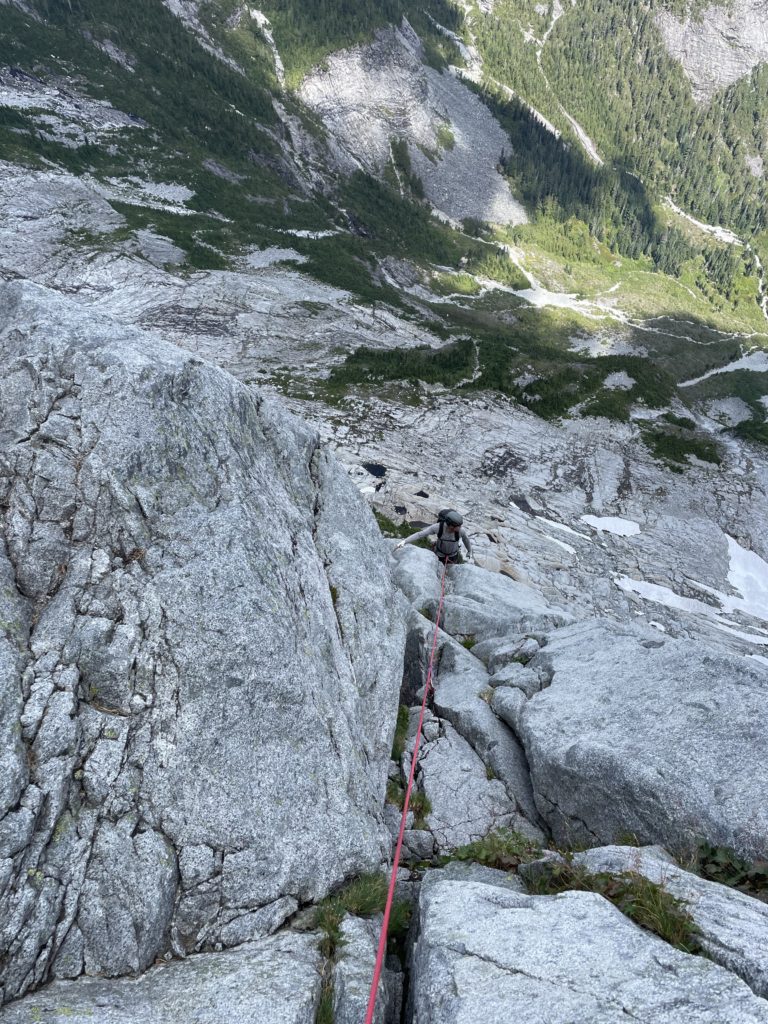
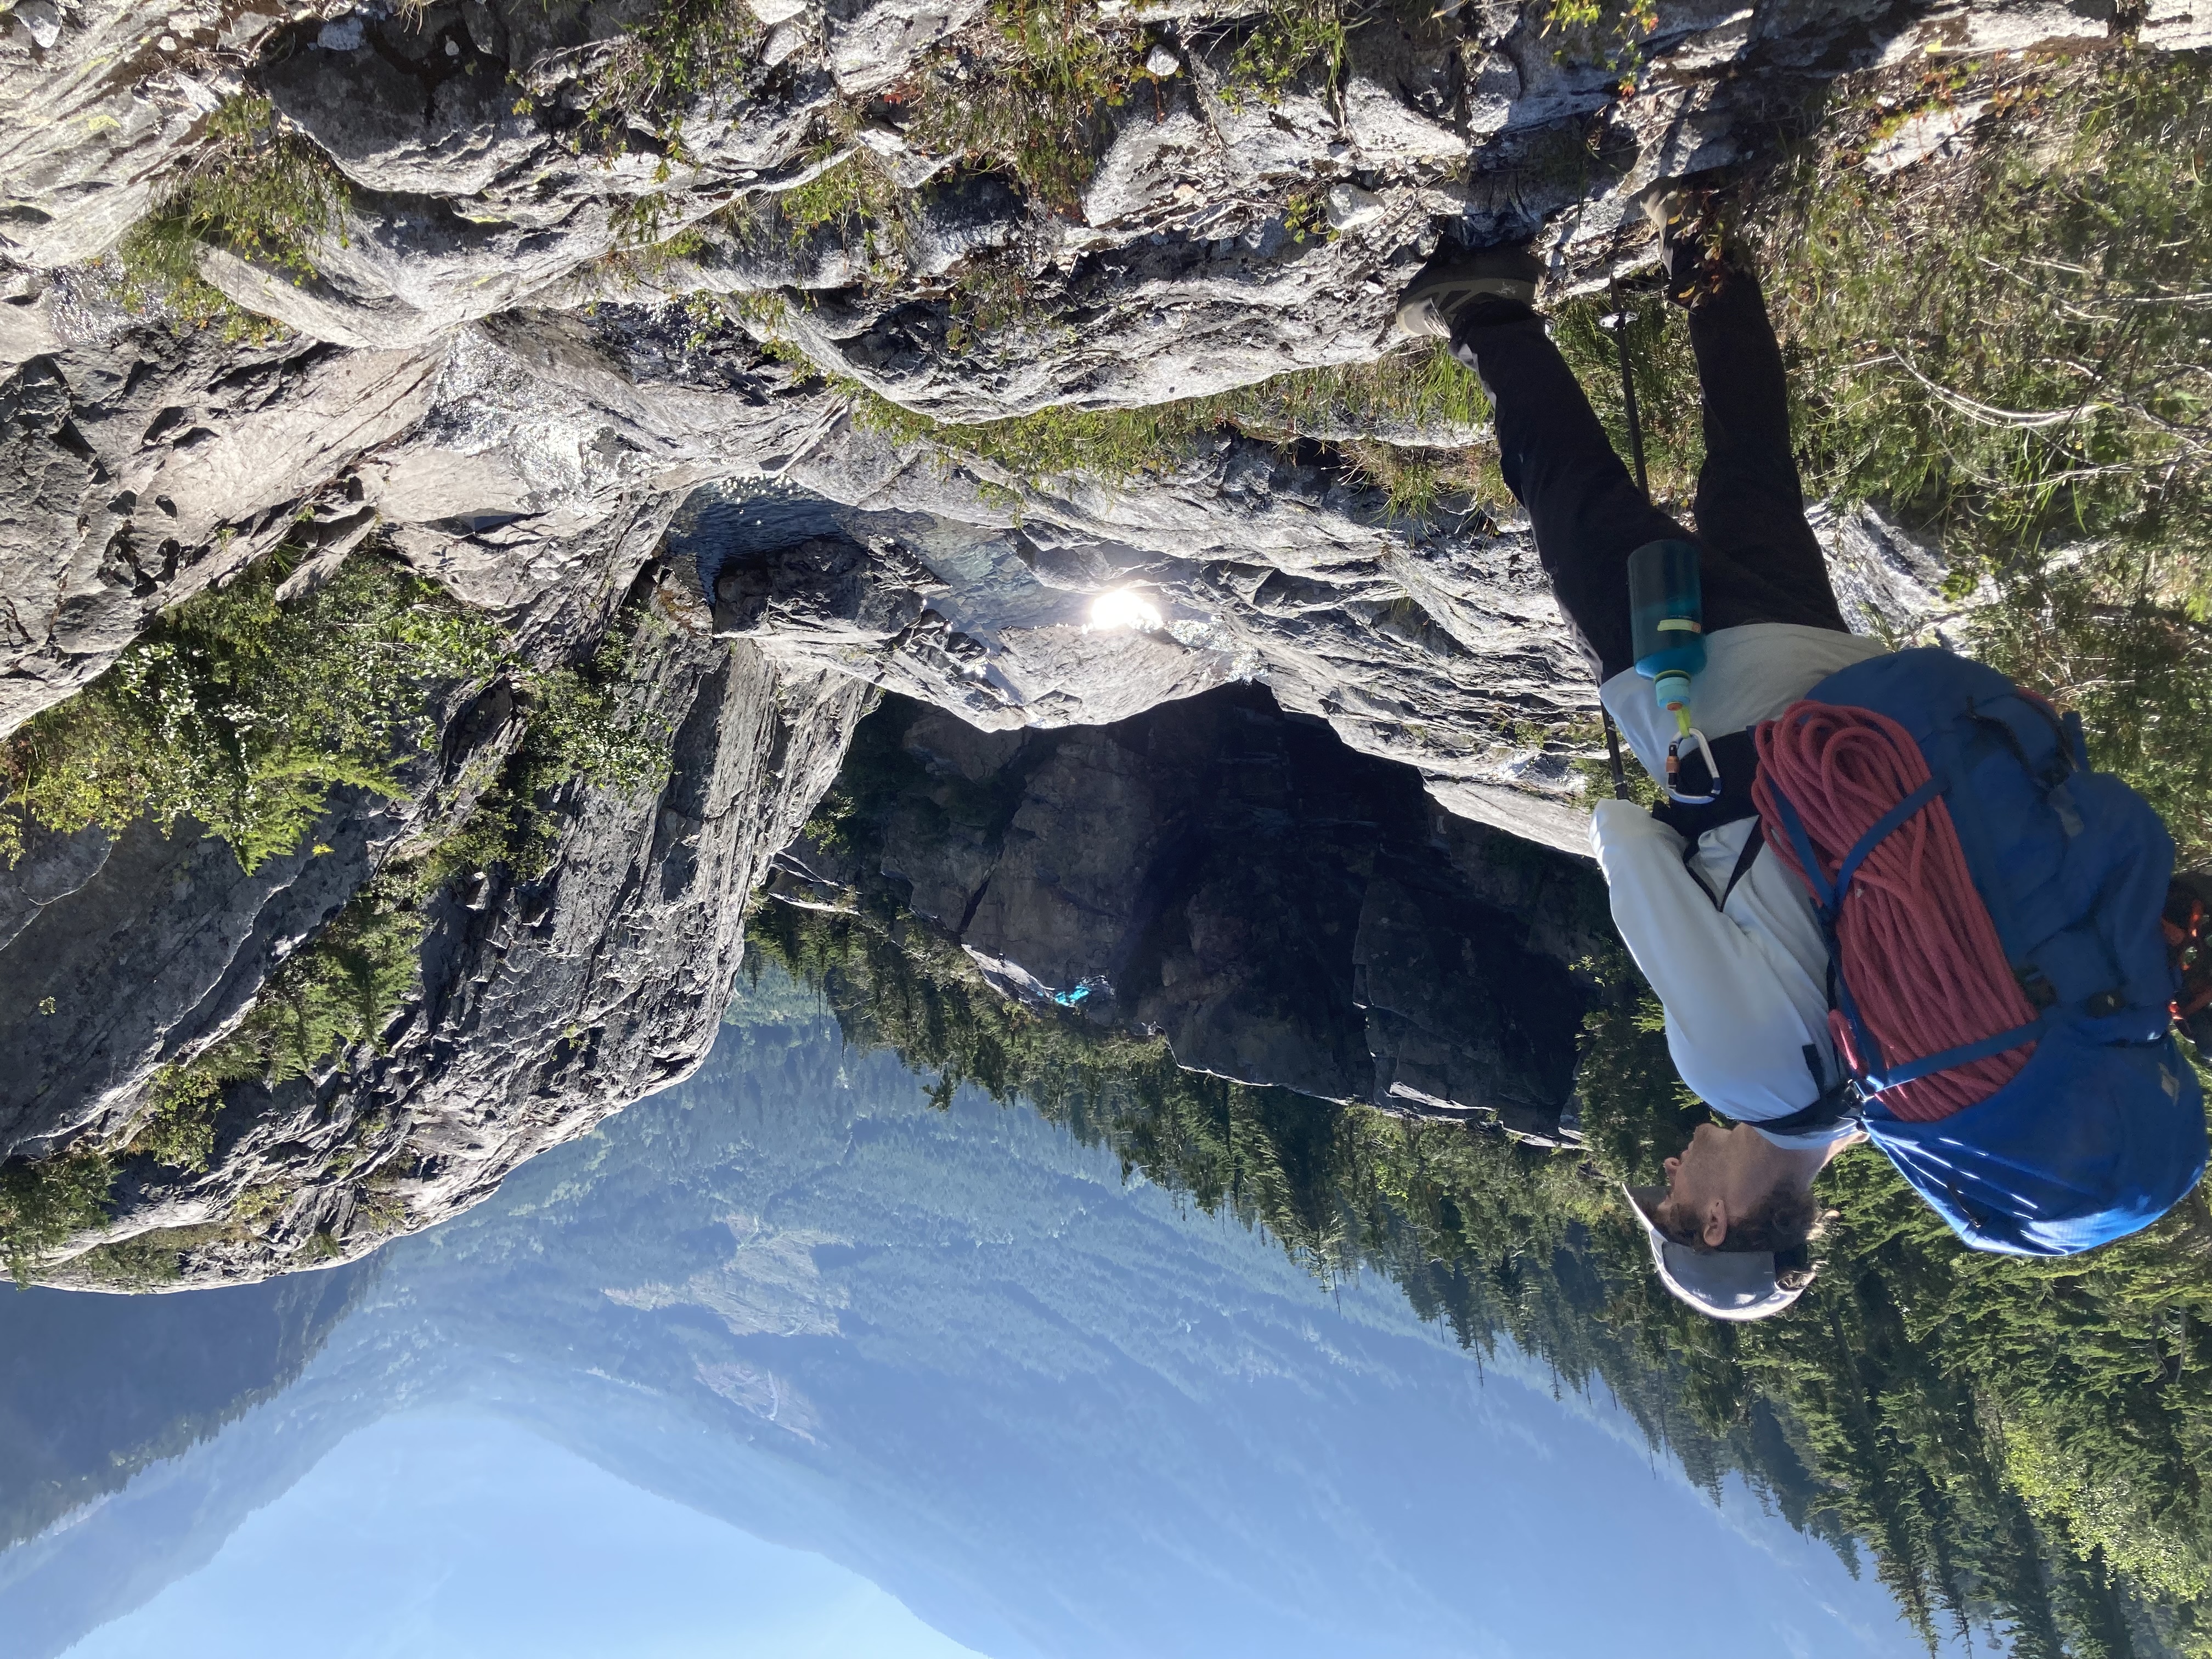
For breakfast we split the 2 granola bars and a clif bar I had left and then hit the road. The descent down was not too bad although we took a slightly different line higher up resulting in a bit more bushwhacking. We soon funnelled into the slab gully and then the route finding was straightforward all the way back to the car. The entire descent took about 3 hours and from there I drove us to the nearest A&W for some much needed food. That concluded a 3 day adventure that will not be forgotten any time soon.

Reflecting now on the whole journey, I feel that first: I did not climb well this trip and my head space was not sufficient that day to do long leads with sparse pro. I was super thankful that Brayden was able to pick up my slack and he lead with great style and confidence. Second, I have to dispute the “classic” nature of this route. The first third was vertical bushwhacking and the majority of the route was granite face climbing often with big run outs. There was no single memorable pitch with say a long splitter hand crack, exposed positioning or interesting sequence of moves. Rather it’s small sections of committing moves where the terrain eases off a bit and then rinses and repeats. If you were expecting typical granite finger or hand cracks you will find they were few and short. At the end of the day it was a cool adventure and my first in a mostly exploratory alpine route. This certainly won’t stop me from trying more, but I think I need to build on my face climbing skills more as I’ve over emphasized on crack climbing as of late.