
(Stats include all 7 days)
Elevation Gain: 4,388m
Distance: 104.8km
Total Time: 7 days
Dates: Sept 3rd to 10th
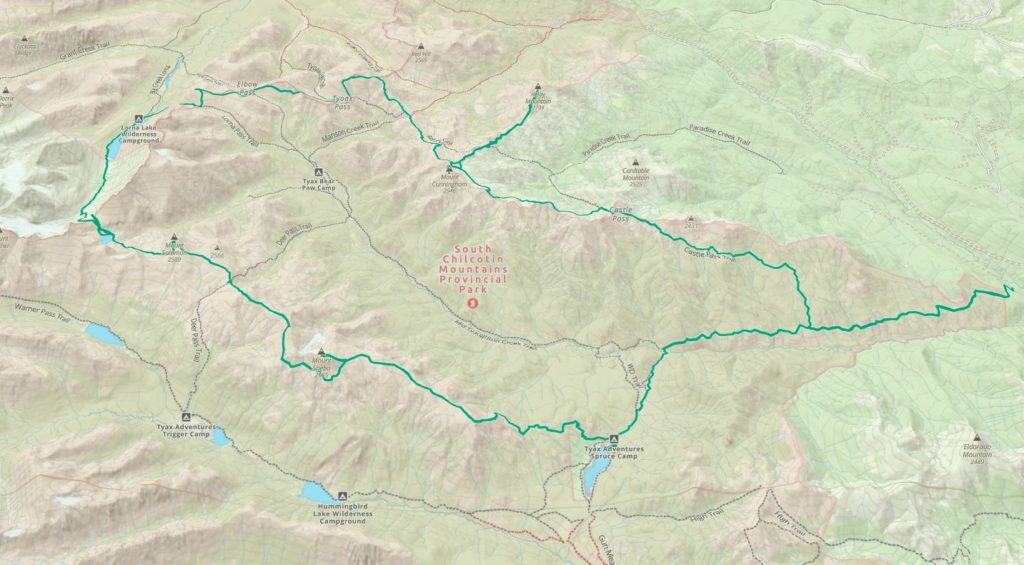
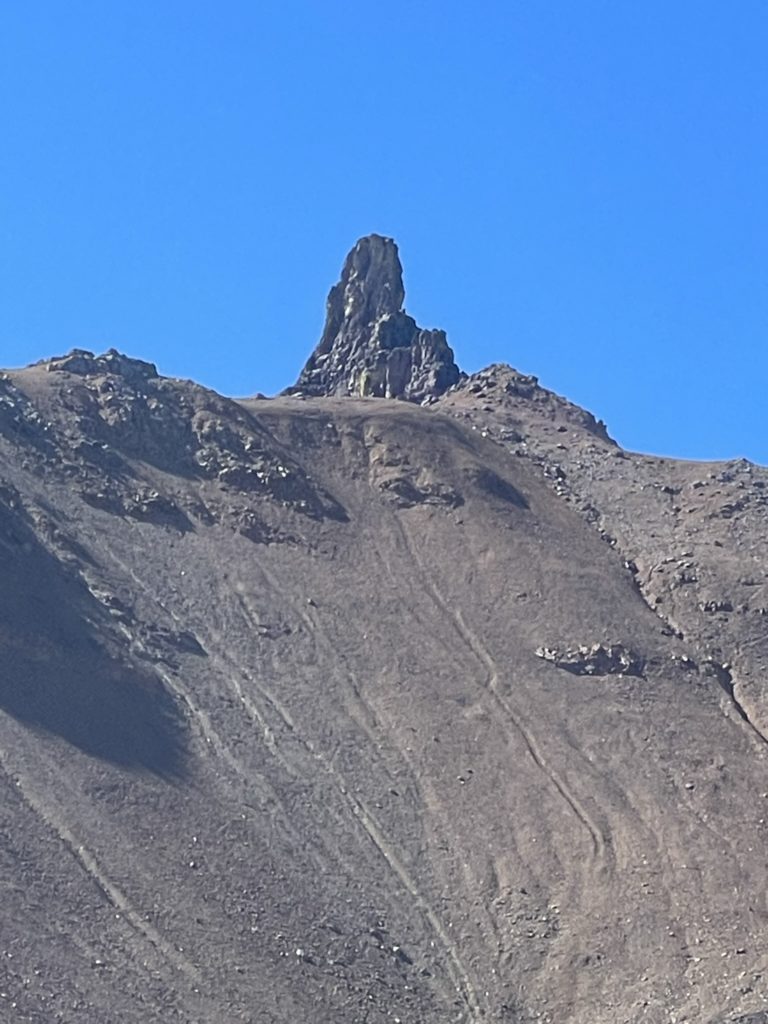
Relay Mountain is one of the tallest summits in the South Chilcotin Park and certainly the tallest in the distinct area north of Gun Creek. It’s a rather unique looking summit in BC resembling the prominent and striking mesas around Arizona or Utah. Andrea and I never had plans to ascend this peak when we created our traverse idea around the Chilcotin’s, but after seeing several times over the course of trip, it had to be added on.
We had just finished hiking up to Mount Cunningham and now we planned to traverse the long connecting ridge to the base of Relay Mountain. There’s 5 or 6 distinct ridge high points that all must be side-hilled, climbed or otherwise traversed to reach Relay and then it must be regained on the way back. With no time to waste, we got to it though and Andrea lead the way down the ridge from Cunningham.


The first few rolls were easily overcome, but a large white ridge pinnacle had no easy way over and so we had to side hill around the east side to gain the remainder of the ridge further north. Thankfully this section is only 300m at most and then it’s easy terrain again. An hour after leaving Cunningham we finally reached the base of Relay.

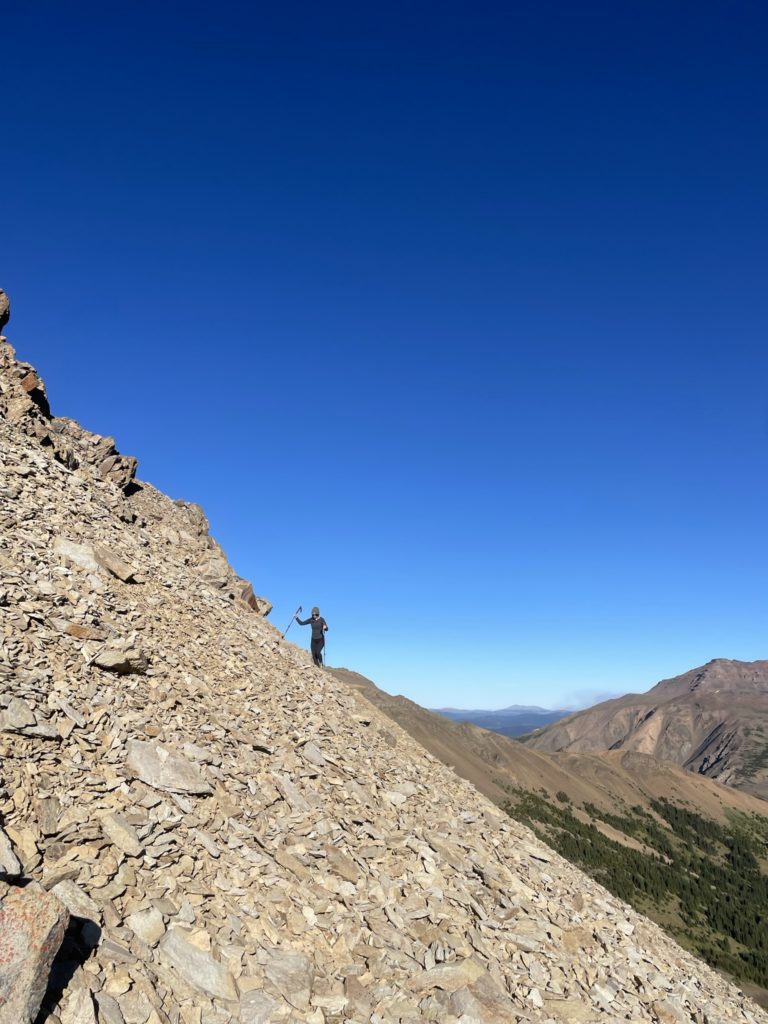
The first order of business is 100m of steep scree slope to reach a low shoulder and then one more steep section to reach the secondary shoulder where the terrain eases off. Andrea and I paused for some snacks before tackling this section and then started our way up. Despite it’s appearance it wasn’t too bad and we made quick work up this section and onto the secondary shoulder.
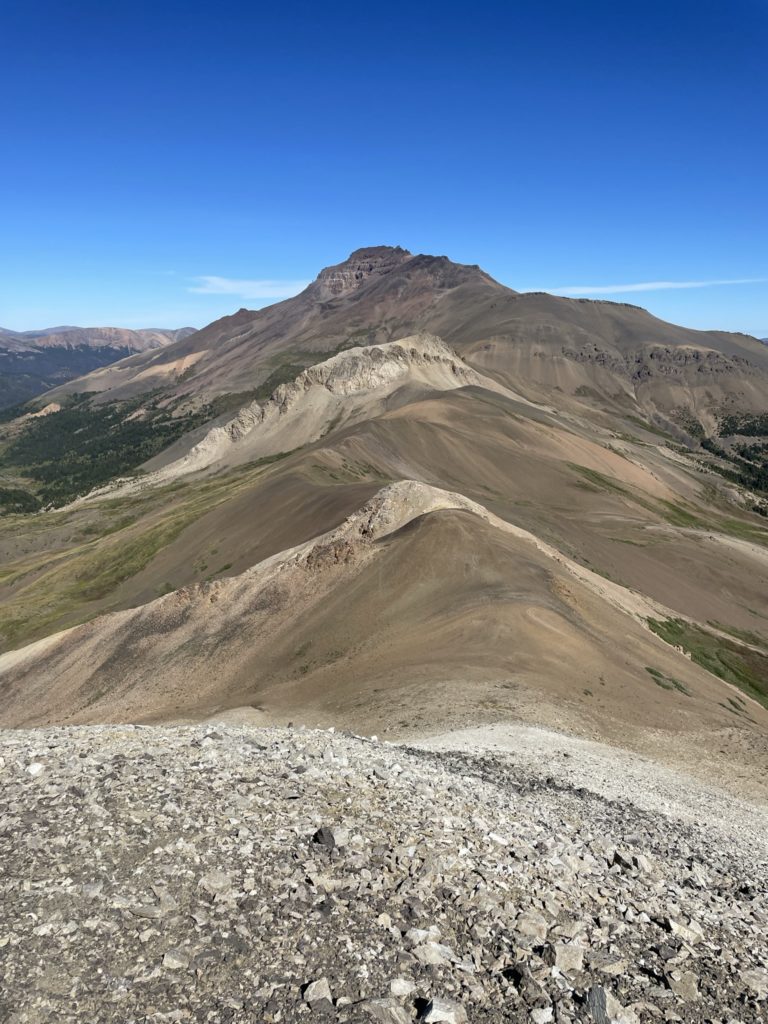
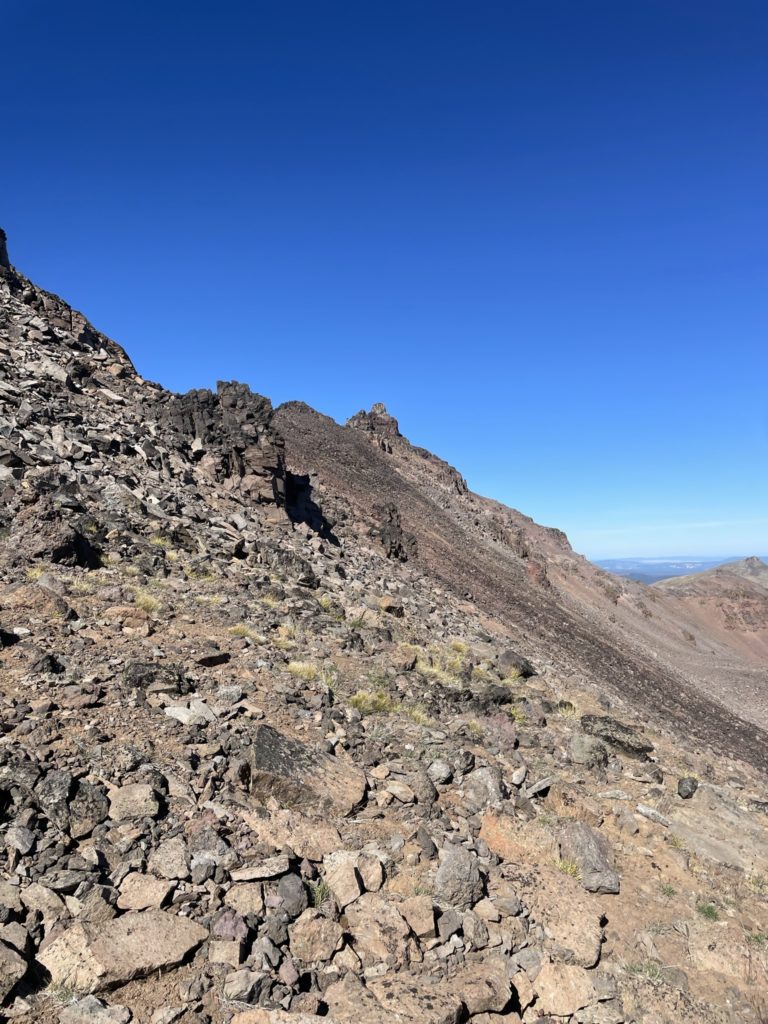
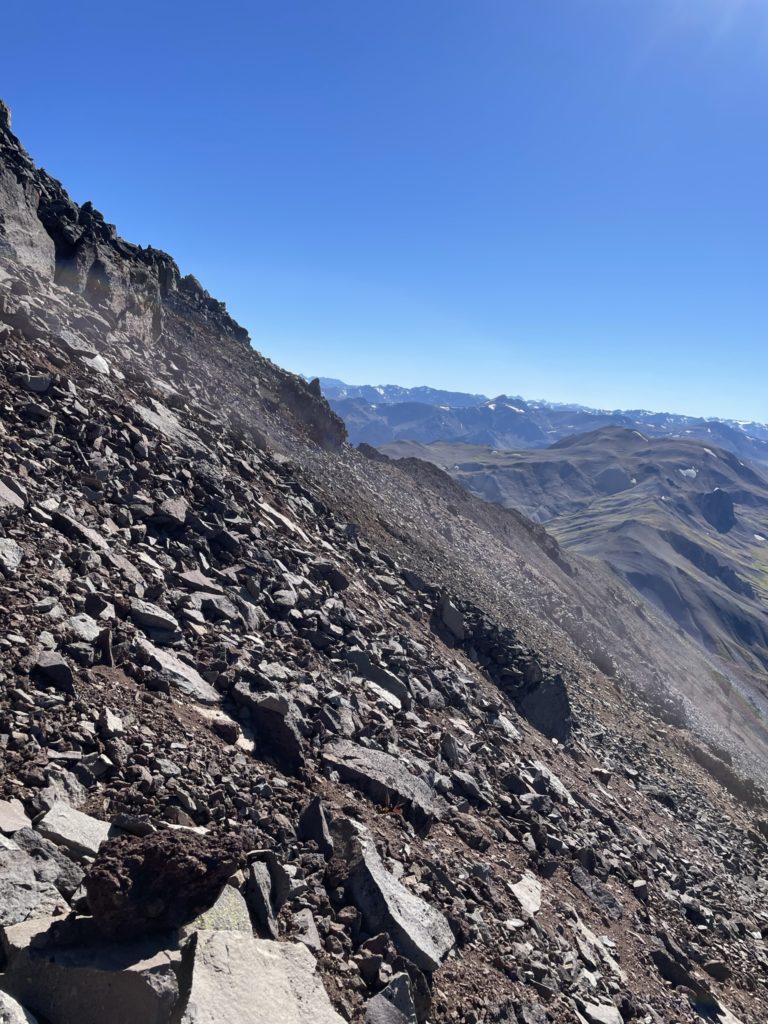
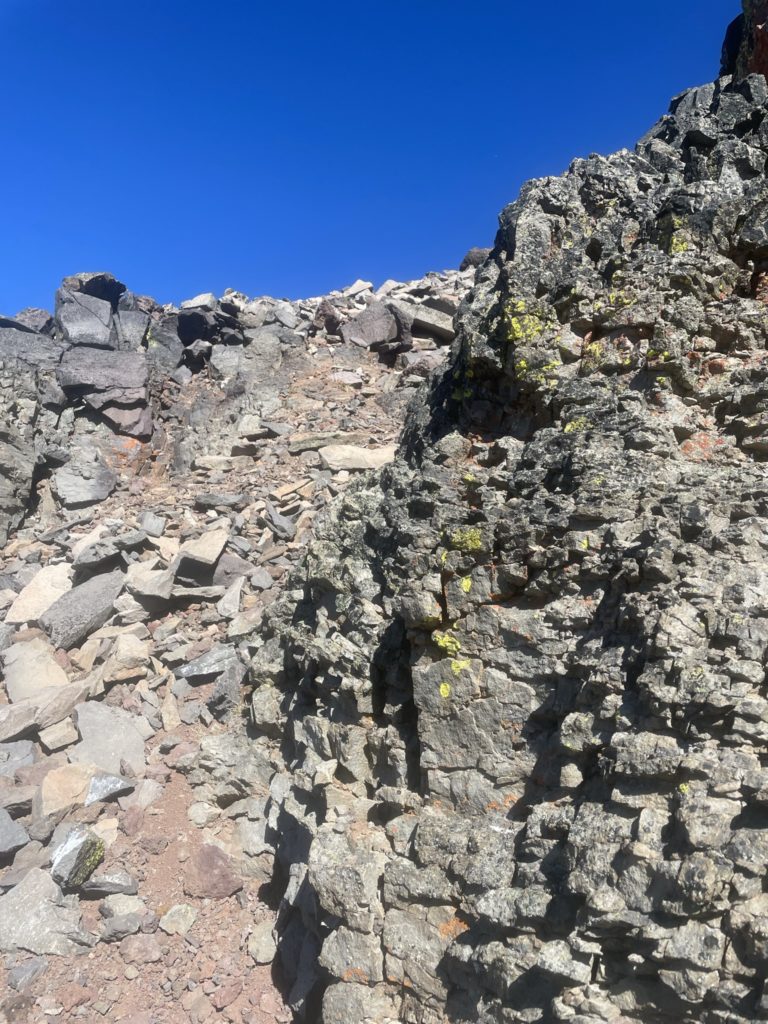
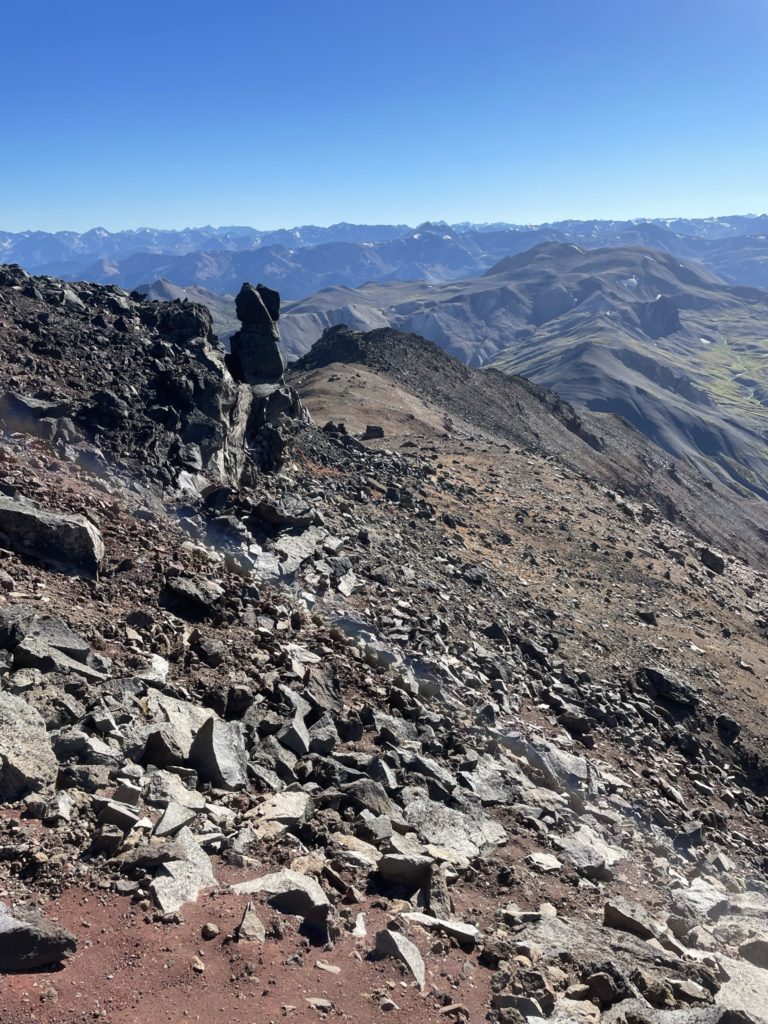
From the shoulder the broad ridge tapers into a narrower section with occasional loose rock towers forcing us to go climber’s right or left onto the chossy flanks. As we climbed higher we were forced climber’s left along the ridge where more loose choss slopes lay above the exposed mesa-like cliffs below. We stuck as close to the ridge as possible and for the most part stayed directly on top of it. It’s mostly class 2 choss scrambling, but the occasional 3rd class move presented itself. One must be comfortable with the idea of being on a loose slope above the cliff, but rest assured if you’re high enough up, you won’t be sliding off.


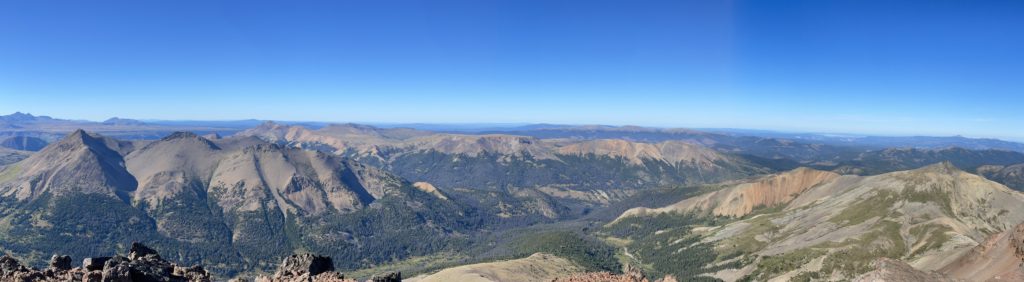
The terrain was slow going and after navigating around several gendarmes we regained the ridge for the last time and then rambled another 100m to the summit. The summit area itself is over a 100m long with several small distinct bumps. Each could be the true summit, so we made the effort to traverse all the way to the end and get some views towards Big Creek Provincial park.


After a brief snack break, we headed back down to the southern end of the summit area. This time we placed more effort on staying on the ridge proper to avoid the chossy terrain around the sides and for the most part we were able to stay directly on the better rock of the ridge. Our effort was rewarded as we were able to reverse our course in half the time of the ascent and before long we were back on the broad southern shoulder. Now we could just boot ski the rest of the way down to the connecting ridge with Cunningham.


Reversing the ridge course was a straightforward task, as we just used the same route as before, but regaining all that elevation did not prove easy. We slogged our way up and after an hour finally reached our packs again. That concluded the last two summits of our trip and now we just had the one final evening before heading out of the park on the next day.


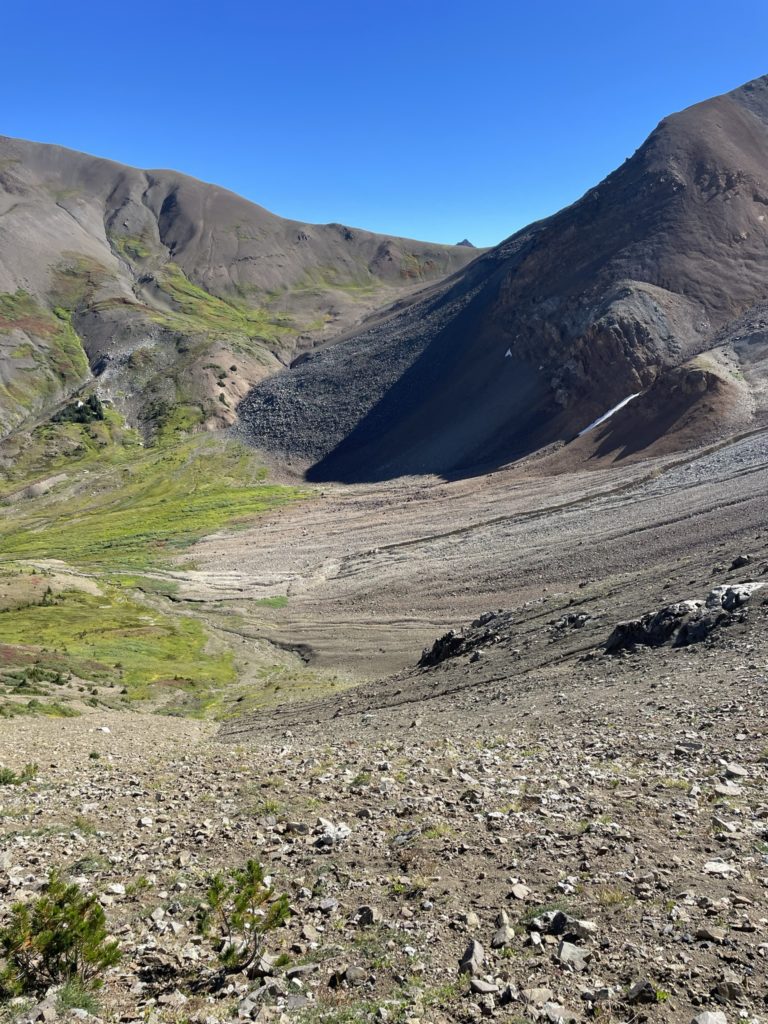
To make the exit as seamless as possible we wanted to get camp close to castle pass to keep the descent around 20km or less to the car. So, after gathering our bags we headed down into the valley towards a small pass around 2300m and a stream system that fed into the valley below. Here we spotted numerous signs of bear activity and decided to push on further to higher alpine terrain. The next ridge high point over supplied us with a great vantage point and flat spot for camping so we decided to settle there for the night.
In the previous 3 nights we had arrived late in the night and so it was nice to set up camp early and enjoy the sunset for one final evening while making dinner. Thanks to that, we were rewarded with a full moonrise above Castle Peak and a visual I’ll never forget. The following morning we packed up by 9:30AM and made one final ridge ramble towards Castle Peak before dropping down to Castle Pass. Then it’s a long 21km exit to the car.


Those 7 days in the Chilcotins are days I’ll never forget with sunsets, moonrises and alpine lakes that will forever be etched in my memory. This is one of those parks, that in my opinion deserves much more attention, but the long approaches will probably keep day trippers away. A multi-day traverse of this area should be on everyone’s agenda at some point, as the views are some of the most unique I’ve seen in BC.
Thanks again for all the great photos. I haven’t been up Relay but have scrambled up Cardtable. Great memories.
Of course and nice to hear from someone whose been in the area before! Definitely a very special place