
Elevation Gain: 1,461m
Distance: 13.73km
Total Time: 17 hours 32 minutes
Date: August 6th/7th, 2022
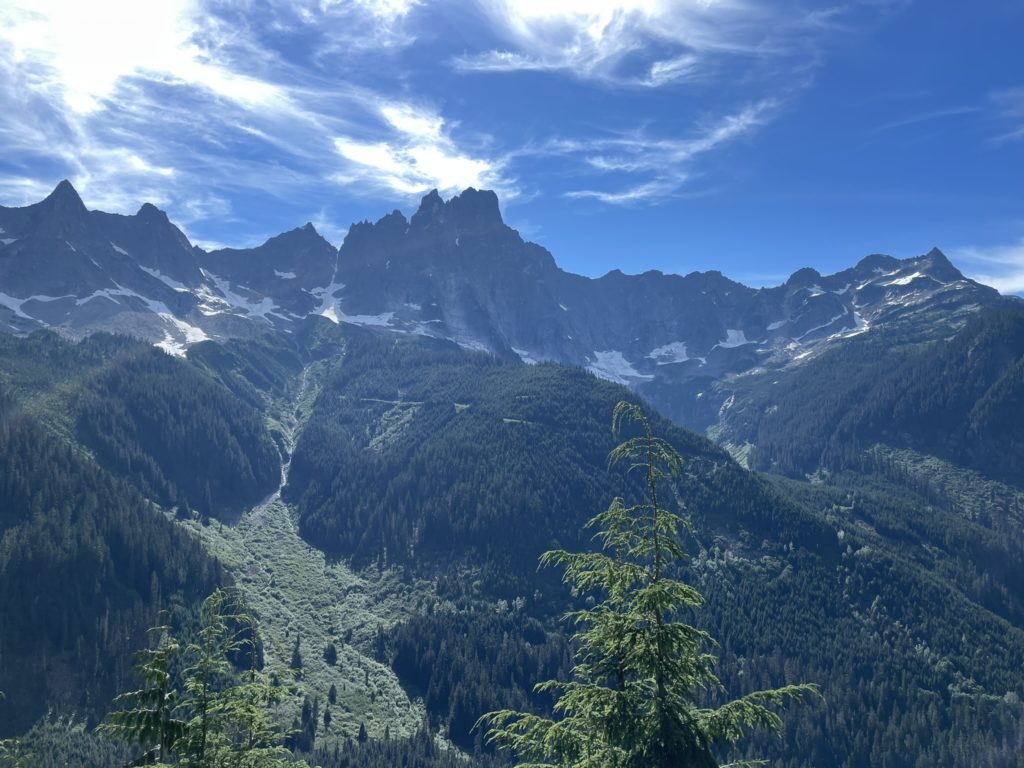
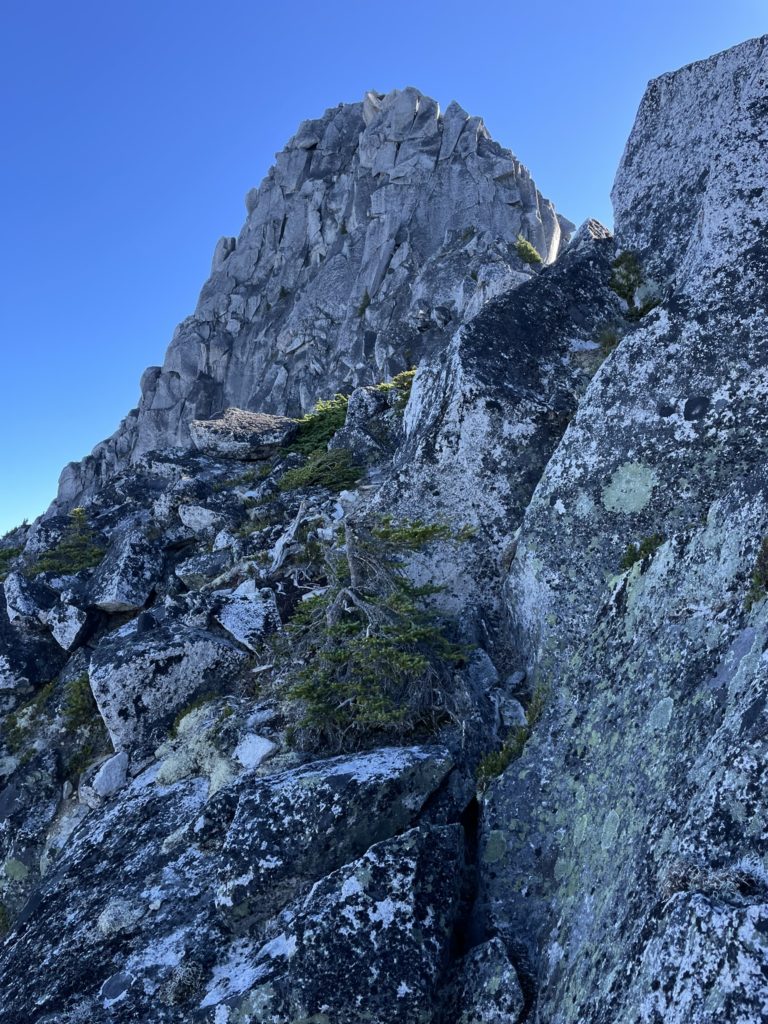
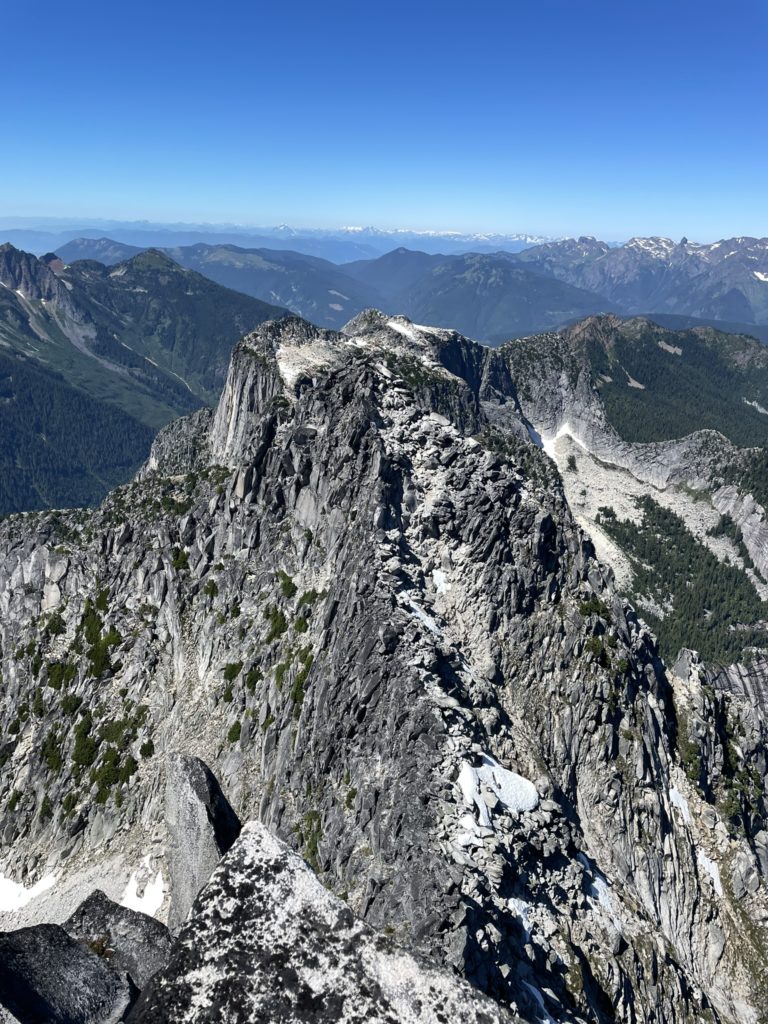
Nesakwatch Spires is a dual set of steep granite spires located in the southern end of the Chilliwack Valley and the immediate neighbors of Mount Rexford. This area is super popular among alpine climbers thanks to a number of challenging, aesthetic routes up clean granite to the summits. Directly across the valley is the famous Mount Slesse and it’s Northeast Buttress, meanwhile the closer vicinity contains other elusive climbing objectives such as the Chinese Puzzle Wall. My goal this year has been to break into the more technical objectives, so when Winnie invited for an adventure to the spires, I couldn’t say no.
Both spires can be summited by a moderately easy route, with the North Spire offering a low 5th option and the South Spire requiring a few pitches up to 5.7. In previous years I may have chosen the easiest option, but these days I’m interested in the funner and more challenging routes if there are any. For those reasons, we decided on the 5.8+ route up the South Western ridge of the North Spire and then we would link both spires and Mount Rexford together in a traverse known as the Ensawkwatch Enchainment. Mount Rexford itself doesn’t go harder than 5.7 on this route and so the bulk of the challenging climbing would be done on the way to the North Spire.
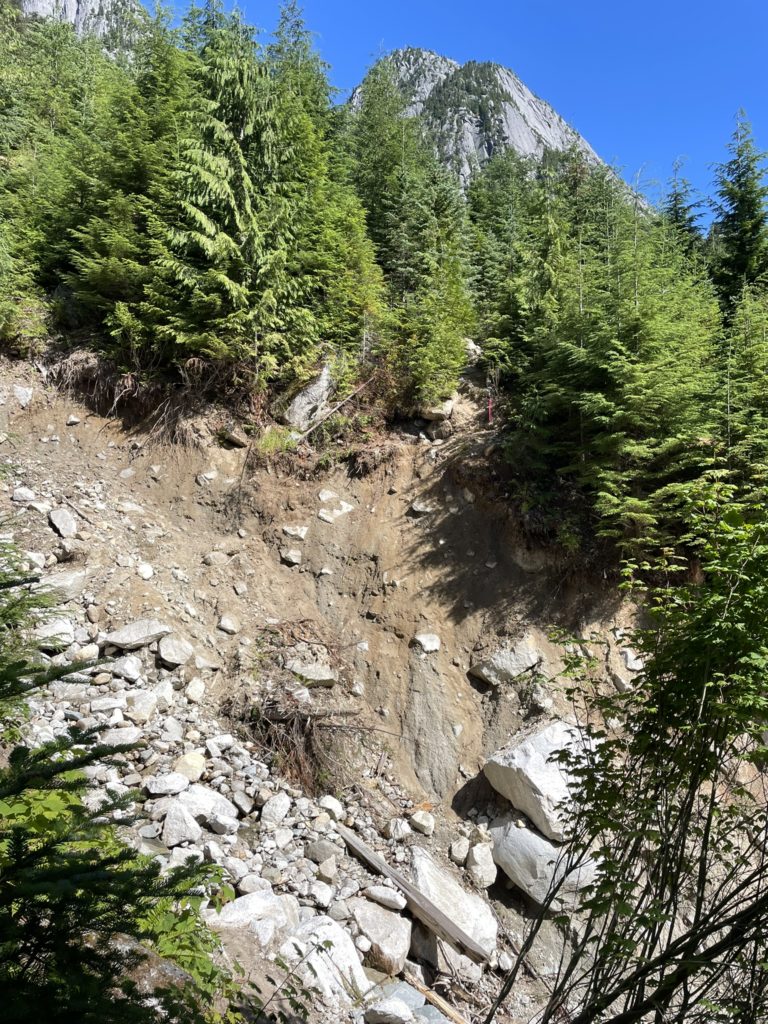
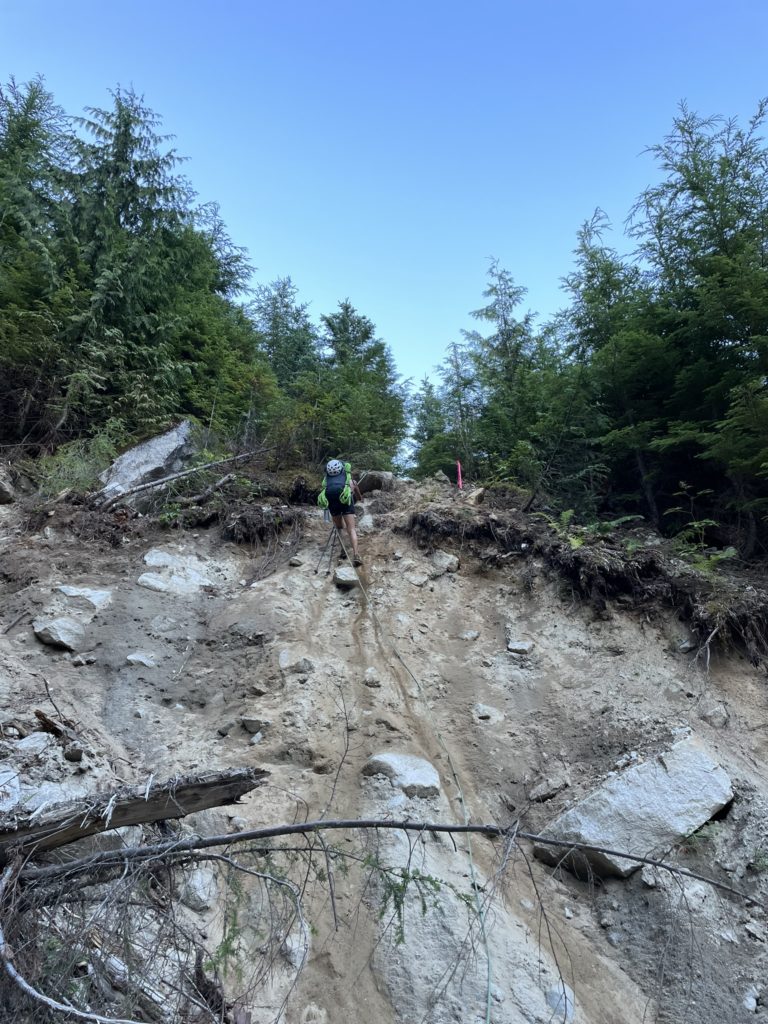
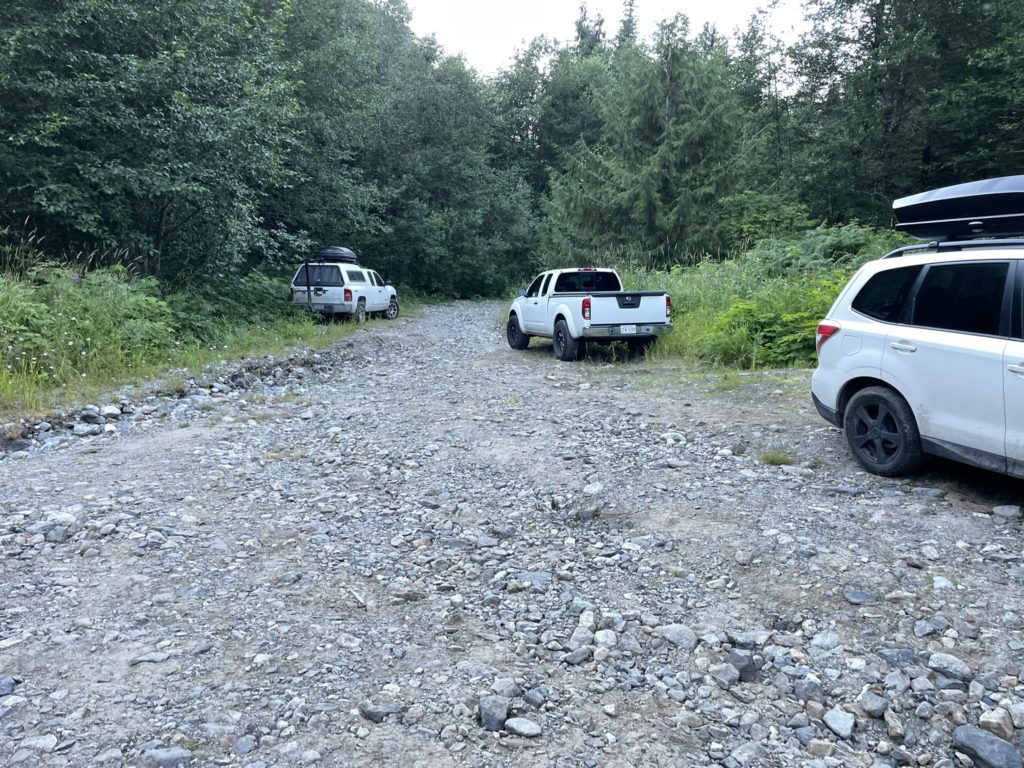
Winnie and I settled on the weekend of August 6th/7th with the idea to take a leisurely approach up on the Saturday afternoon then an alpine start on Sunday to complete the climb. Around lunch time on the Saturday I picked Winnie up from her place in Vancouver and we drove the ~2.5 hours to the Mount Rexford trail head. There was a reported washout on the final stretch of road, but we otherwise found the Nesakwatch FSR in good condition, and very doable in a truck. Once we pulled over we needed to sort out what climbing gear to bring.
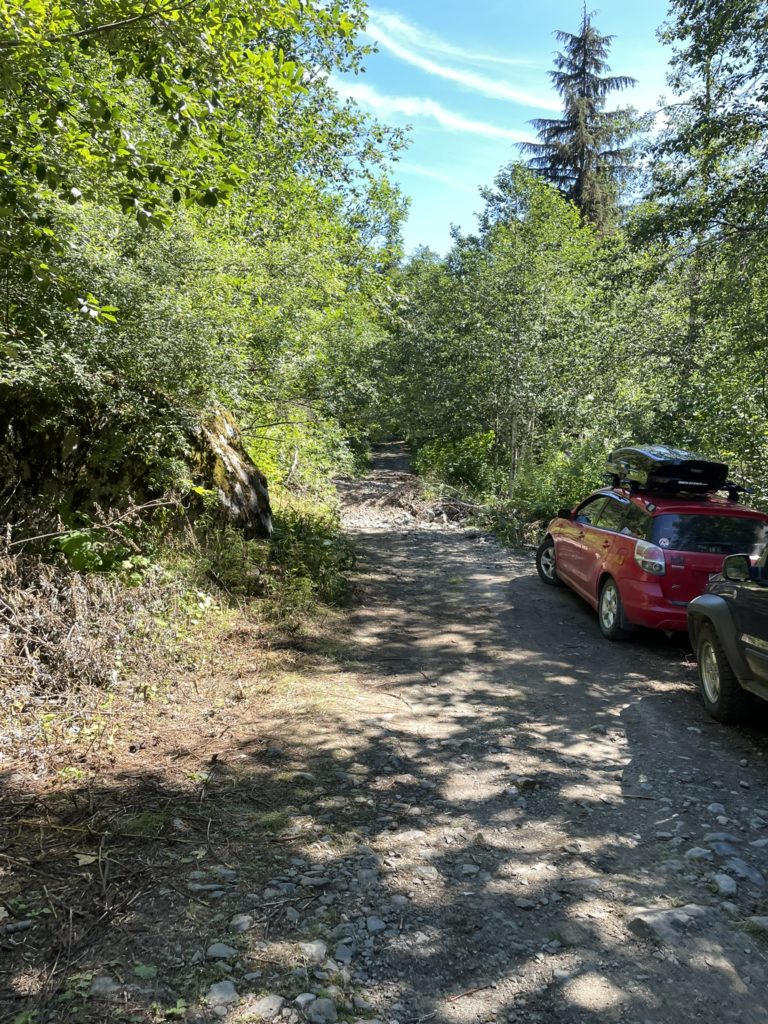
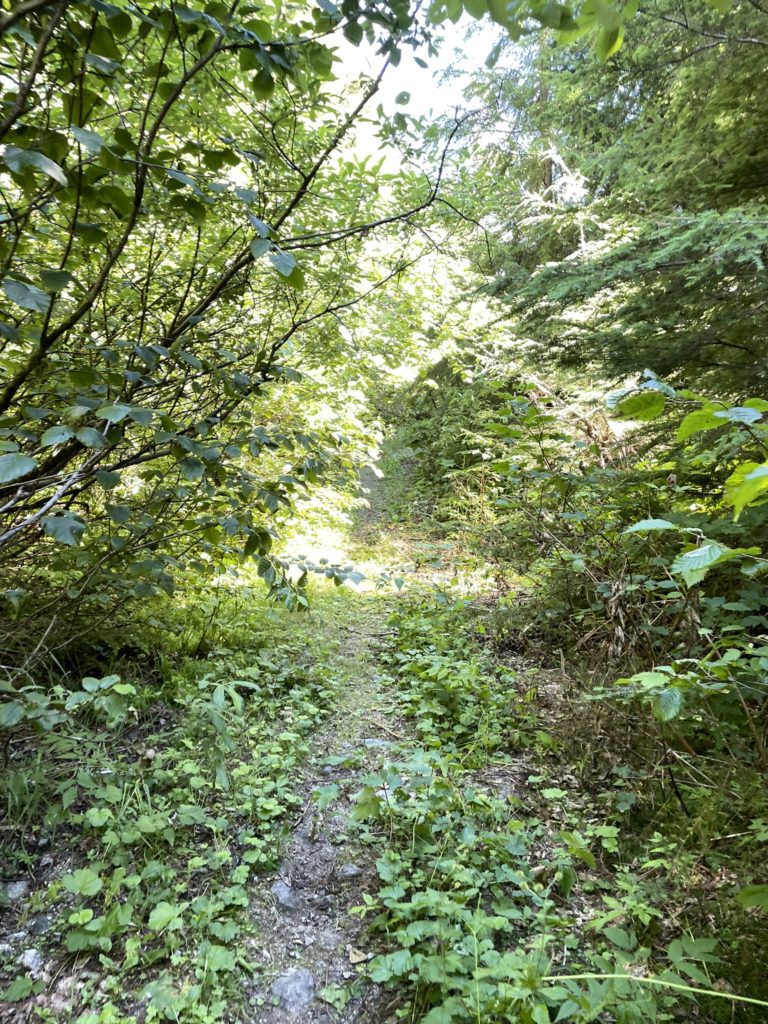
The plan was to use Winnie’s lightweight single rope and then we combined pro to assemble a rack of BD #0.1 to #4 with doubles from #0.4 to #3 and a mix of DMM Wallnuts #3-5 and Black Diamond Stoppers #9 and #13. A few of Winnie’s pieces were the Alien or Friend (can’t remember) equivalent size to the C4s. With the gear sorted we started the plod down the remainder of the Nesakwatch FSR and up to the Rexford trail. The first portion was easy and before long we forked off the FSR and up the well marked foot trail through an old cut block.
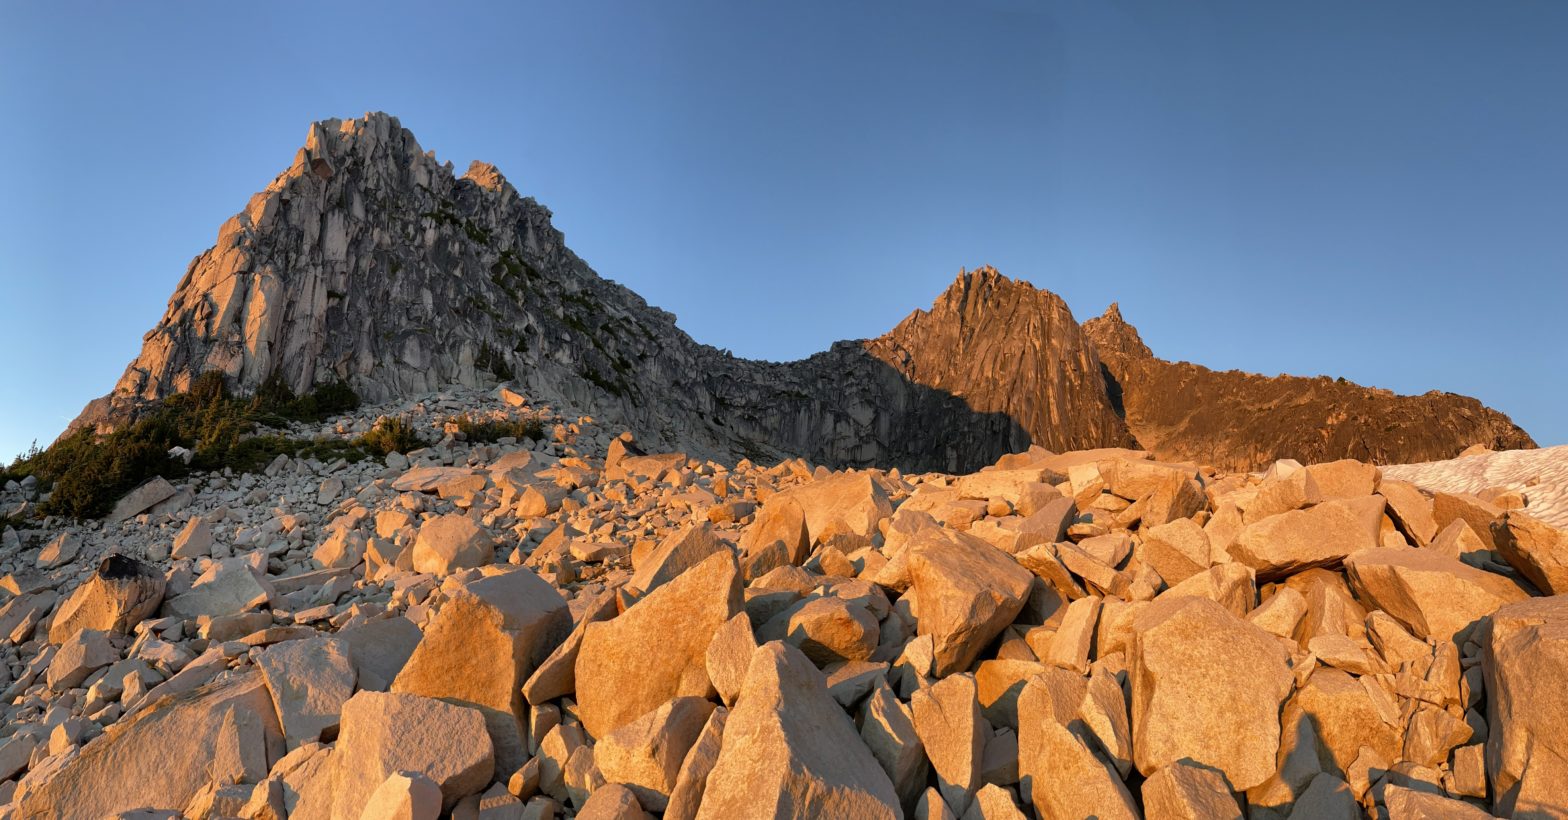
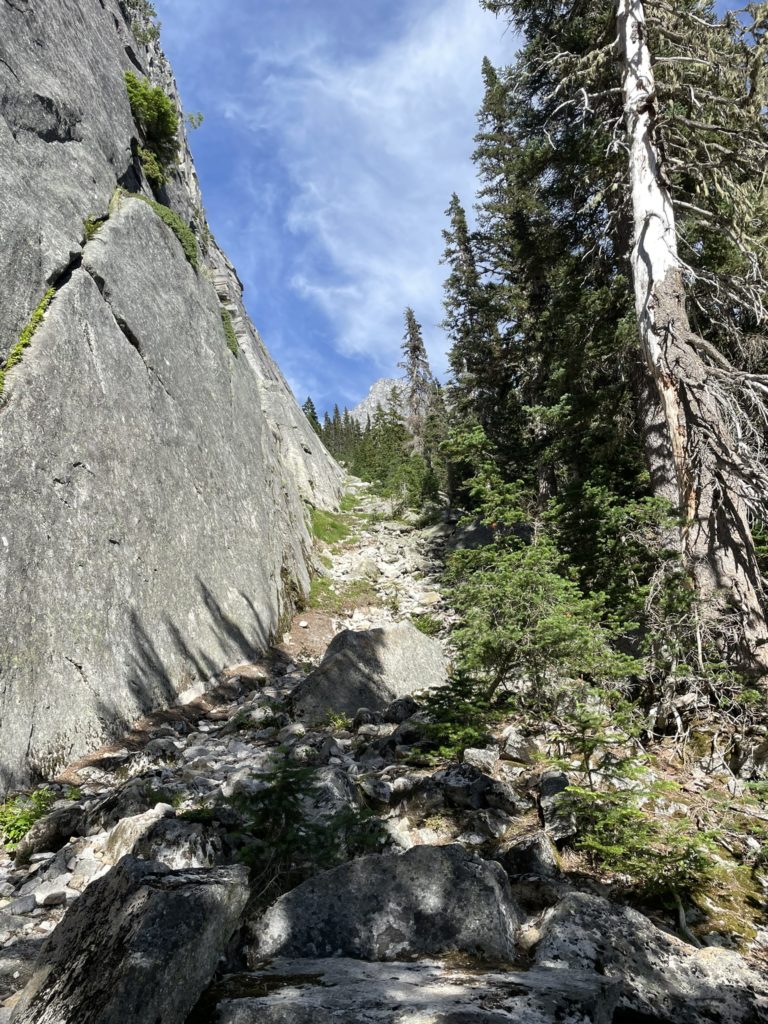
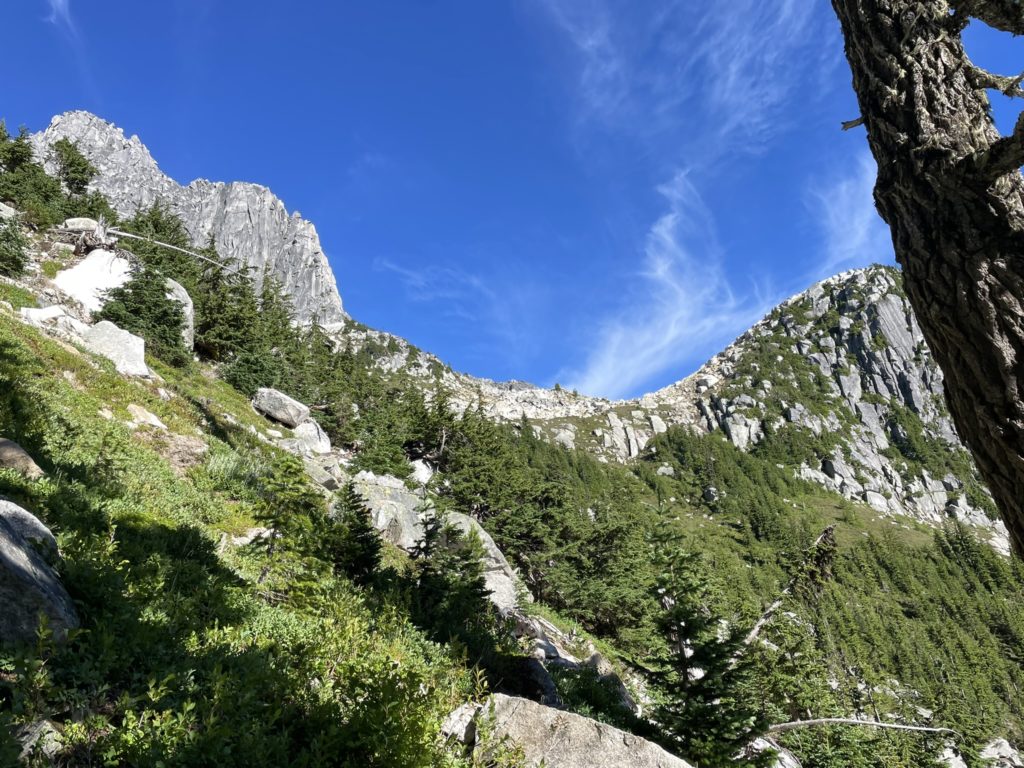
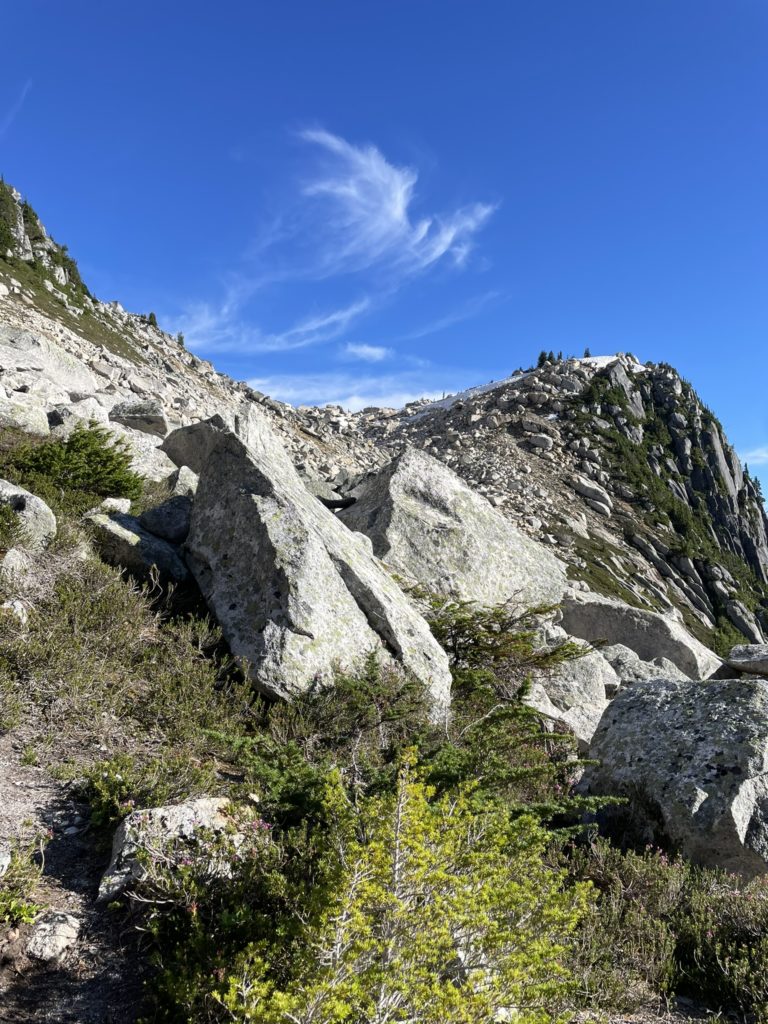
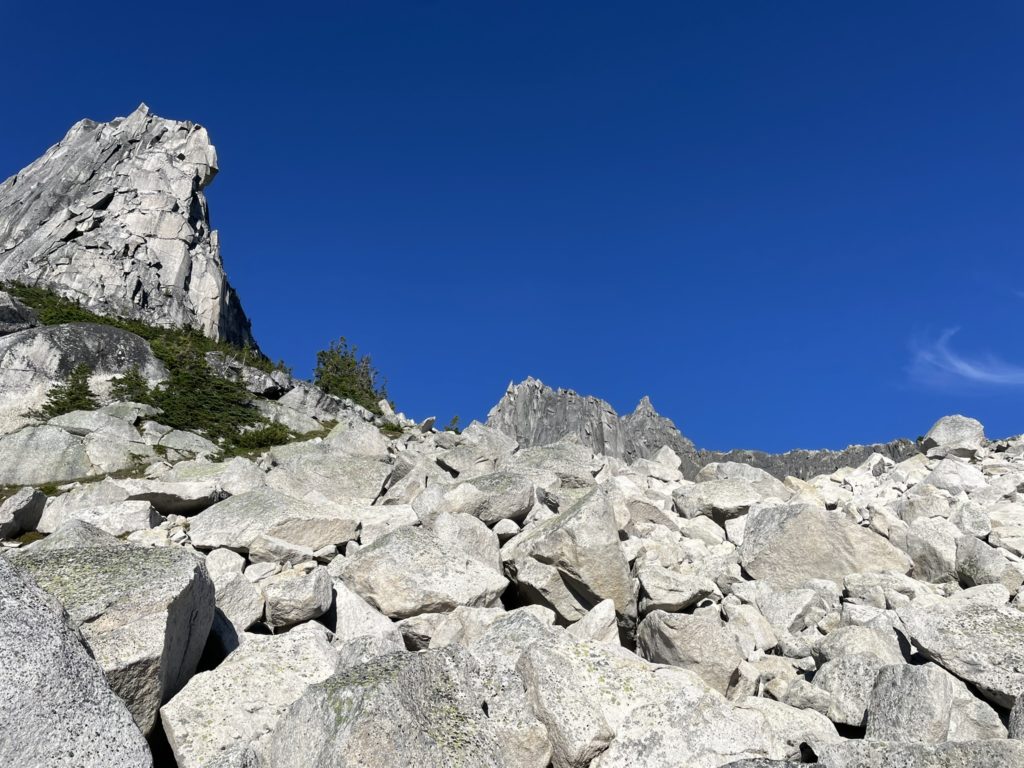
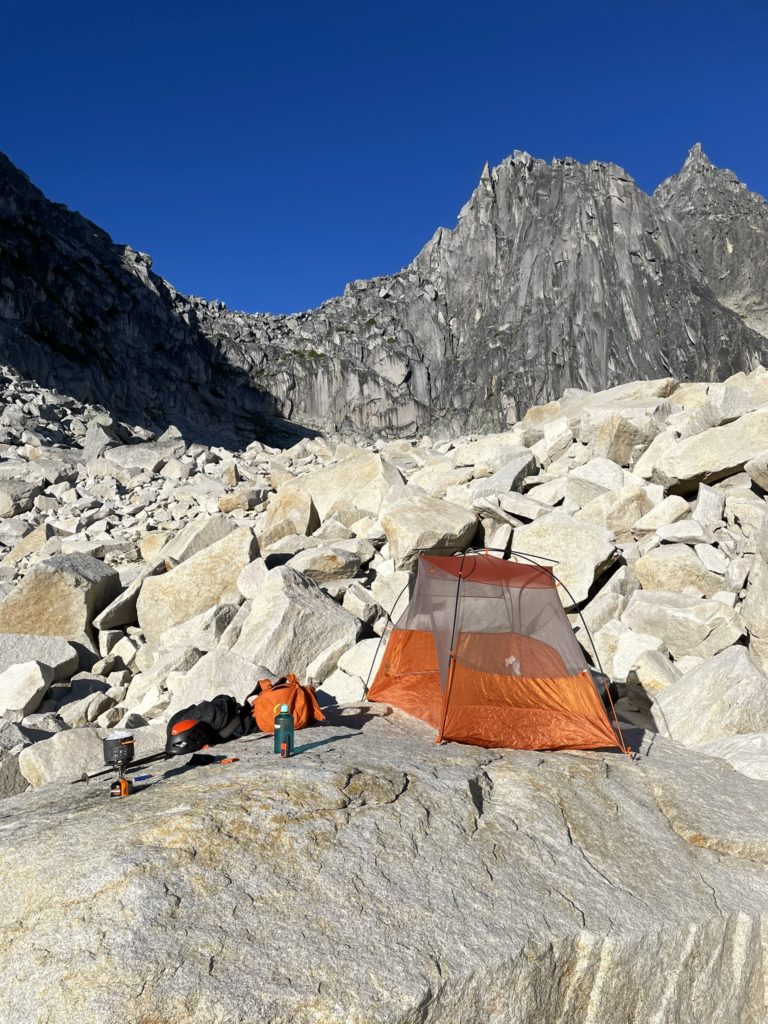
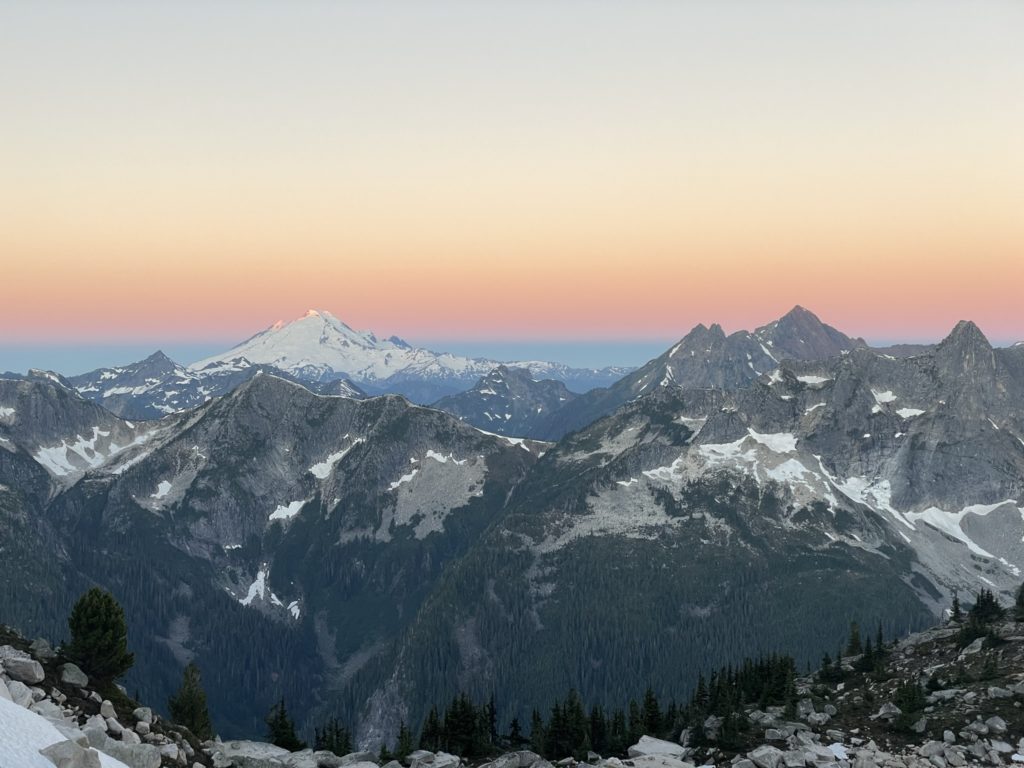
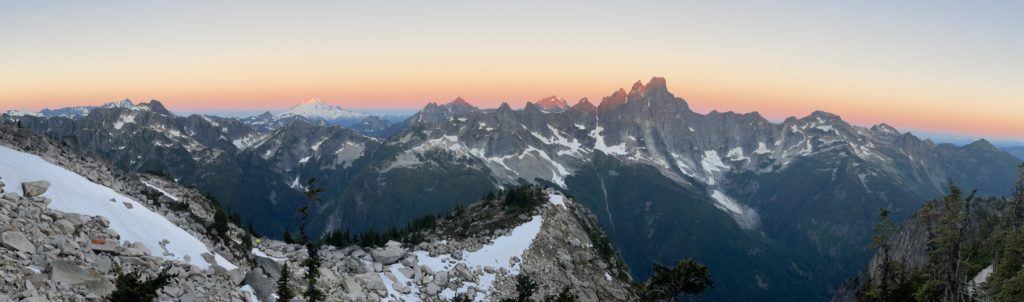
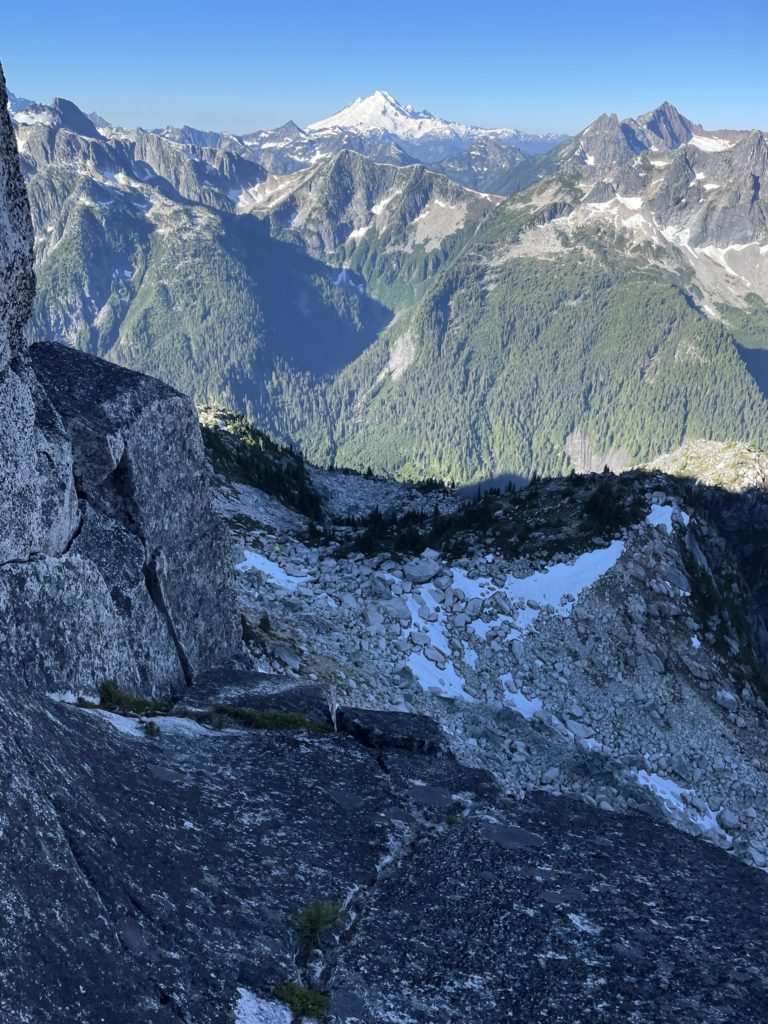
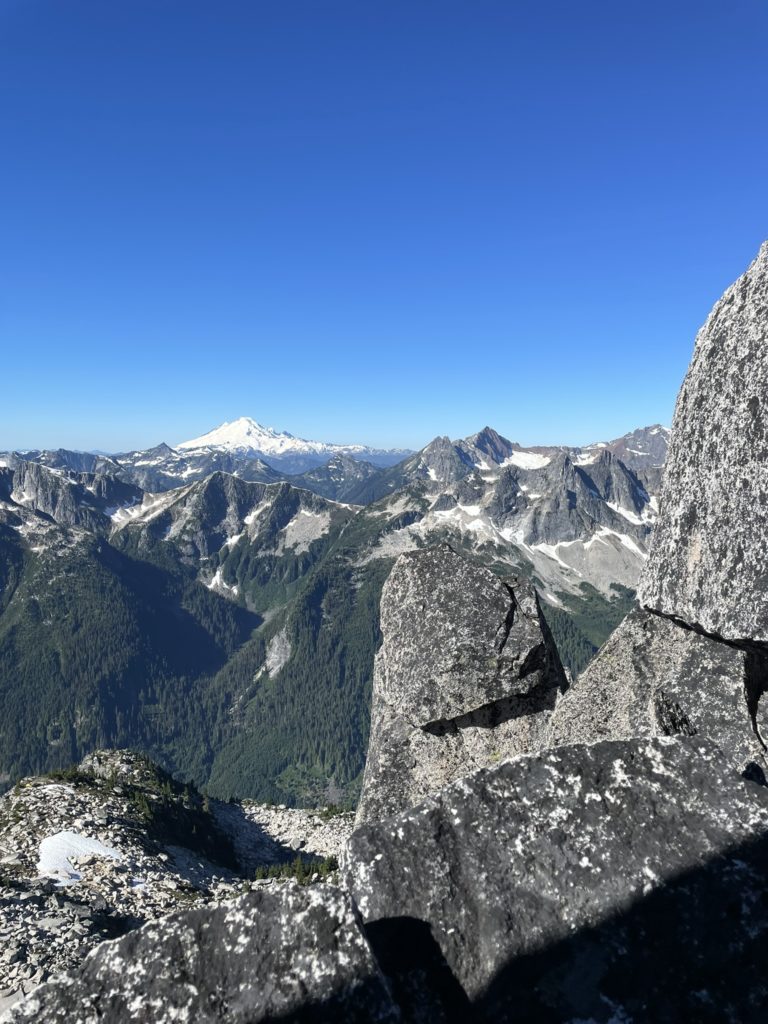
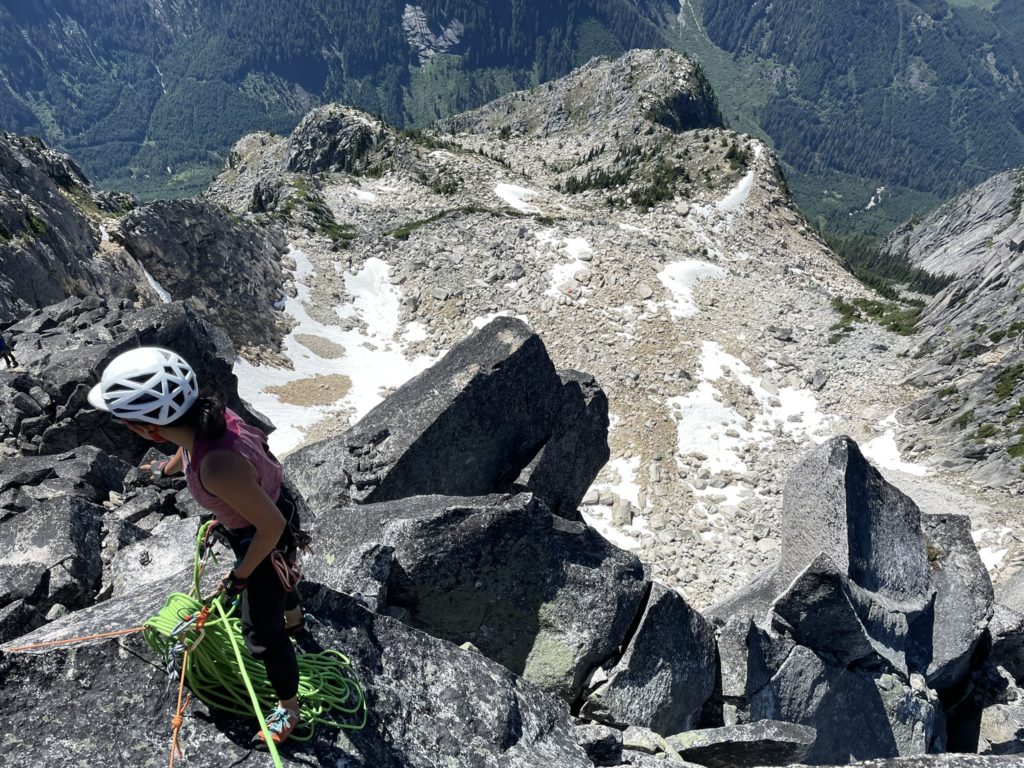
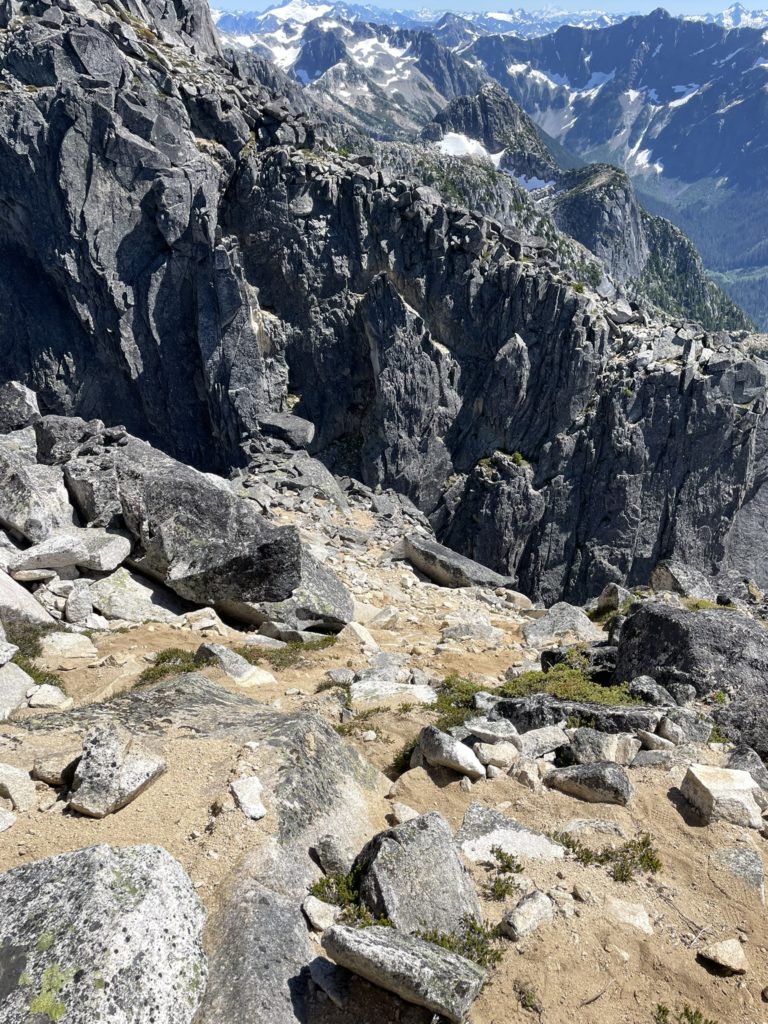
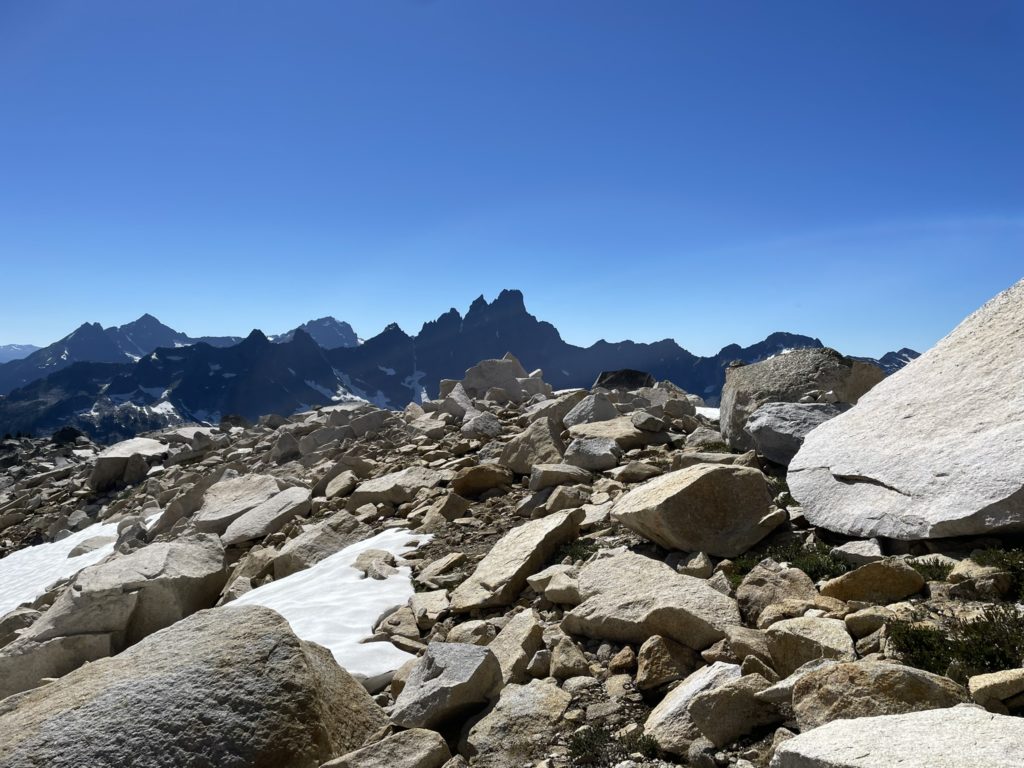
We continued to hike through the forest until the terrain opened up around 1800m or so. The trail worsened a bit here with some steep loose rock to contend with as it followed along the perimeter of a huge granite wall at climber’s left. Then at around 1870m the trees tapered off all together and opened up to a large boulder plateau. We boulder hopped all the way across and then up into the Rexford-Nesakwatch basin, passing our SW Route along the way. At the basin, we found two flat enough boulders that were sufficiently big to setup tents and went about putting together our camp. In the mean time I started boiling some snow for water and we figured out a start time for the following morning. Sun rise was now beginning around 5:30am so we opted on being at the wall for this time and waking up 45 minutes to an hour before to get ready at our own pace. After that, I settled in for the night and hung out on my boulder camp taking photos of the sunset of the Slesse area.


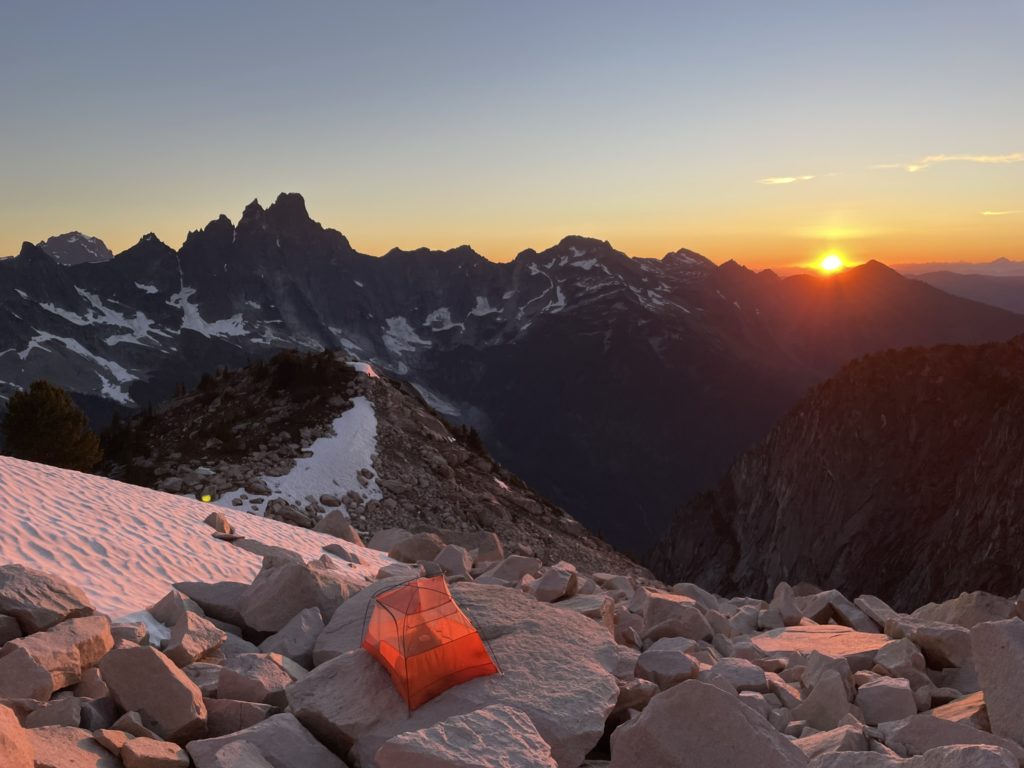
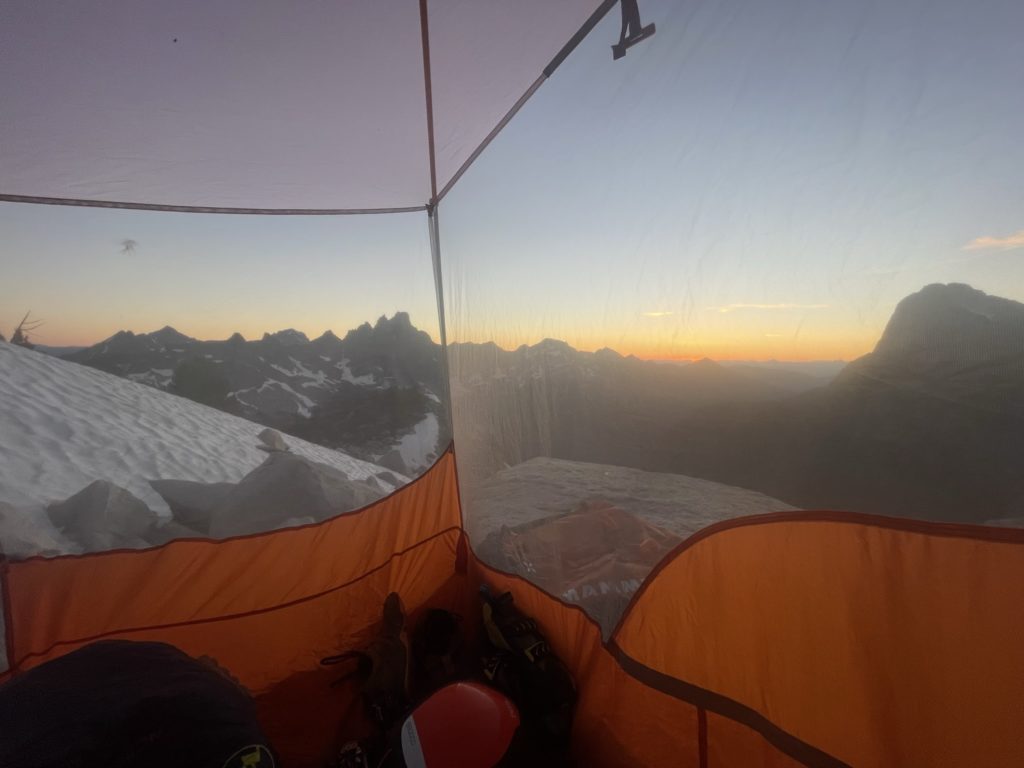
I woke up a few times during the night and each time I caught a different glimpse of the night’s evolution. First I was met with bright open stars and then the steady progression of sunrise as the light bled into Alpenglow across the range. I was out of my tent around 5am and just in time to watch the full show across Mount Baker and Slesse. The mosquitos were out now too, but it was easy to drown them out with the views. For breakfast I had a crushed up muffin and some water and then we were on our way.
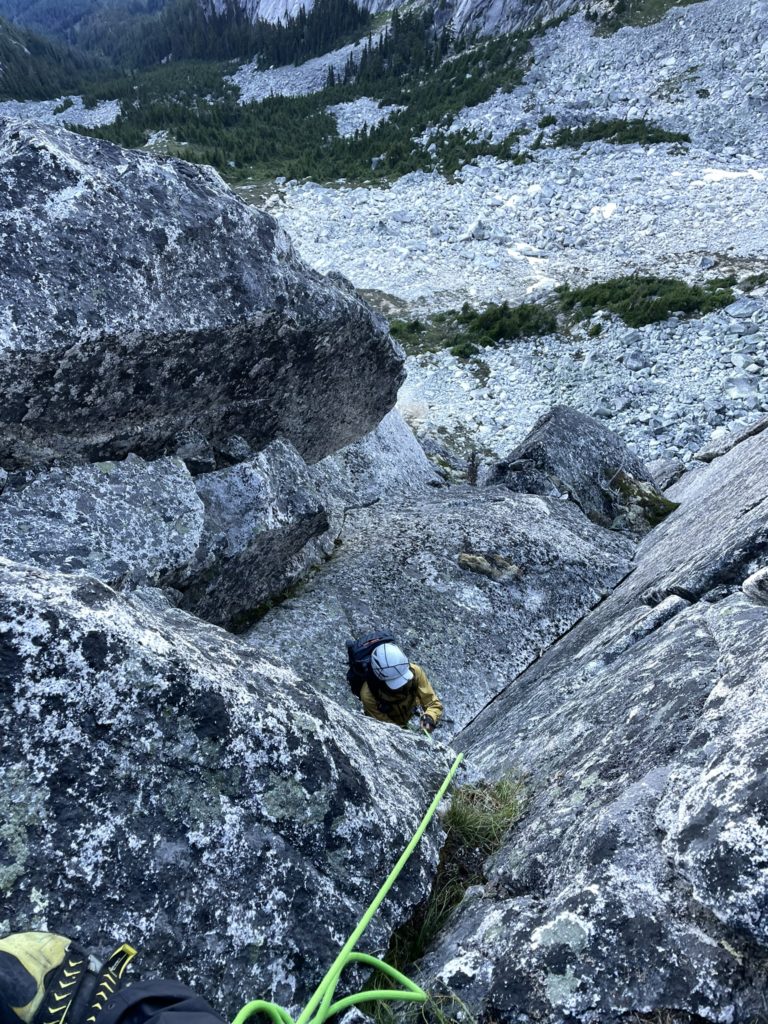
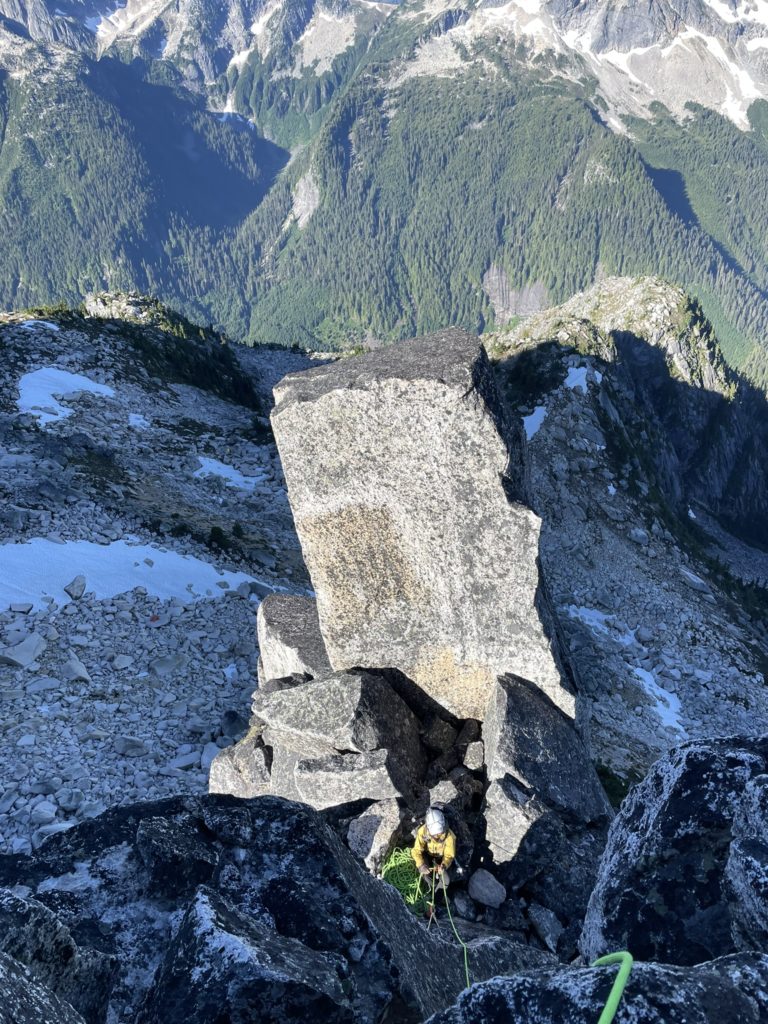
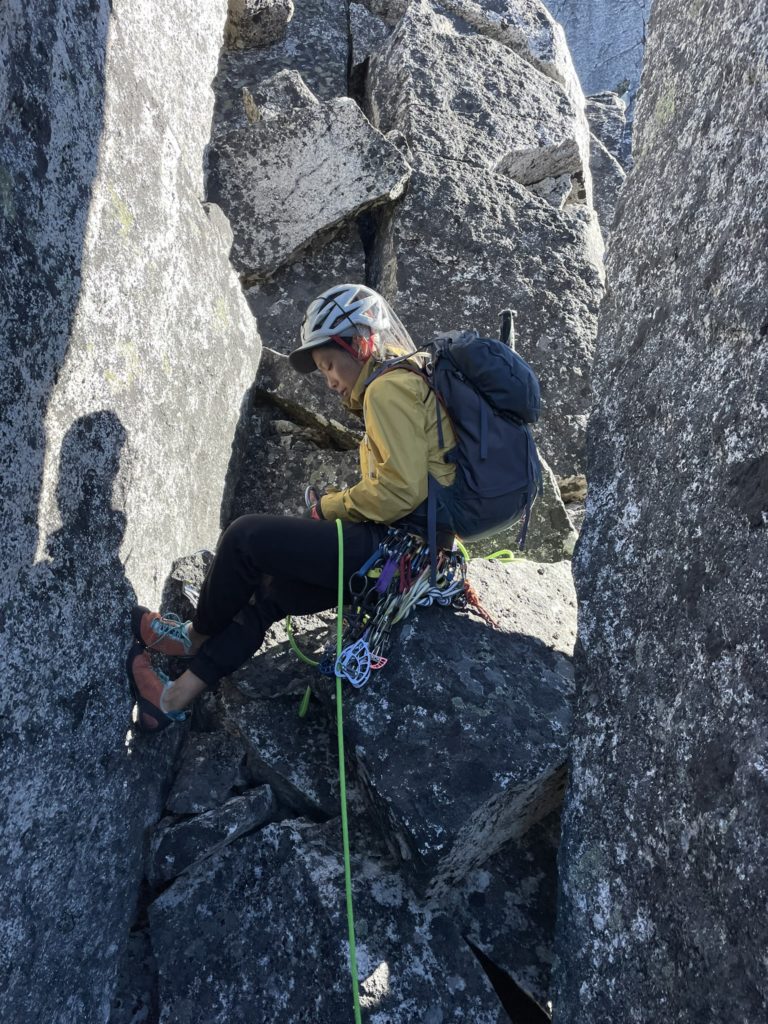
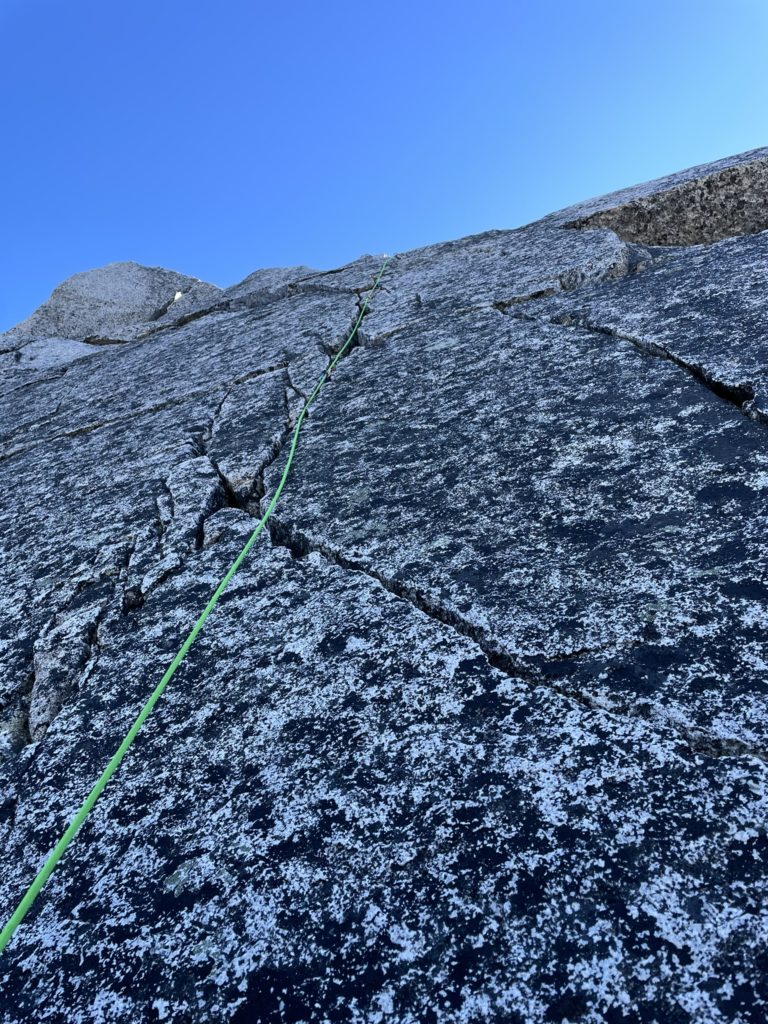
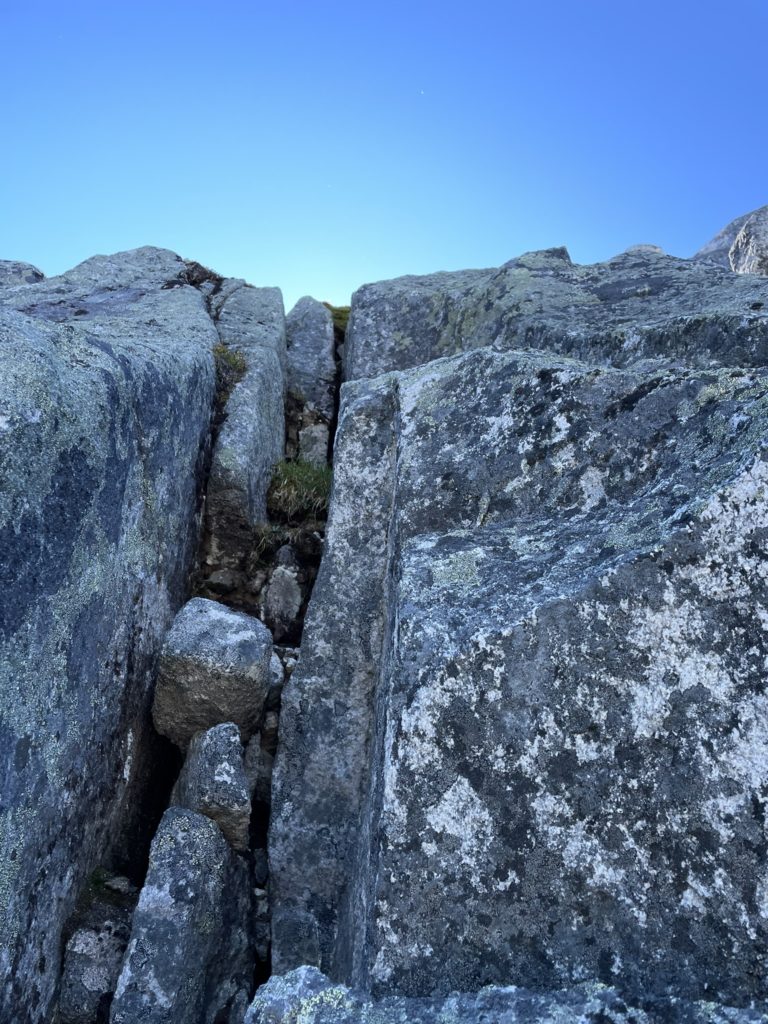
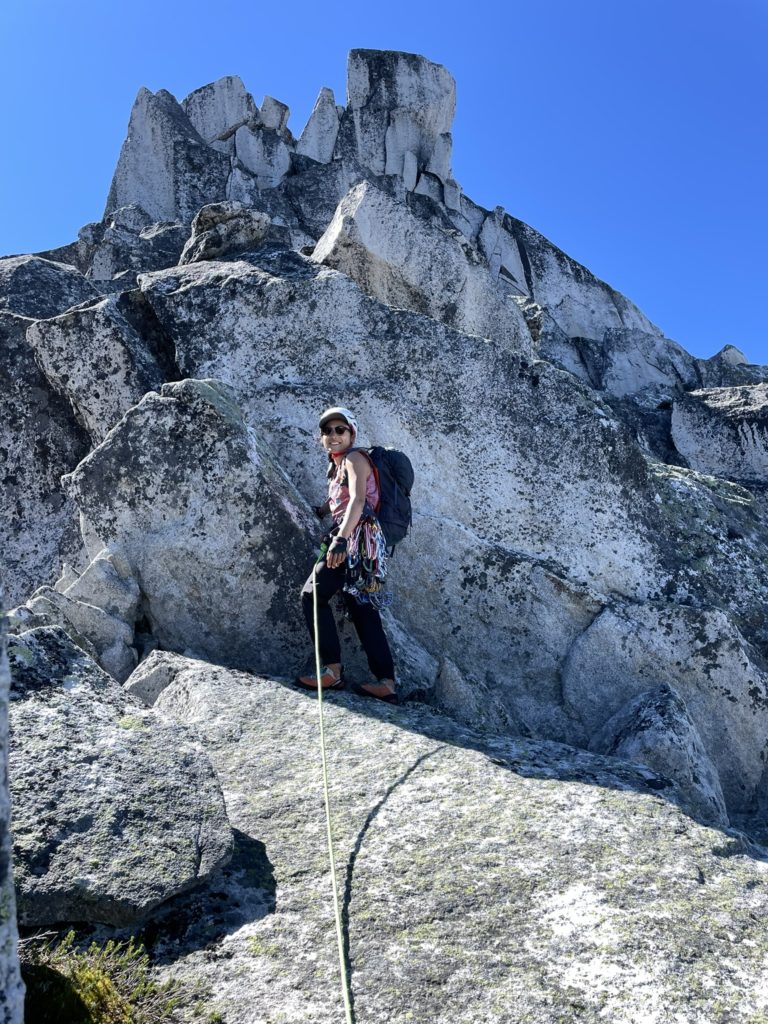
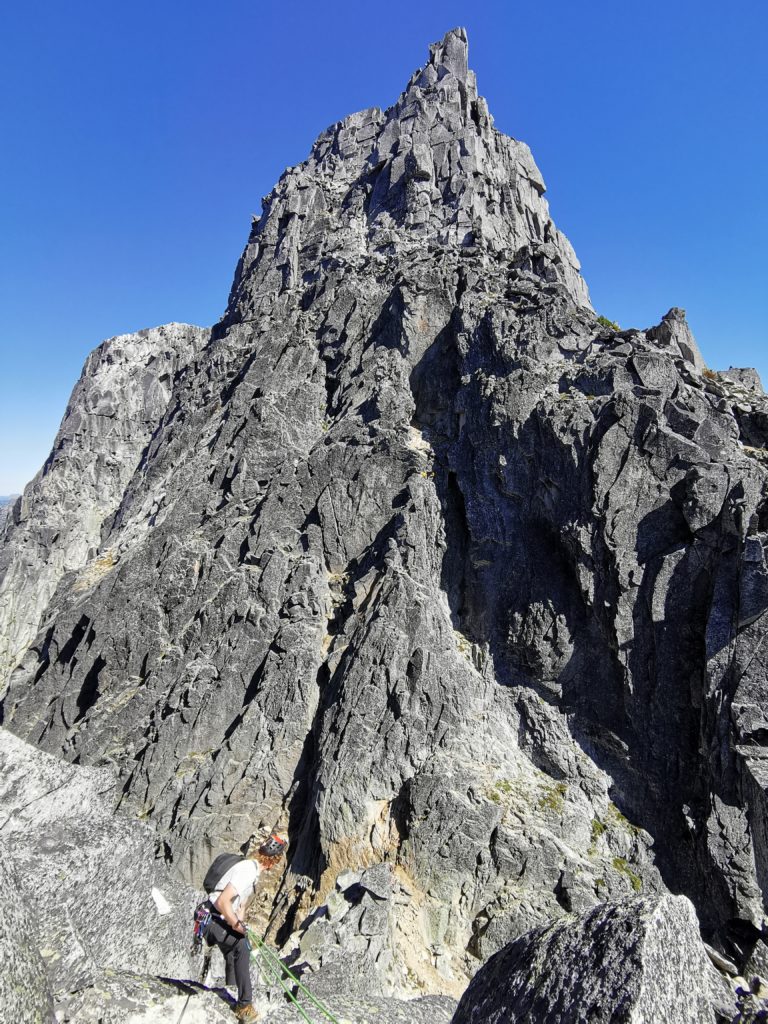
In the previous night I had hiked up to the base of P1, so I had a good idea of where to go and lead Winnie to the first section. We scrambled up a short chimney past a dead tree and then onto the belay ledge of P1. Winnie was going to lead first so that she would swing up the P3 which is the hardest pitch. I set about building a gear anchor and then put Winnie on belay. She climbed up several hand sized cracks with good foot holds and topped out an anchor with some existing webbing and cord to belay from. I followed up after and climbed up the first small flake to clean piece number one where I almost swung off and fall. Right off the bat, that shook my confidence a bit as there’s nothing hard about the move whatsoever. I took a deep breath and pressed on, finishing the rest of the pitch without too much difficulty.

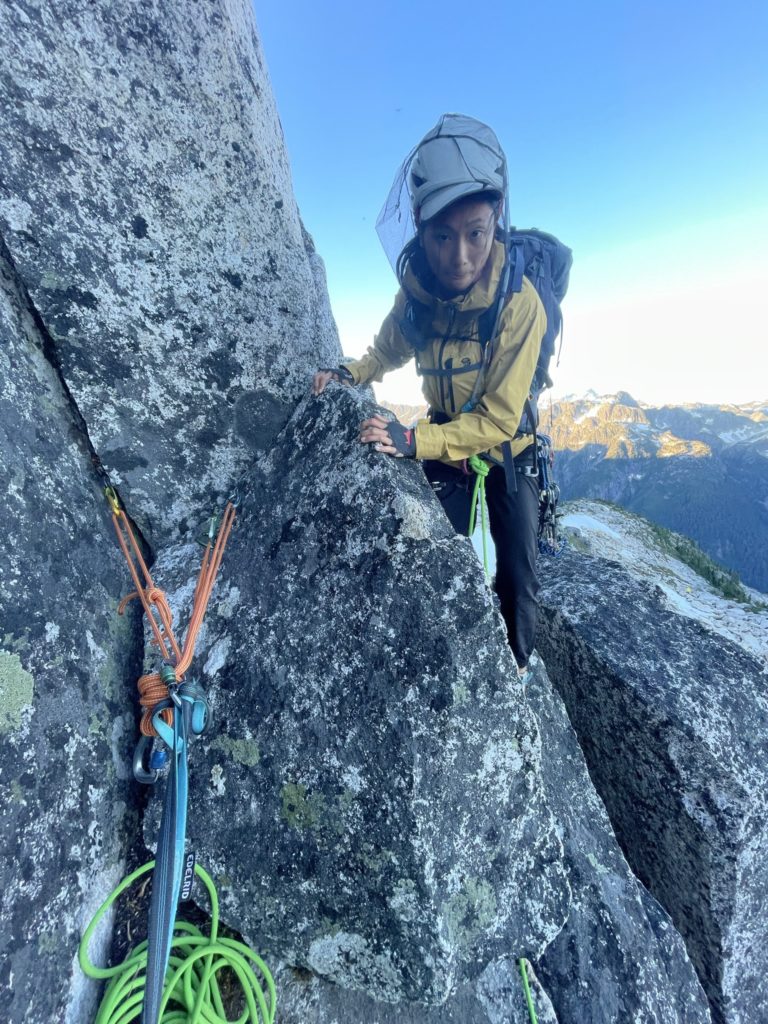
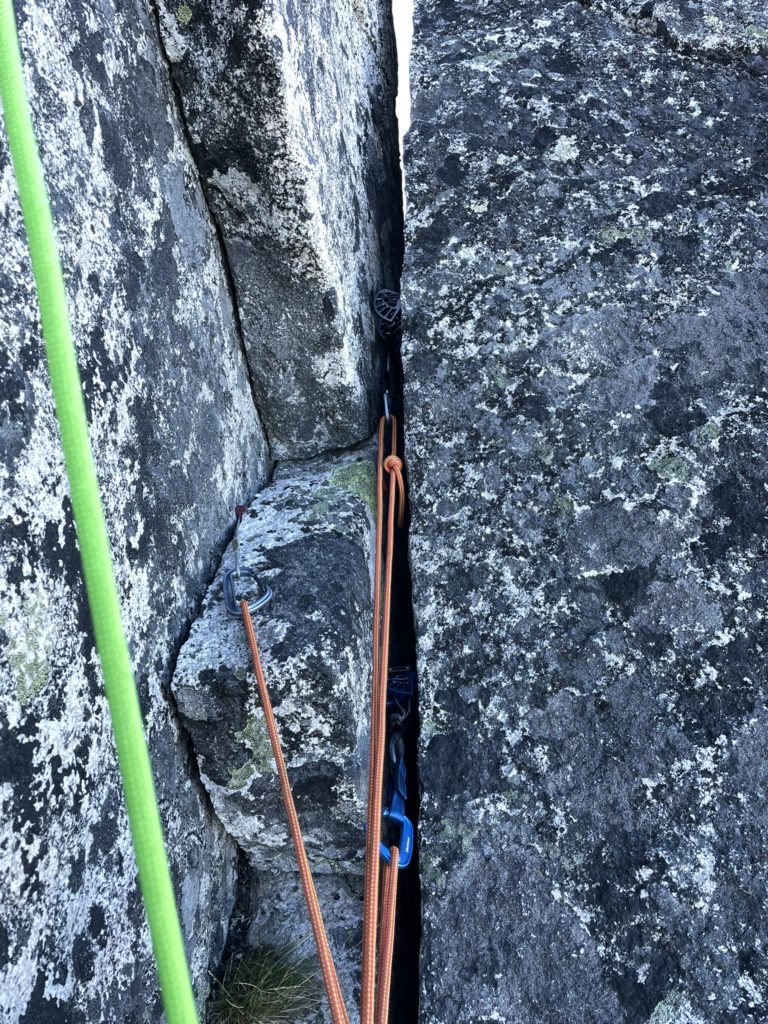
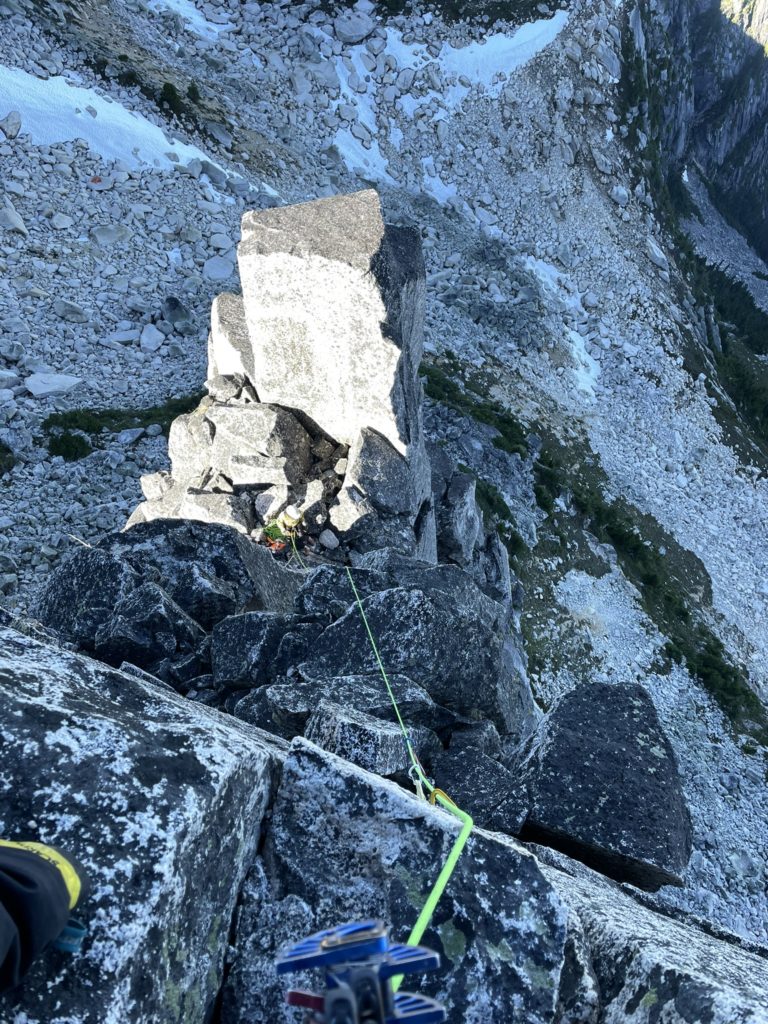
Now on P2 I took the lead and that involved swinging climber’s right around a ledge and head wall and then up a fun hand sized splitter to more scrambly terrain. Above the splitter pitch I had do an awkward down climb onto a slab and corner system. Here is where the topo describes the start of P3, however I missed that completely and started up the cruxy corner unaware of the rope drag that was about to unfold. I placed a nut, then stemmed a bit higher up the corner to place a #0.75. The next sequence of moves felt really hard as the crack on the left opened up past fists and I had feel around for a jug or crimp to pull off of. Adding to the difficulty was the enormous rope drag I had built for myself, thanks to the down climb and now ascent above the last 2 pieces. After a bit of a struggle, I pulled myself out of the corner and on to a nice ledge. I radioed out to Winnie that I was at the end of P2 (actually part of P3) and was building an anchor. There was two nice cracks to work with so I placed a number #3 and #4 in the large crack and #13 BD Stopper in a flaring crack that made for a nice directional piece as well.

Winnie then followed up and upon realizing my mistake we had a laugh about the P2/P3 mix up. Despite the mistake, I was stoked to lead part of the harder pitch and got Winnie on belay while I thought over the pitch. From there Winnie lead up the remainder of P3, quickly out of sight and then I followed up again. P3 ended up being really fun, with a cool hand sized crack below a diving board rock and then a short slab to a neat off width with good foot holds and some hand jams deeper down in the crack.
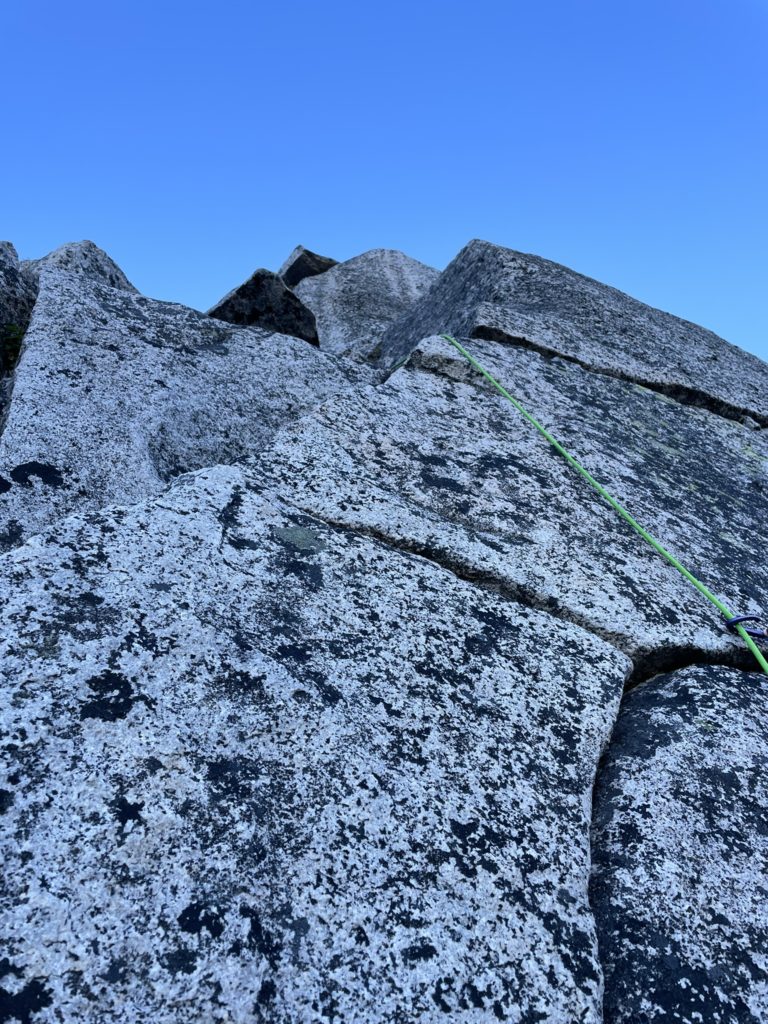
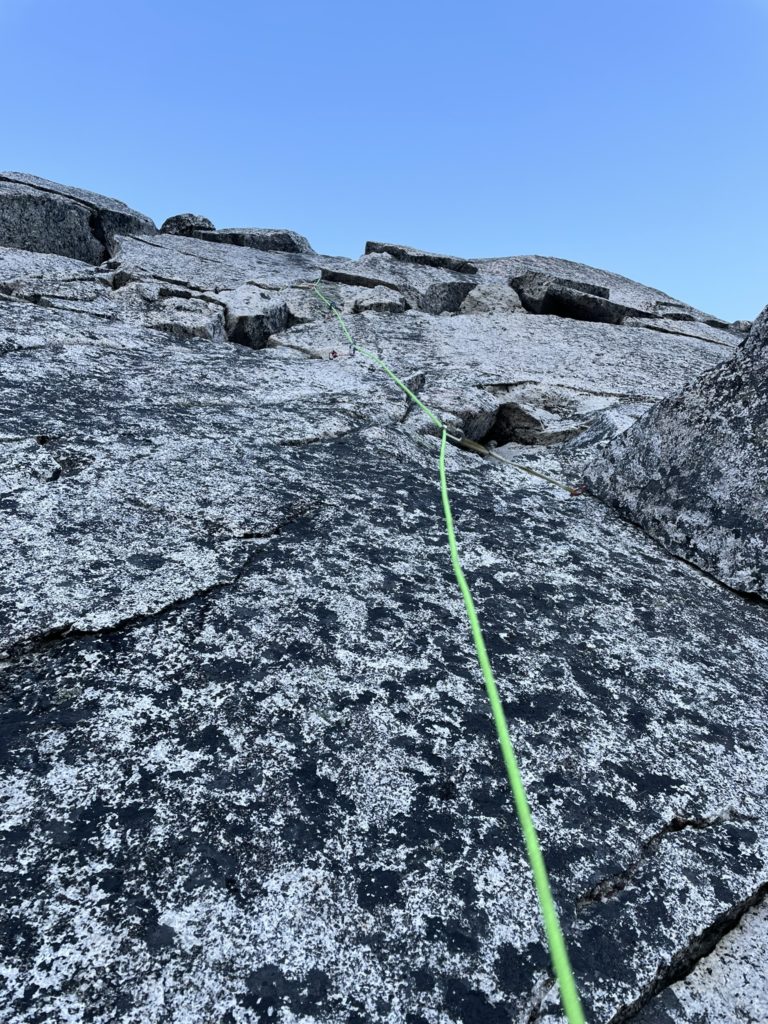
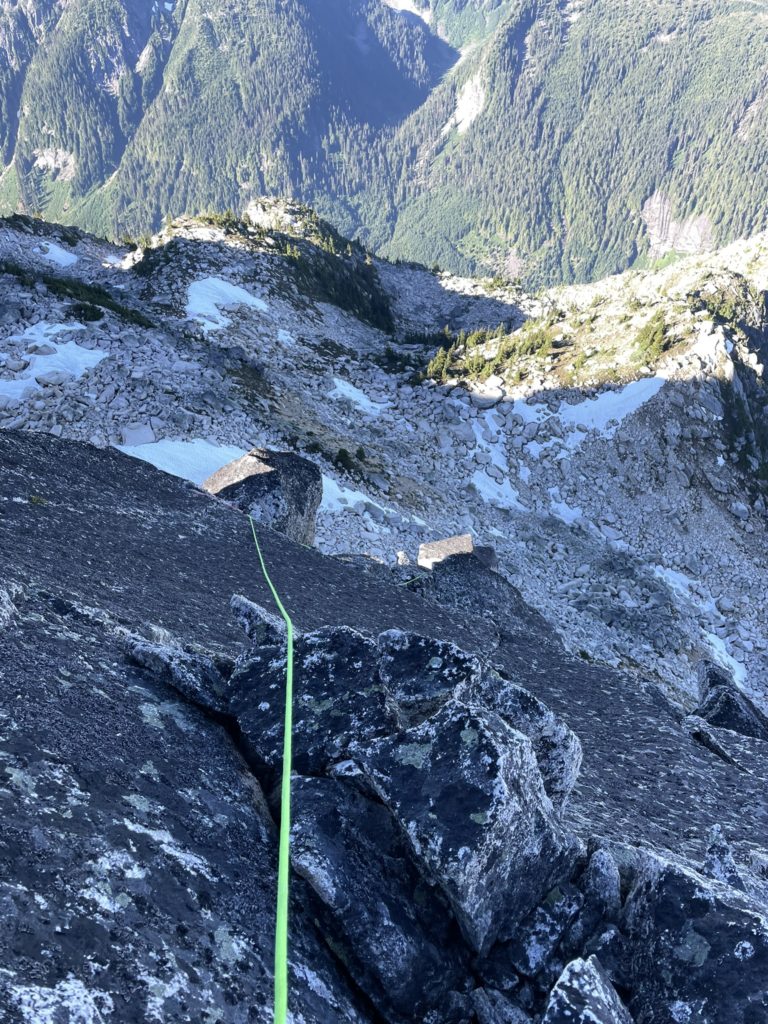
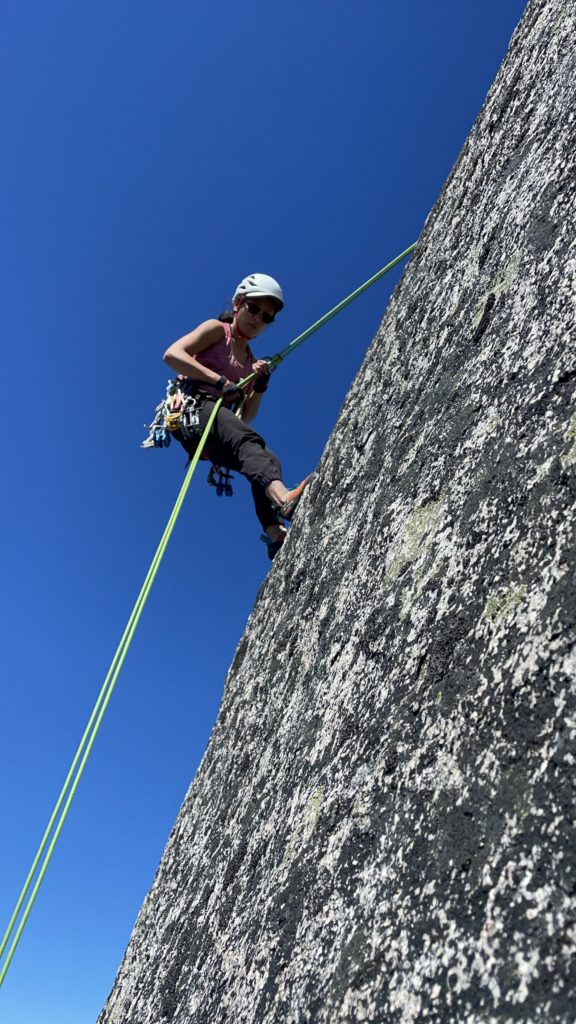
P4 started with a short traverse along an exposed part of ridge and so we decided I would scramble up to the base of the first steep part of P4 and have Winnie follow up and relocate the anchor to stave off some of the rope drag. Once relocated, I climbed up an open chimney of sorts with mostly 4th/low 5th moves and then onto a ledge above a beautiful, but short, set of finger and hand sized splitters. I placed 3 pieces (two #0.75 and a #2) as I climbed up, feeling much more comfortable on the wall after the first mishap on P1 and then topped out above the splitter. Here it wasn’t immediately clear where to go. I could set up on anchor on the small flat spot above splitter, but I still had lots of rope and figured we could link up the scramble to P5 or at least get most of it out of the way.

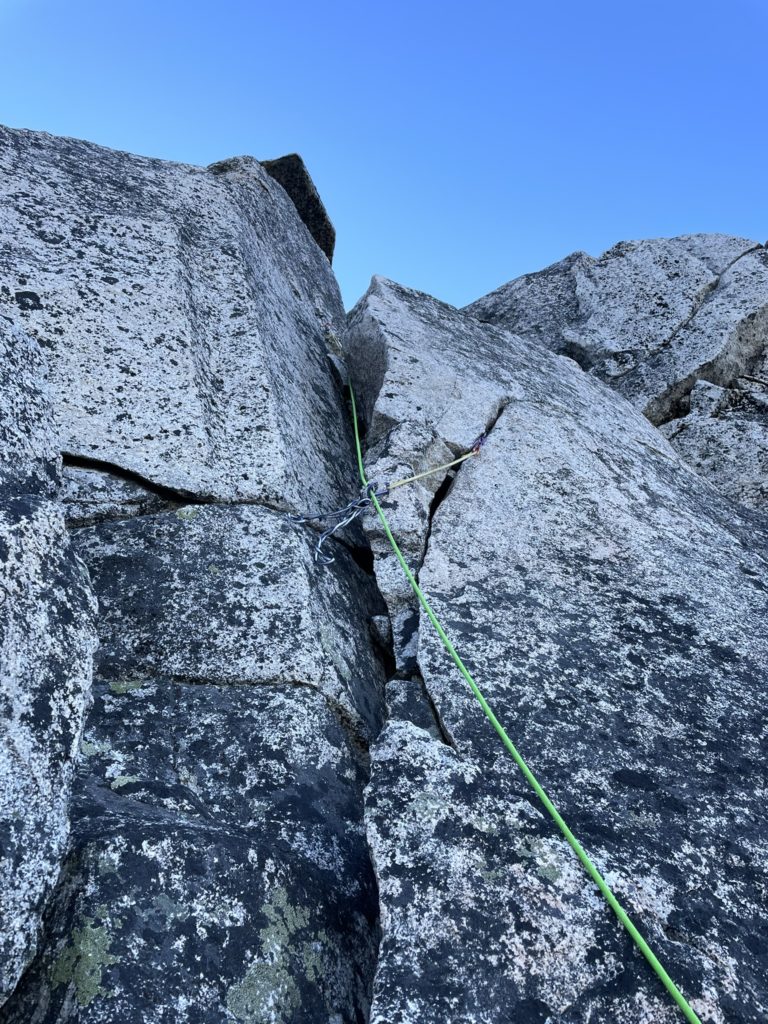
At climber’s left it looked mediocre, so I decided to ascend climber’s right up a short hand crack and then onto broad, lichen-covered, slab. The only climbable feature was running down the right side. A shallow flaring crack with an opportunity to stem out climber’s left to ledge near the top. I placed a #2 Wallnut below the slab as my last piece was way behind on the splitter cracks and then started the climb up. The slab ended up being sketchier than I expected, with the lichen slipping my feet out a few times and the shallow crack proving hard to layback or get good positioning on. I tensed up a bit in this section, wondering if I’d made the wrong move committing here. However, I climbed a bit higher and found better hand placements, before making the stemming move across the ledge and onto flat ridge terrain again. I found a big boulder here and set up an anchor to belay Winnie up.
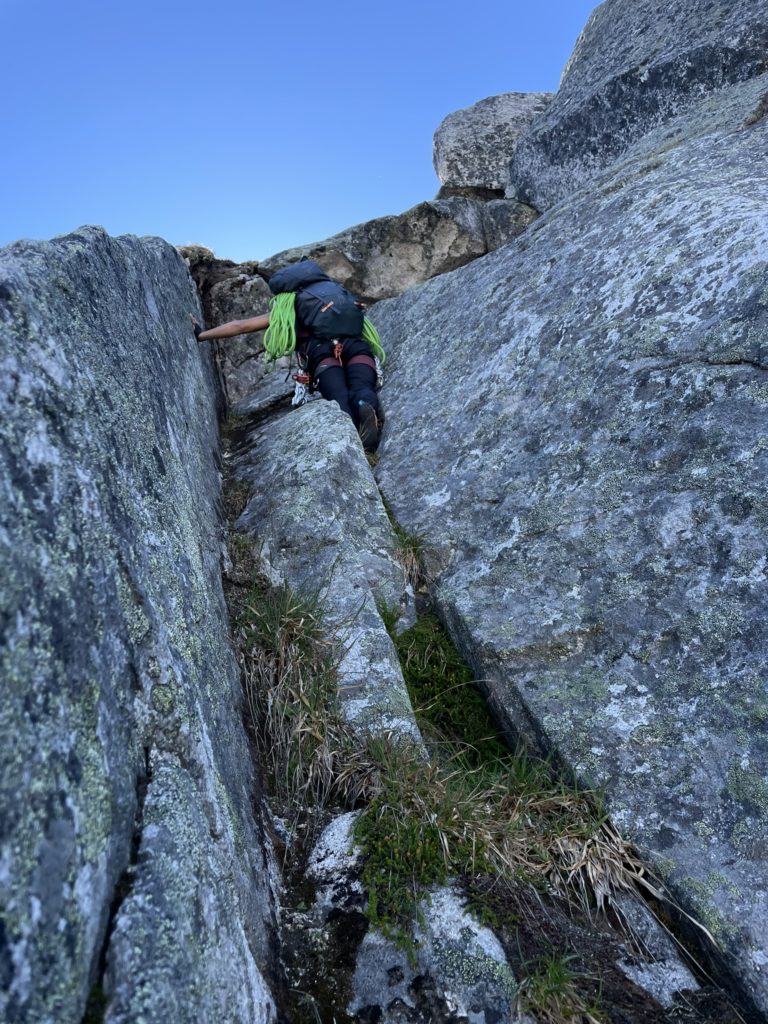
Once Winnie followed up, we decided to “simul-scramble” across the ridge and to the base of P6. We traversed a narrow section of ridge and then reached the base of another short splitter pitch. According to the topo, this is a scramble, but it looked to be at least 5.7 and so I suggested that we pitch this out. Winnie obliged and she lead up and over and through a deep channel in the ridge. Here she radioed out there was significantly more scramble terrain ahead and so we agreed to have her belay me up from there and then relocate to the actual base of P6. I seconded up with relative ease and found this first part of the pitch super fun.
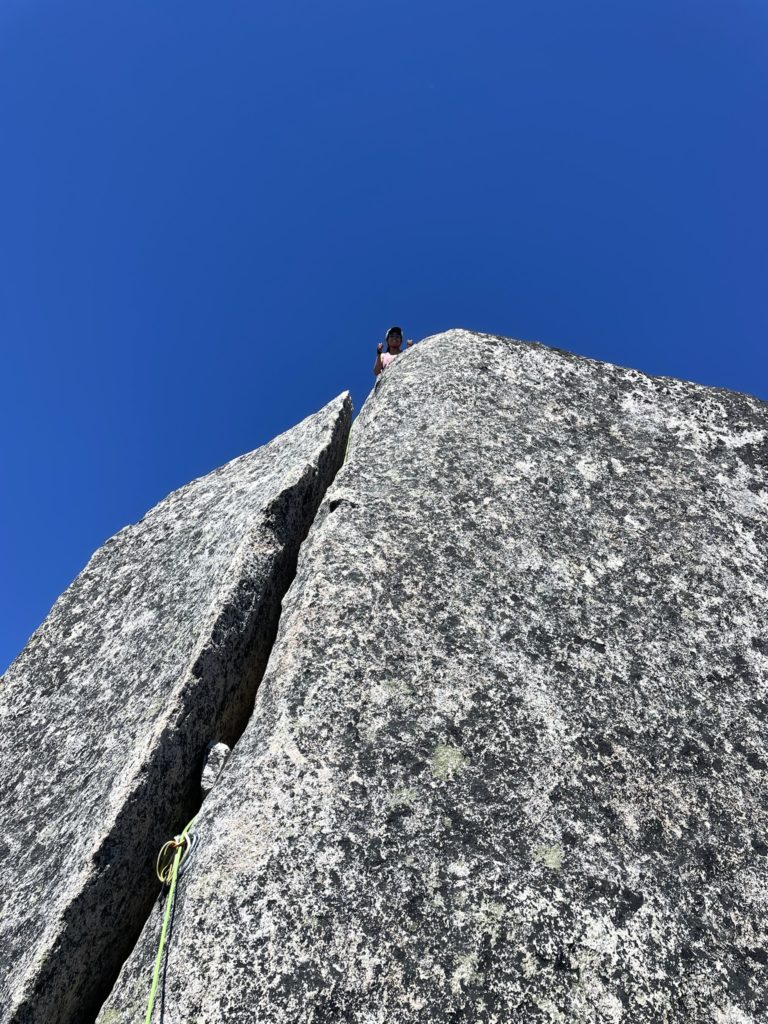
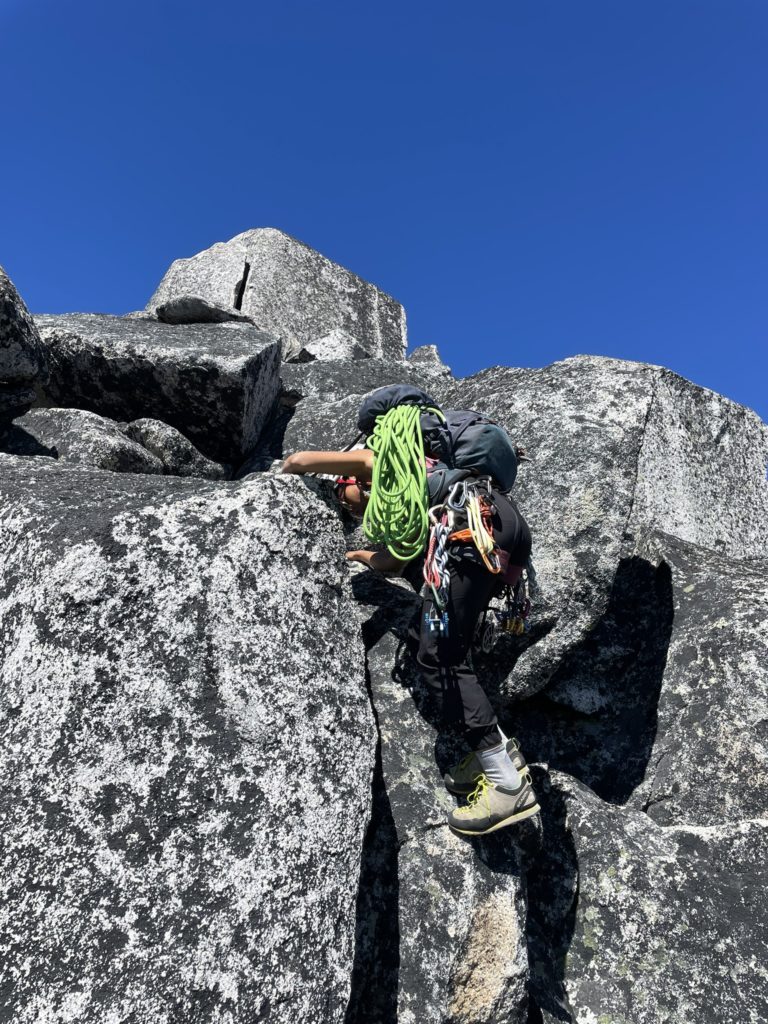
Now we had to coil the rope again and simul-scramble our way up to the base of P6, but it was over terrain we’re both comfortable in. We both agreed before the climb that simul-climbing was out of the question, but we trusted ourselves on 4th class terrain enough to scramble this section at least. Winnie was keen to lead P6 as that first climbable section of P5 was hardly much opportunity to get engaging climbing in. I was happy to second, so put Winnie on belay and watched her link up several fun cracks to gain the top.

I followed up after and we topped out of P6 on an awkward narrow ledge near the summit. Winnie was anchored into some existing webbing around a chock stone and it appeared to also be used for rappelling. We stopped here for a snack break and tried to sort out the best option to reach the summit. From the ledge there didn’t appear to be any easy down climb option, but we didn’t want to set up a rappel for a 6m drop if we could avoid. I decided to climb up some low 5th class part of the ridge and had to mantle and au cheval an awkward block before reaching the end of the ledge system. I tried down climbing part way but found the hand and foot holds ran out a few meters above the ground, so had to climb back up. I reversed course back to the rappel station and we finally relented to just rappelling down.


After the rappel, we scrambled a short ways climber’s right and found two channels to climb up. I wanted to see if the ridge line at climber’s right would be easier so started up that way but quickly got cliffed out. Winnie’s line was in, so I did a few 5th class moves to traverse over and then looped around the back side to a ramp up to the summit boulder. We didn’t linger for long as those 6 pitches actually ended up taking a long time, clocking in around 5.5 hours. The mid-pitch scrambling, slower transitions on my part, and rope drag meant a longer than expected time but I was still feeling content with our progression.
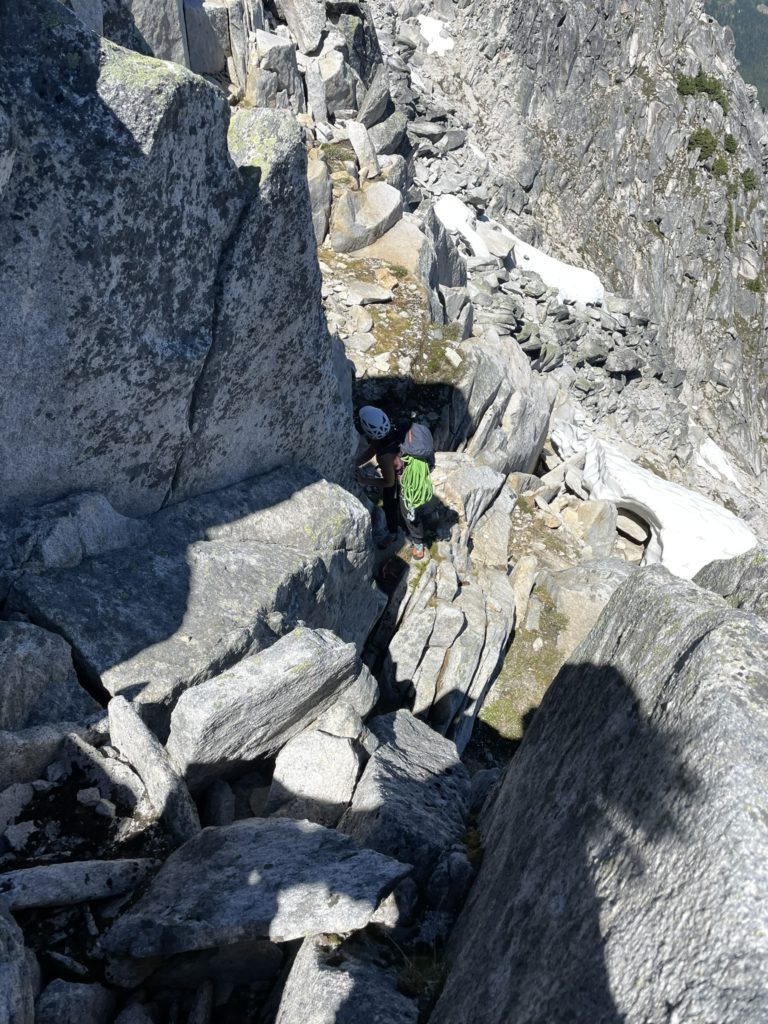
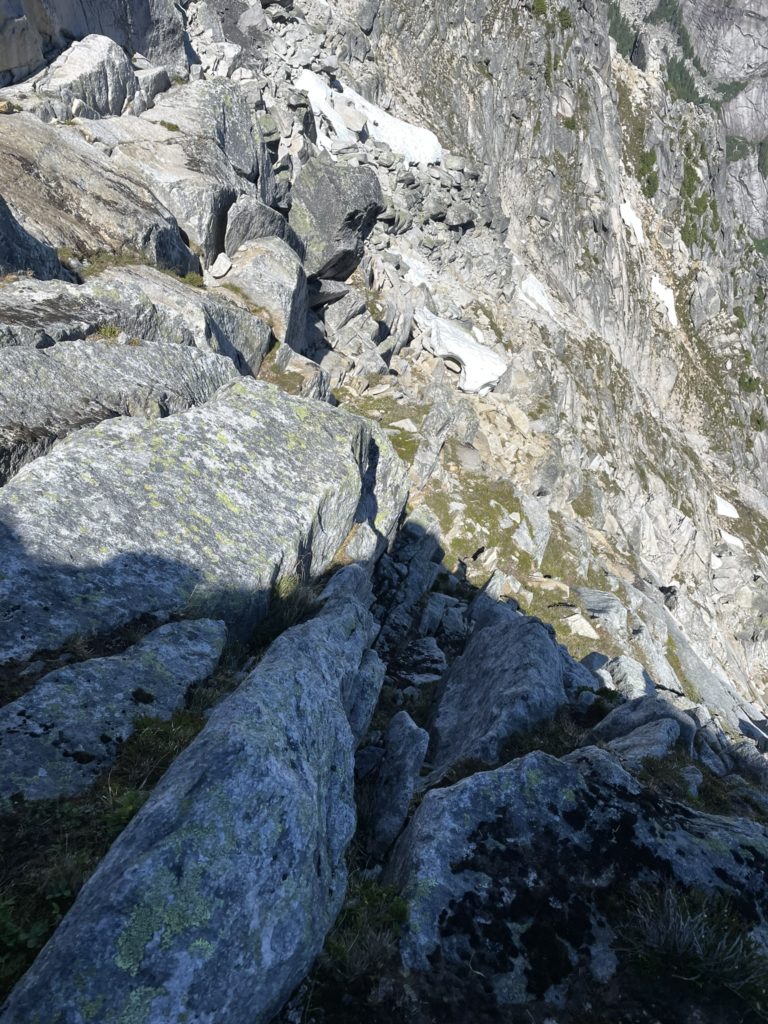
We scrambled a short ways down the east side of the North Spire’s south ridge and then hit some hard to down climb sections. At the left (climber’s right) was a steep chossy gully, but it looked tedious. A few moves lower and just in time I spotted rap webbing to our right so we decided to rappel most of the way to the North-South Spire col instead. We did one full length rappel almost down to the col and then scrambled over easy terrain along the ridge.


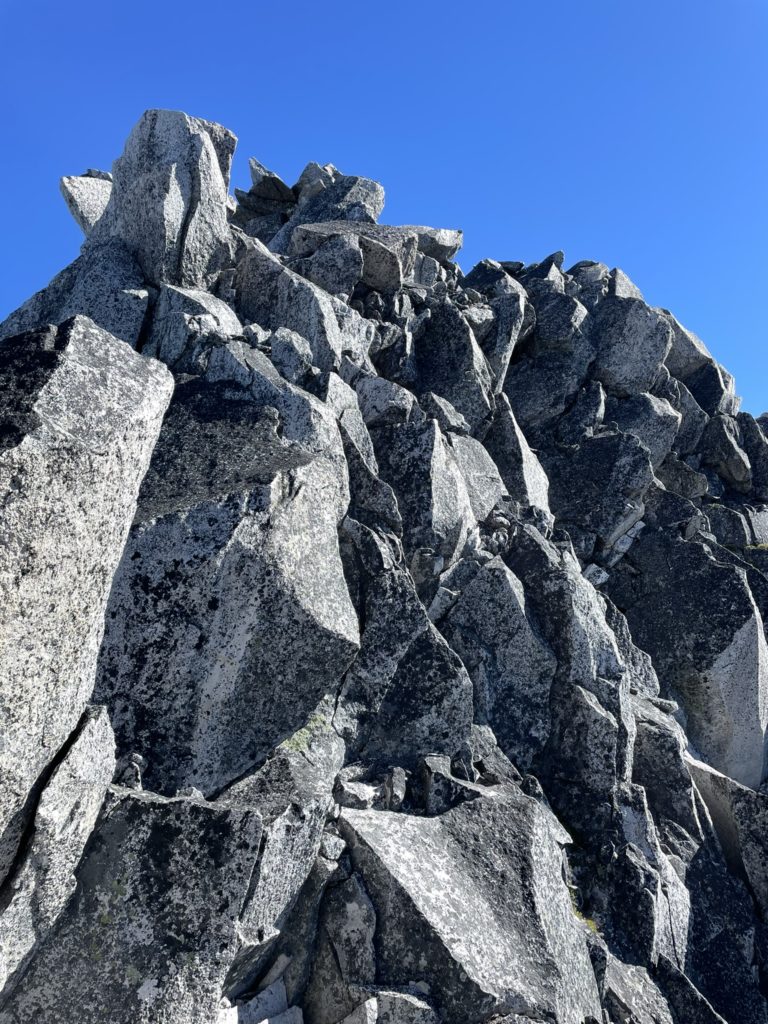
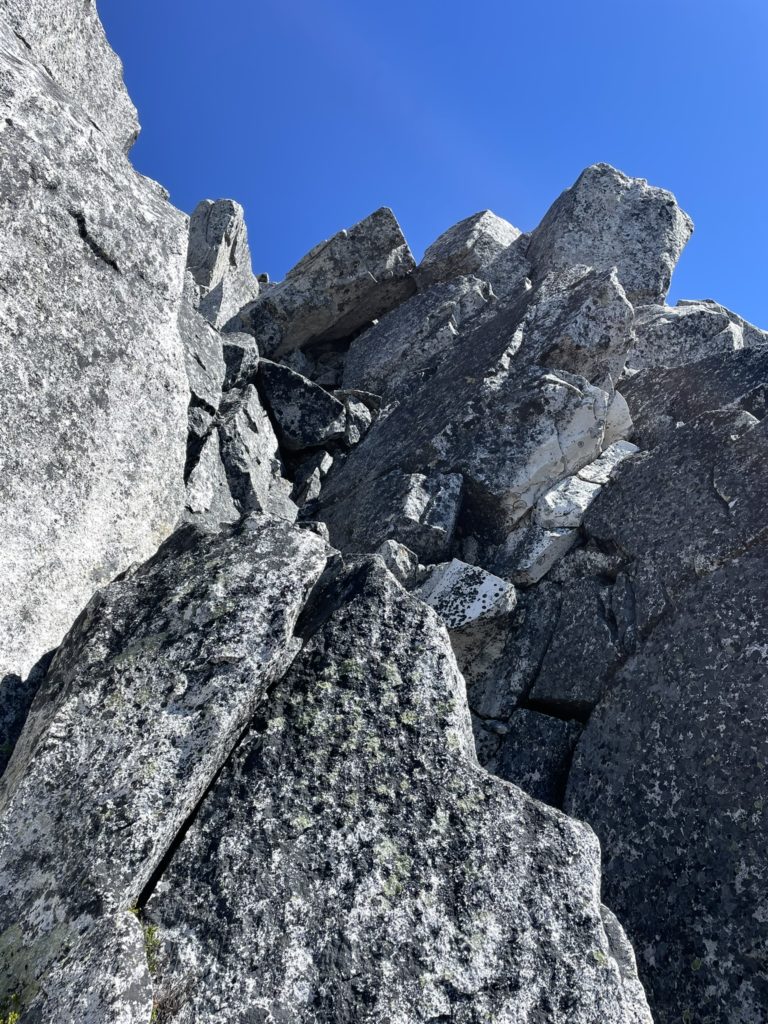
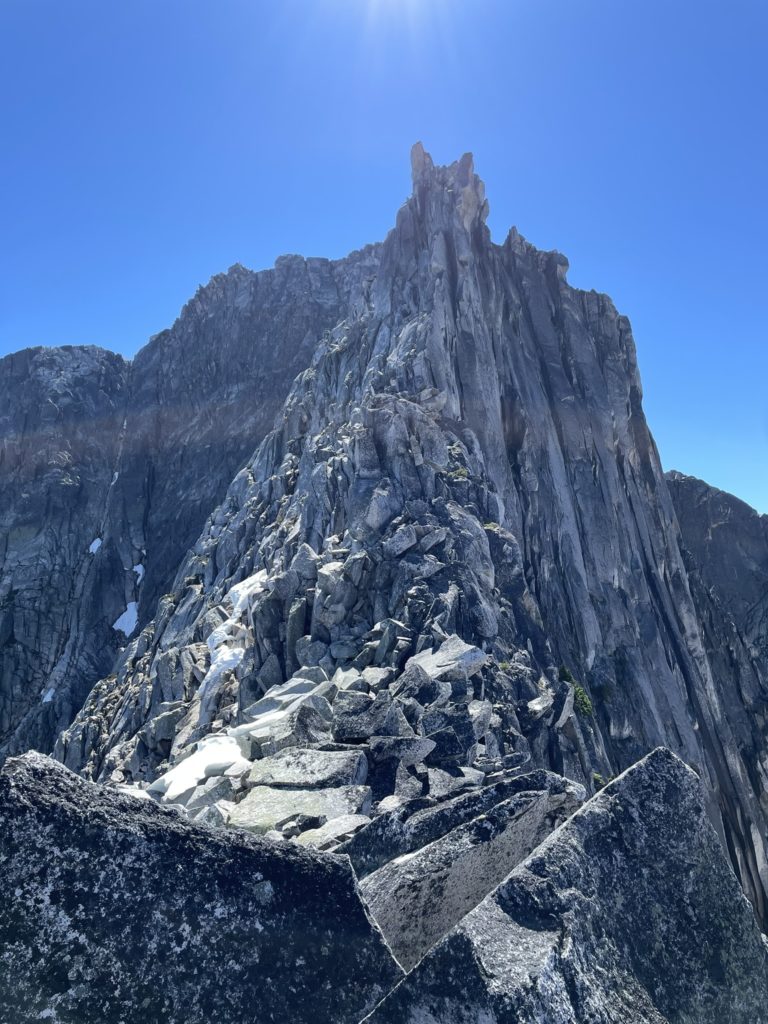
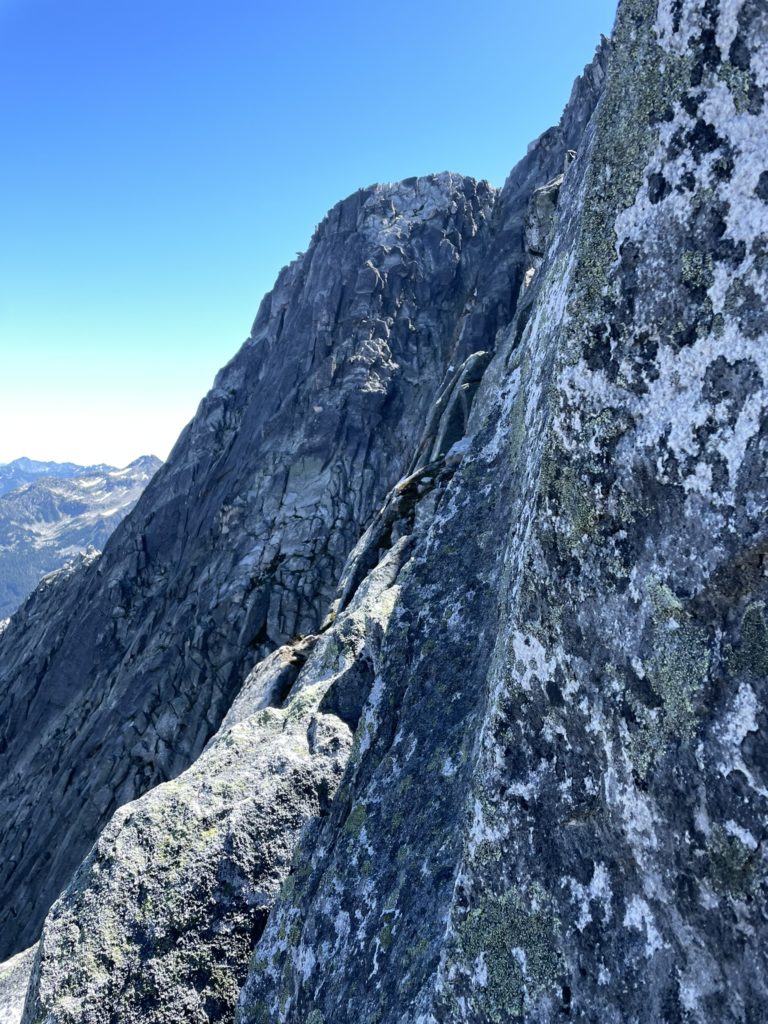
From the col, the ridge narrowed and steepened significantly as it rose up to the summit of the South Spire. Still the terrain looked low 5th most of the way so we kept the rope in the bag and climbed as high as we could. We tried to stay on the ridge directly, but eventually steeper terrain tempted us to kick over onto the east side and into a system of 5th class chimneys. I was getting prepared to ask Winnie for a belay, but she opted to see if she could solo one stiff section and then lower a rope down for me rather than pitch it out. At the top of this section was an over hanging roof and I wasn’t sure how it’d go, but Winnie made an attempt anyways. She reached the roof and discovered there wasn’t a great way to navigate around it.
She was content to stay there and see if I could find a better route around so I went further climber’s left all the way onto the east face and found a 4th class route up and above Winnie’s position. I called out to her below and we decided she could lower the rope to me and I would climb back up and belay her. However, by the time I reached the base of the section she was on, she had down climbed most of the way with the aid of a sling. We joined up again and I lead us through the easier route I found until we hit a section of 5.4/5.5 with some unknowns above. It was my turn to lead so we slung a horn and I started my way up. The first part was a straight forward slab with good hand cracks and I found a nice #3 placement and #1. Then I did a layback up a narrow edge and before the route eased out into scramble terrain again. I belayed Winnie up and then we had a good look at the east face to the summit. It appeared to be a mostly low 5th ledge system, but we opted to pitch it out anyways.
Winnie lead again and found a few tricky mantle moves before having to stop 10-12m below the summit due to rope drag. I followed up over the fun terrain and then lead the last pitch to the summit. This pitch was easy climbing up a past a flake at first, where it flattened out and then climber’s left around a large horn and up to the summit area. I only placed two pieces and the last one ended up creating huge rope drag, such that it took significant strength to pull in slack. When putting Winnie on belay the rope fed into a crack system worsening everything. I had to spend a few minutes faffing around to find a better way to pull in the rope and then finally got going again.
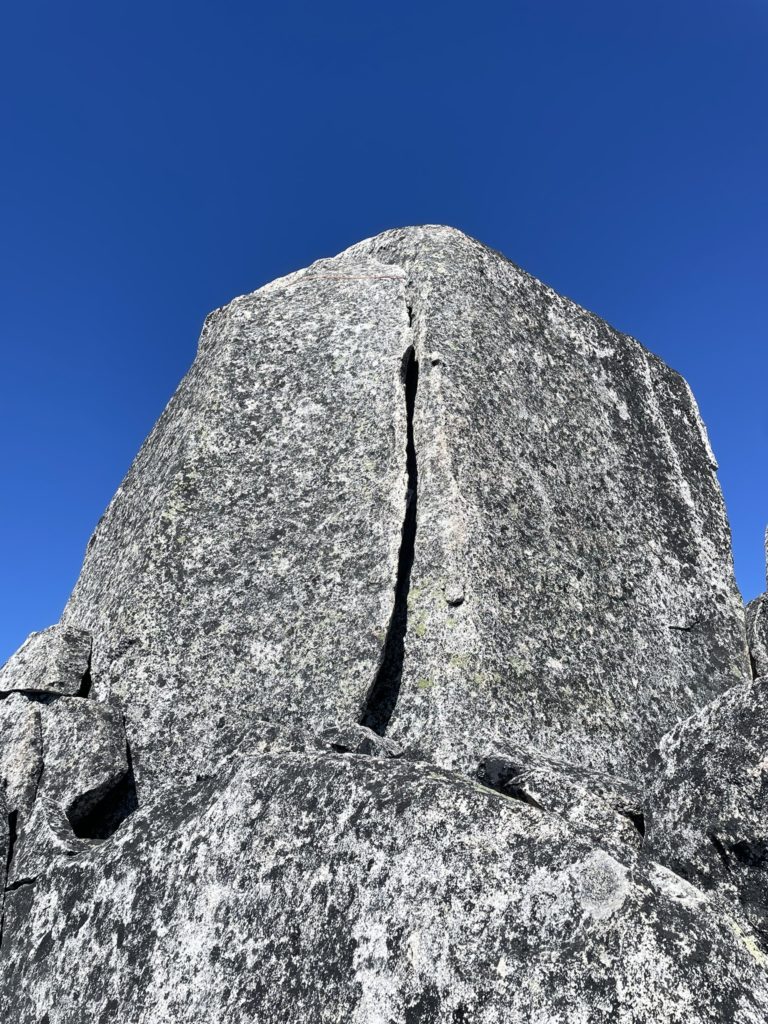
Now with both of us on the summit we had a look at the famed 5.7 off-width summit crux. It was a large, 6-7m boulder split down the side with only one chock stone near the bottom to sling pro too. Personally, there wasn’t going to be any way I could lead this as I had no experience with off-width. However, Winnie looked confident as ever and decided to go for it. Tucked behind the chock stone we found a sling so Winnie clipped into that, but it would only offer protection for the first 3m of the climb. After that it’s a free solo. Winnie climbed carefully, with nice technique in the off-width and topped out a minute or two later.

The next challenge was getting me up. There was no way to build a gear anchor so we decided to use my 5m cord to sling the thin side of the off-width and belay from there. Once on belay, I started my way up, unsure what to expect. I had no technique for this type of climb, so relied on a power layback and then crimping the few face features higher up. Twice I fell and was thankful to be seconding. On the third attempt I powered my way up and joined Winnie at the top. We chilled for a bit and then setup rappel off the sling. We both forgot bail biners and so just opted to pull the rope slowly through when we got to the bottom.
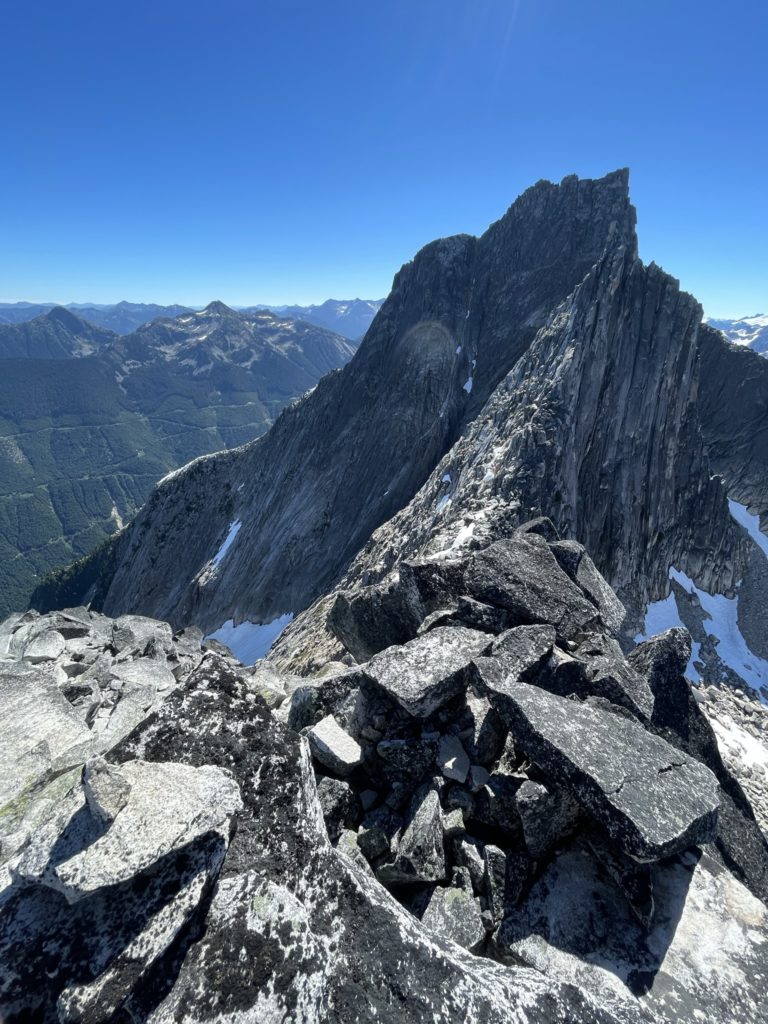
I rappelled first and then Winnie joined and we coiled up the rope before having a small summit break. By now it was 2PM and I noticed I was down to 200ml of water in the heat of the day. Winnie in turn was down to 150ml and we realized Rexford might not be the best play anymore. The plan was to descend into the col and decide from there. From the summit area it’s a bit of scrambling down the, at times narrow, ridge following cairns towards the col. Perhaps 100m from the summit, we reached a bolted rappel anchor to reach the col. I setup the rappel and then went down first over a fun over hanging section and then Winnie came down after.

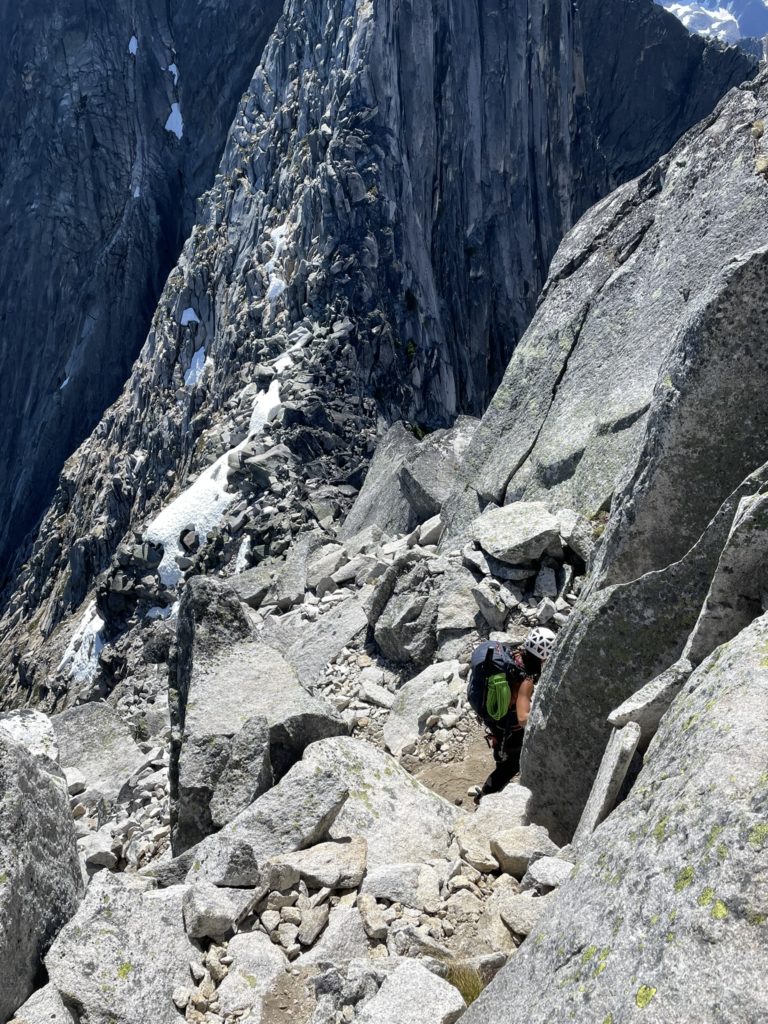
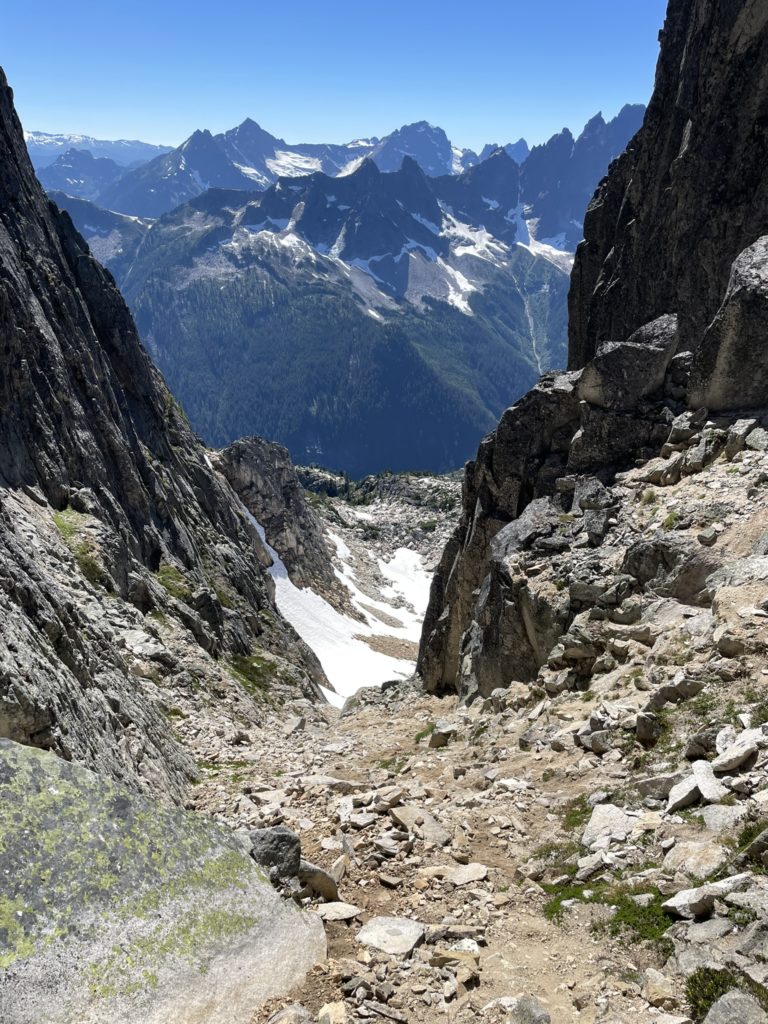
Here we decided to bail on Rexford for sure. Both of us were super stoked to summit both spires and have another reason to come back into the area so it was a win either way. I lead us down a short section of down climbing and then we were at the col proper. Now we had to descend a loose choss gully for about 100m before reaching the beginning of Rexford-Nesakwatch basin. We boulder hopped back to camp and tore down the camp while boiling a bit more snow. My fuel eventually ran out, so I had to settle on a half litre top up.

By 5PM we were rolling out and made the straightforward return back to the truck, arriving around 8PM. Nesakwatch Spires was never on my radar, but it should have been and I’m absolutely stoked for the opportunity to have climbed it. It feels great to finally piece together all I’ve learned recently and take that to a more challenging alpine multi-pitch route. Definitely more of this to come.
Gear Notes + Learnings:
- BD #0.1 to #4 with doubles from #0.4 to #3
- Mix of DMM Wallnuts #3-5 and Black Diamond Stoppers #9 and #13
- 8 alpine draws
- 5m cord loop for gear anchor
- Double length slings
We used every piece in the rack, although the #0.1 didn’t inspire confidence. #4 came in handy for sure. A 5m sling of cord/webbing will be sufficient to set up belay/rappel on the S. Spire summit boulder. For myself: bring at least 2 litres of water on a day like this. 4m of webbing is kind of useless, bring at least 6 next time. Setup belay when the rope drag gets bad. No point in making a pitch cruxier than it has to be.