Elevation Gain: 1,350m
Distance: 11.16km
Total Time: 8 hours 45 minutes
Date: September 27th, 2022
Steven and I had been talking about getting out mid-week for a summit since I had quit my job and now had total freedom to climb whenever. However, both he and I had full climbing itineraries until the last week of September. When the week finally came around, he threw out a suggestion about a summit called Big Methow Needle in the Washington Pass area. The easiest route apparently involved some 5.7 climbing with a not too committing approach. Washington Pass is currently one of my favourite areas and so add a climbing objective in there and I’m almost 100% guaranteed to say yes. Steven had already been planning with another climbing partner: Sarah, but they were happy to have me along as a third. On easier climbing days, a three person party is almost better as you get someone to split the weight further, take photos and have company at the belay station. All for the minor cost of a little longer pitch transitions. Who can complain?
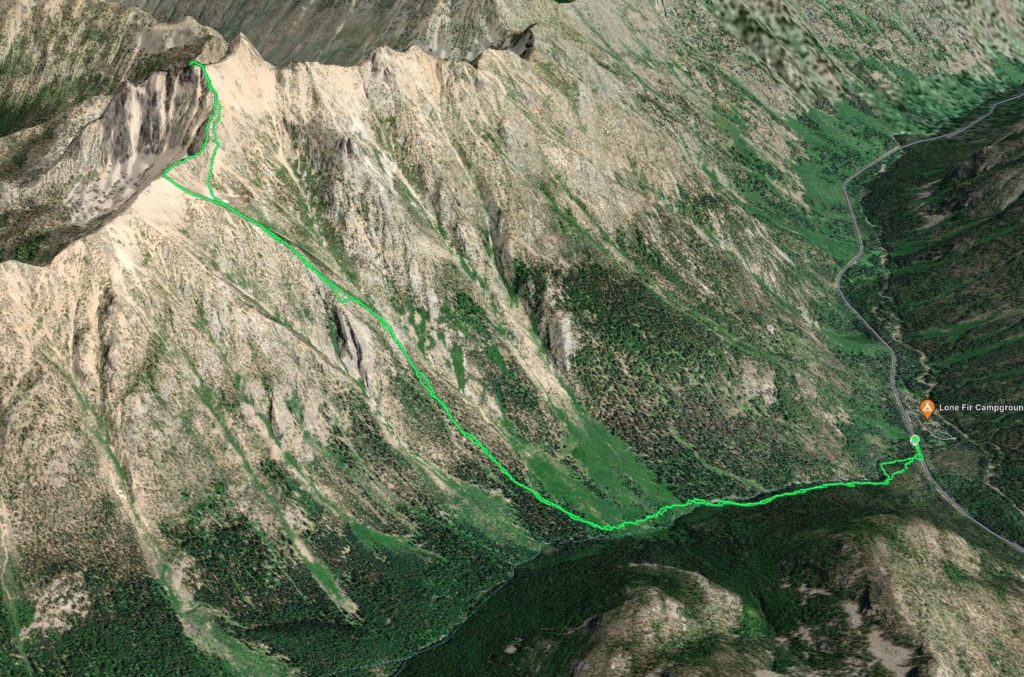
It’s almost a 4 hour drive to Washington Pass from Vancouver so we planned early on to drive in Monday night and car camp. Then we’d do some exploratory approach, as there’s no GPS track. Once we’d gain the summit ridge the beta was a bit more fleshed out. On Monday night, Sarah picked me up from downtown and then drove us down to Steven’s. From there he took us all the way to the Rainy Pass Trailhead where we slept for the night. My air mattress deflated all night thanks to a new leak (the 4th one in the last month), so my chances at a good sleep were shot. I was thankful when our 6:30am wake up time rolled around and we got the day started.
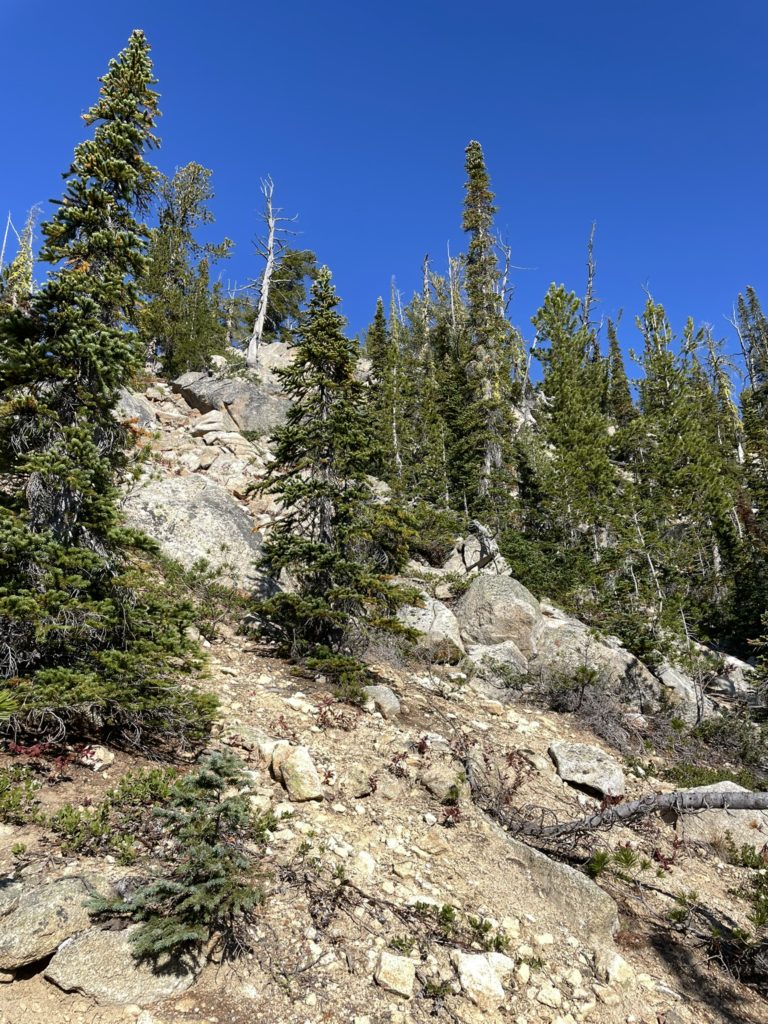
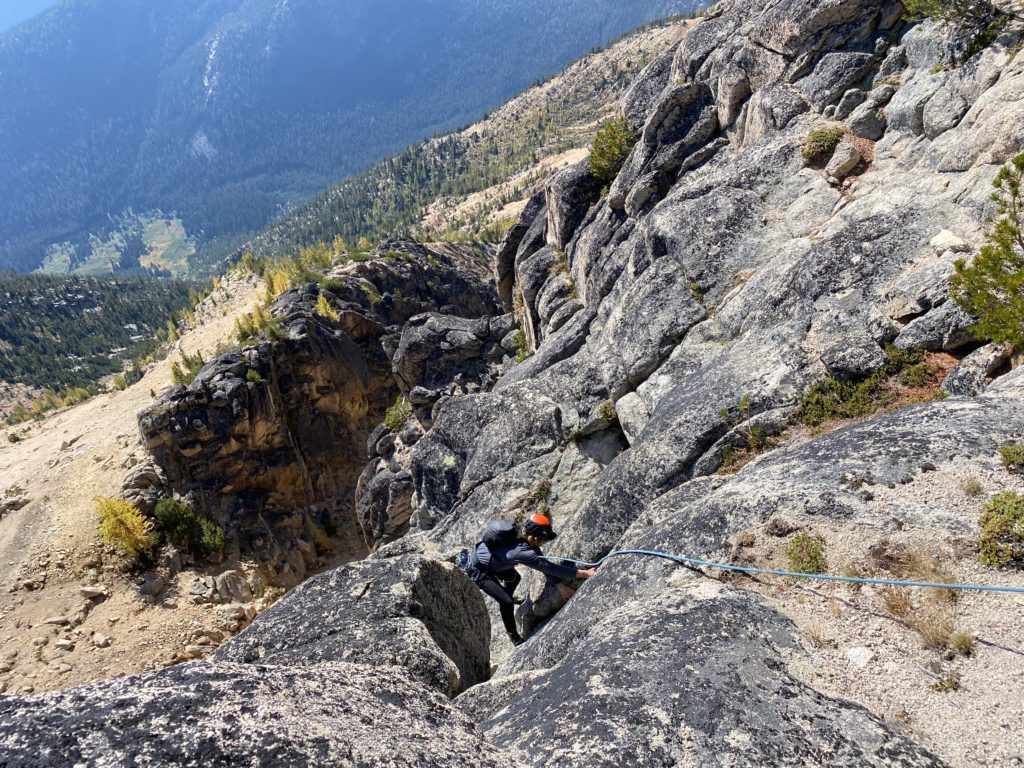
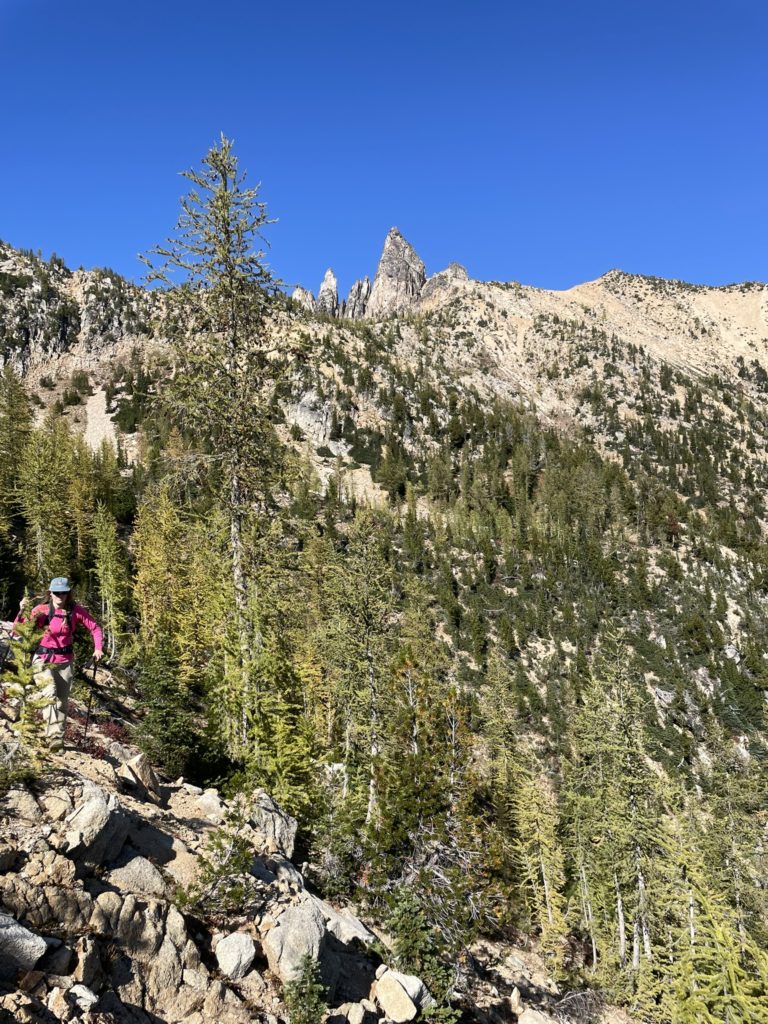
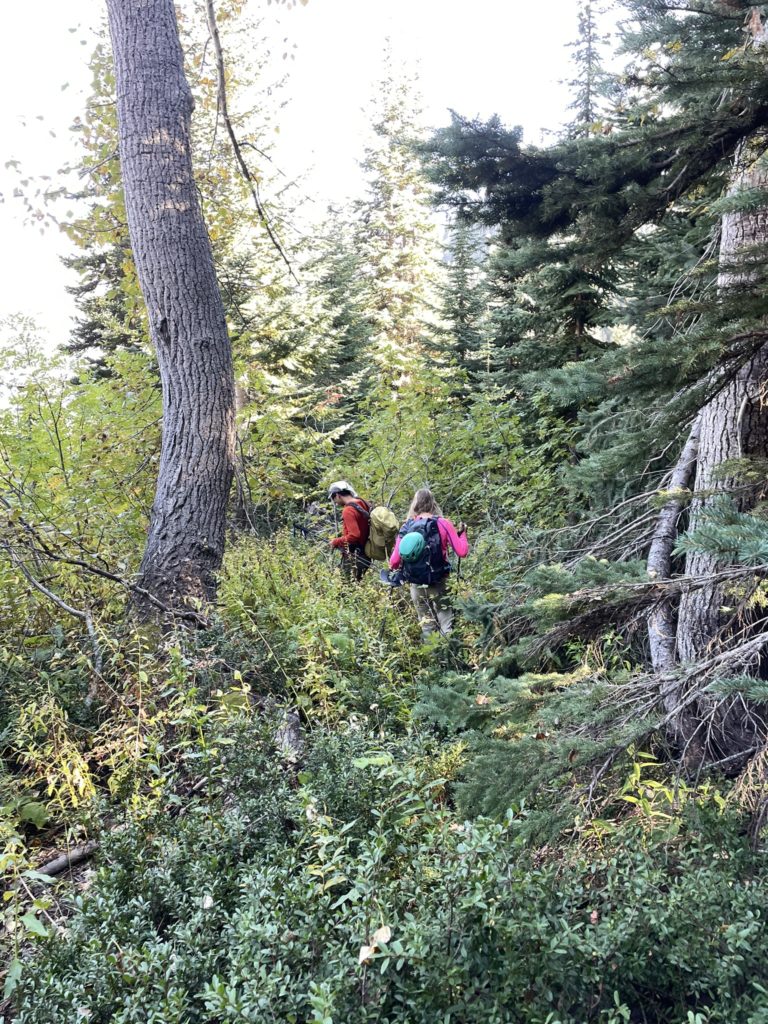
Steven drove us to where we roughly guessed the approach started and we packed up for some bushwhacking. The morning air was brisk and we had to suffer for the first fifteen minutes without jackets to avoid the inevitable over heating as we started moving. Our initial approach through the forest was surprisingly pleasant with mostly open forest floor. Sarah took us along the creek running across the base of Big Methow Needle and by some luck located an old footbed/trail only 200m in. Now without much route finding to contend with, we picked up the pace further and cruised through the forest to the next challenge. The trail was a bit faded in spots and based on the age of the dead fall that had last been removed, it was quite old, but we kept on it without too much difficulty.
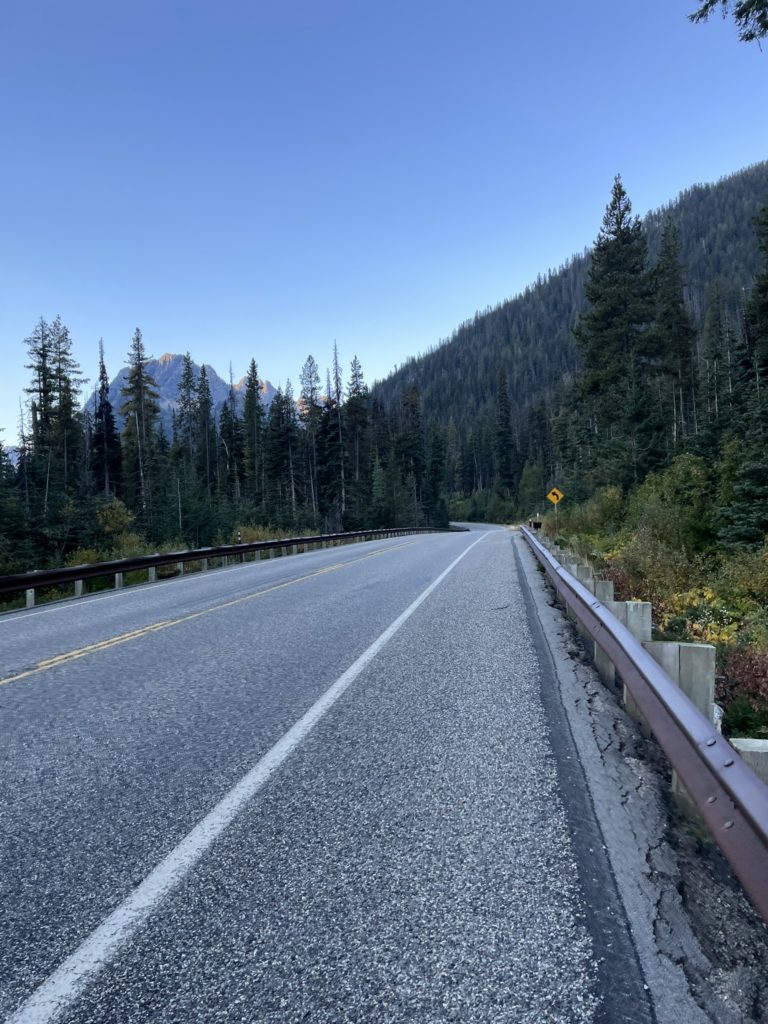
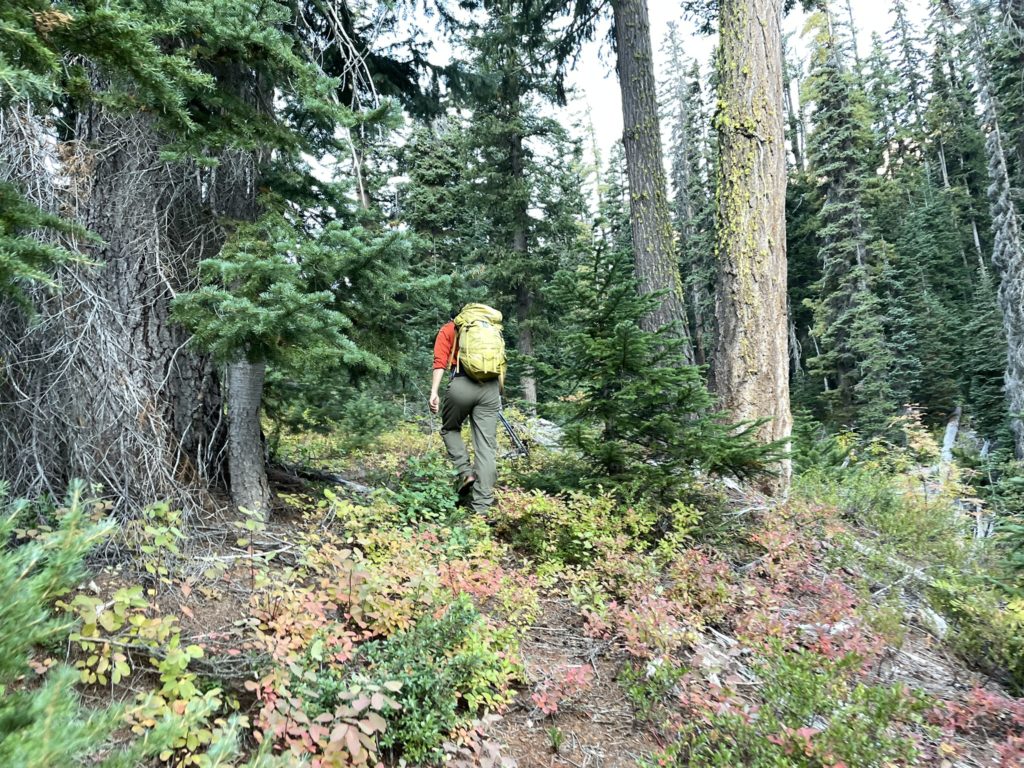
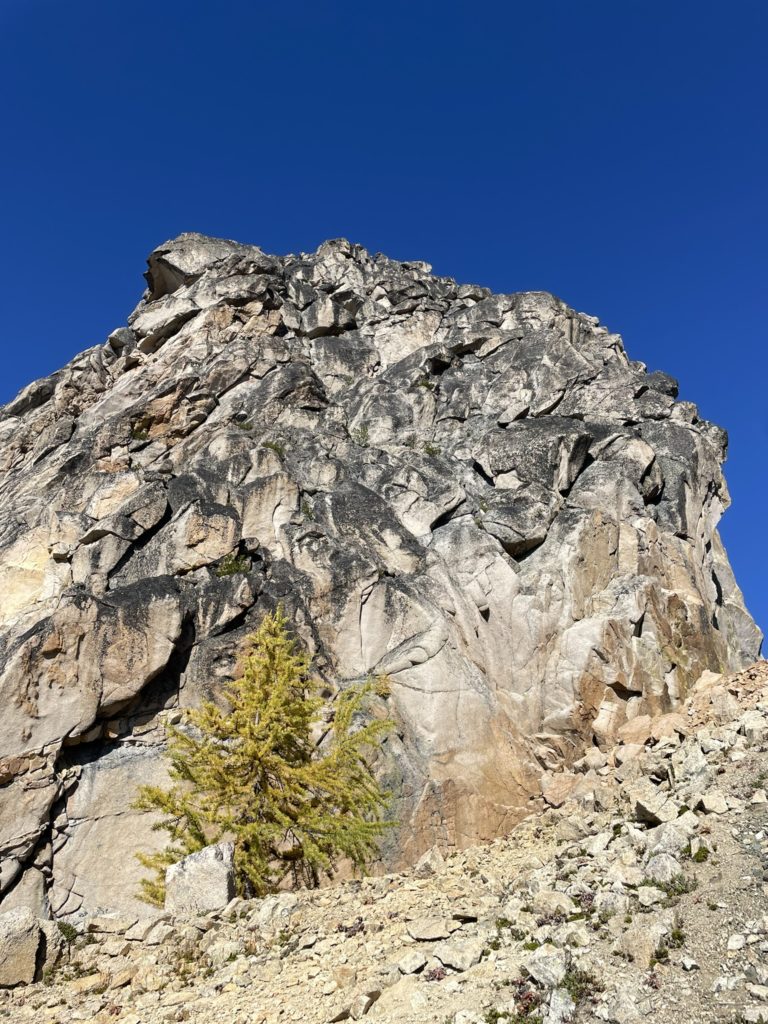
At the base of Big Methow Needle is a huge slide path which means… yes, slide alders. Our plan was to skirt around the south side of the slide path and then up through the mature forest on a rib to the summit ridge. Again, we got a bit lucky, locating a path directly through the base of the alder zone. A few times the path ran out, or required some bush thrashing but it was overall pretty easy to hike through. Around 1410m in elevation we steered right and up through the forest, now past the slide path and alders.

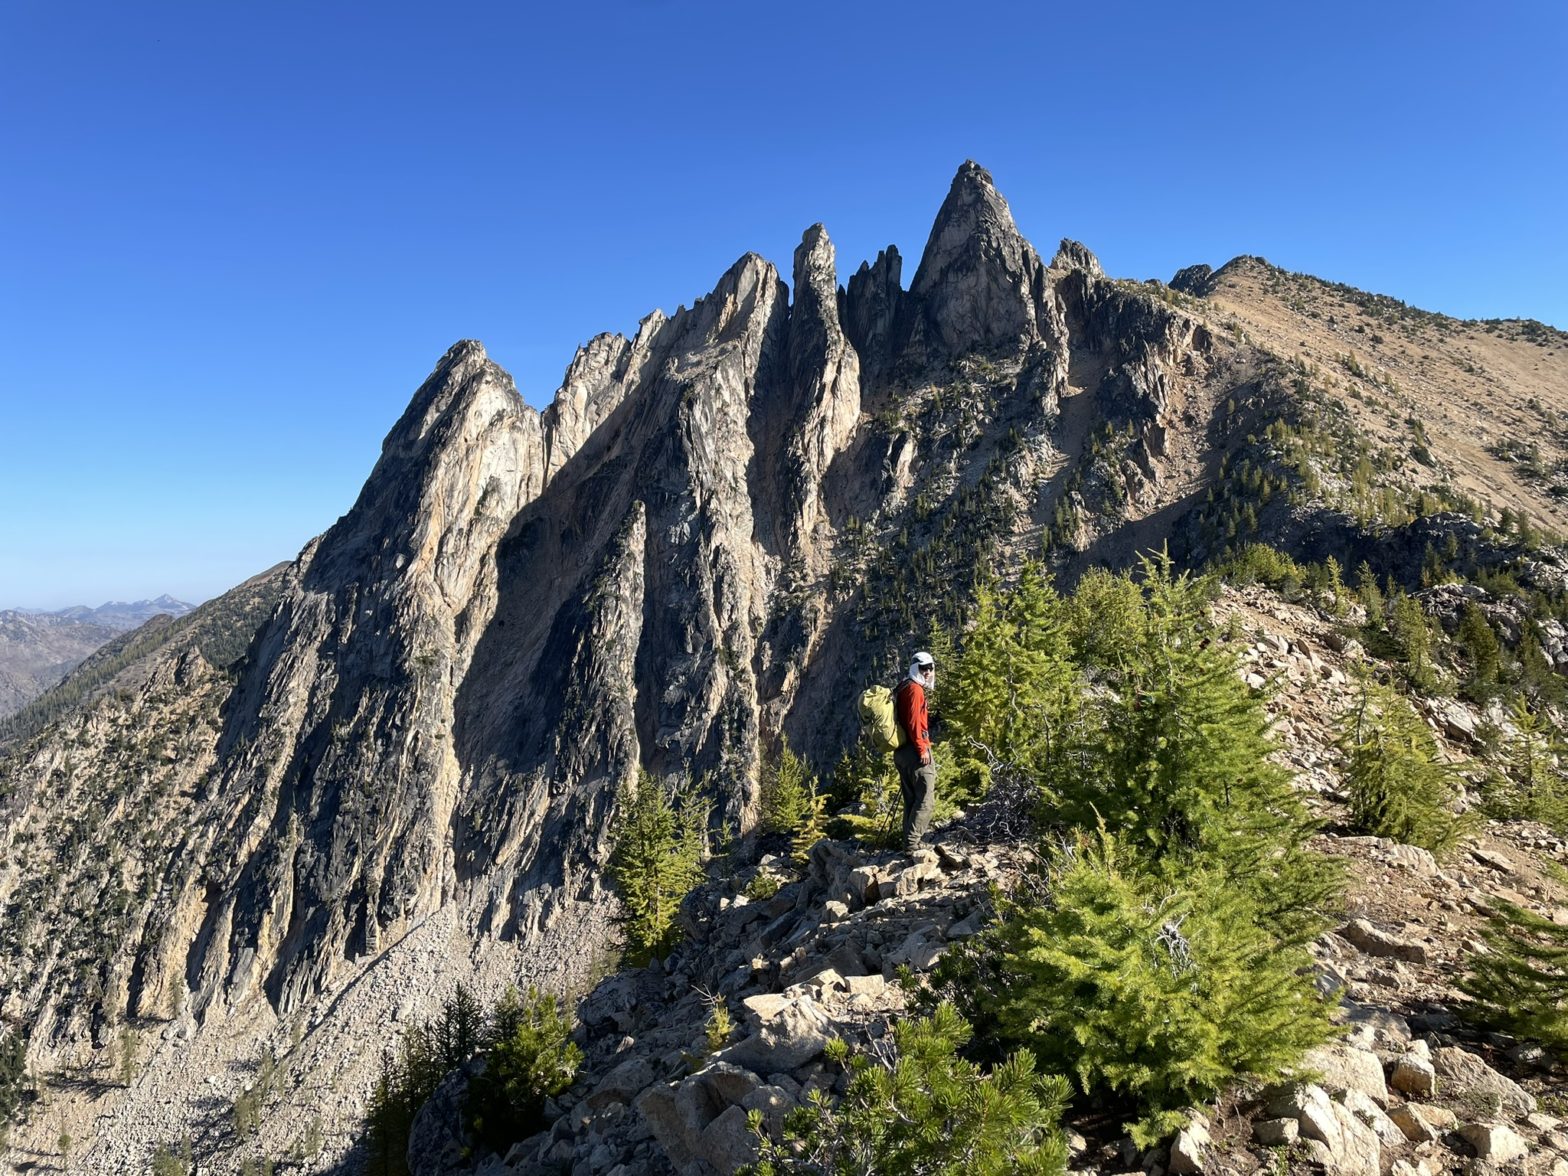
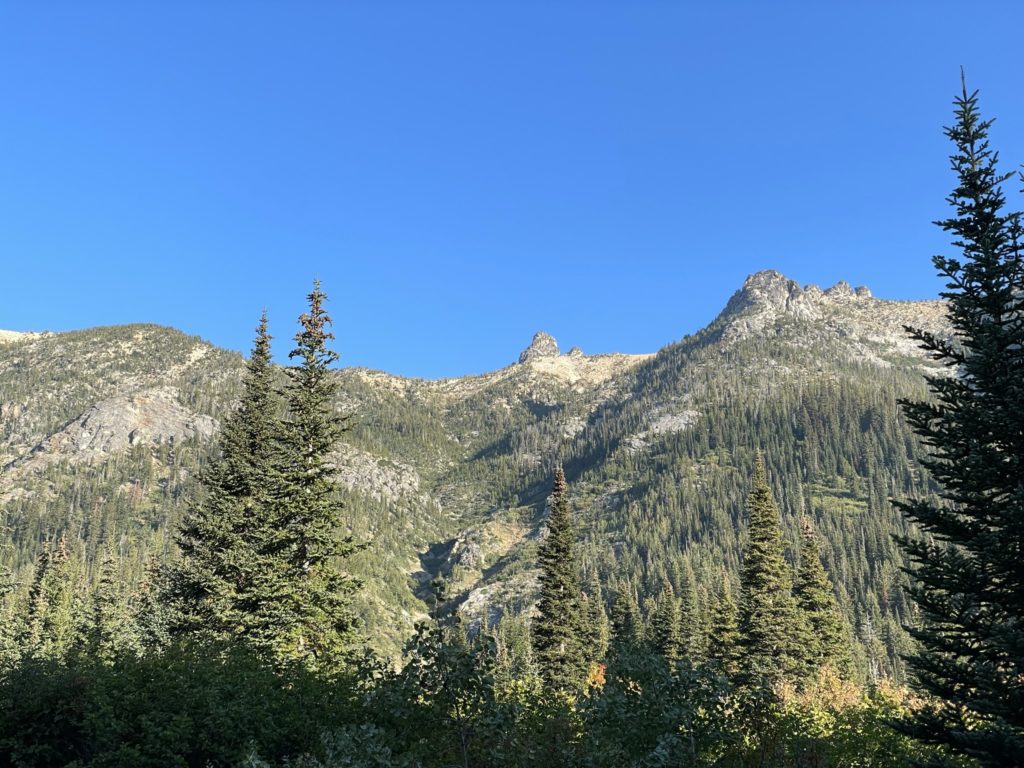
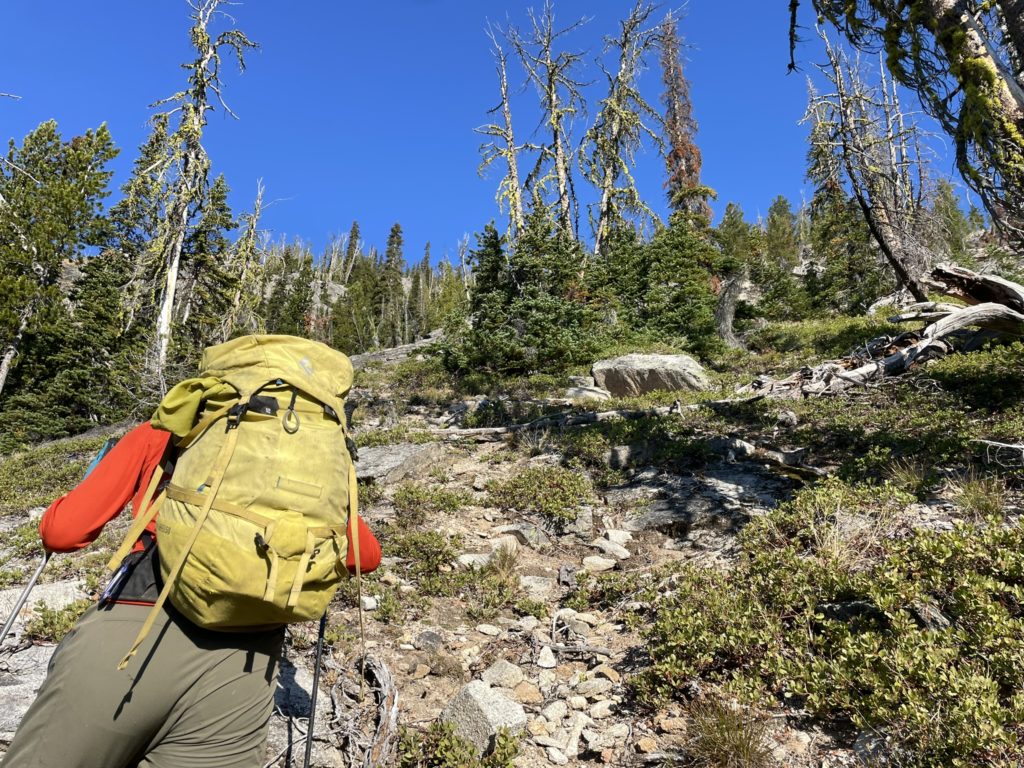
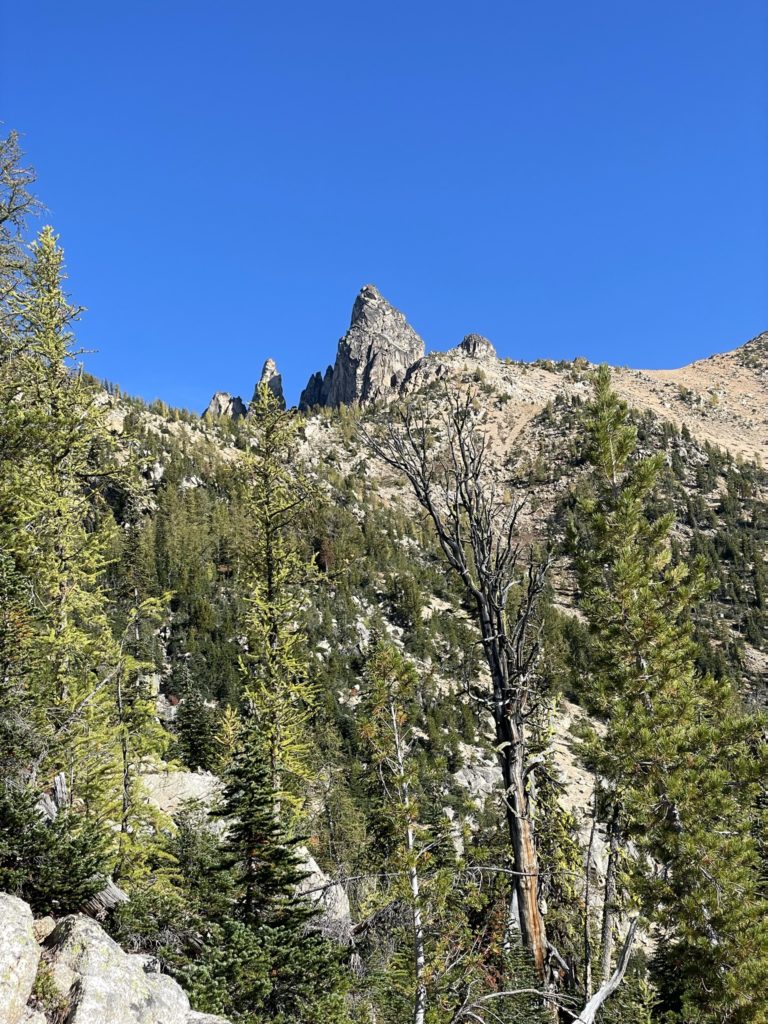
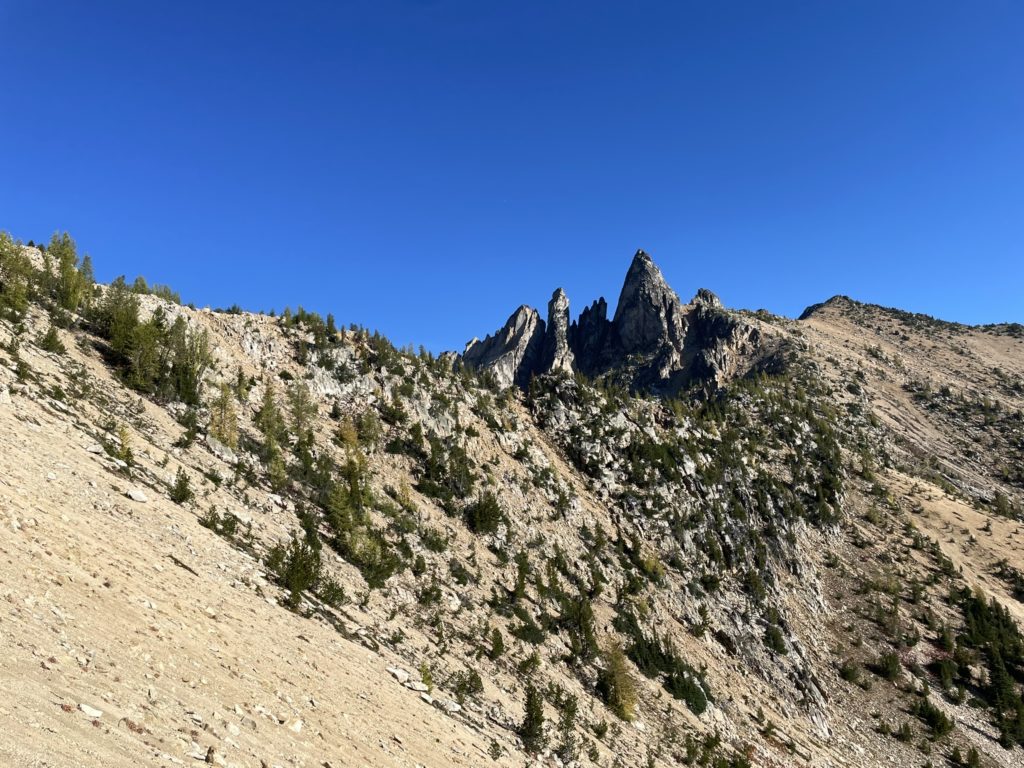
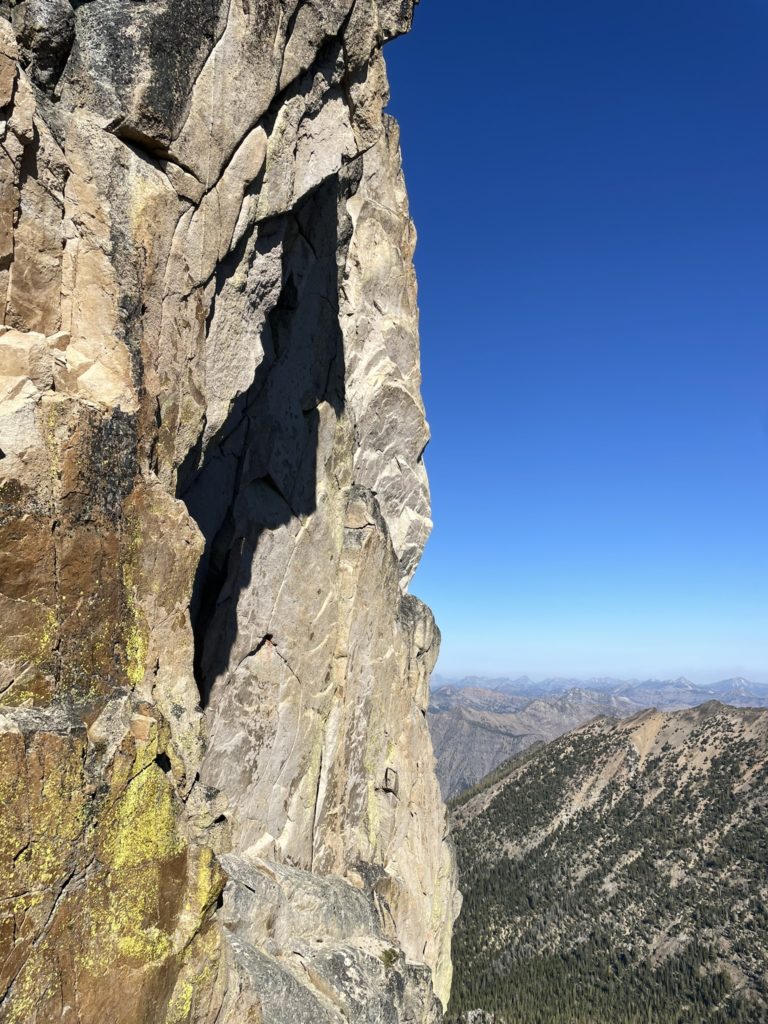
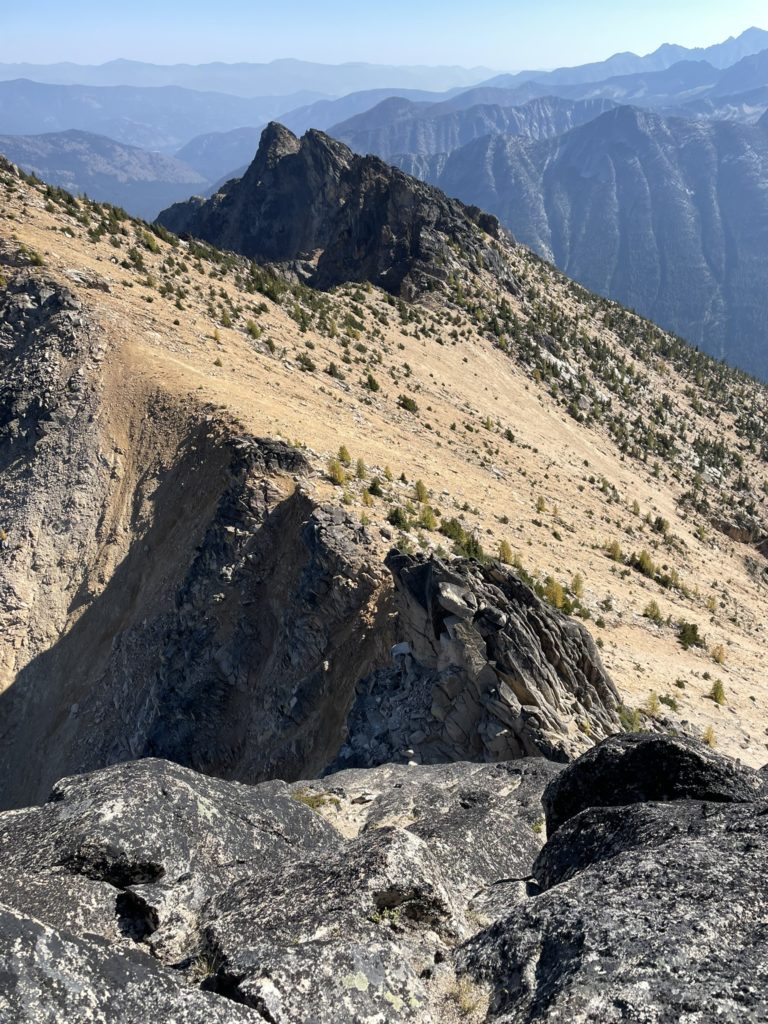
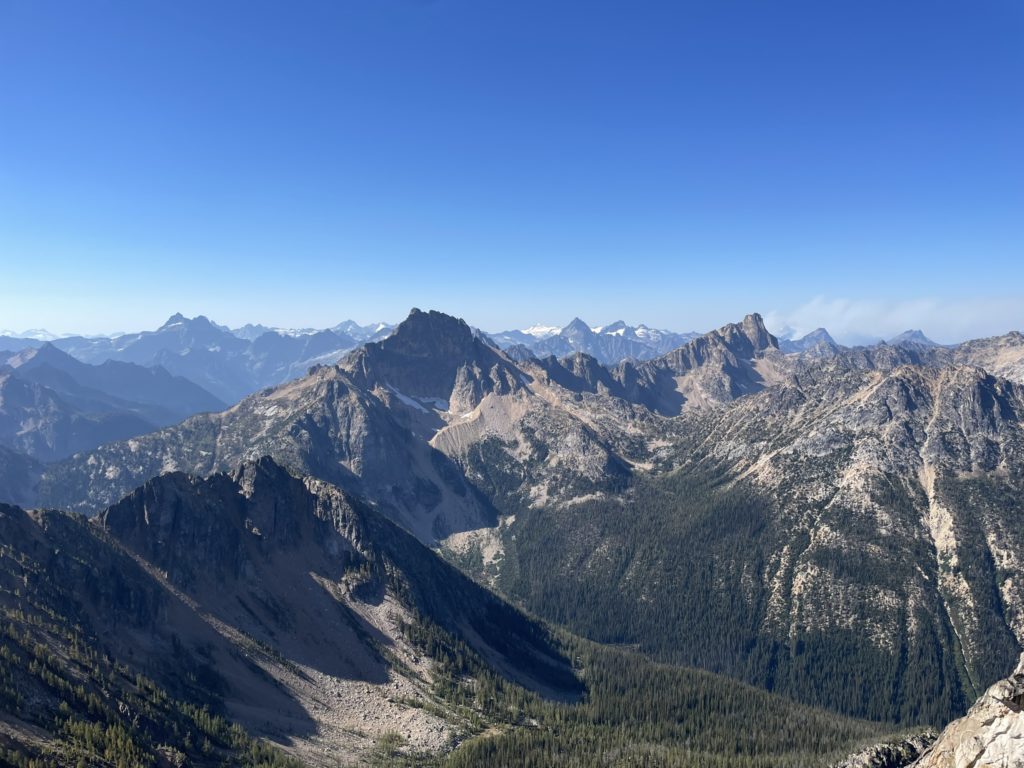
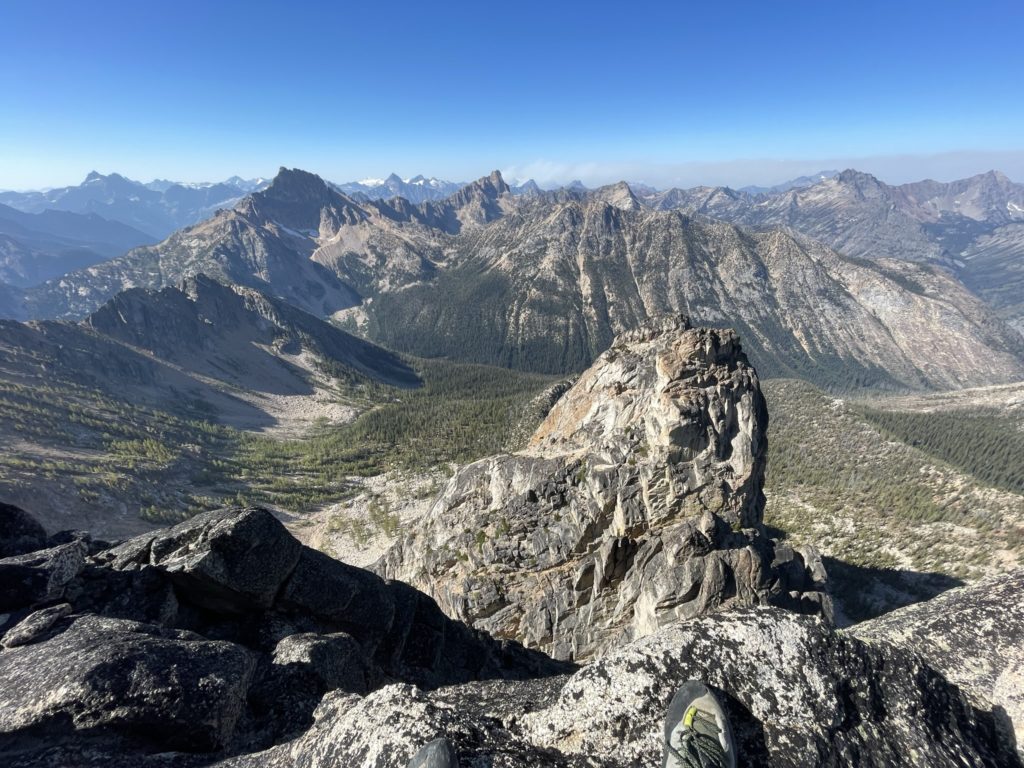
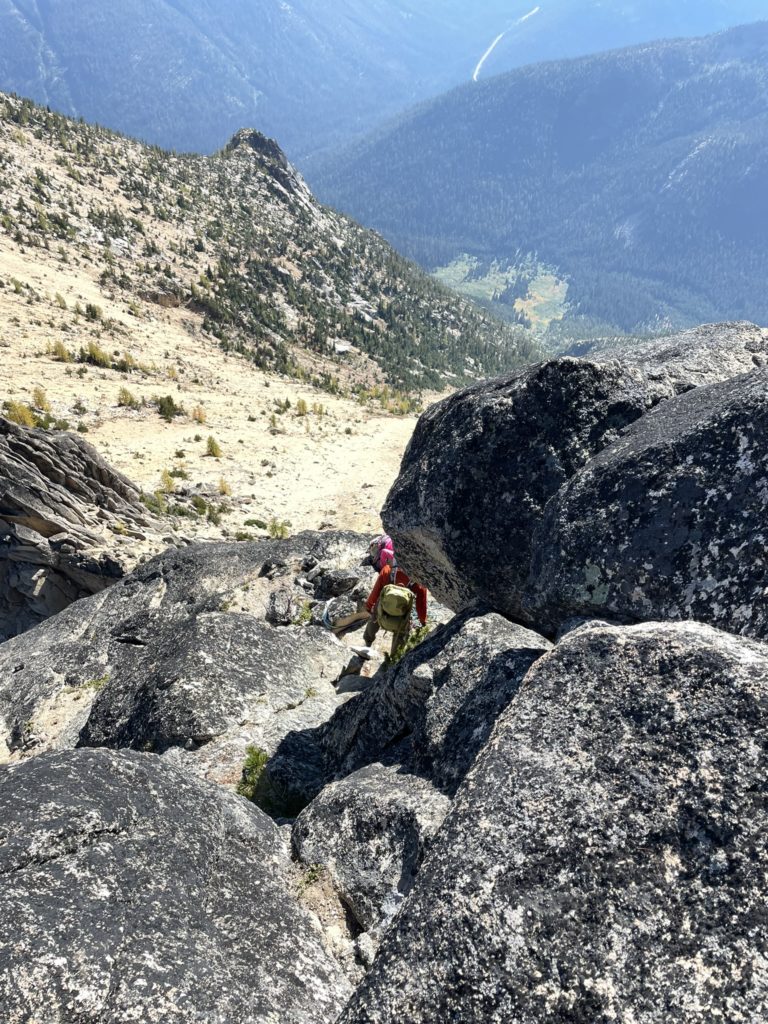
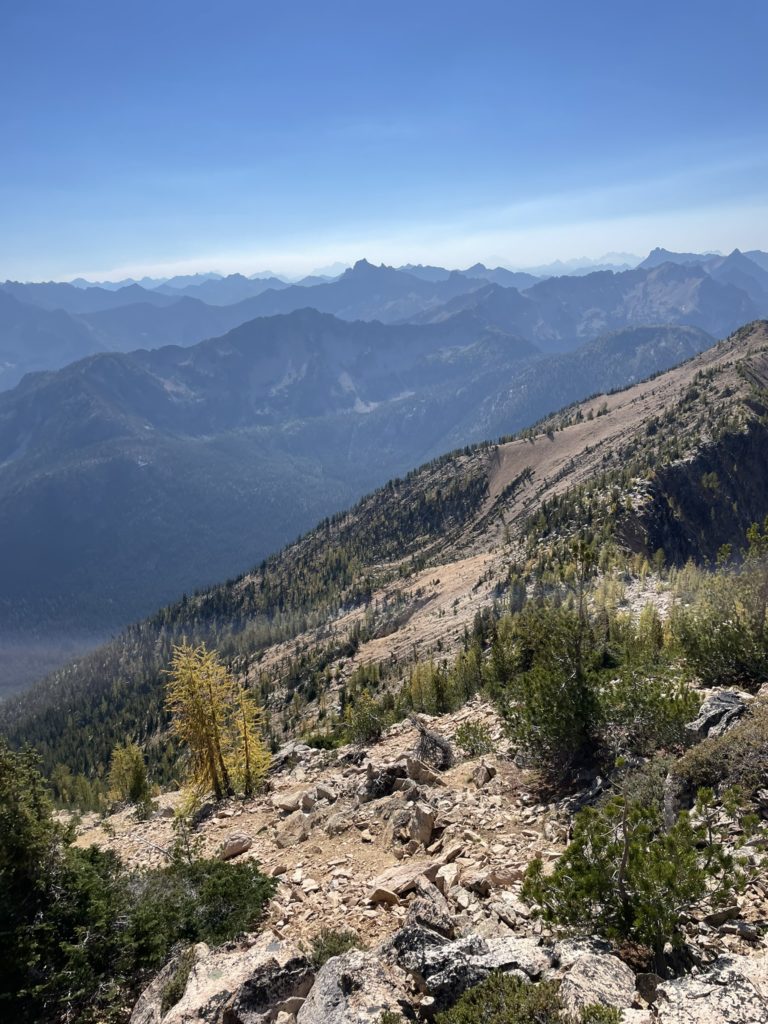
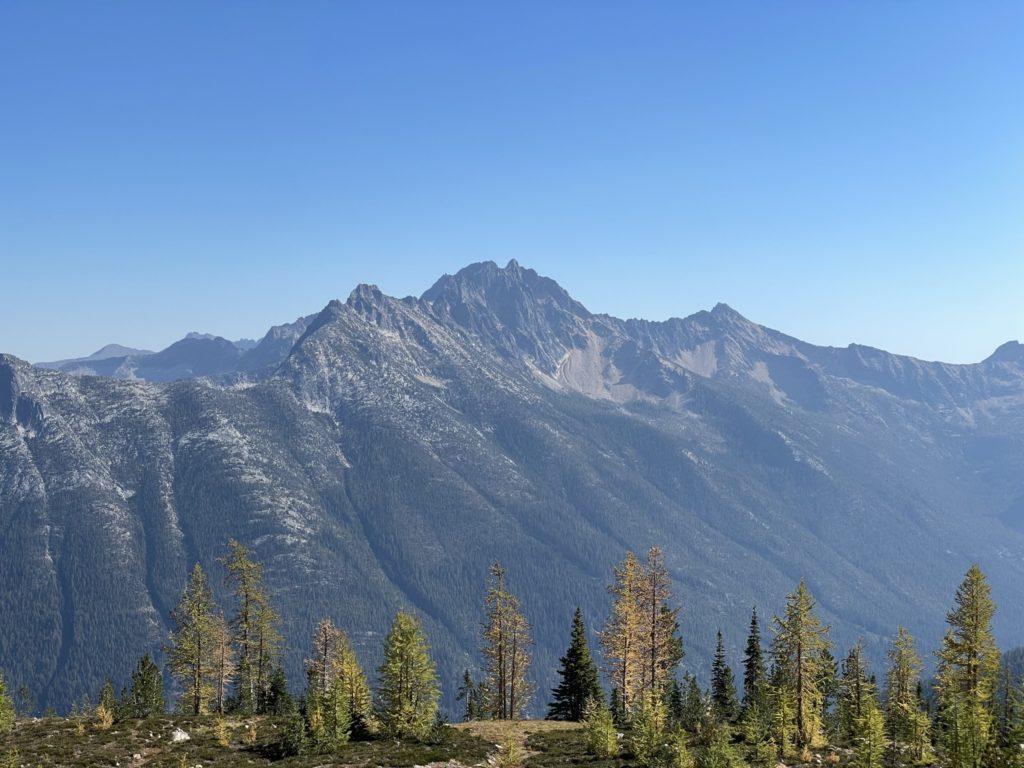
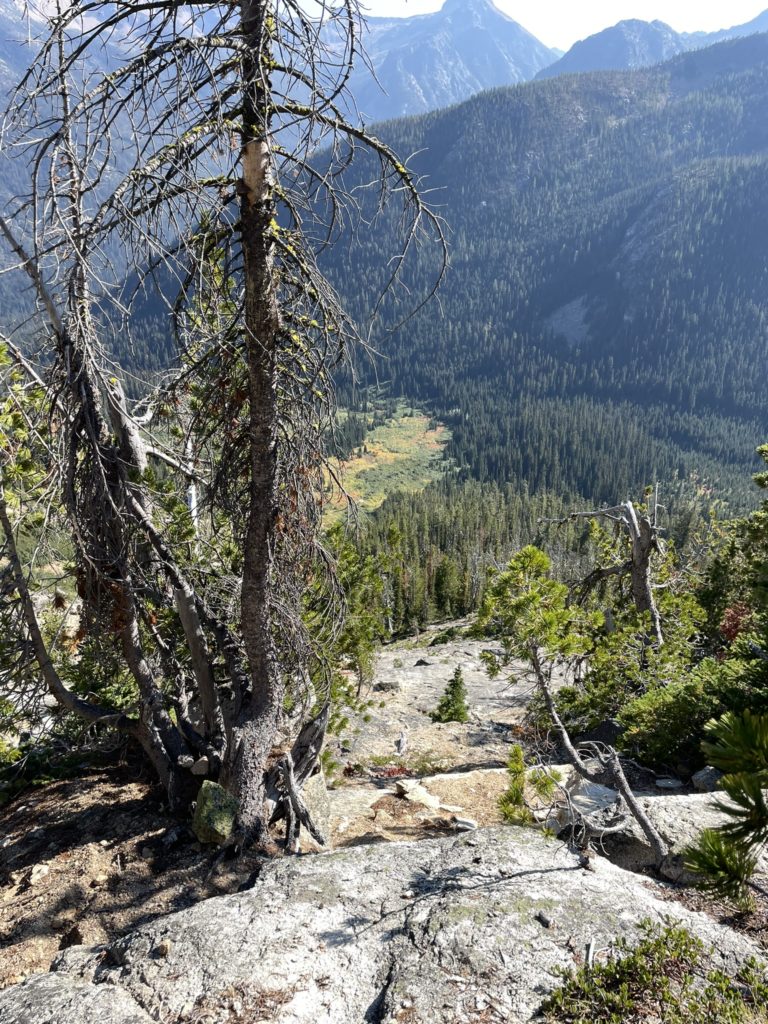
Now we ascended ~700m up the rib over easy terrain. There was no obvious trail, but the route was easy with only some minor dead fall and occasional side hilling to contend with. As we climbed, the trees opened up significantly and we had great views the entire way up. Somewhere around 2100m, we spotted a small bowl below the summit ridge and started aiming for that with a short side-hill session. From the bowl, there were two route options. At right a more direct line to the base of the climbing route and at left a nice scree ramp but with a more circuitous route to the climb. Gaining the ridge would mean nicer views though and we couldn’t pass the opportunity up. I lead us up the ramp and sure enough we caught a striking perspective of Big Methow Needle’s huge west face. The sub towers along the ridge were equally impressive and we wondered if there had been any ascents.
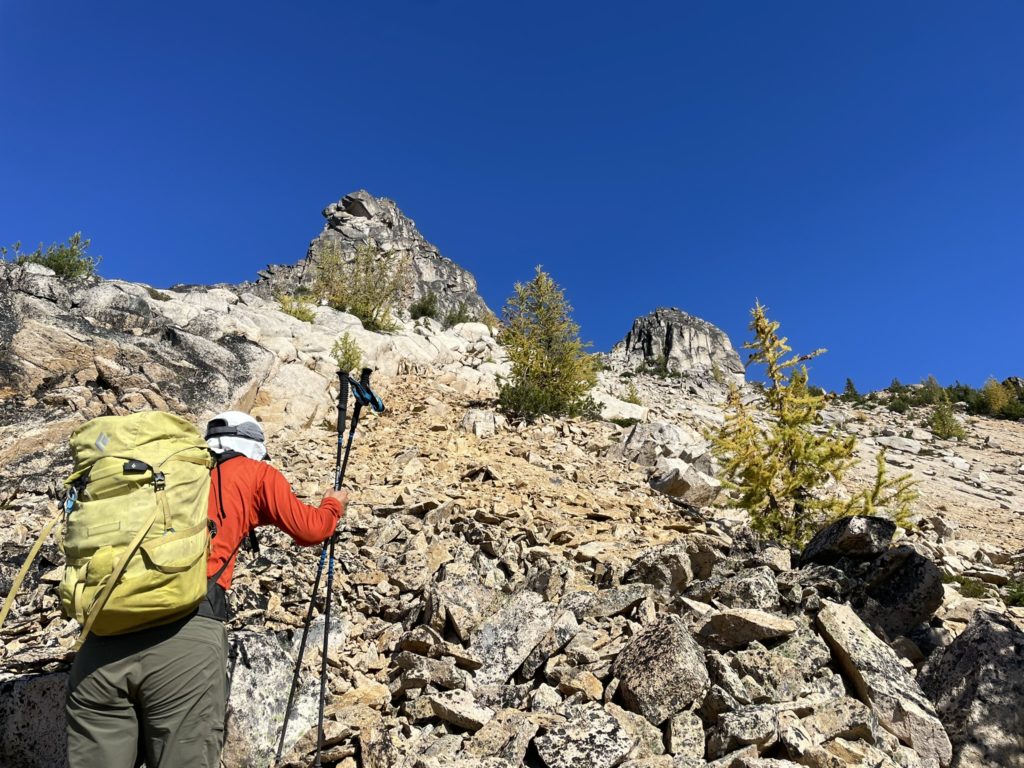
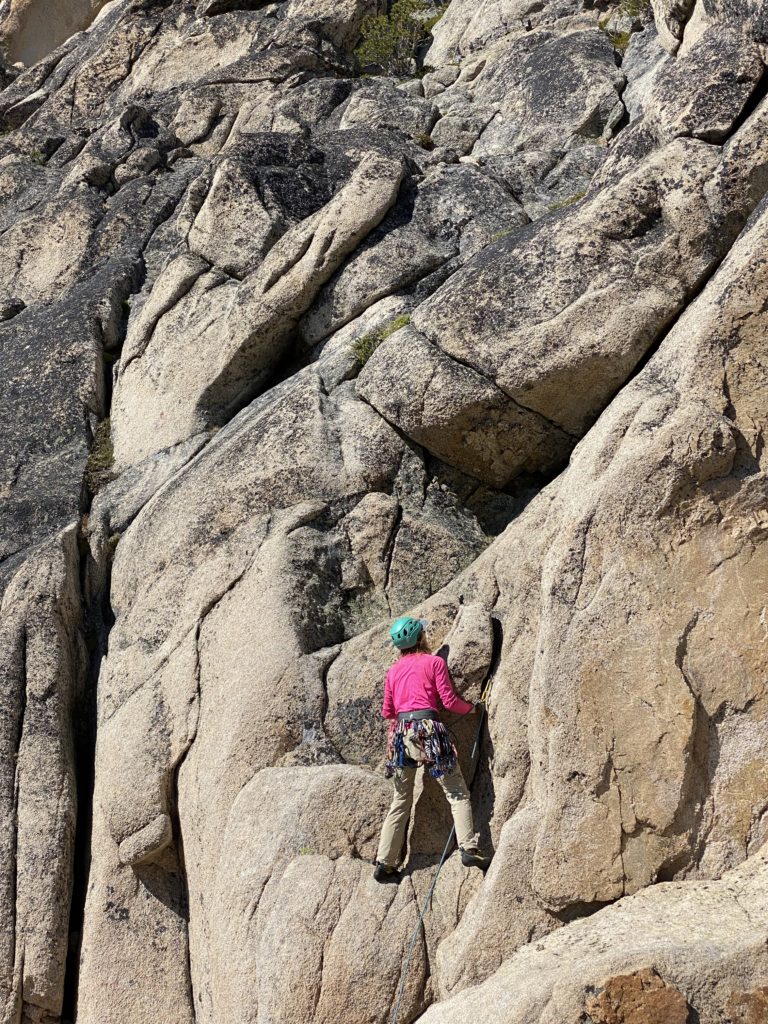
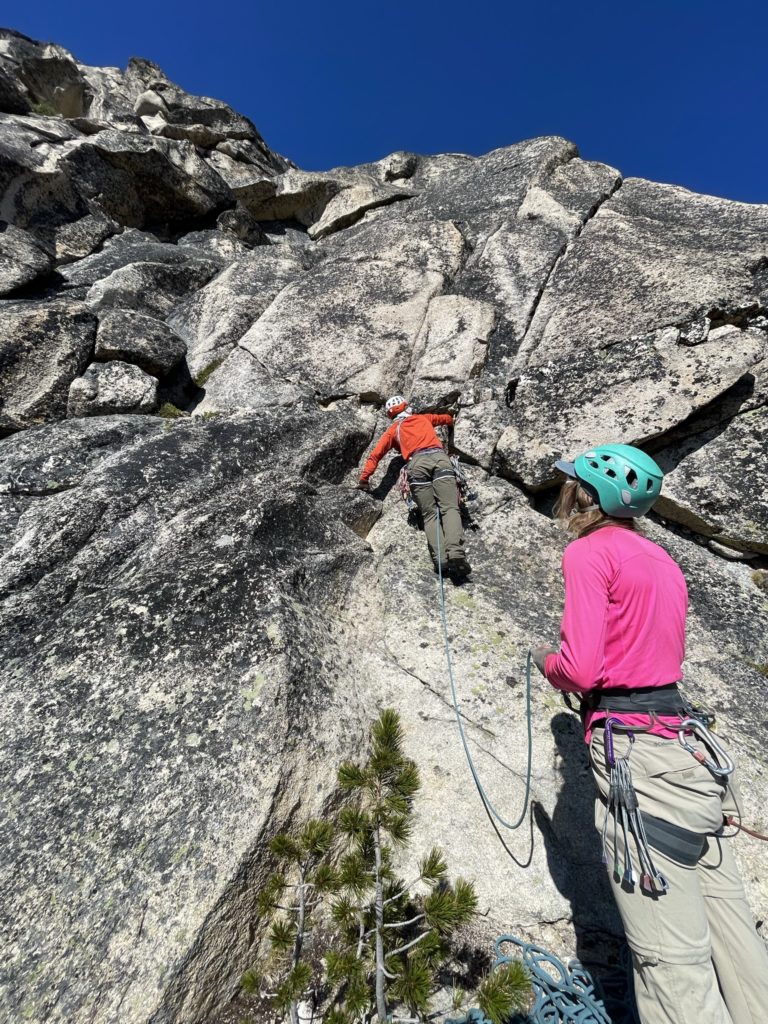
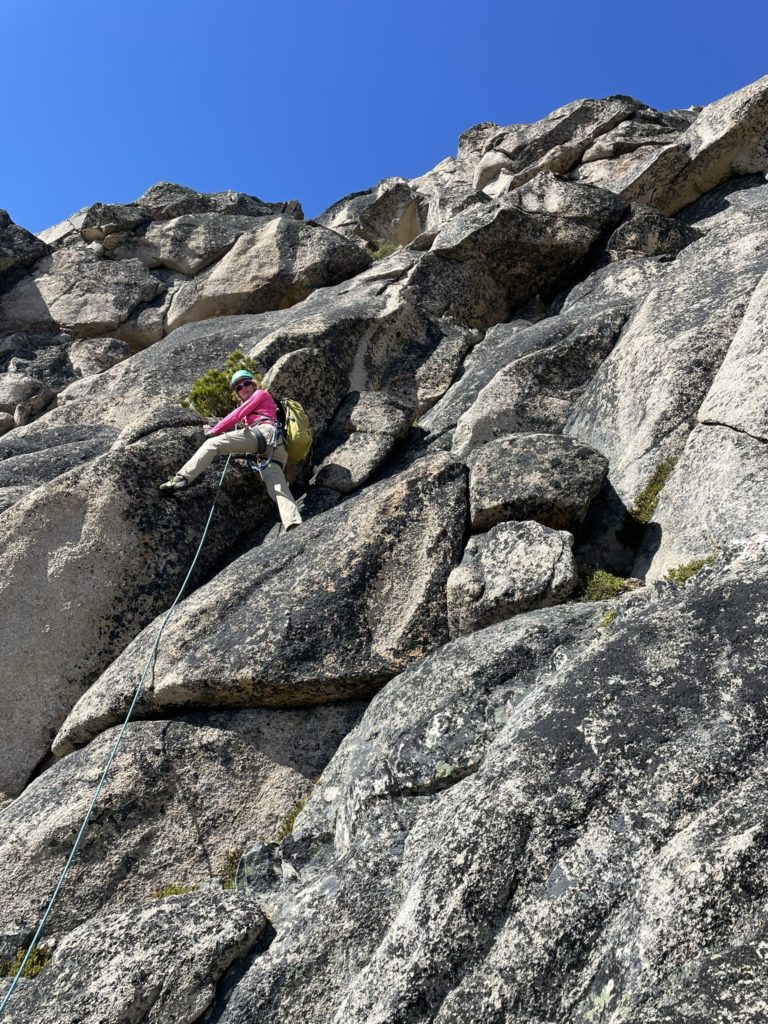
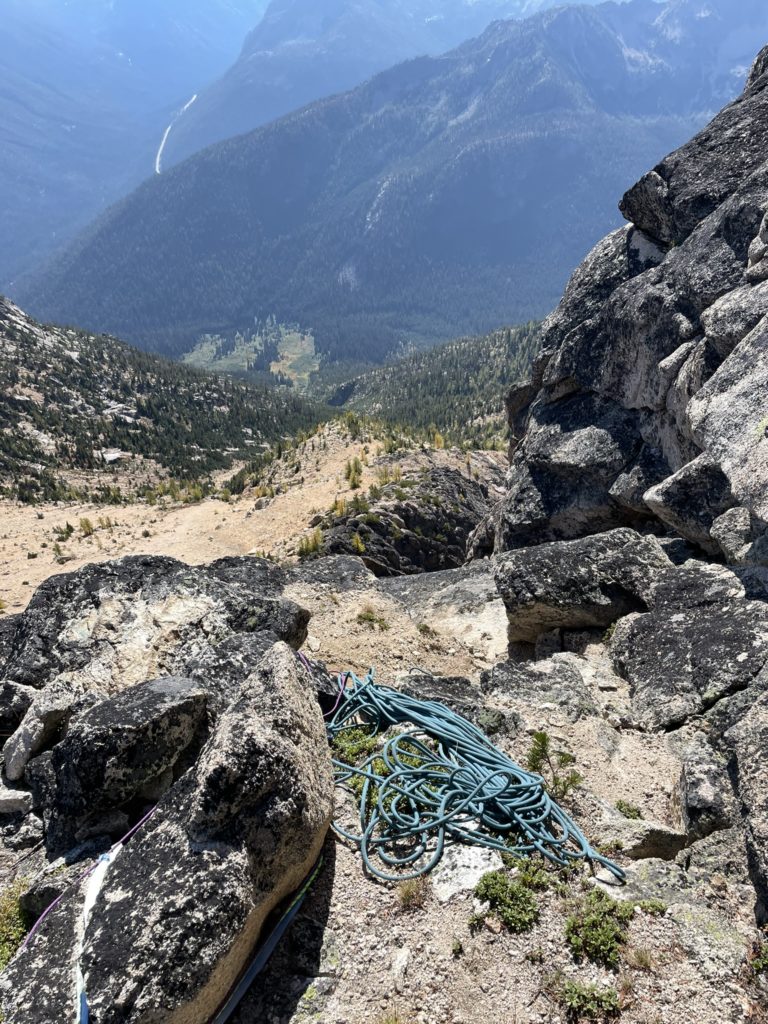
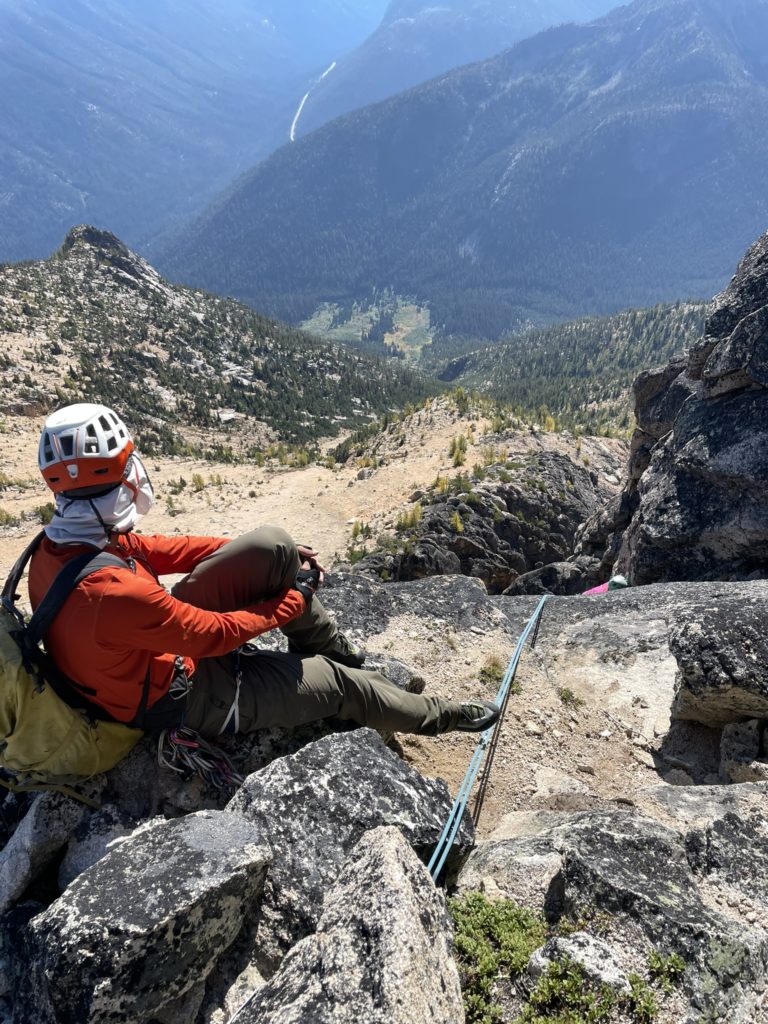
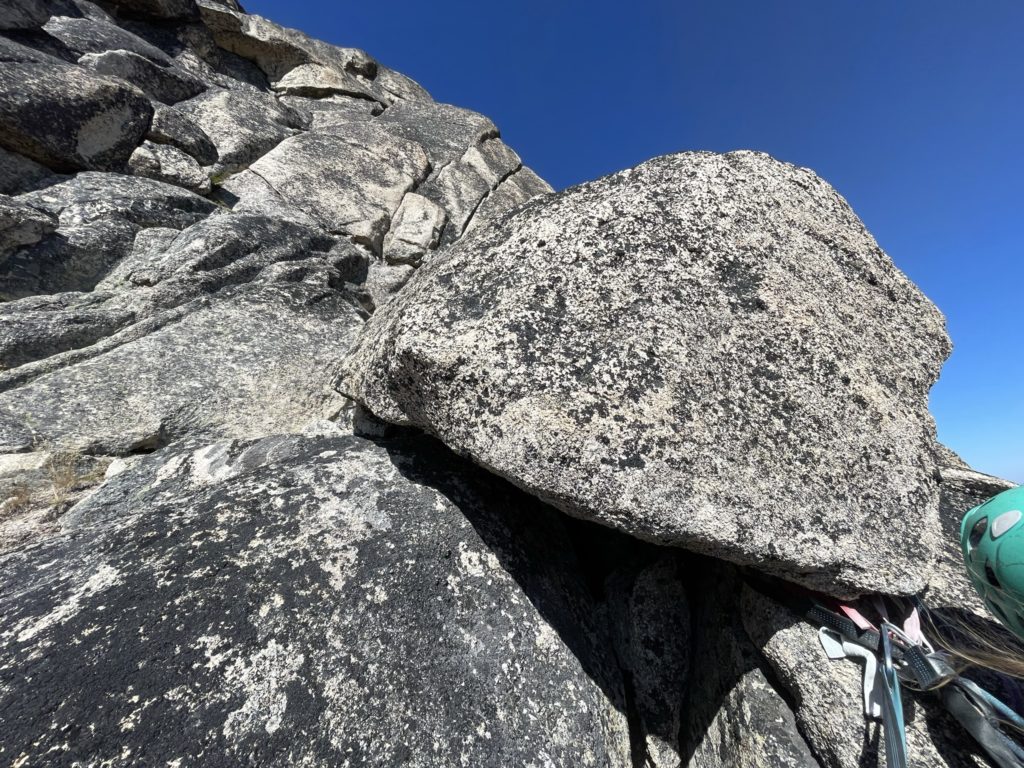
From the ridge it was easy walking up to the base of the climb where we got our first look at what lay ahead. Sarah and I were both happy to lead or let someone else lead so we decided on a game of rock, paper, scissors for who got the first pitch. Sarah won out so she racked up and scrambled up to the start of pitch one. I belayed and Steven was on photo duty. When Sarah would reach mid-way on the rope or the first anchor, Steven was going to tie in and second and then I would third.

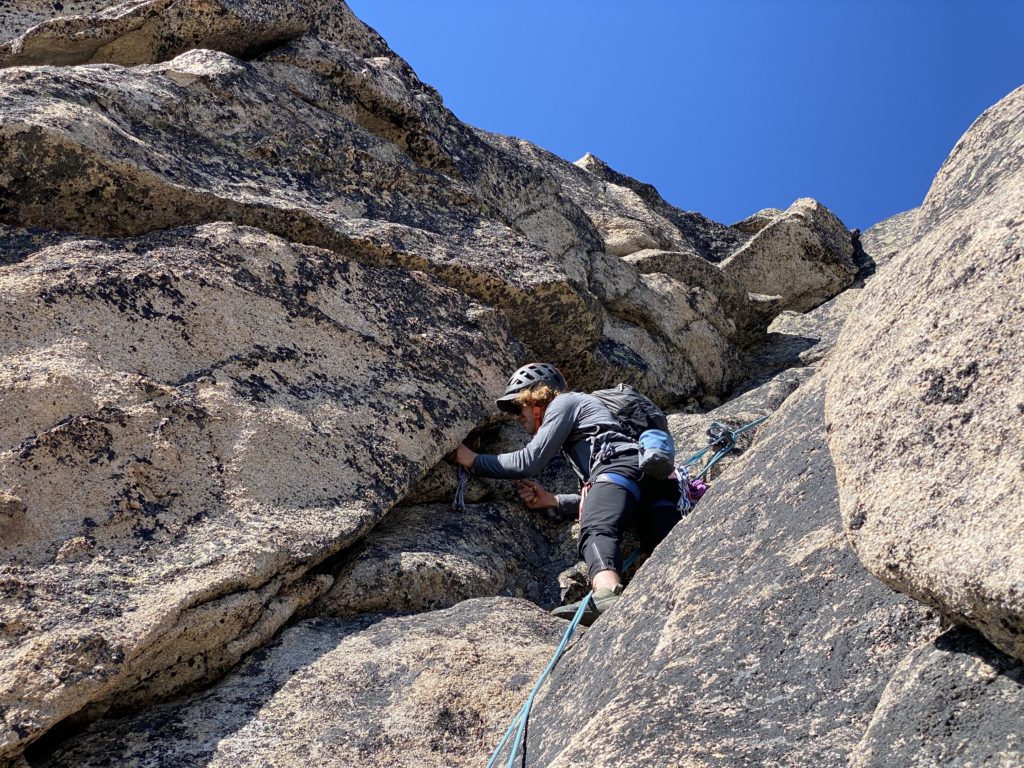
Pitch one had a few options, but the two most enticing was a long off-width crack and then easier 5.6/5.7 route that wandered a bit to the upper face. Sarah eyed up the crack, but after inspecting a bit further realized there’s no good way to protect the route with the gear we brought. We only had a single #3, so the other option it was. She cruised up the first few meters over some easy, but sandy jugs and then around an interesting bulge/slab crux before topping out at a slung rock about 28m above. Steven went next and cruised up as well and then I finally climbed up. It was clear this route doesn’t get much traffic, because much of the rock was lichen covered or had fine grains of sand that added a small layer of technicality. I took a few seconds to figure out the sequence around the bulge/slab and then climbed up to the anchor.
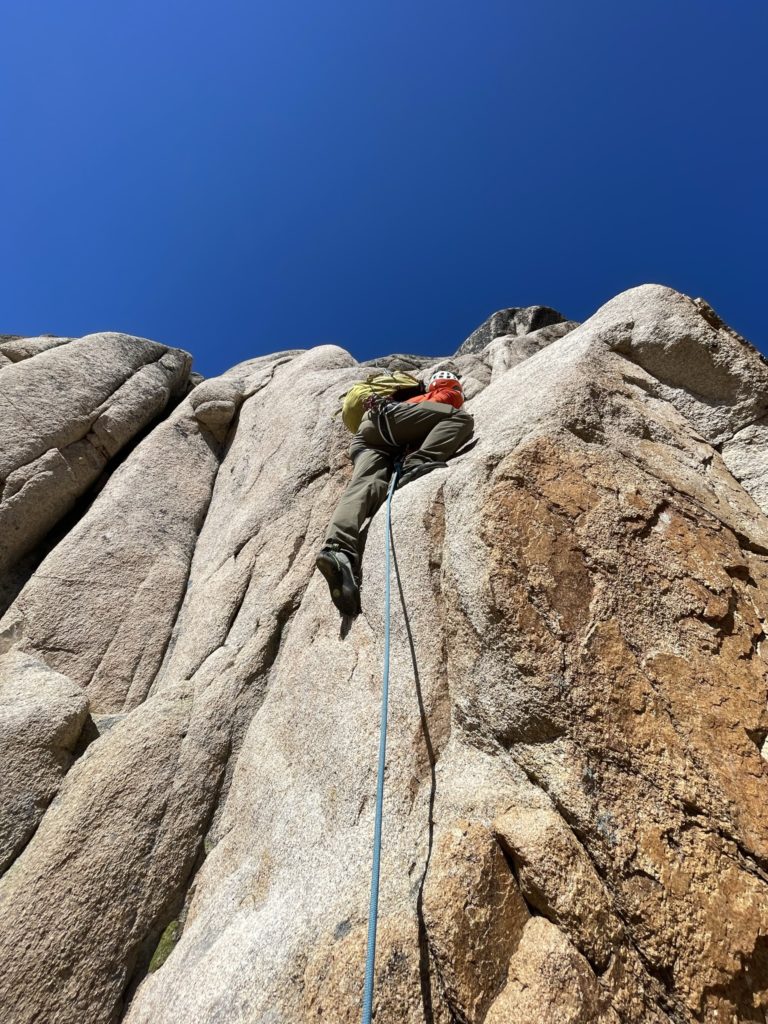
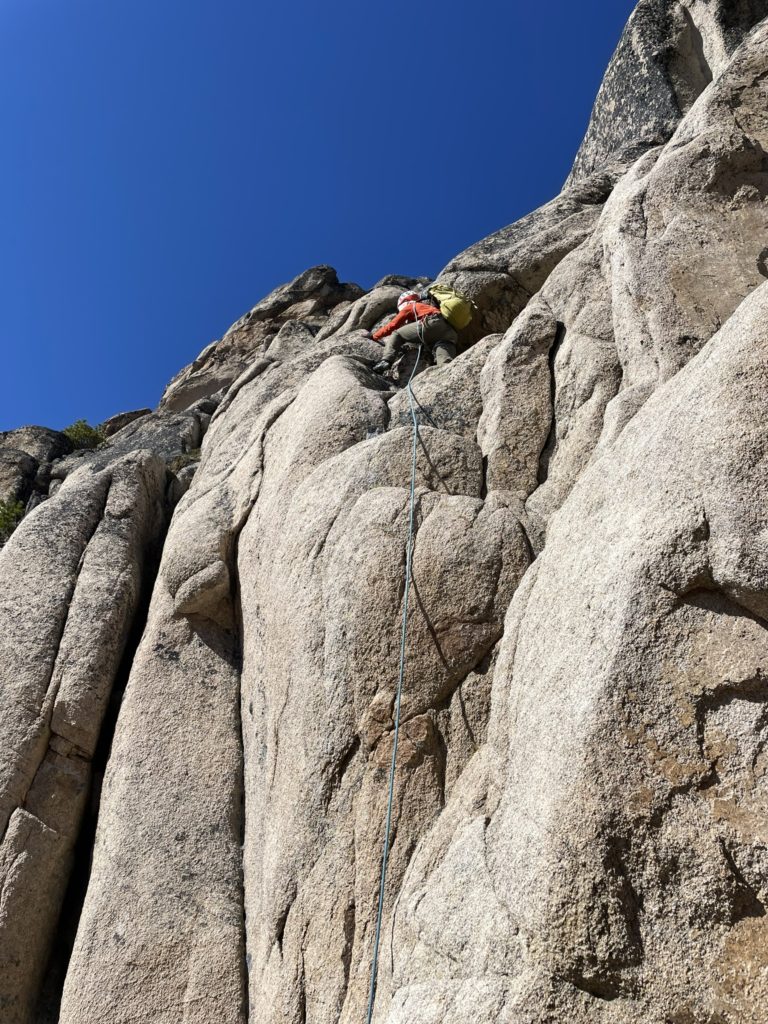
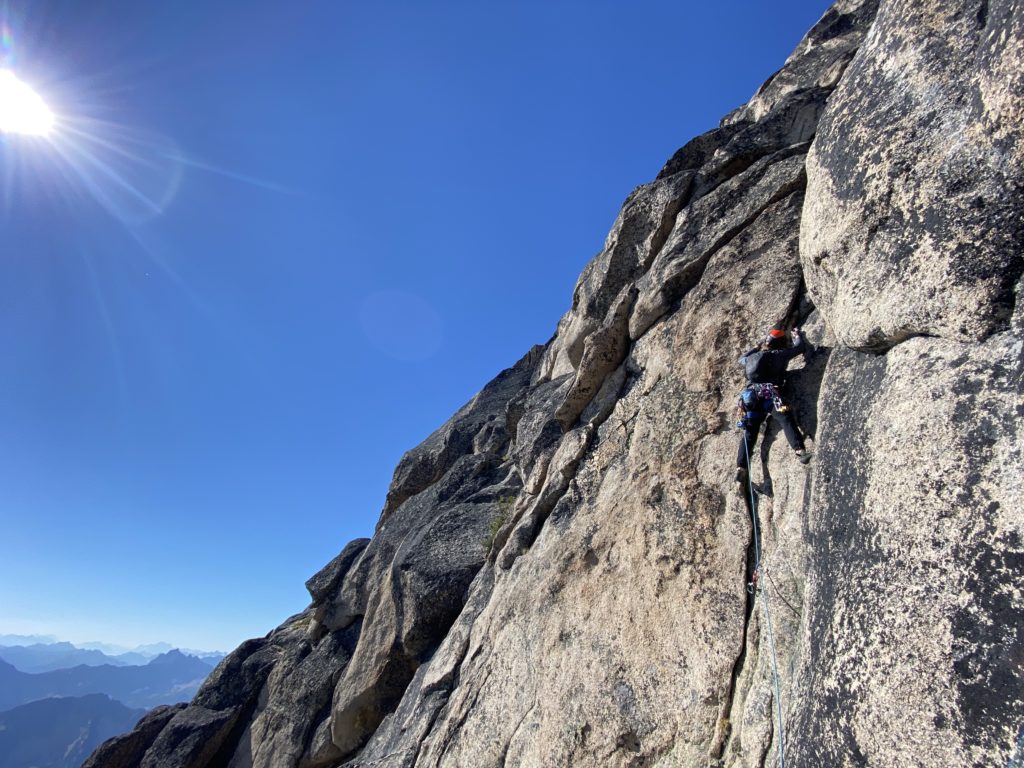
Based on the topo I found online, the next pitch was fairly short, maybe 20m, and low 5th class terrain. After that was the next crux, a cool crack/flake feature that I was keen to climb. On hearing that, Steven decided to lead pitch two so that I could get the pitch three crux. Sarah put Steven on belay, and he started climbing above the anchor and then traversed climber’s left around a steep rounded slab piece. From there he climbed out of sight until traversing back and to an anchor about 20m above us. Sarah went next, choosing a slightly different line and climbed up without too much issue. I stuck with Steven’s line and found straight forward low 5th to the next anchor.
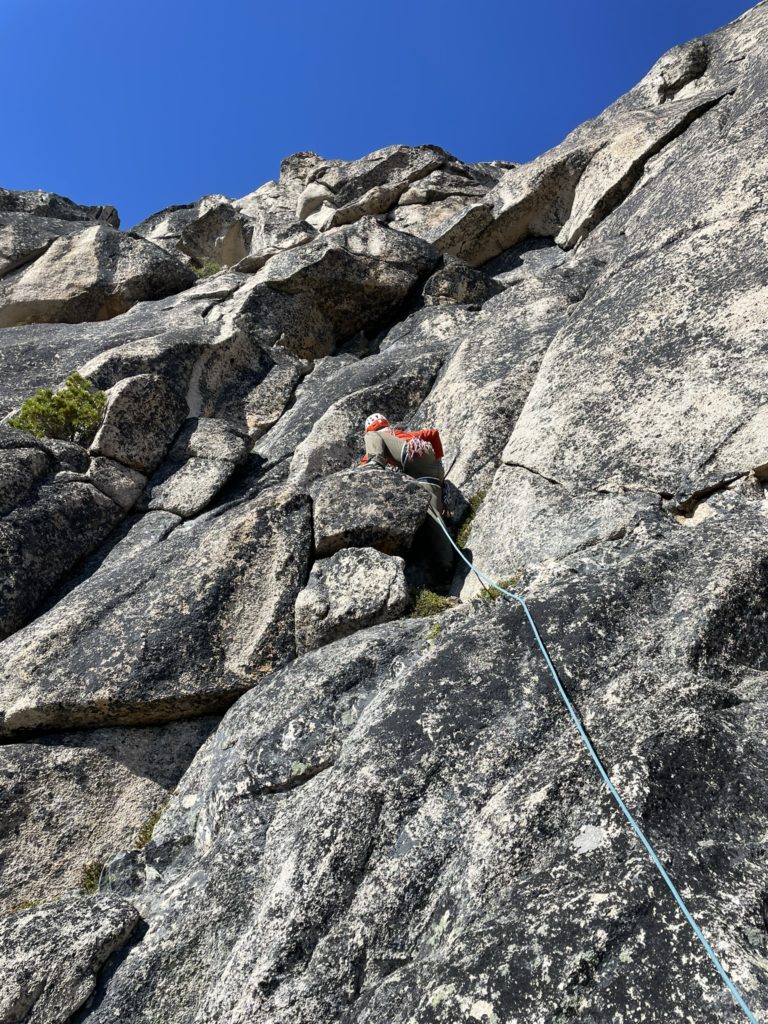
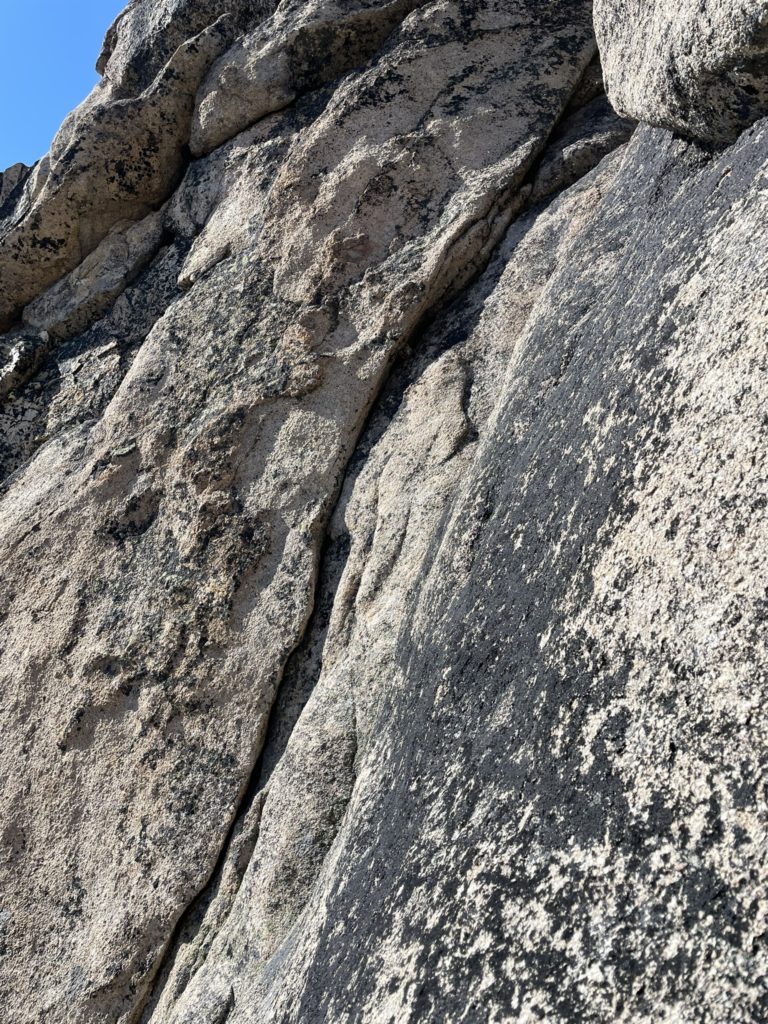
Now just right of pitch three I had a good view of the crux and it looked straight forward. It started at the base of a sandy ledge that offered no exposure. Sarah proposed to belay again, so I racked up and headed to the base. From directly beneath the pitch, I could now see the crack was really more of a flake with a deep flaring pocket at the back. I decided this was going to be much easier to just layback and got about starting up the pitch. I climbed a meter up, found a good stance and placed a single #0.75 before laybacking further up. I paused mid way to find another placement, but there was none, so gave up and climbed out to the top. At the top of the crack I found a decent #5 wallnut placement and then climbed up a short sandy slab to a slung rock to set up anchor. Overall an easy pitch with just one 4-5m crux section, that most should have no issue with.

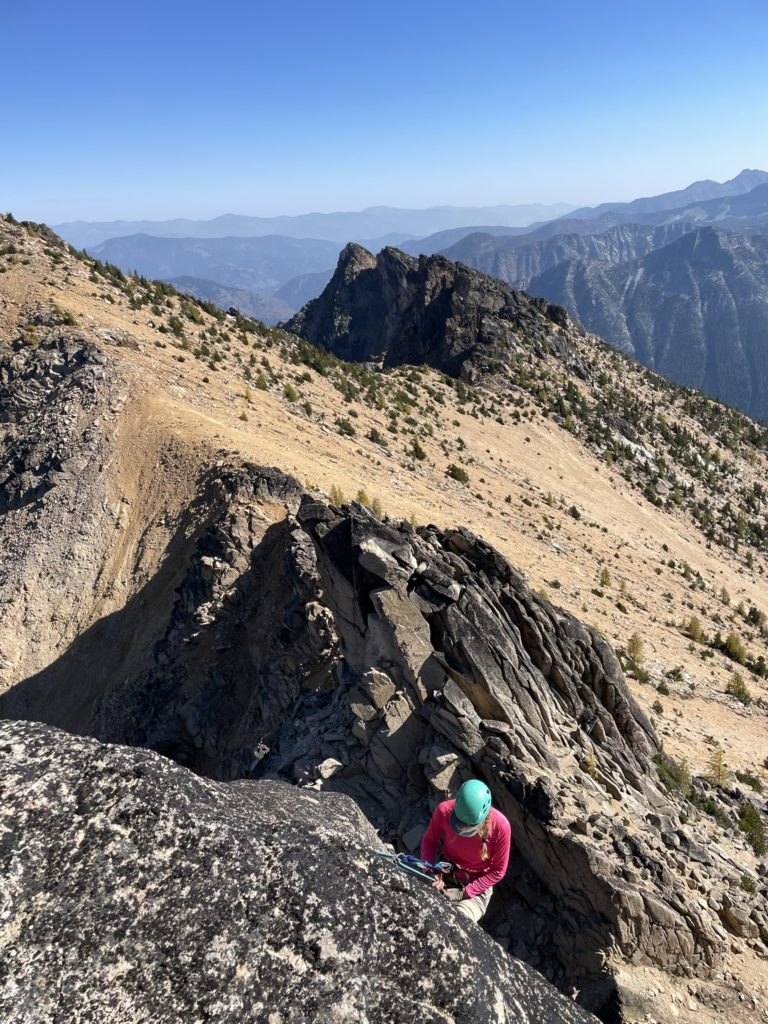
I belayed Sarah up next and then she scrambled the remainder of the route to the summit. Meanwhile Steven followed up and ran into a calamity trying to free my wallnut placement. After trying for a few minutes we gave up and decided to give it another attempt on rappel. Once Steven topped out, we both met Sarah on the summit with the short scramble up.

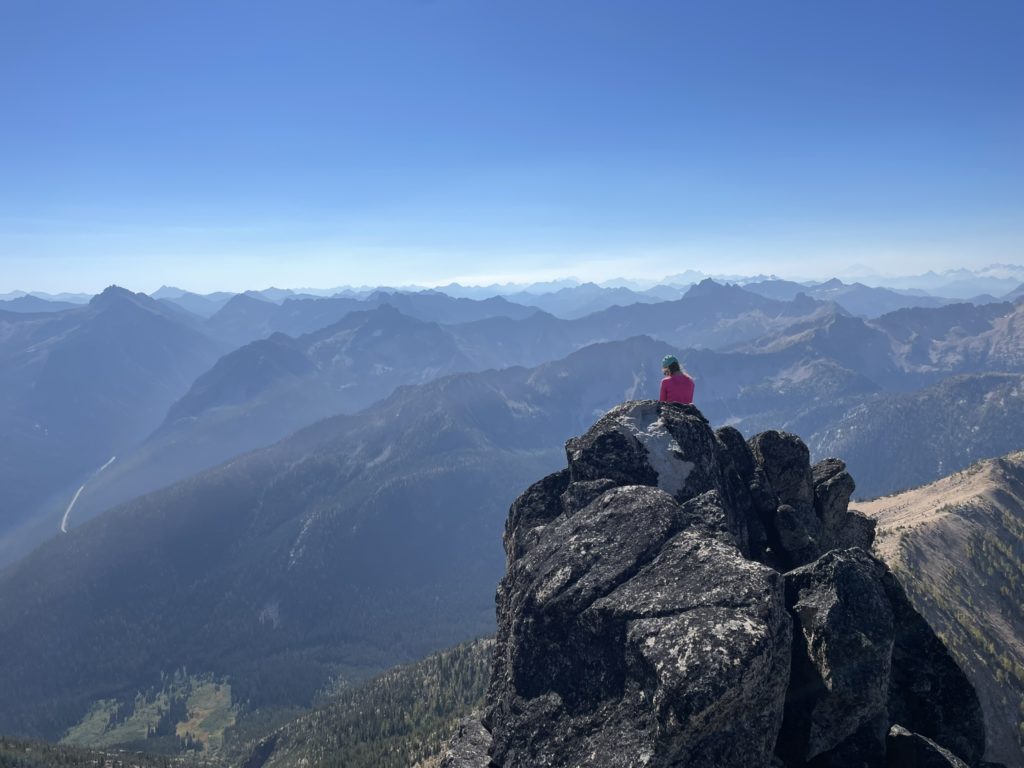
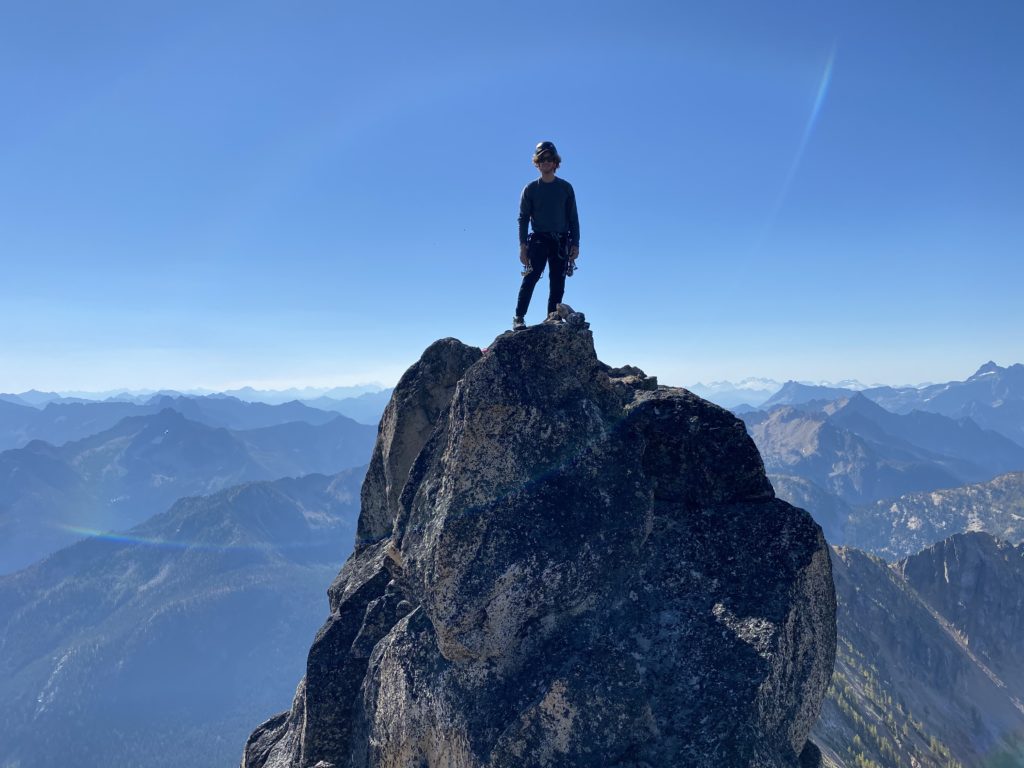
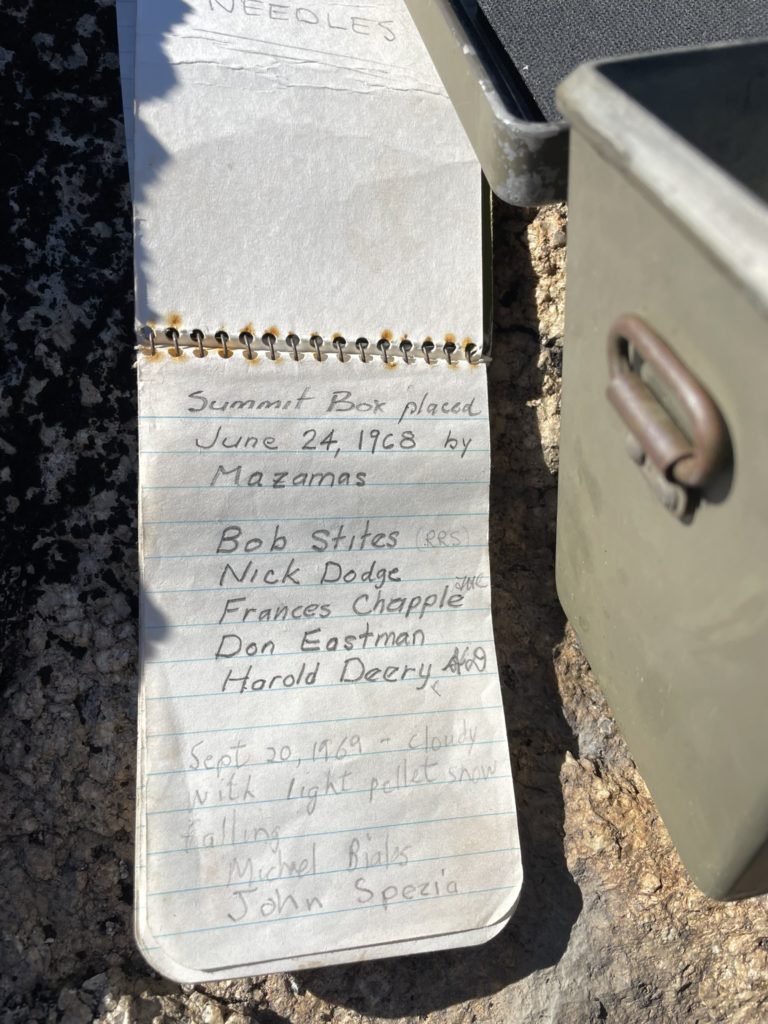
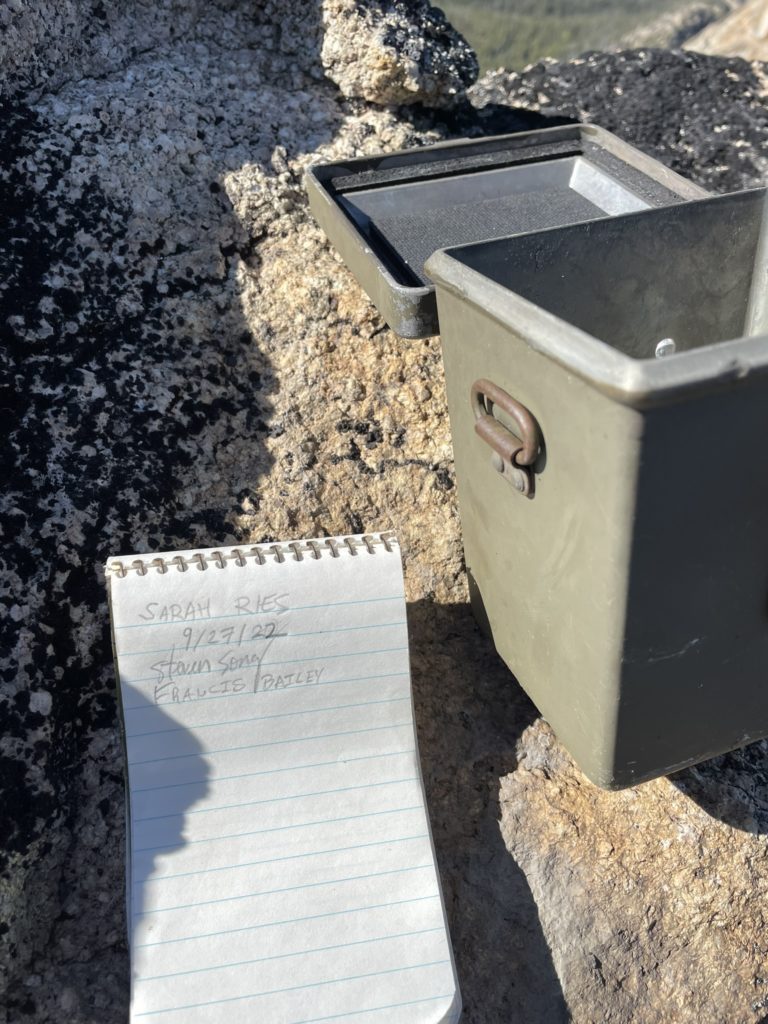
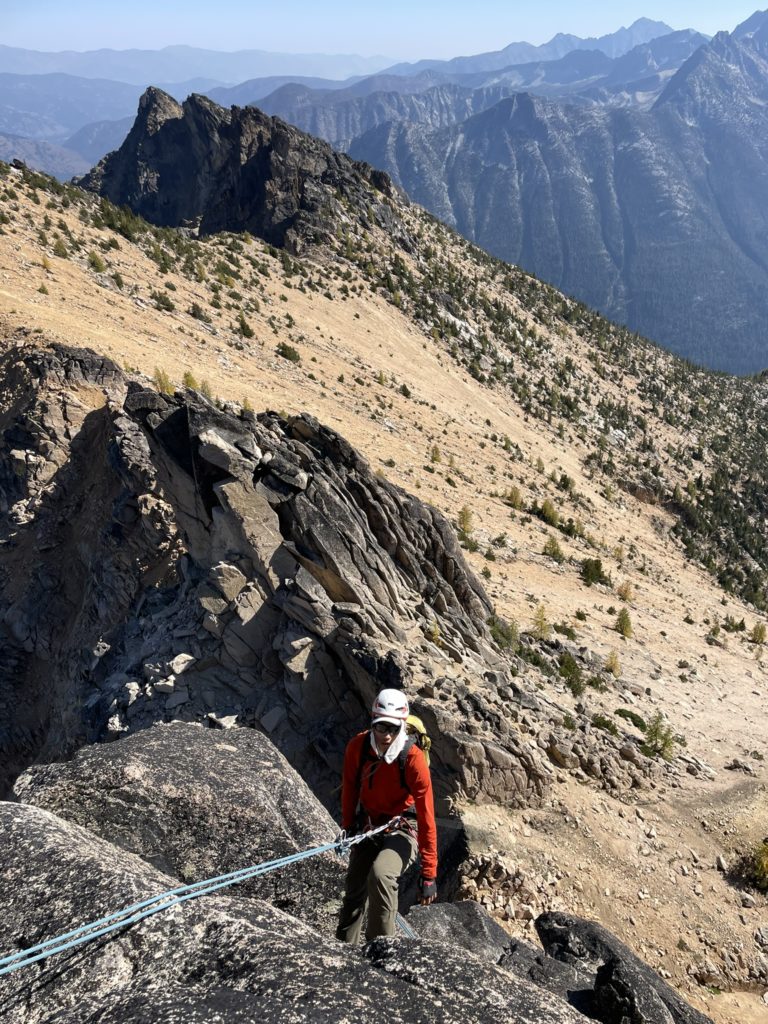
The summit ridge was narrow with the true high point being a small boulder with room for one. However, the ridge had lots of one-person spots to chill so we all spread out along the ridge and took our time grabbing photos. Steven rifled through the summit register and spotted no shortage of historic and important names in the Washington climbing community. The register was placed in 1968 so it was cool to add our names to a historic piece like that.
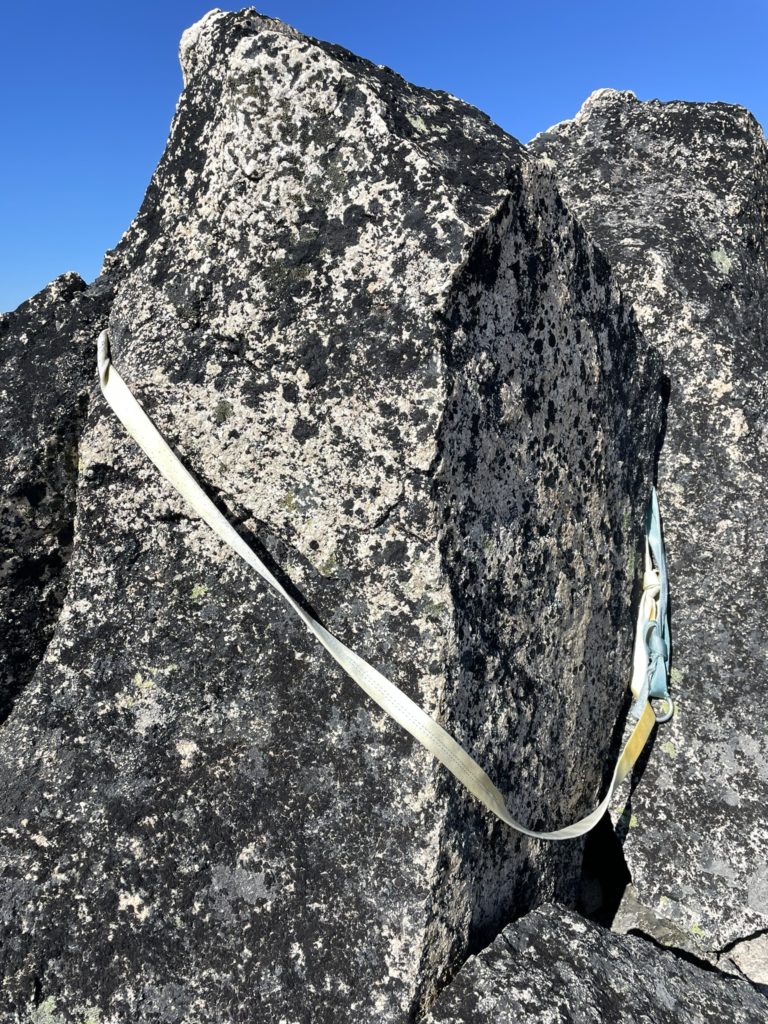
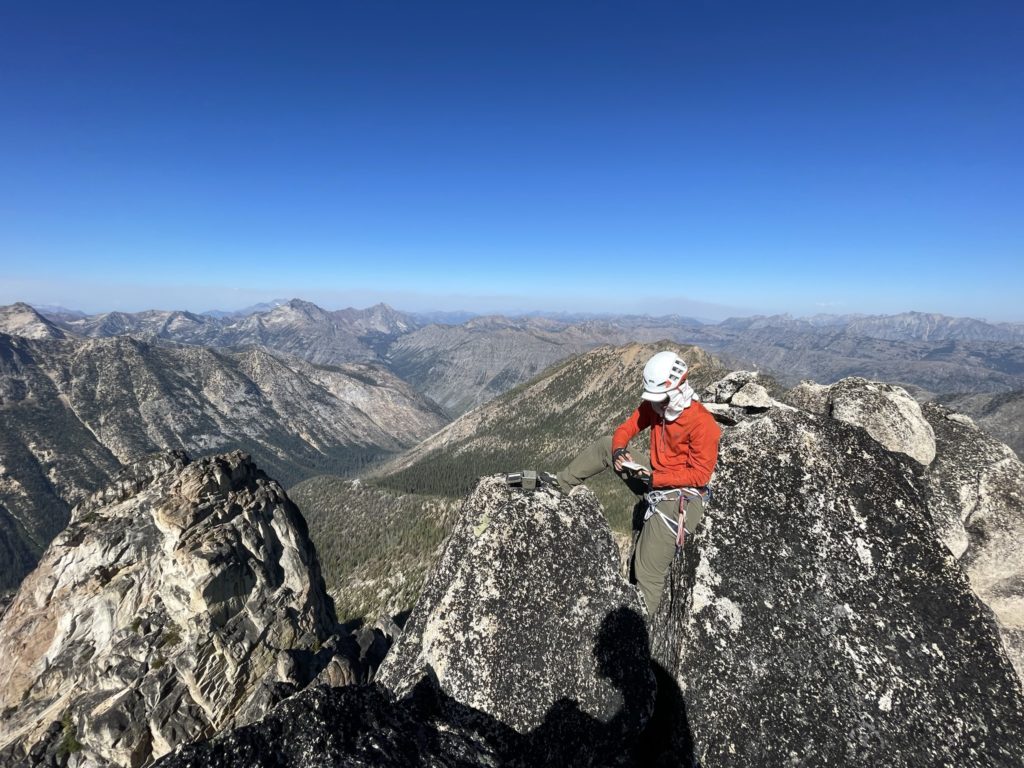
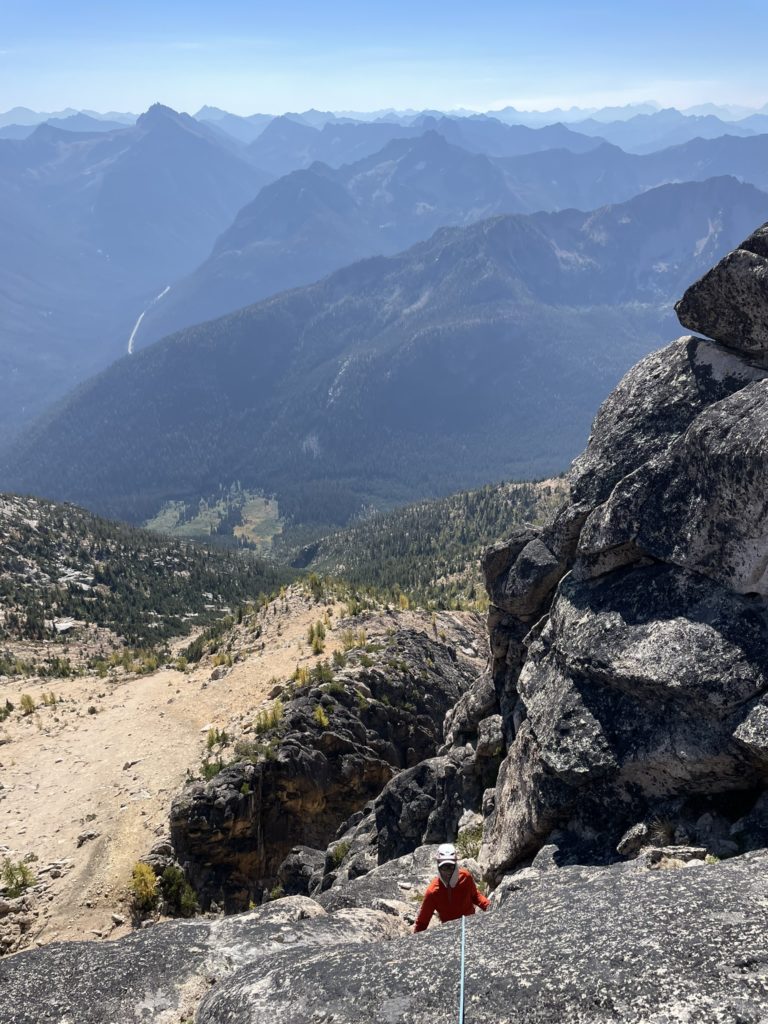
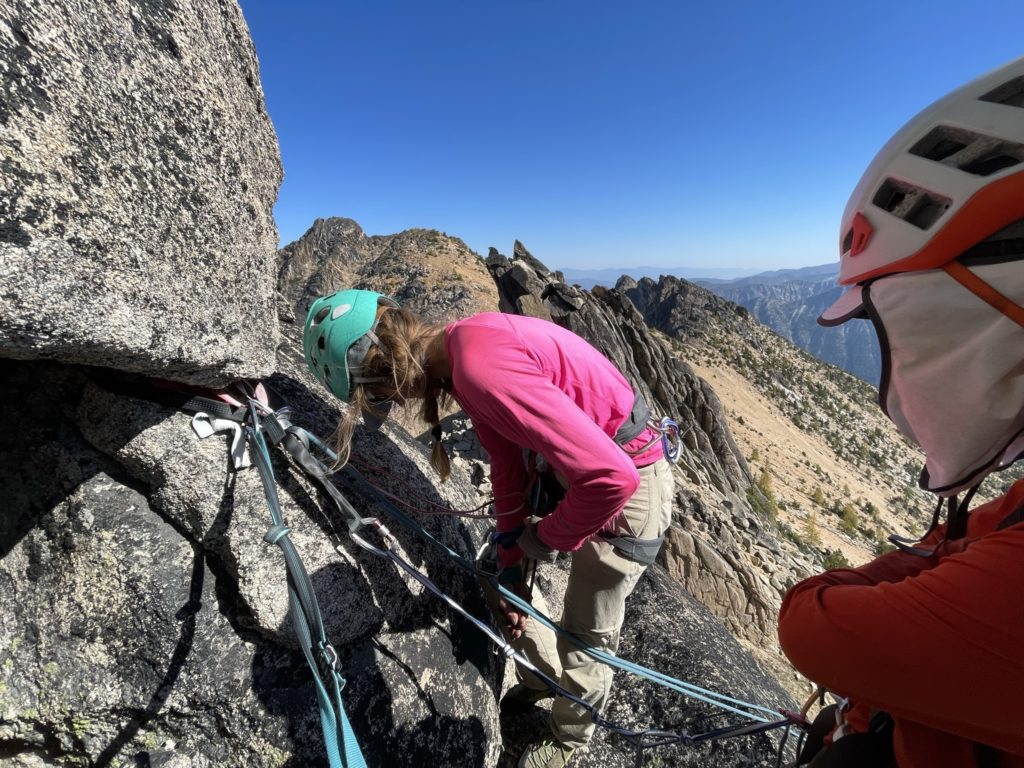
Perhaps 20 minutes later, Sarah and Steven started the descent first to get the rappels ready, while I had a short water break and snack. All the rappels use the same belay anchors from the ascent line, so it was straight forward to setup. I followed them down shortly after and watched as Sarah gave her best effort to free my piece to no avail. It was looking like a lost cause, but I ear-marked three minutes to try and free it on my rappel. With some forceful pulling and repeated fidgeting, I finally managed to free the piece after a few minutes. On the bright side at least if I had fallen on it, there’s no way it was going anywhere.
We had two more rappels from there, following the existing rappel tat we spotted on the way up and then reached the base of the climb again. Here we stopped for a longer food break and then packed all the climbing gear up for the descent. On the way down, we had nice boot skiing sand and made a speedy descent to the top of that bowl feature. Instead of taking our ascent detour we headed down a ramp on a more direct line. The terrain was a bit unpleasant but otherwise easy enough. From the bowl we made the long descent to the forest floor. Facing out towards the surrounding ranges allowed me to get lost in thought and before I knew it, we were traversing around the alders the base.
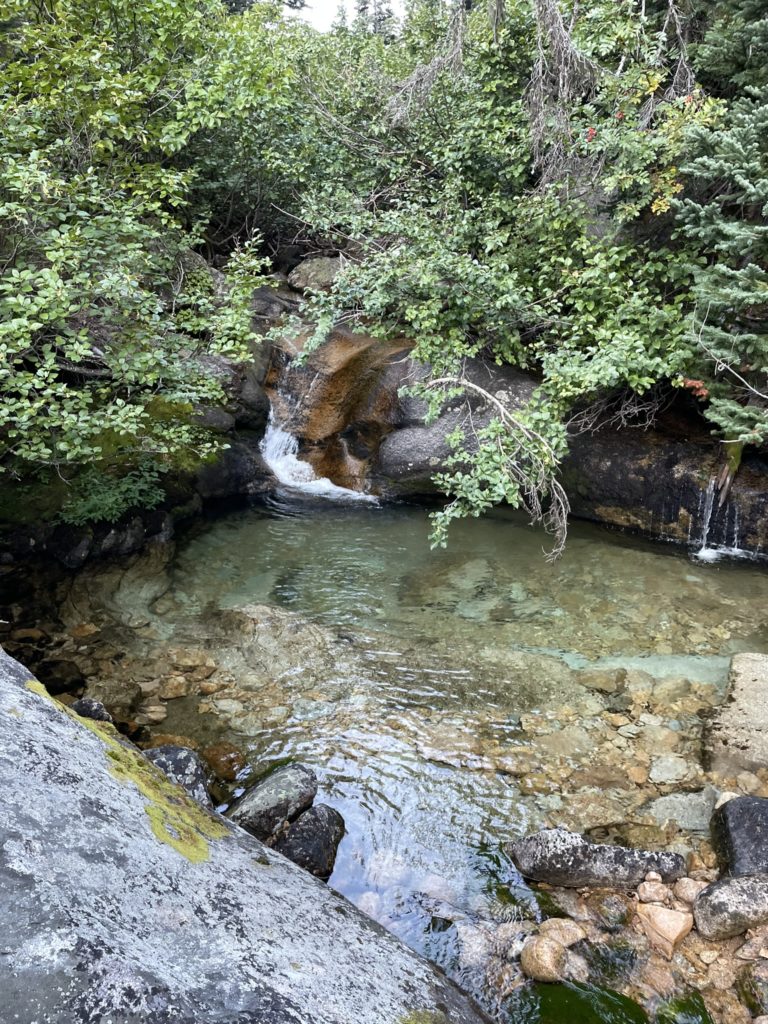
With the trail we found at the bottom, it was a quick return to the highway and then the car. We paused once at the creek to wash up and refill the water, but otherwise made a straight push out. Somewhere along the way, my phone stopped working as well, but thankfully I had all the photos from most of the descent already.
It’s unlikely this route will ever become a “classic” with a longer approach and less climbing than the Liberty Bell group. However, the climbing is easy and the views are phenomenal so I say it’s worth a saunter up to the top if you’re looking for a chill day. The grade is around 5.7, but there’s only a few moves at this level and the rest is easy climbing. Now that we have an established GPS track, the approach should be a no-brainer as well.

Gear Notes:
- #0.3 to #3 with doubles in #0.75 and 0.5
- #1-7 DMM Wallnuts
- 70m Sterling Xeros Rope
Pitch 1: Sarah placed a #2, slung a rock and placed a #1. Pitch 2: Steven placed a single #2 and on pitch 3: I placed a #0.75 and a #5 wallnut. Definitely don’t need much gear on this one, if you’re comfortable on low 5th terrain. The crux layback doesn’t protect super well, but it’s short and not exposed so not a deal breaker in my opinion.