(Distance and elevation stats probably skewed by the climb. Take with a grain of salt)
Elevation Gain: 2,408m
Distance: 47.5km
Total Time: 43 hours 11 minutes
Date: September 20-21, 2022
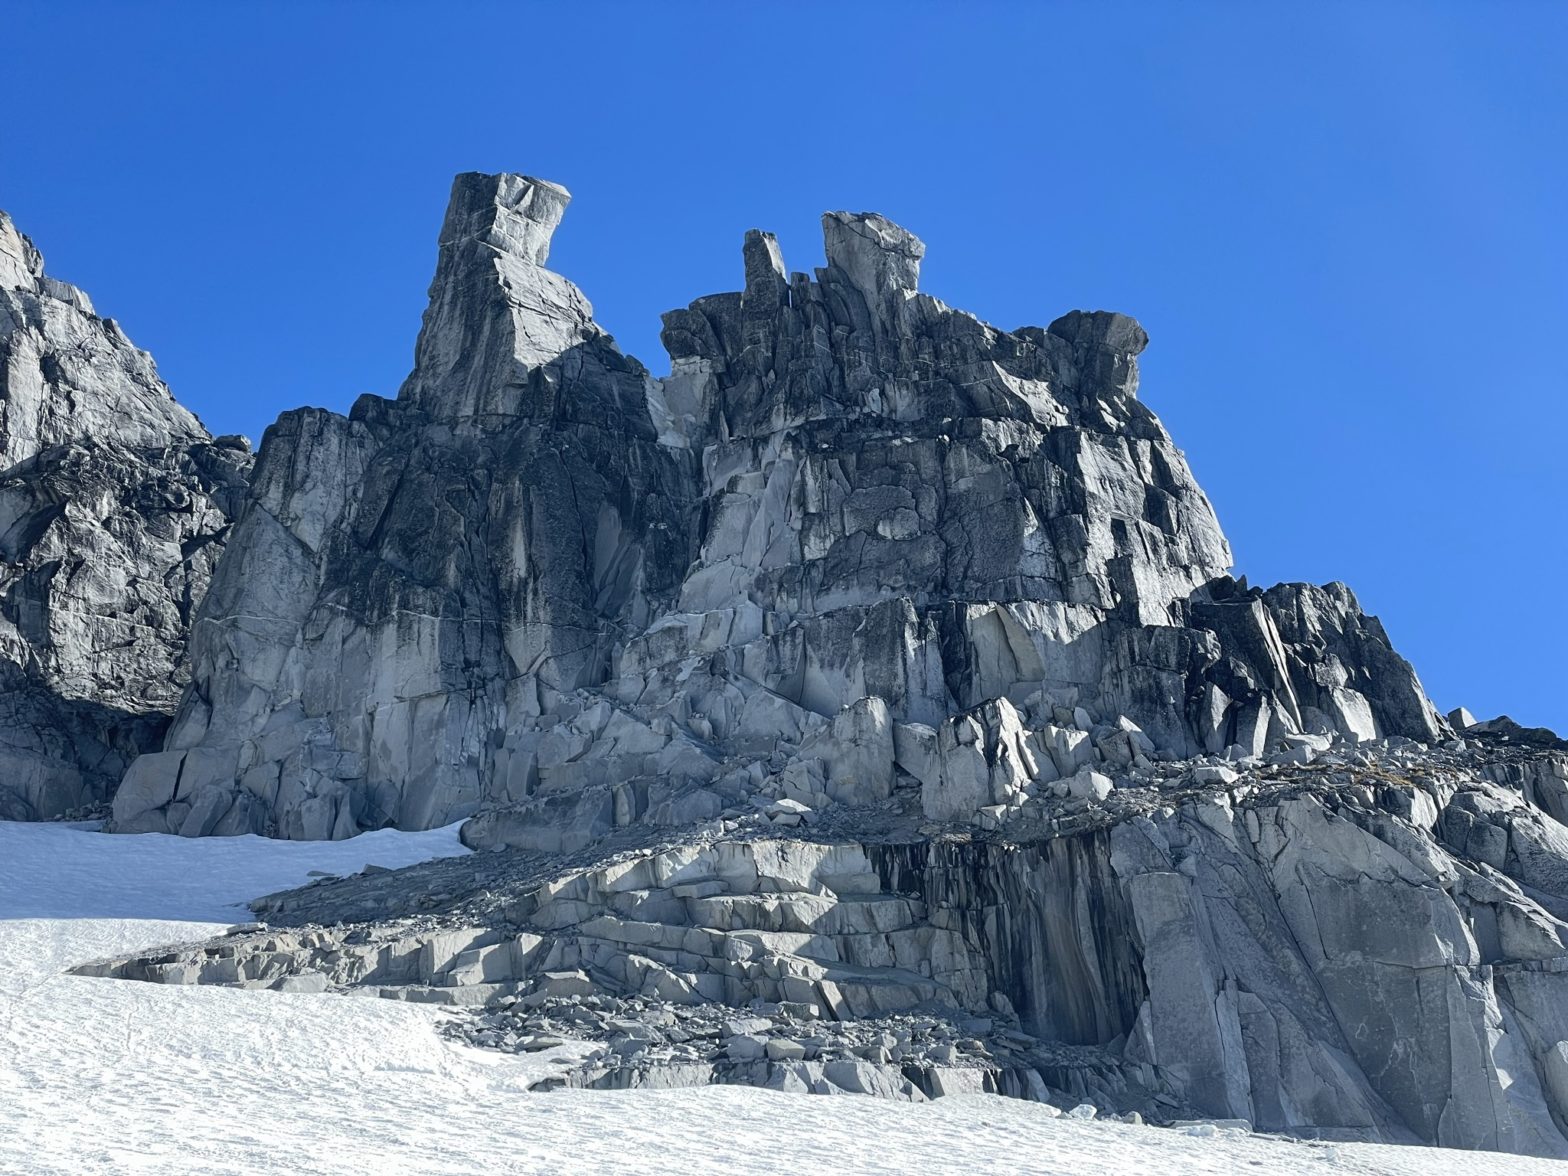
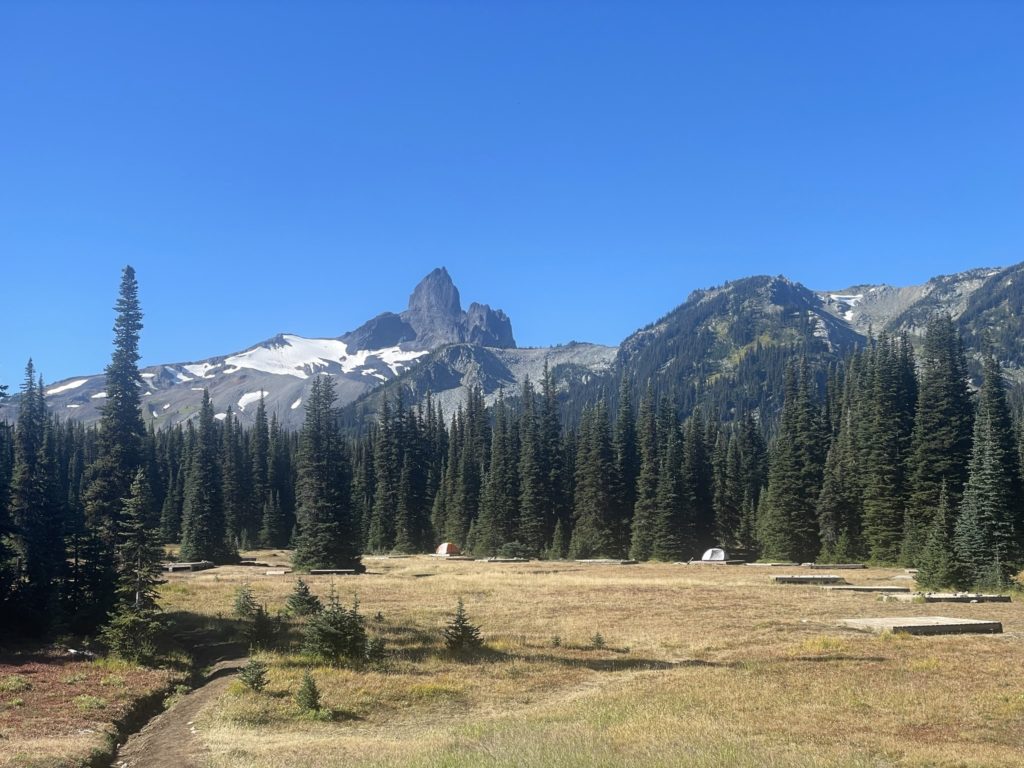
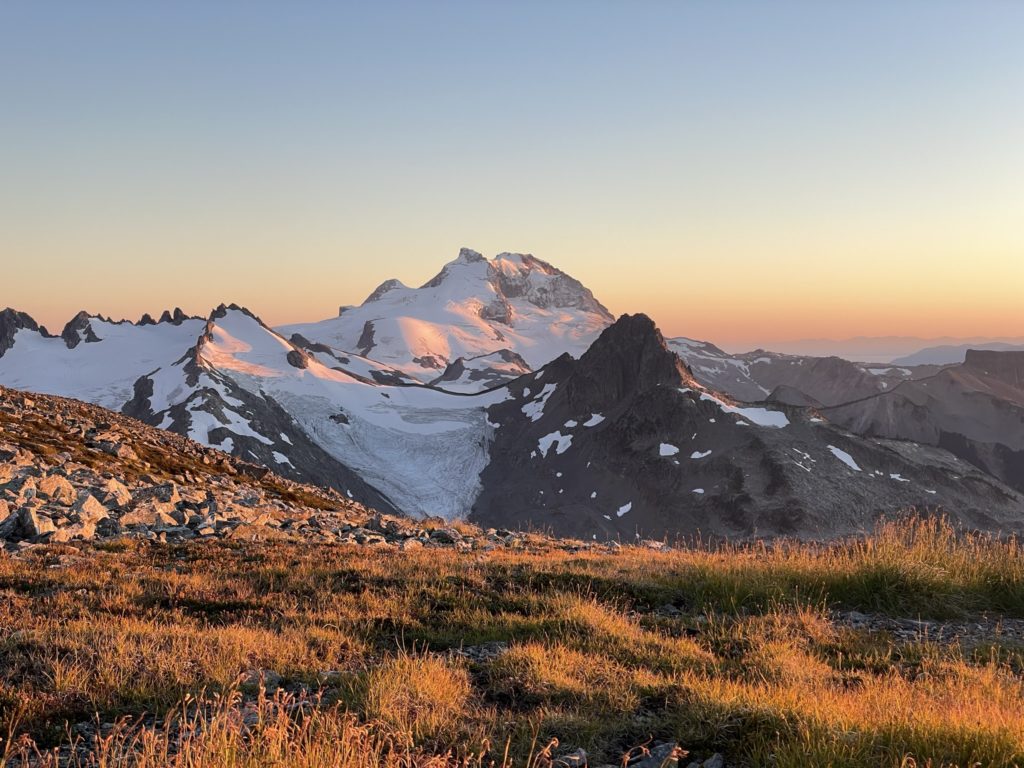
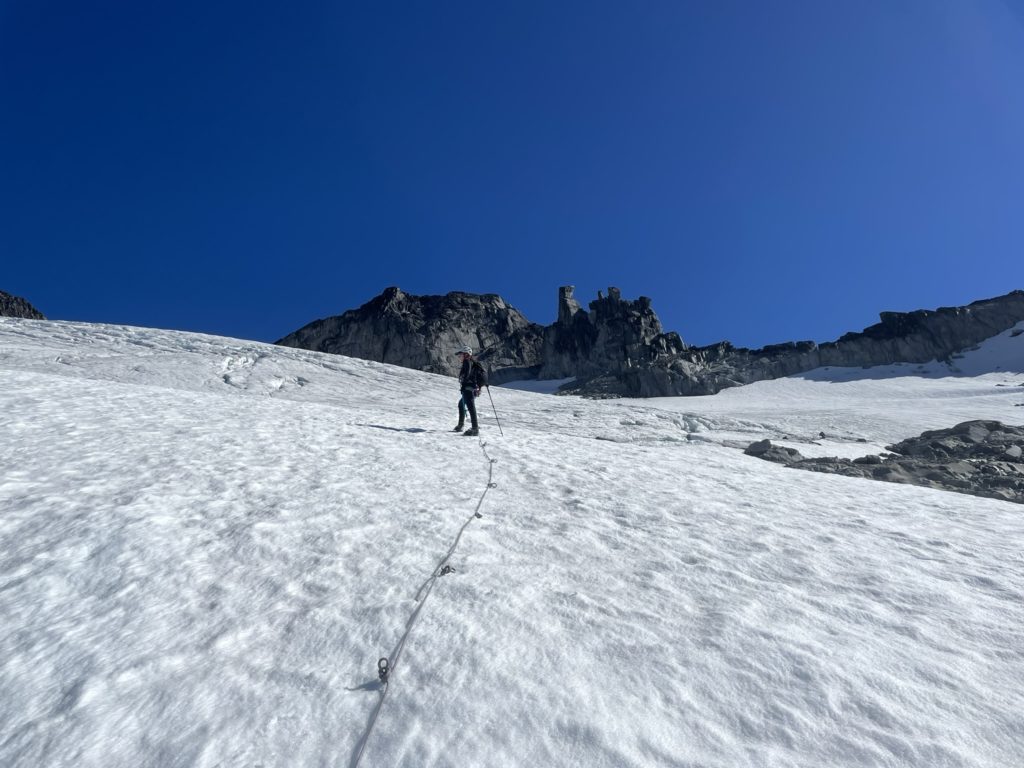
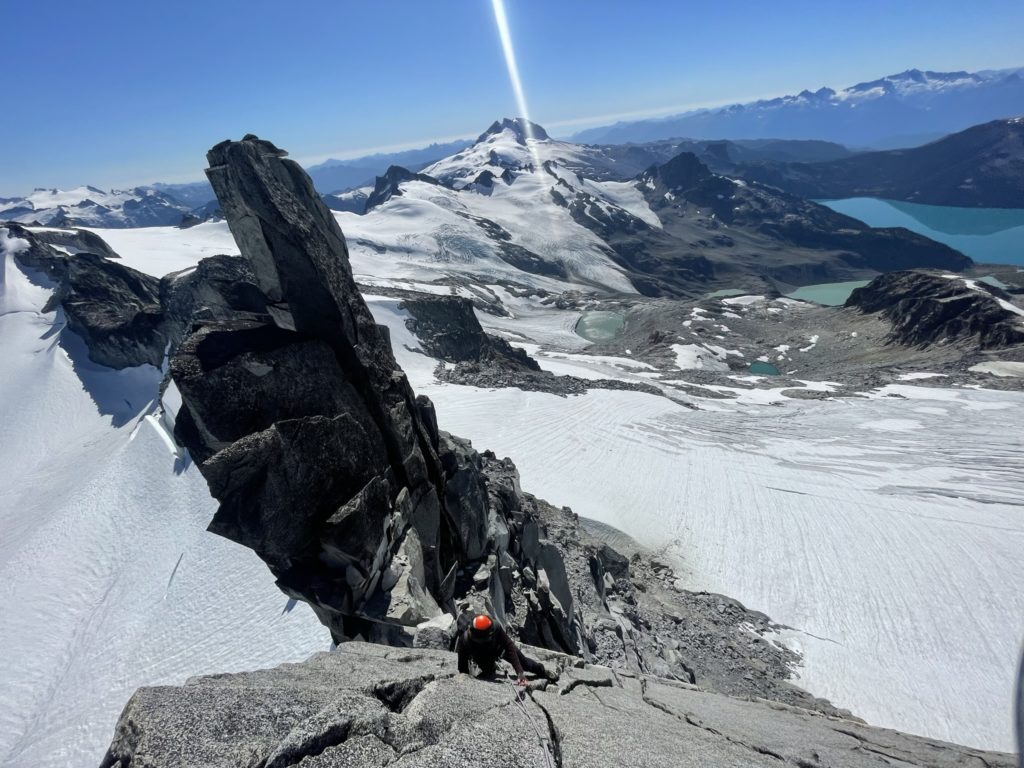
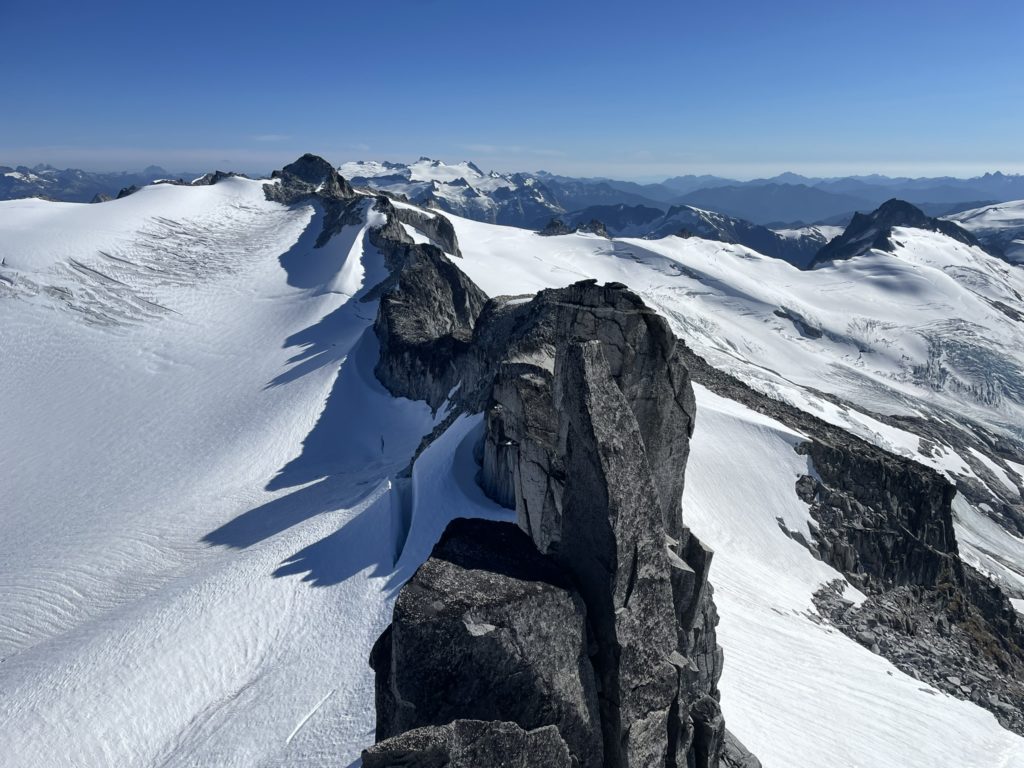
Phyllis’s Engine is a striking set of sheer granite towers rising out of the Sphinx Glacier south of Castle Towers. It’s so-called because the spires resemble the smoke stacks of a 19th century steam engine. The Phyllis being referred to is that of Phyllis Beltz an early BCMC member and pioneer. Adding to the aesthetic nature of this summit, there’s no easy way to the top. The least difficult route is still a multi-pitch with around 5.8 grading with an exposed and committing third pitch to the summit block. I had never heard of this summit until Steven posted a trip report in 2021 documenting his party’s ascent. Even a year ago, I could only really dream of climbing such a route, but now after a full season of alpine climbing, I was feeling ready.
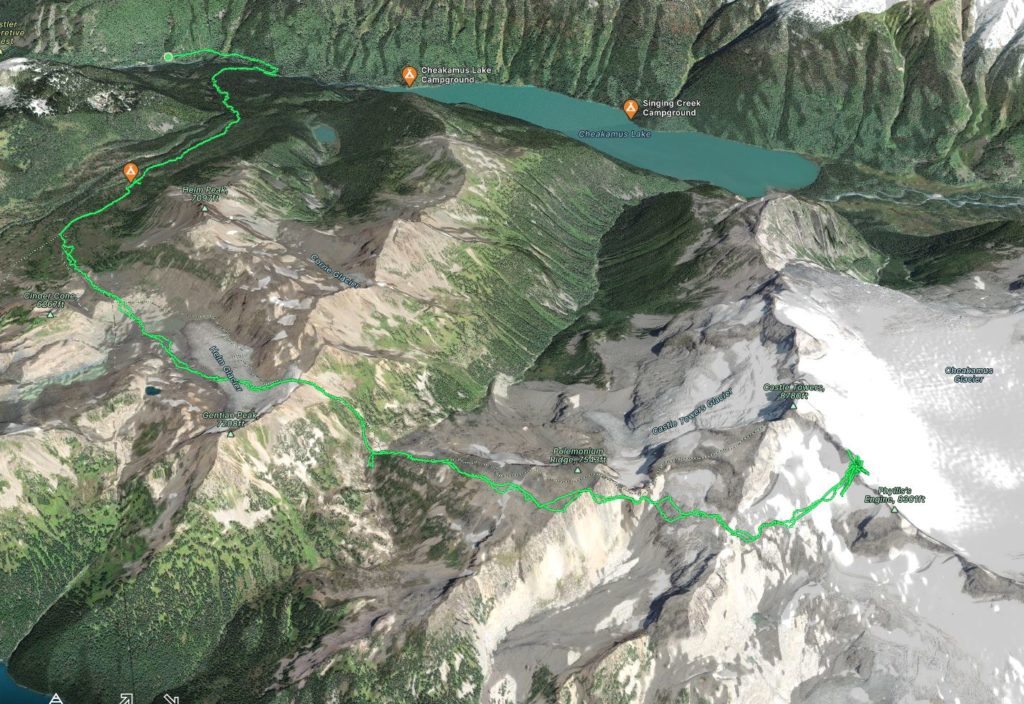
Reaching the summit of Phyllis’s Engine is a long affair. The approach is around 19km one-way and you must cross two separate glaciers (albeit tamer ones) and navigate seasonally challenging sections of snow to reach the base of the climb. Thankfully, for me, I would not be alone on this endeavour and Andrea was just as stoked to take on this summit as I was. With the summer season wrapping up, this was the ideal “crowning achievement” for me, requiring all the skills I picked up over the years to successfully reach the summit.
Given that massive 19km approach, Andrea and I decided right away to split this attempt over two days. Day one we’d hike in from the Helm Creek trail head and camp somewhere on Polemonium Ridge and day two we’d attempt a summit and then hike out. Even over two days this was slated to be a big undertaking. The original plan was to hike on Monday the 19th, but a friend trying to reach the adjacent Castle Towers provided critical beta that the route was covered in snow. We decided to wait an additional day for the snow to melt out and this proved to be the right call later on.
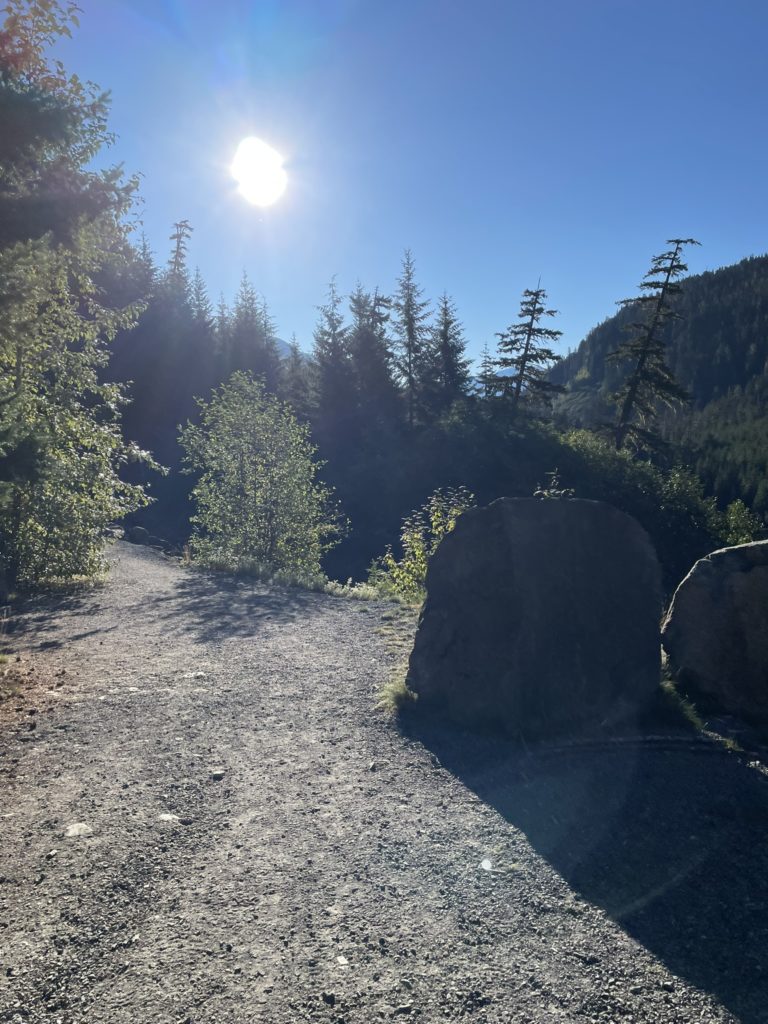
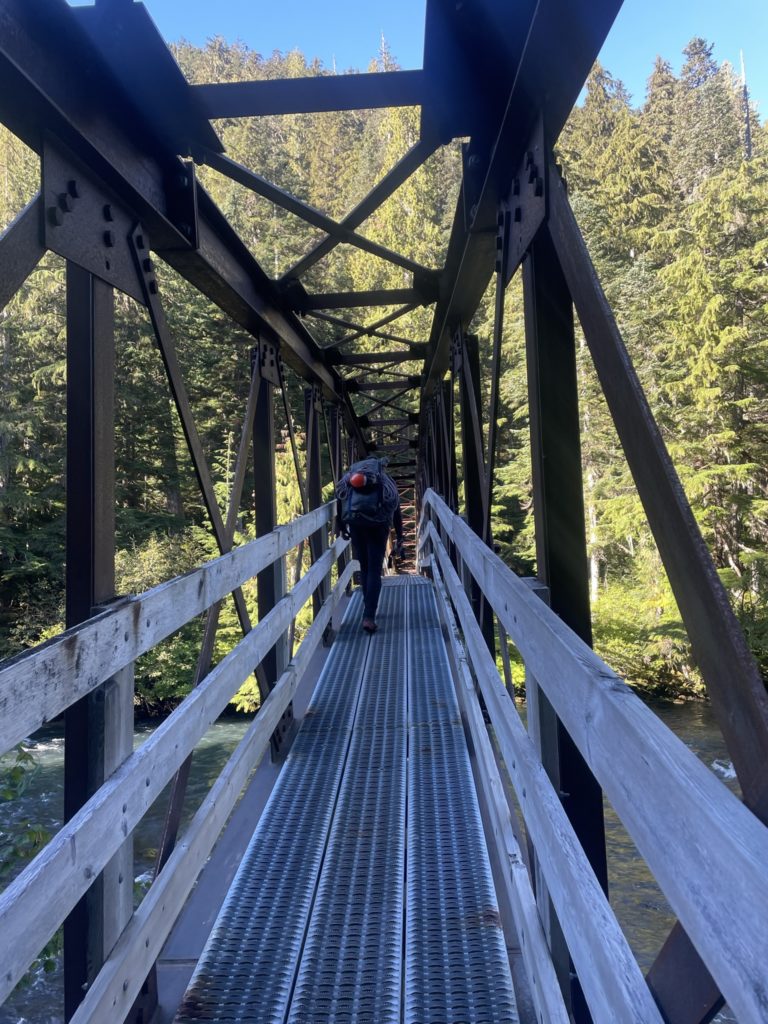
Once Tuesday came around, we got rolling to the trail head for 8:30 or so and were walking just before 9am. The first part of the approach up to the Helm Creek Campground is one I’m quite familiar with. I had done this section of trail in 2017 as my first foray into hiking in Vancouver with my friend Mike. As we climbed up the steep switch backs after the river crossing, I recalled how my lungs were bursting out of my chest as I lunged my burgeoning pack up the trail. Now 5 years later, carrying at least 10 pounds more than that fateful day, I made calm strides up with Andrea in tow.
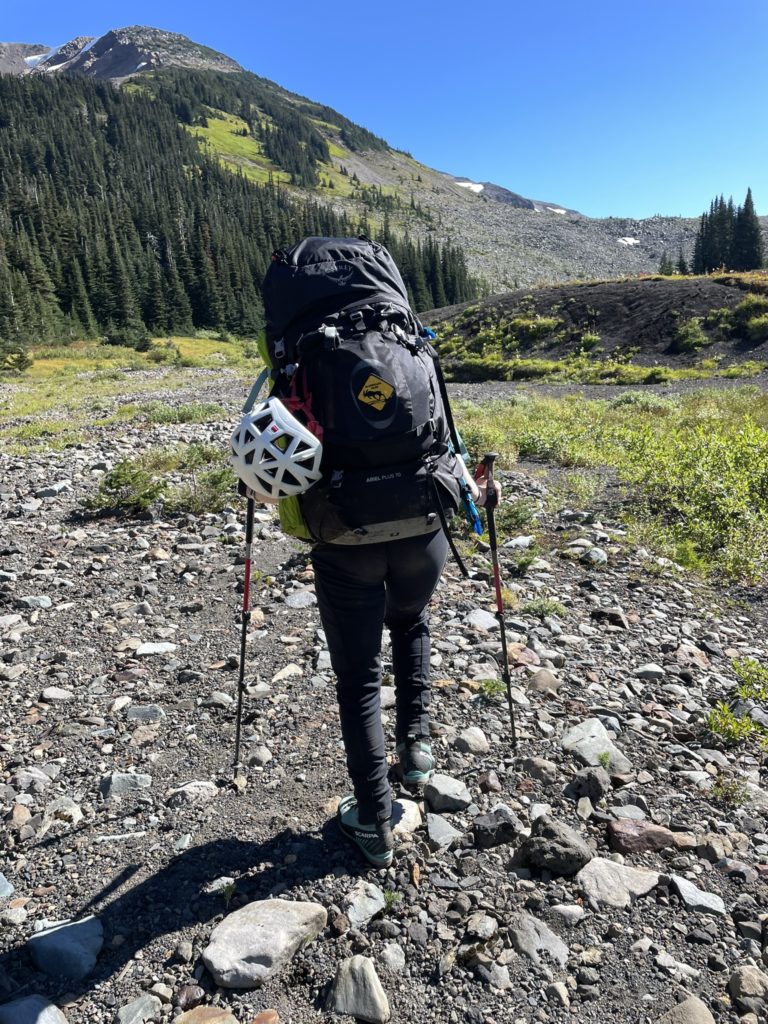
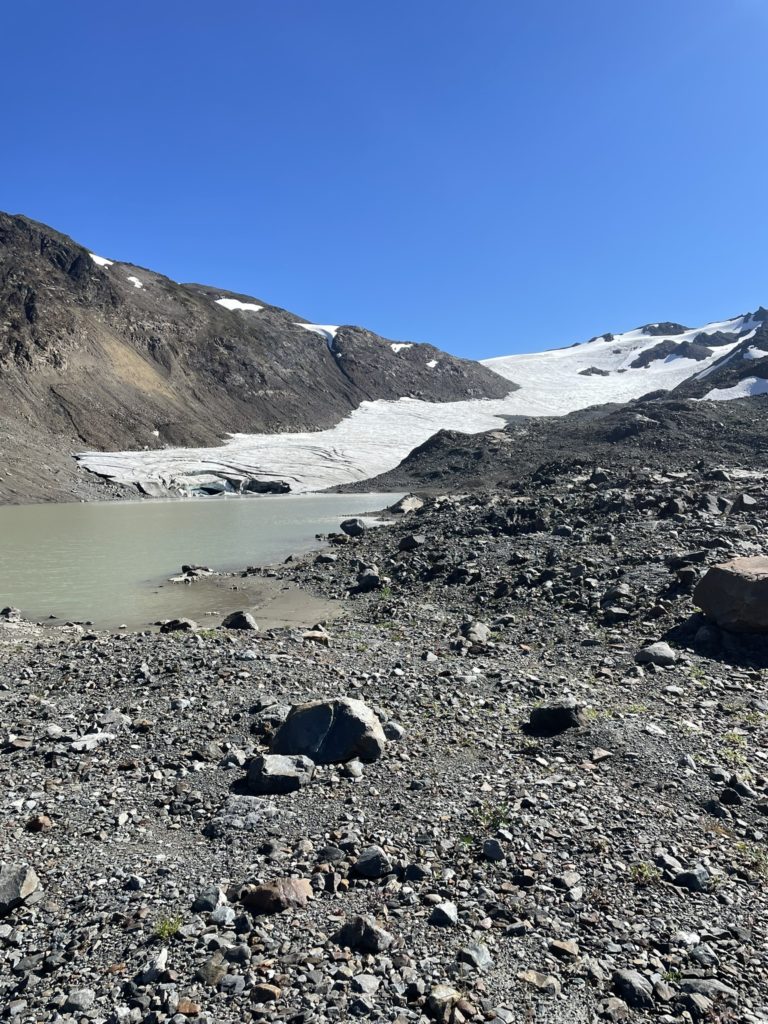
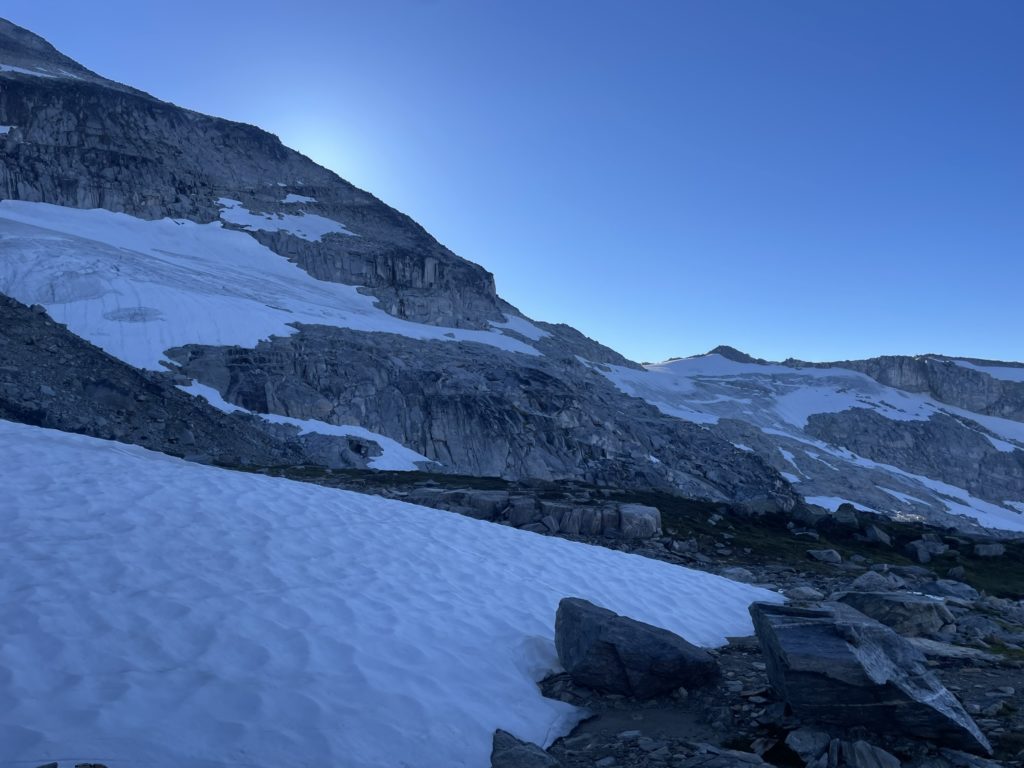
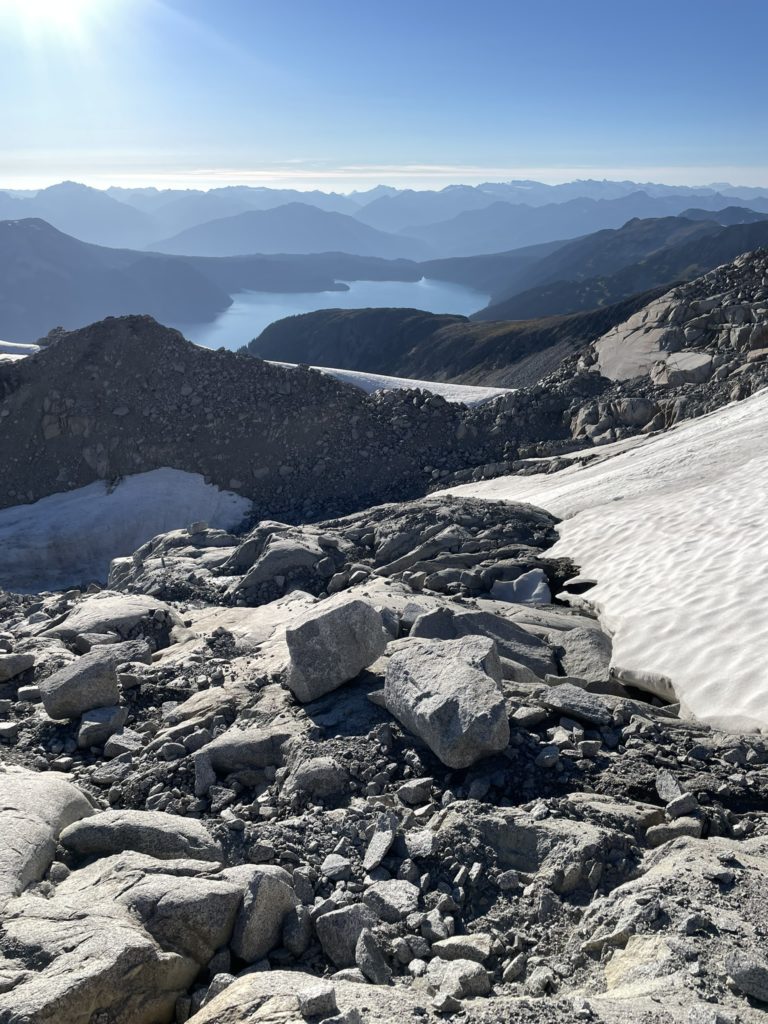
We reached the camp site about 2.5 hours later and stopped for some lunch. Then we pushed on towards the Helm Glacier trail, which had both an obvious path and map marker on Gaia. A few times we lost the foot bed, but otherwise it was an uneventful plod all the way to the base of the Helm Glacier. There’s actually a route marked on the map for the glacier as well, but this late in the season it was looking better to take the lateral moraine running deep towards the middle of the glacier. This would cut out about 50% of the required glacier travel and avoid some deeper looking crevasses near the start of the standard route.
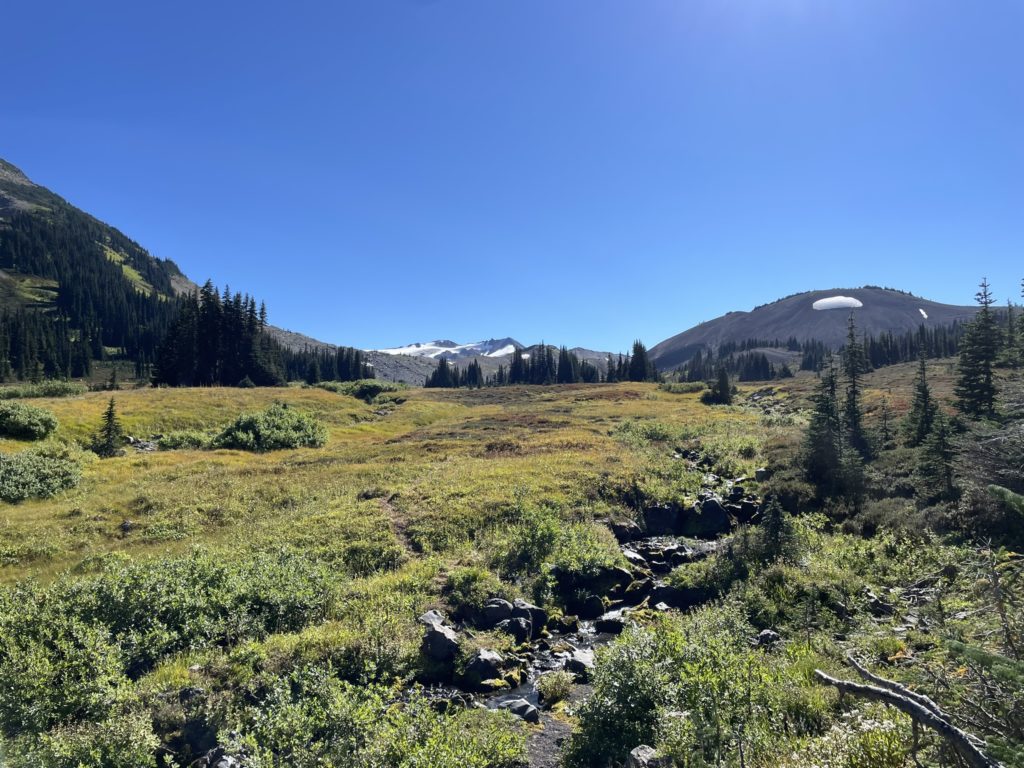
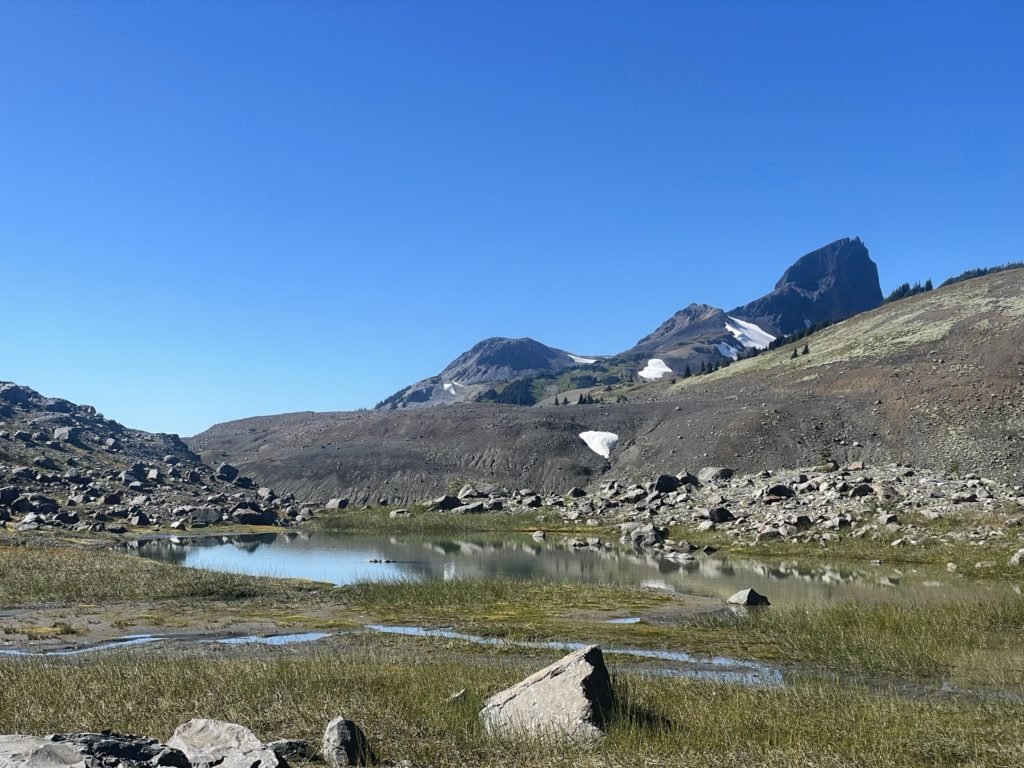
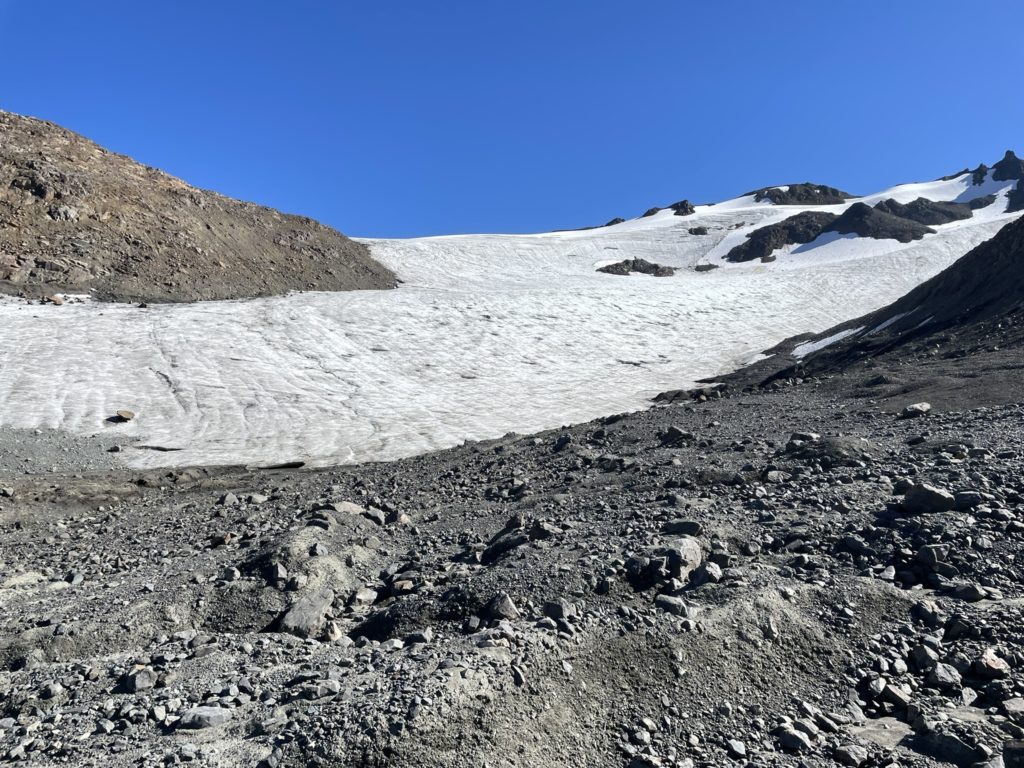
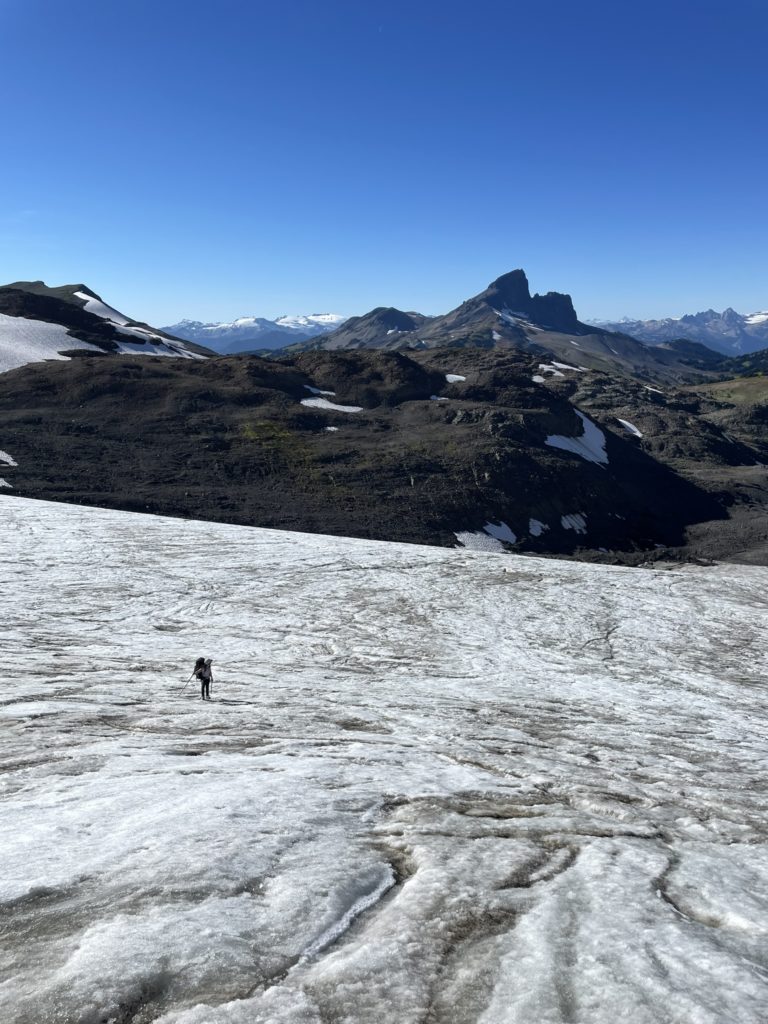
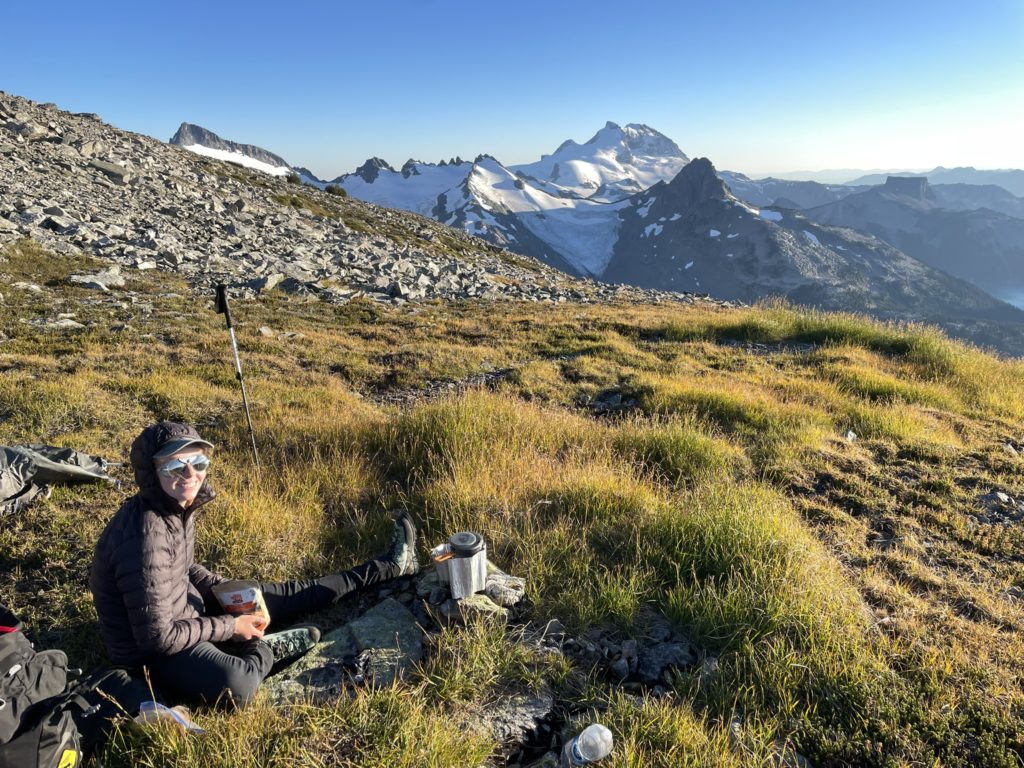
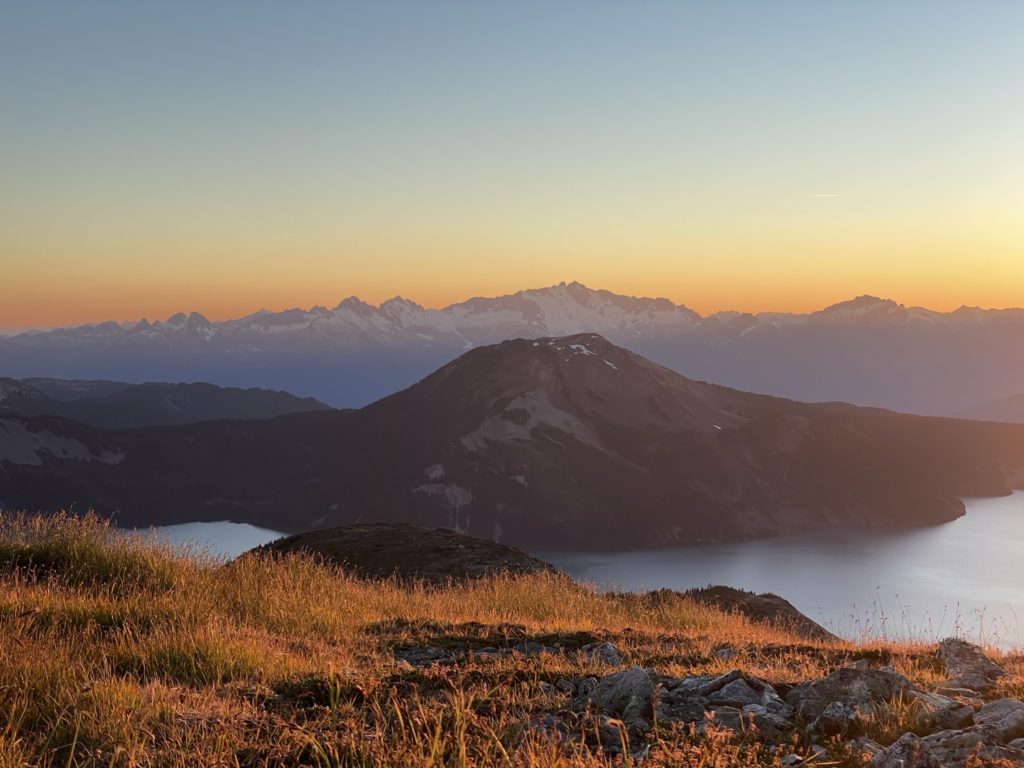
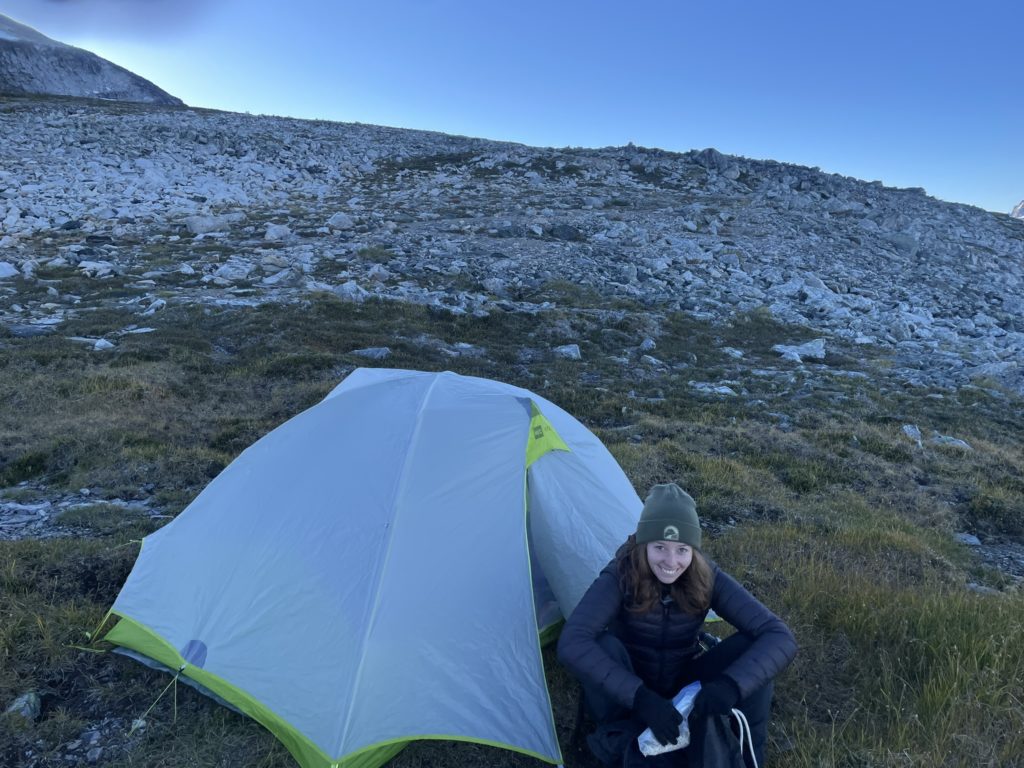
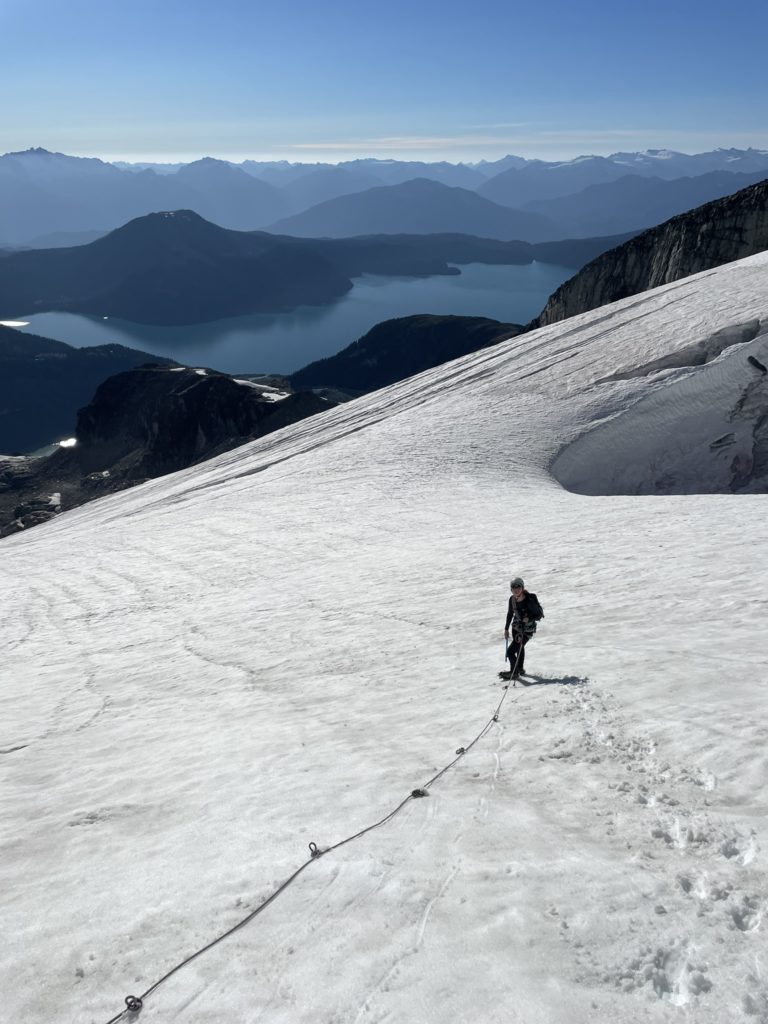
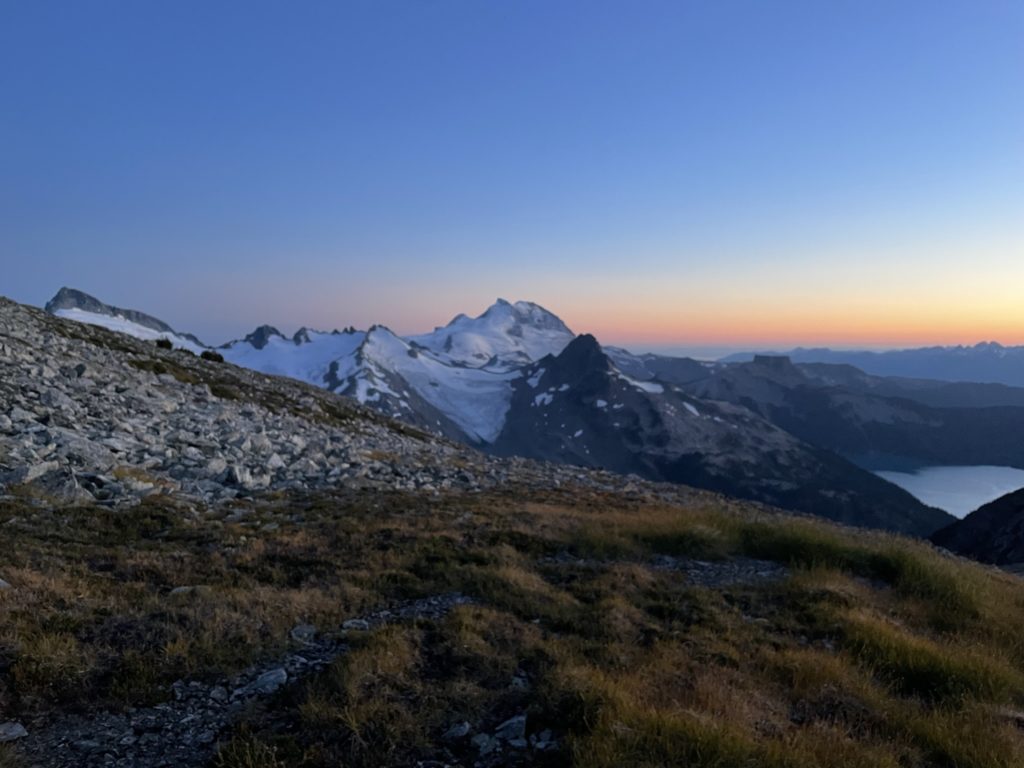
Andrea and I opted not to rope up on the glacier ascent as it’s a dry glacier with fairly obvious features. The ascent was pretty straightforward and Andrea did a great job navigating us through some spooky holes here and there. Eventually we reached that infamous Gentian ridge, where one must drop 250m of elevation to the pass and then regain it all over again. There’s no short cuts on this one, so we dropped down into the valley following an obvious trail and then stopped at the small tarn for a quick break. Andrea then located the trail up Polemonium Ridge for us and it was just an exercise in putting one foot after the other. By 6pm we had located a suitable camp site on the ridge and settled in for the evening.
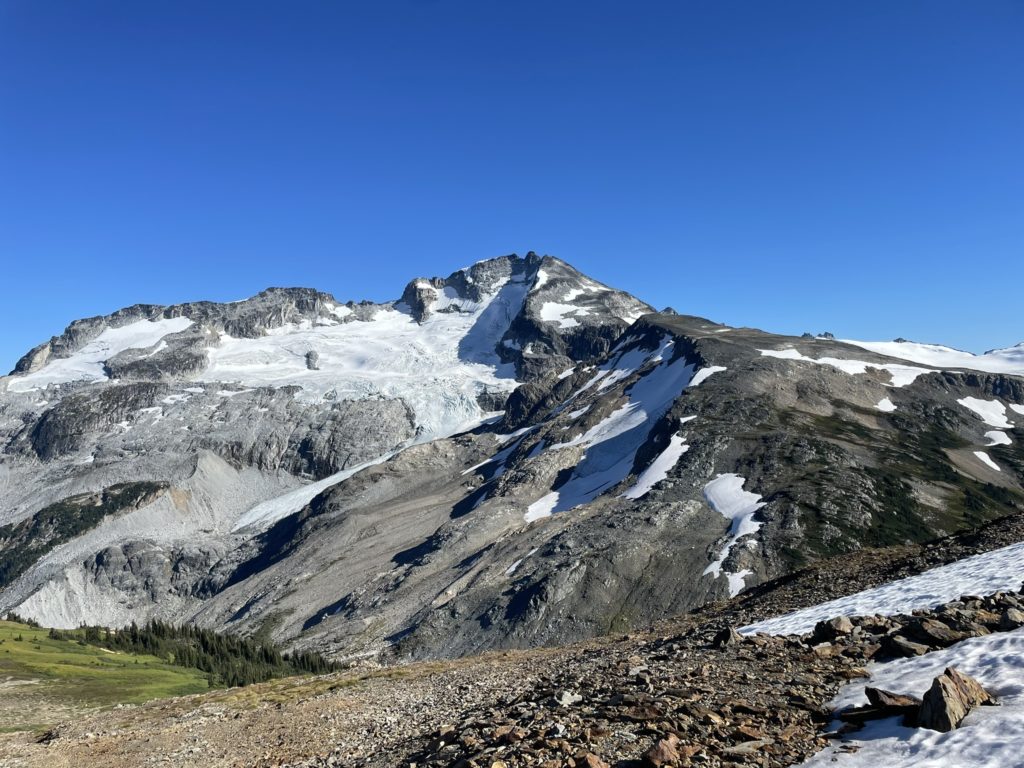
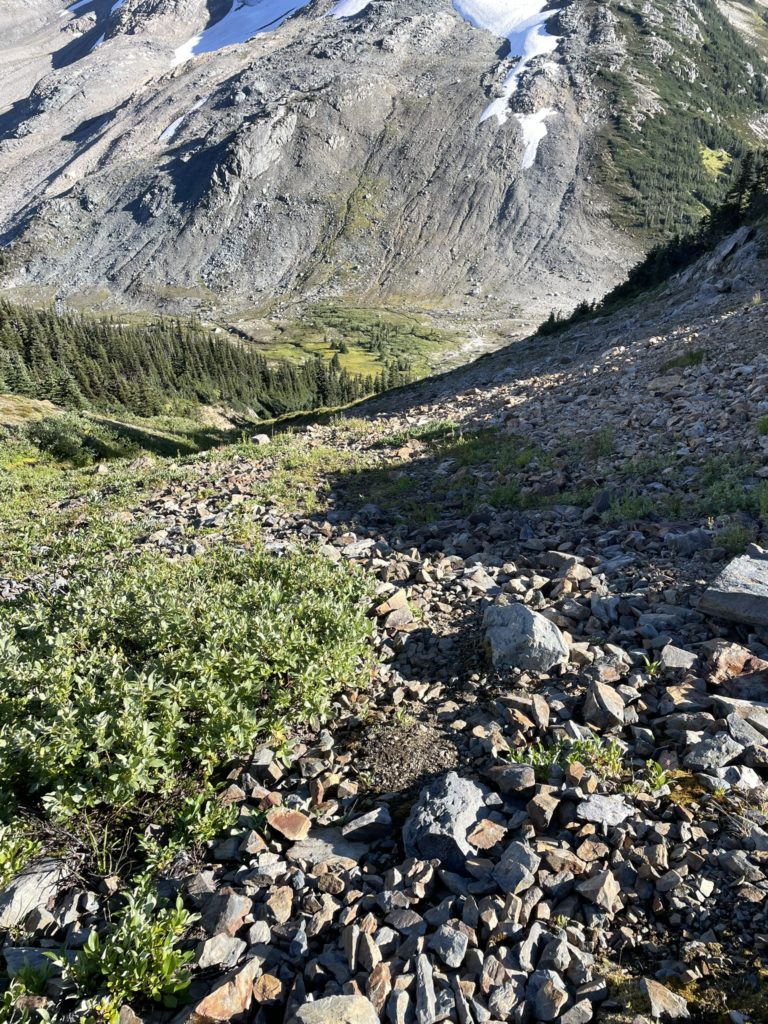
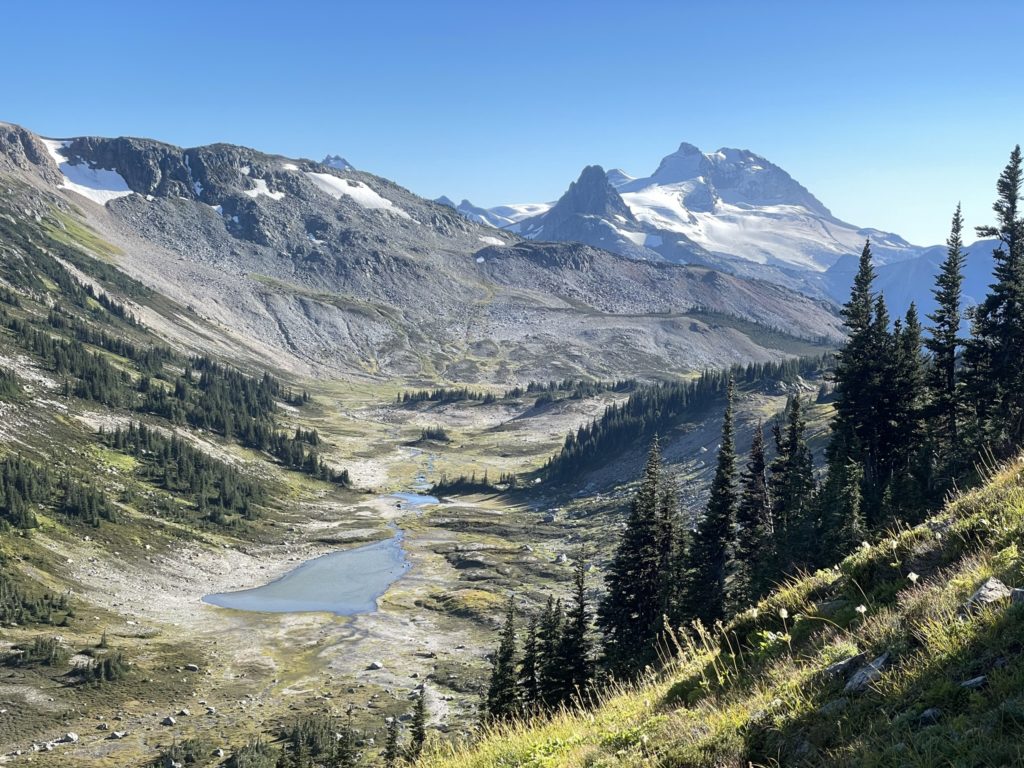
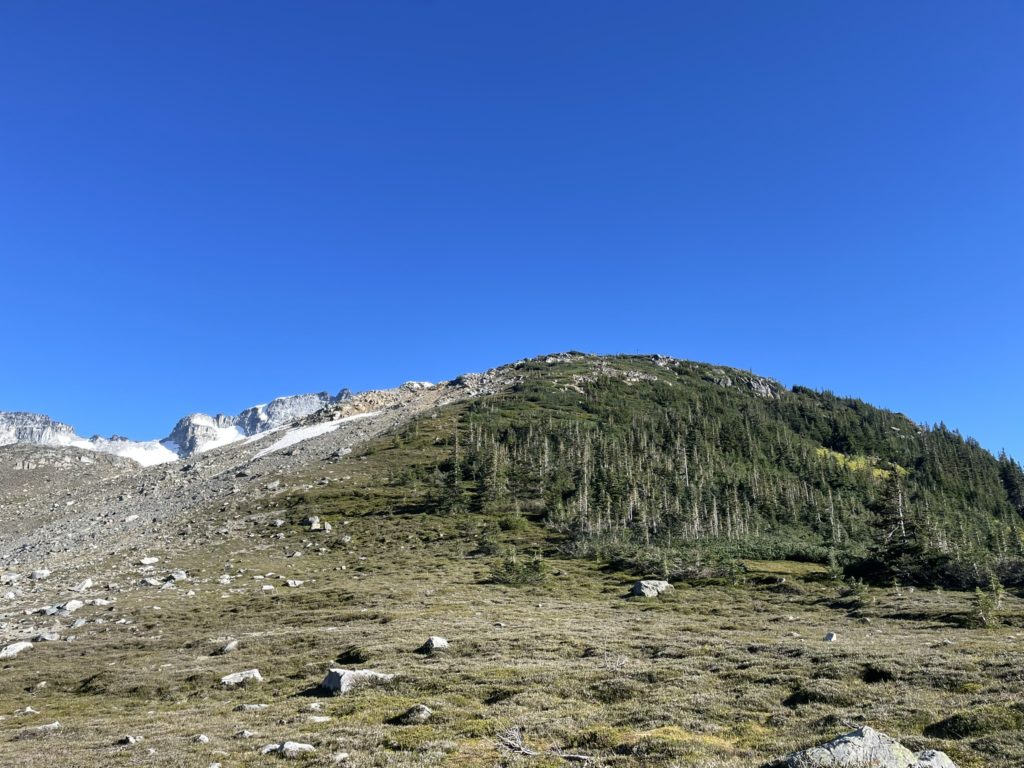
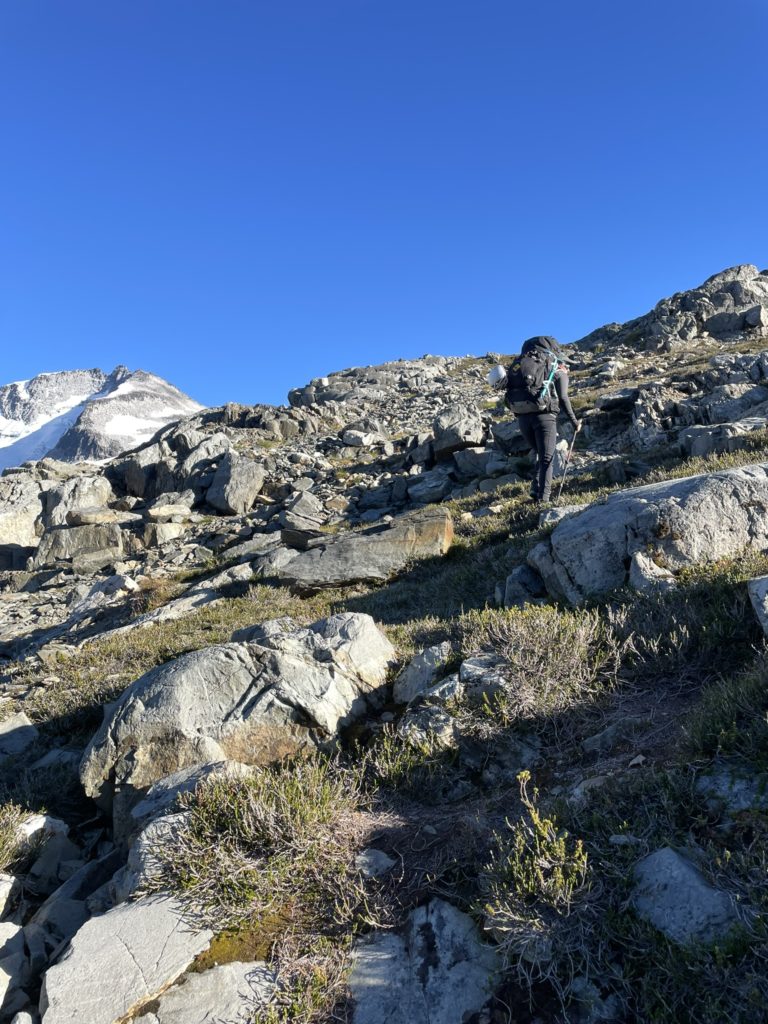
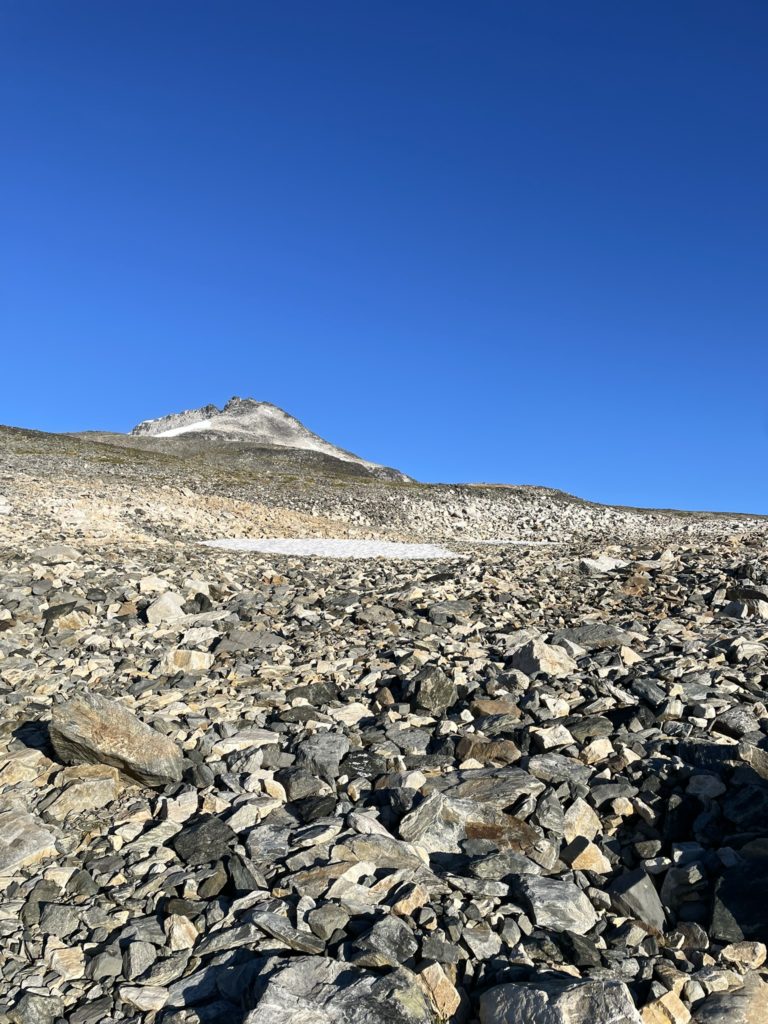


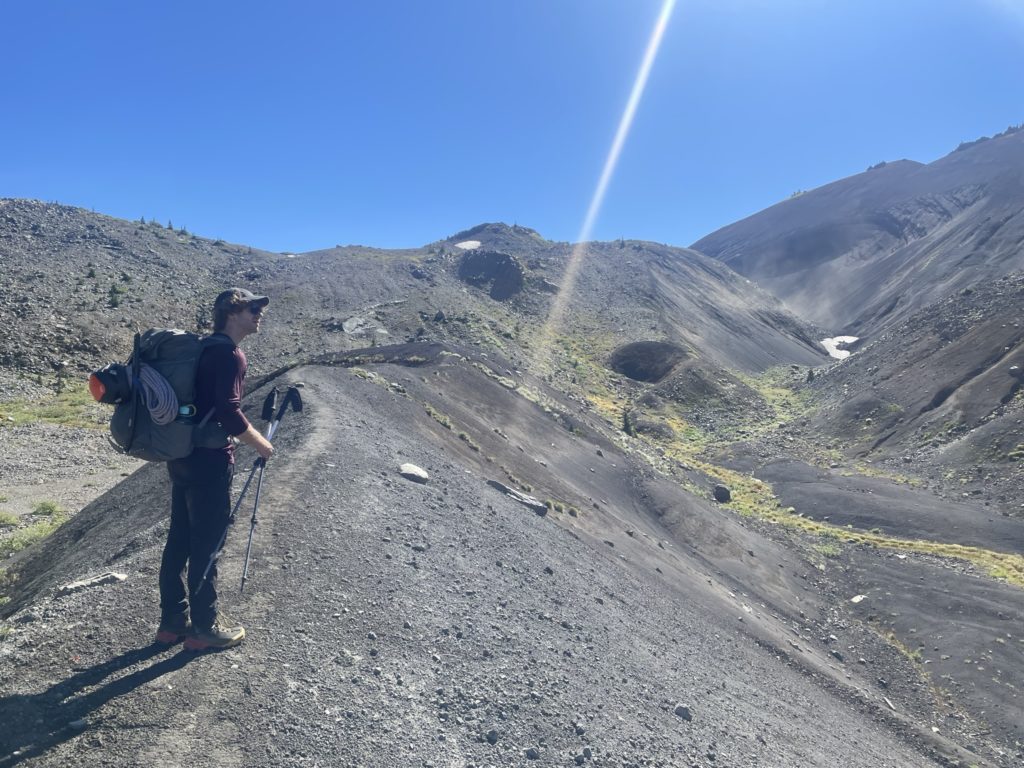
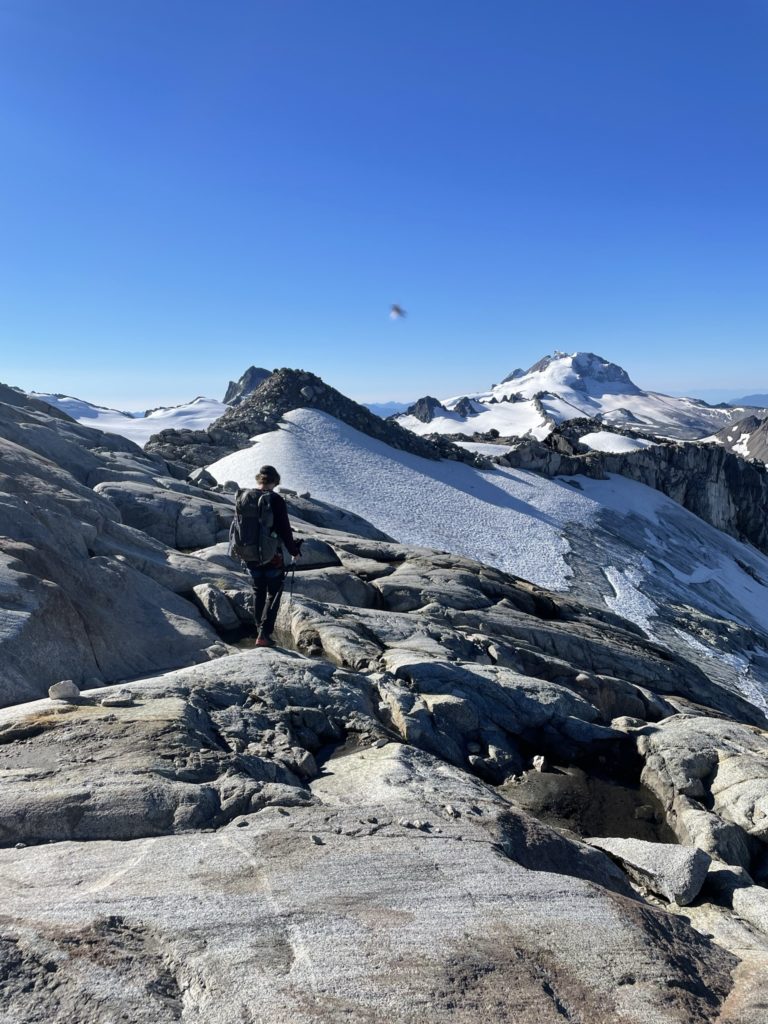
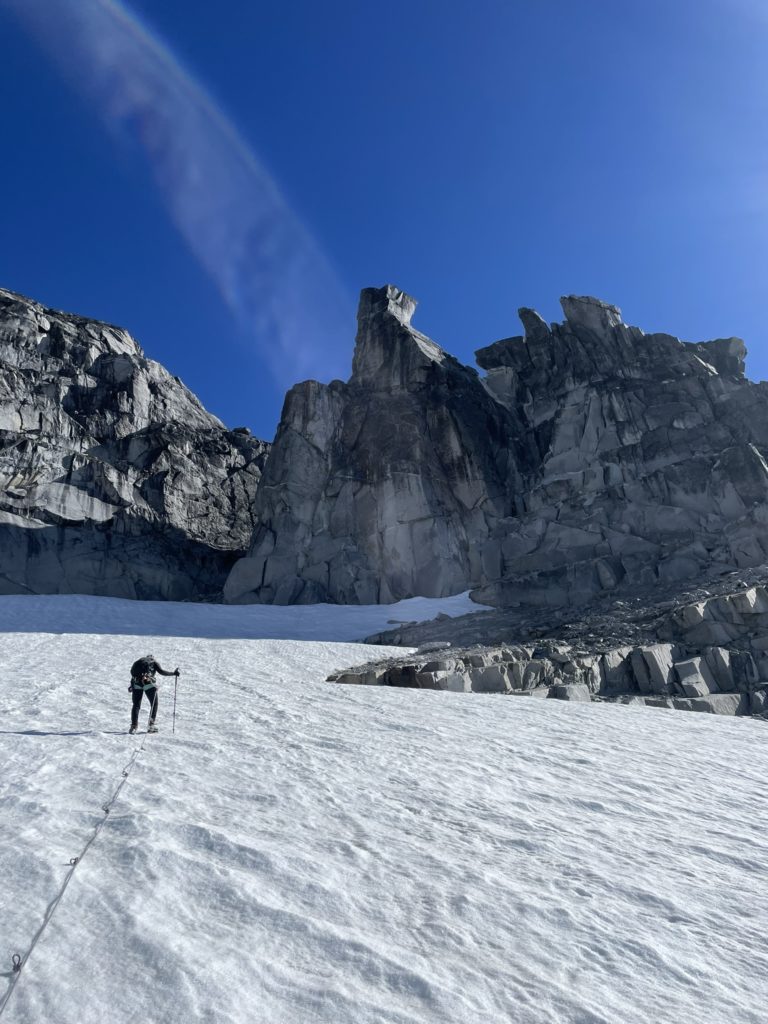
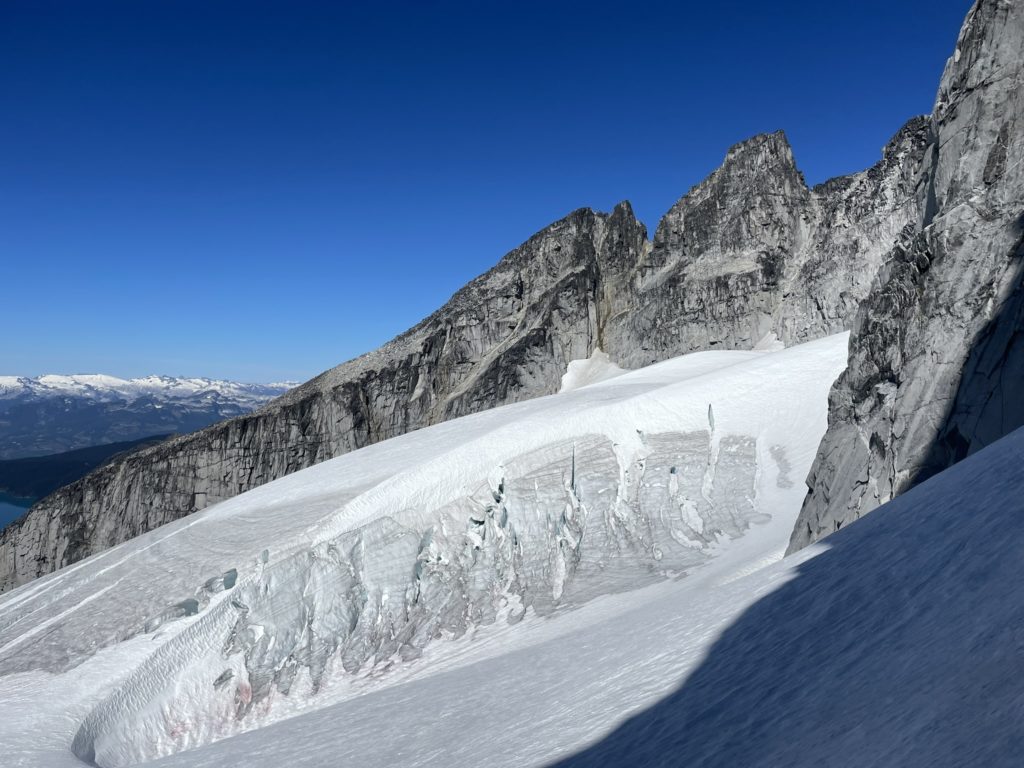
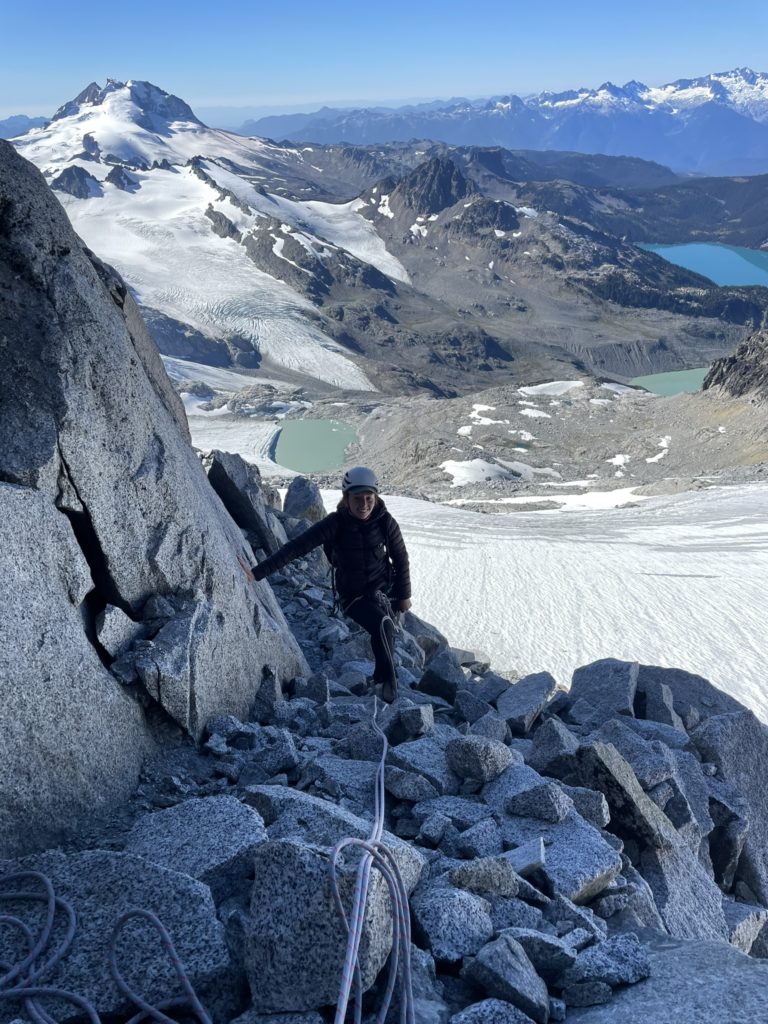
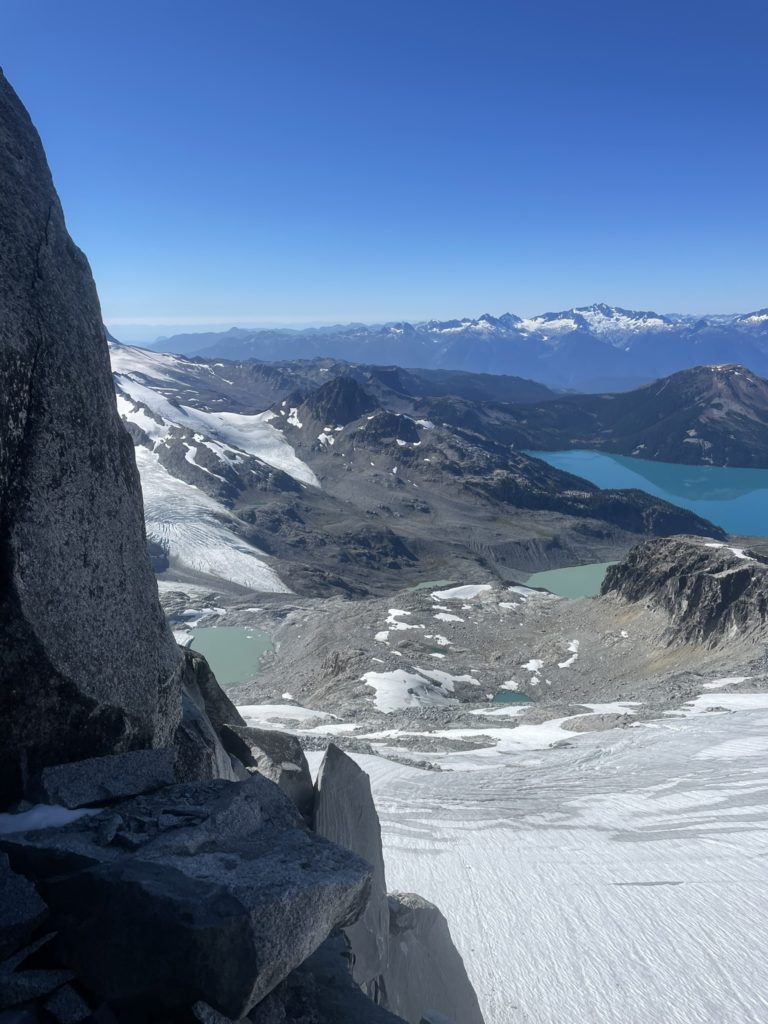
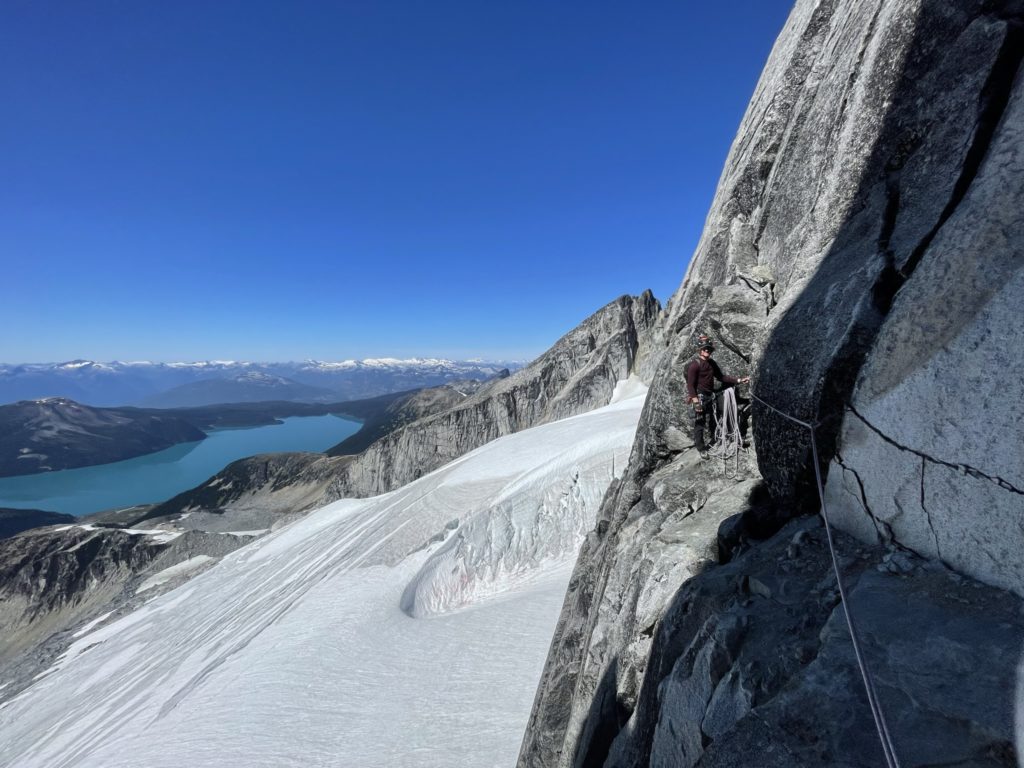
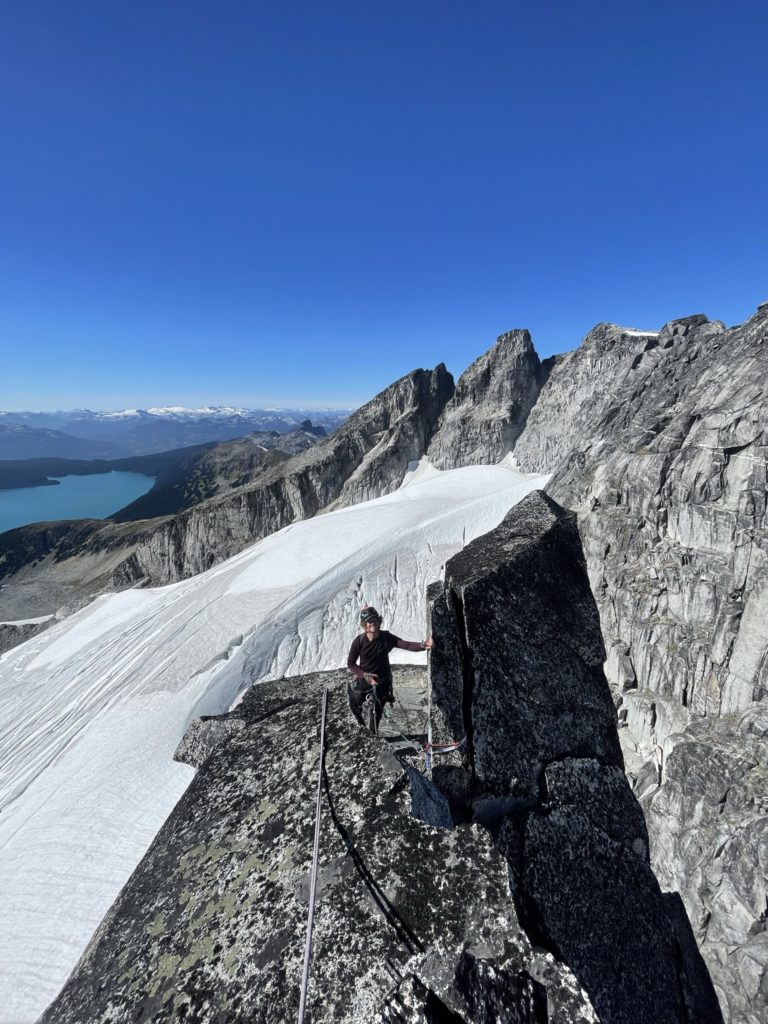
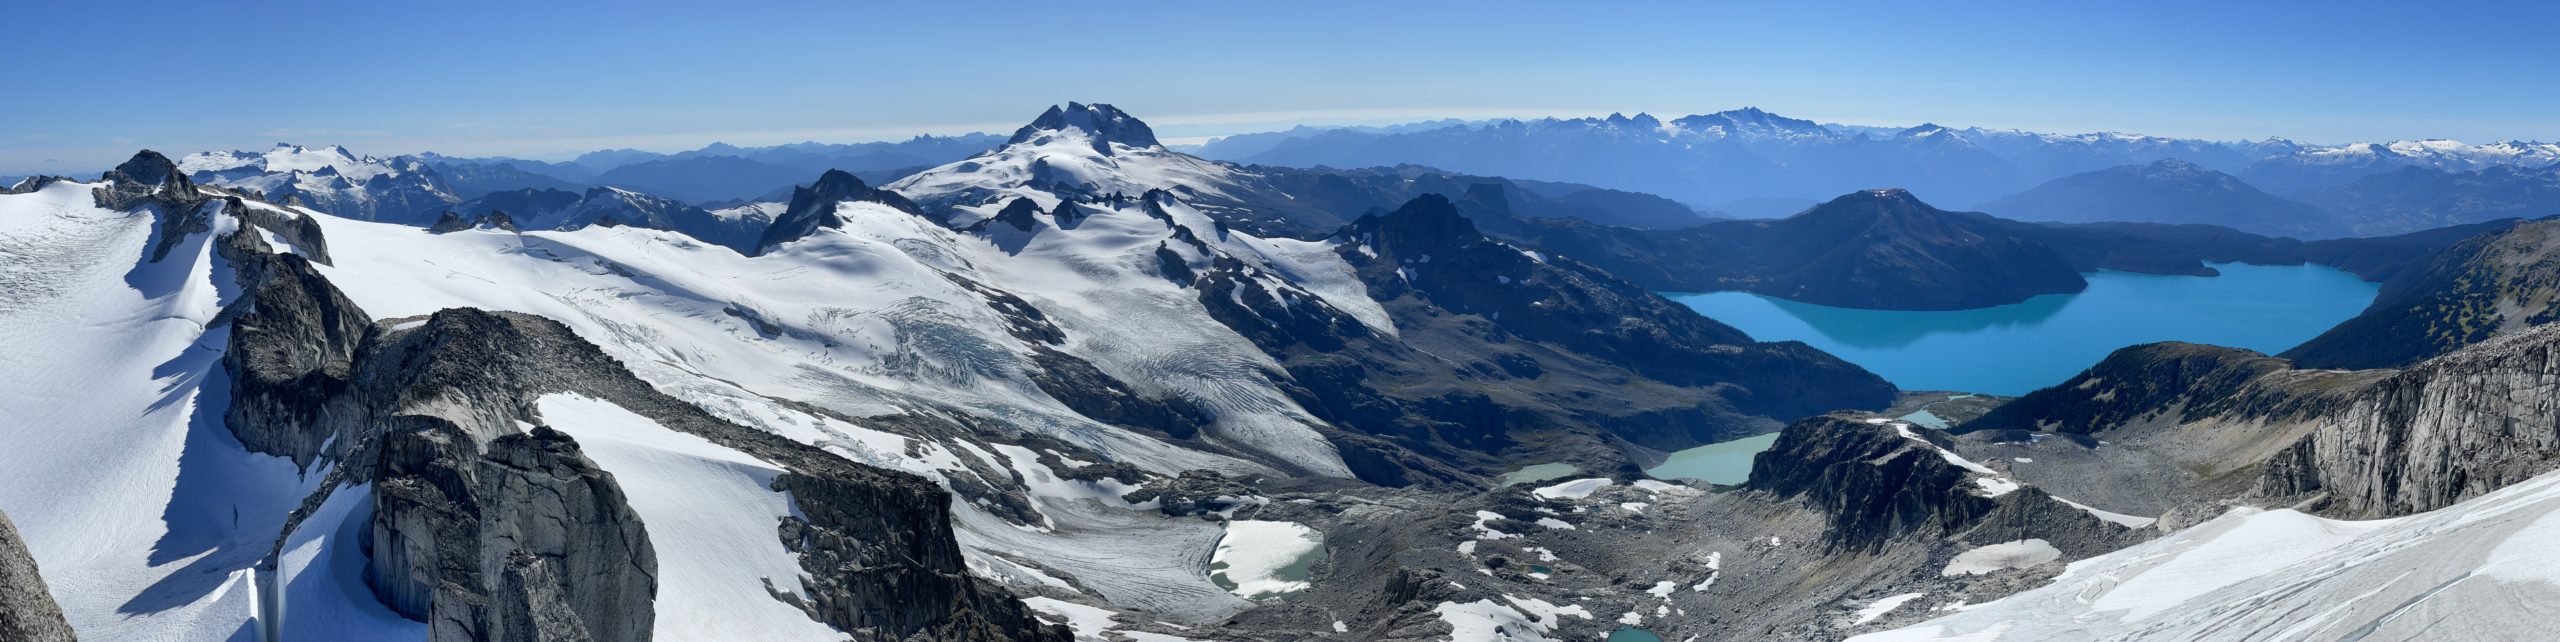
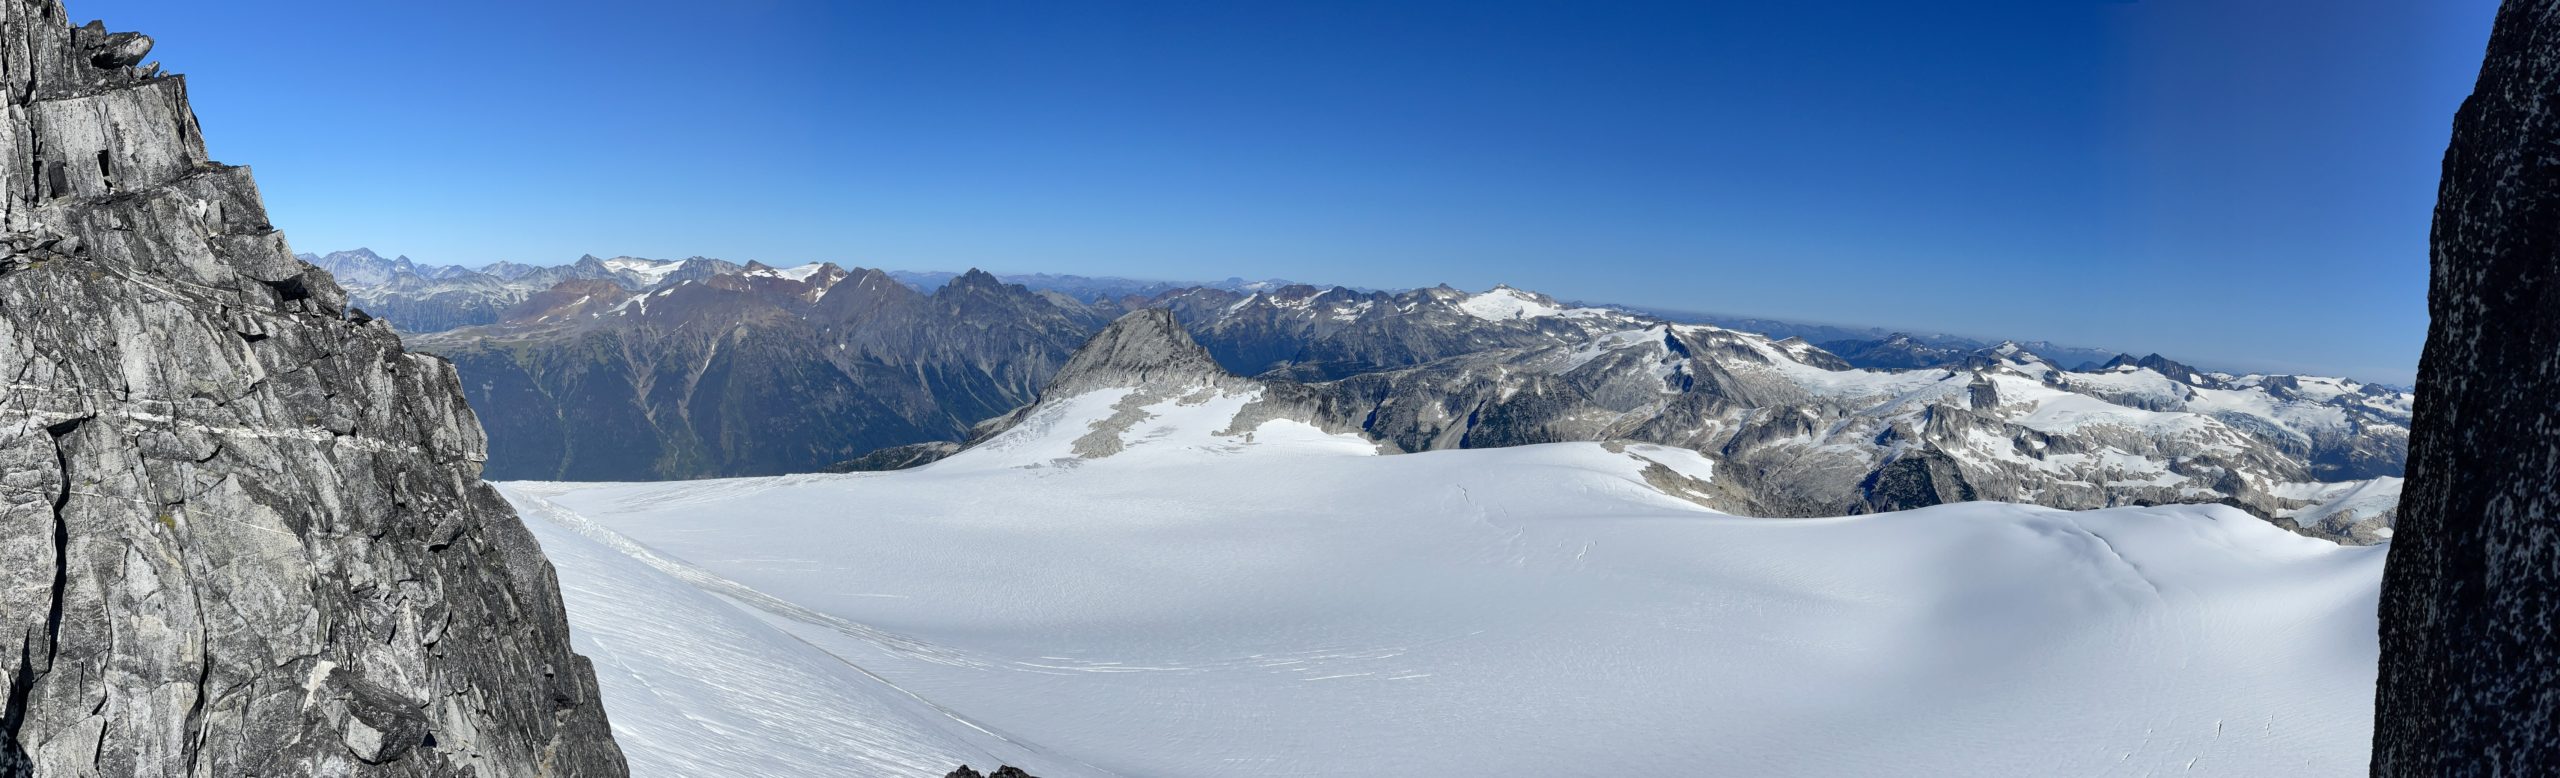
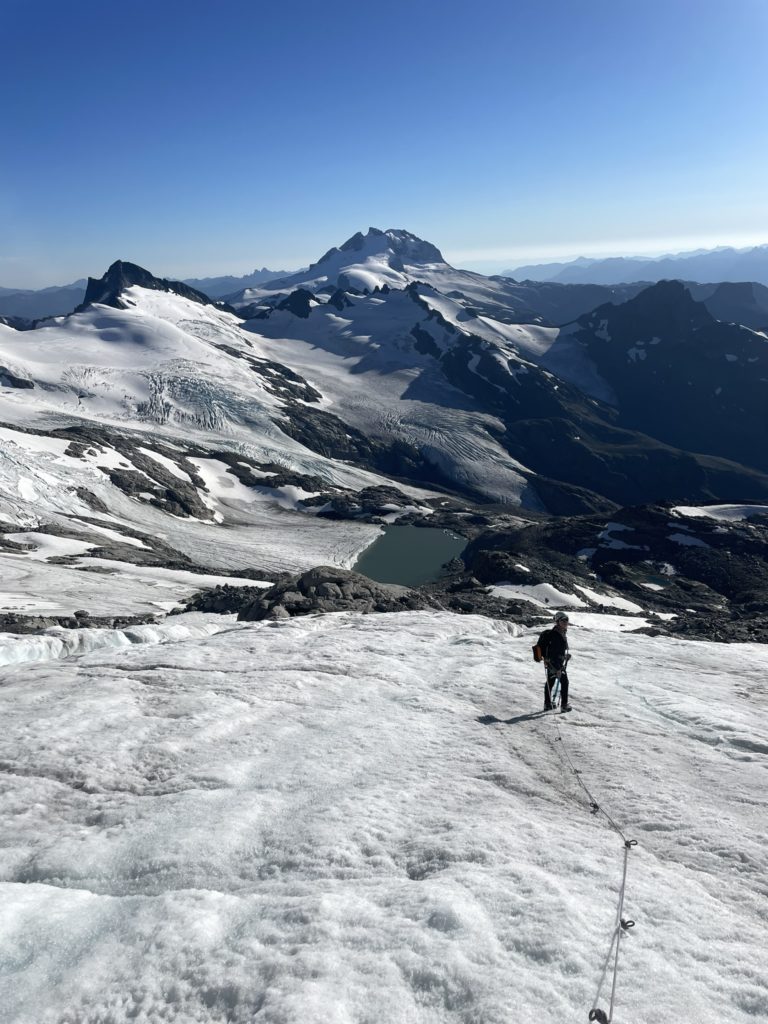
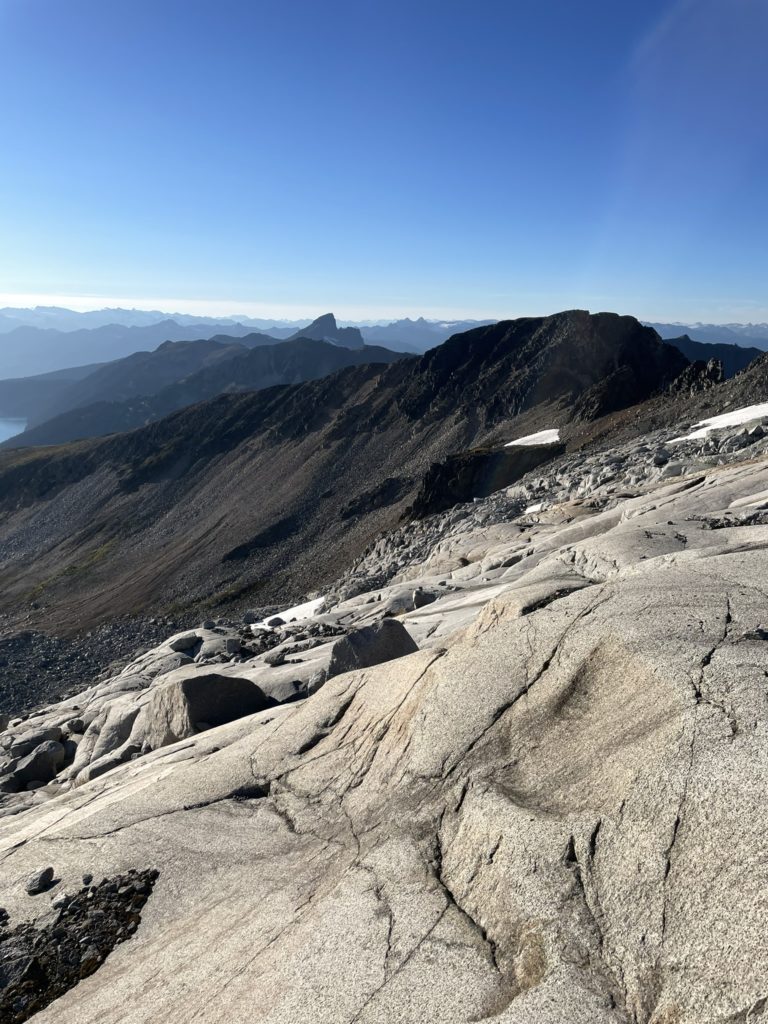
On the following morning we got going just before 9am again and made the tedious side-hilling traverse towards the col of Polemonium Ridge and Castle Towers. From the col I spotted a nice line along glacial bed rock that would eliminate any snow travel and allow us to gain the glacier at the base of Phyllis’s Engine. Despite the nice looking line it was quite time consuming navigating through the endless slabs, trying to find the path of least resistance. By 10:30am we had finally reached the base of the glacier and for the first time caught sight of the Engine’s famous granite spires.

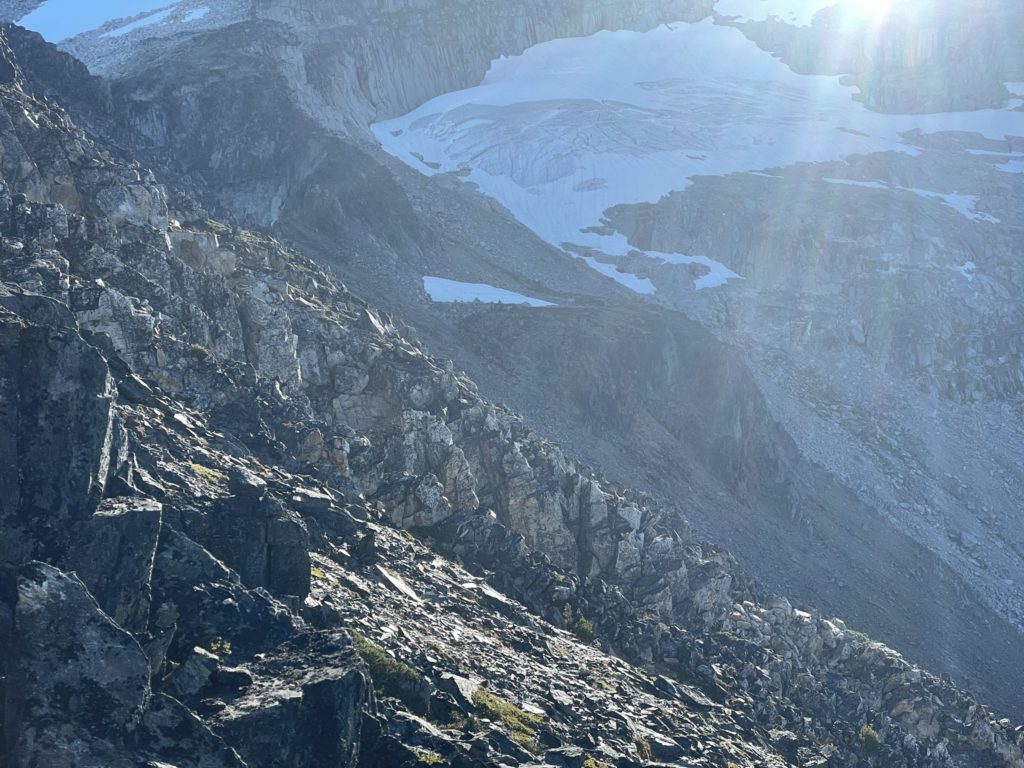

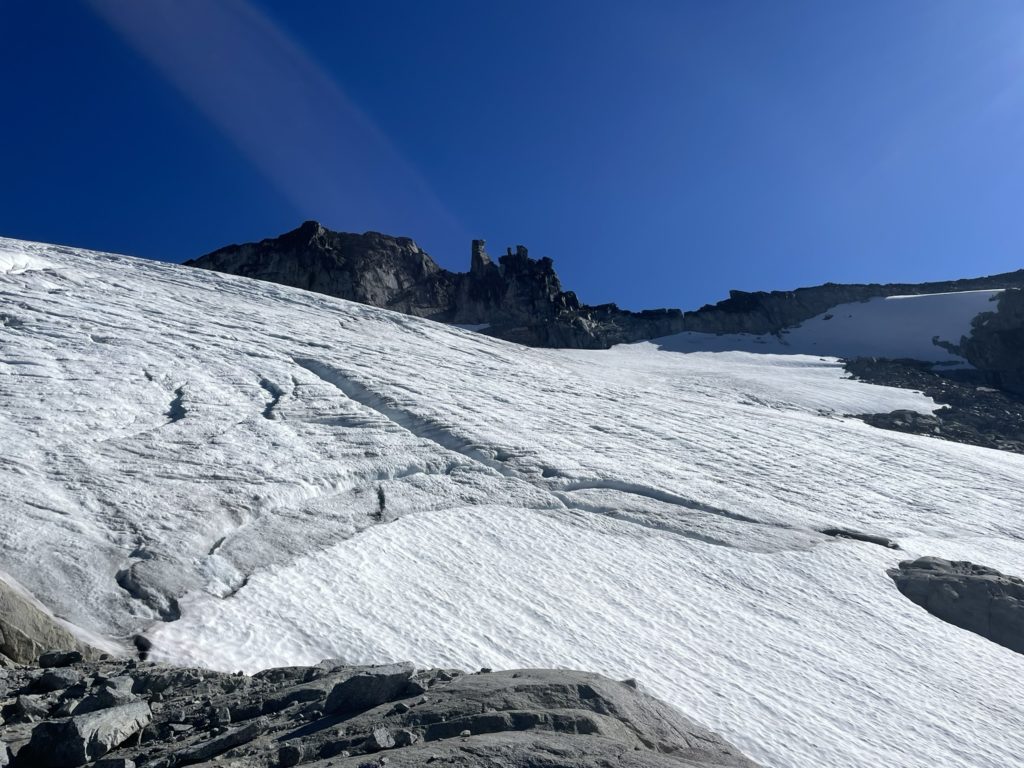
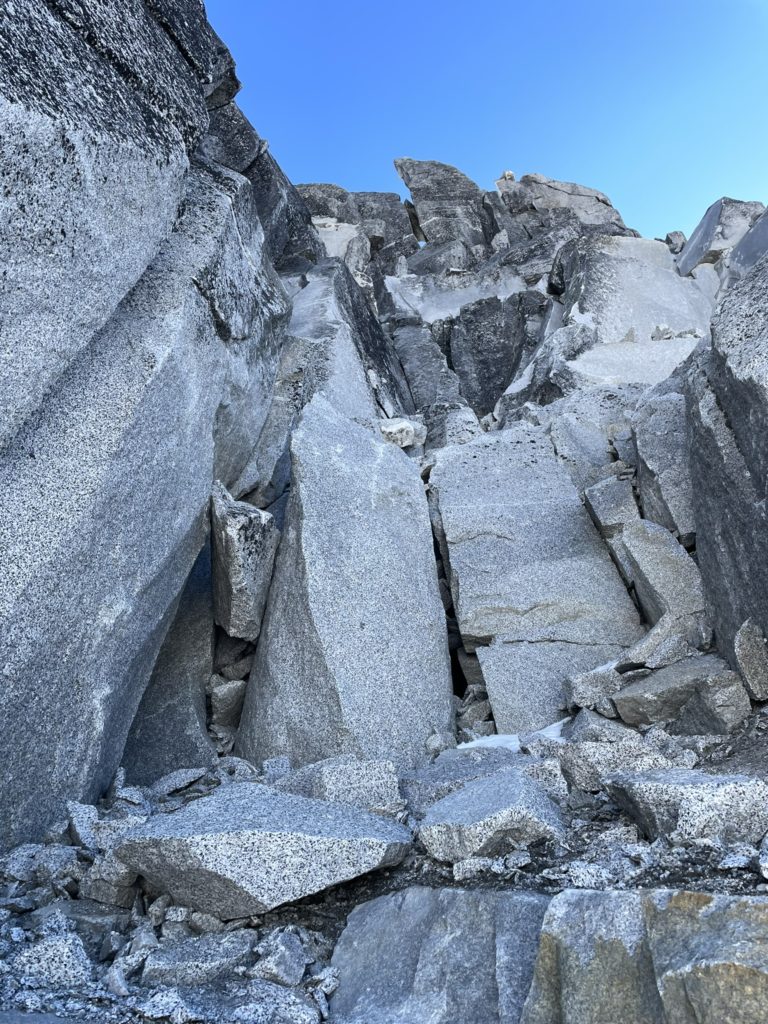
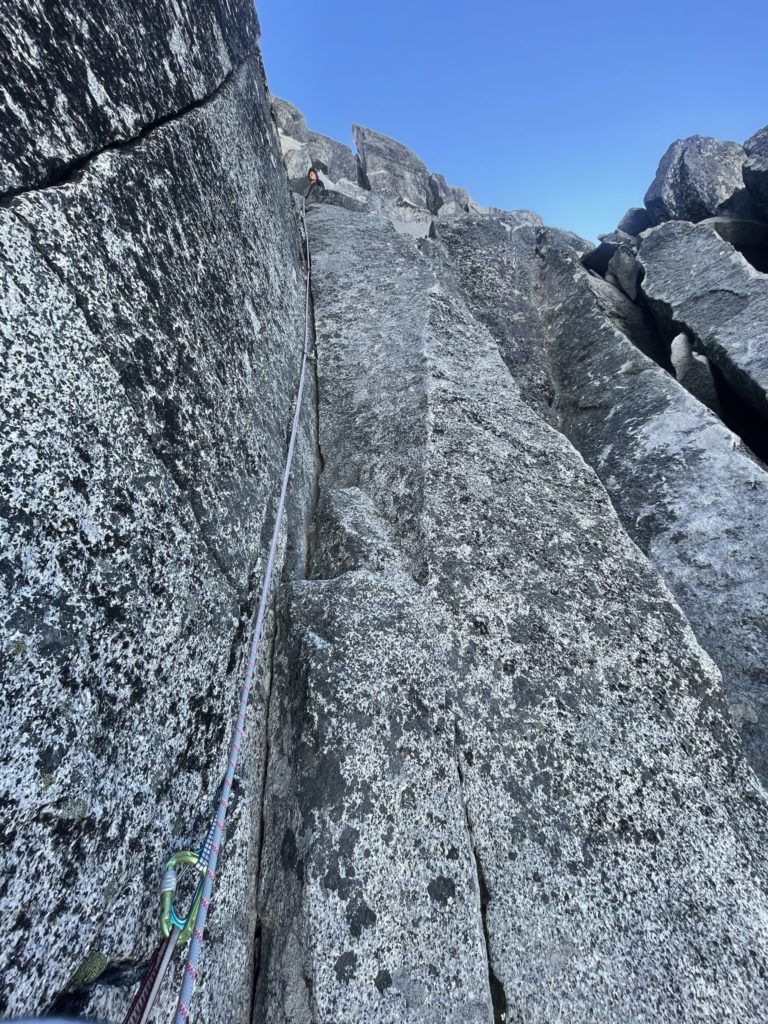
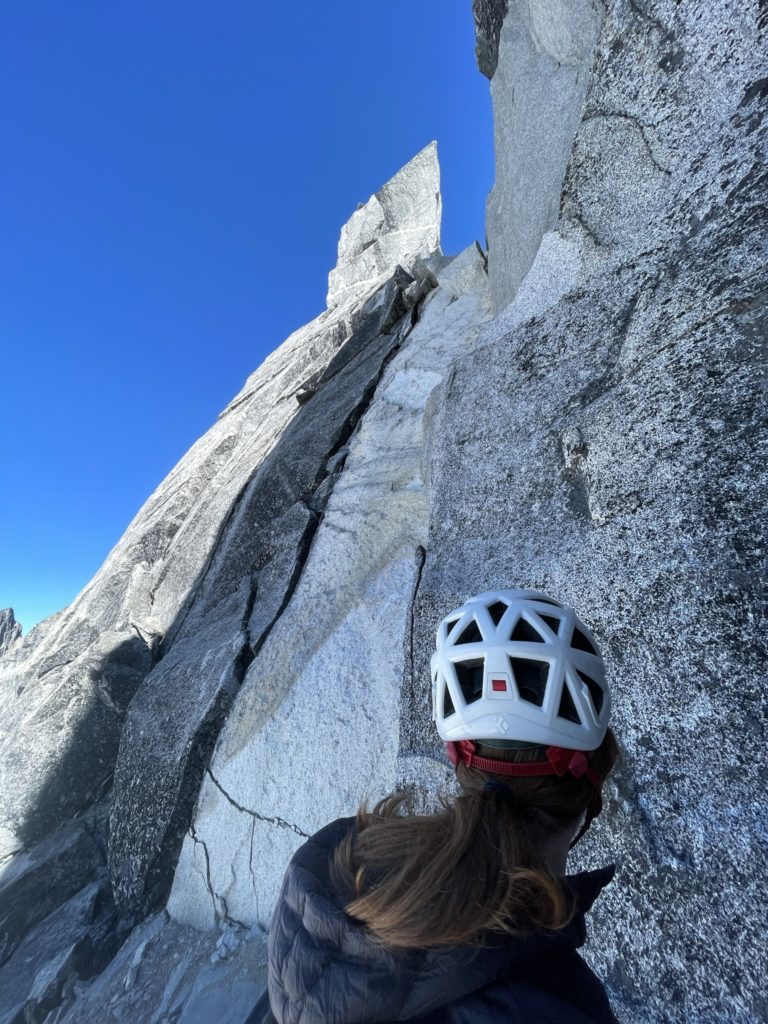
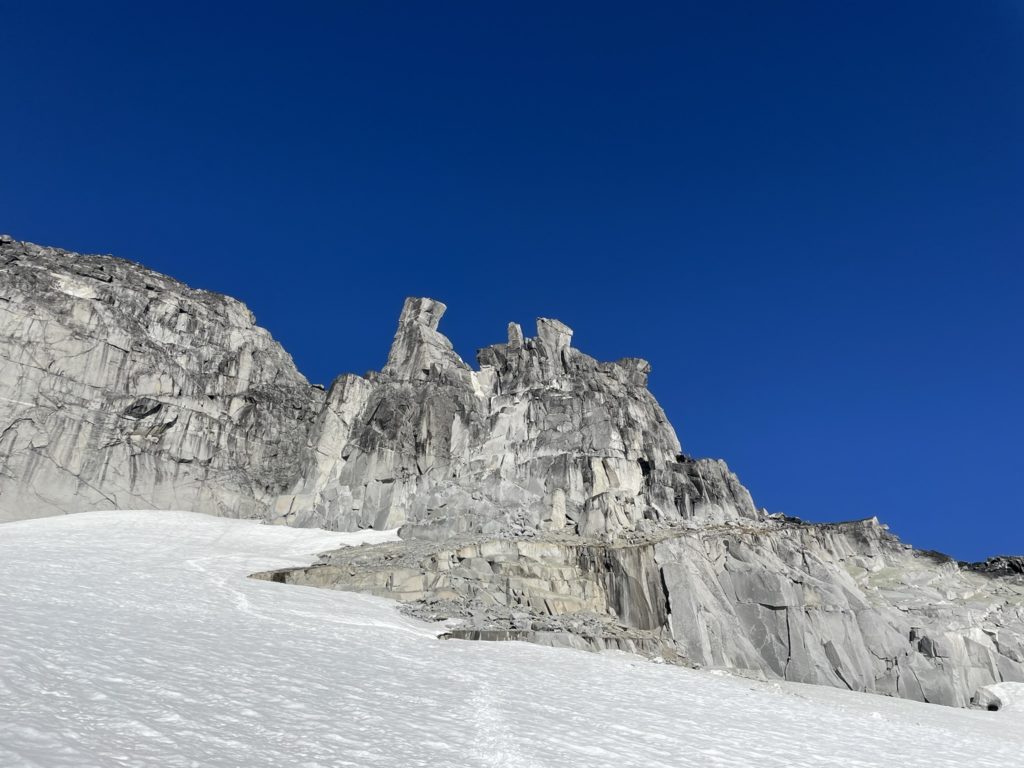
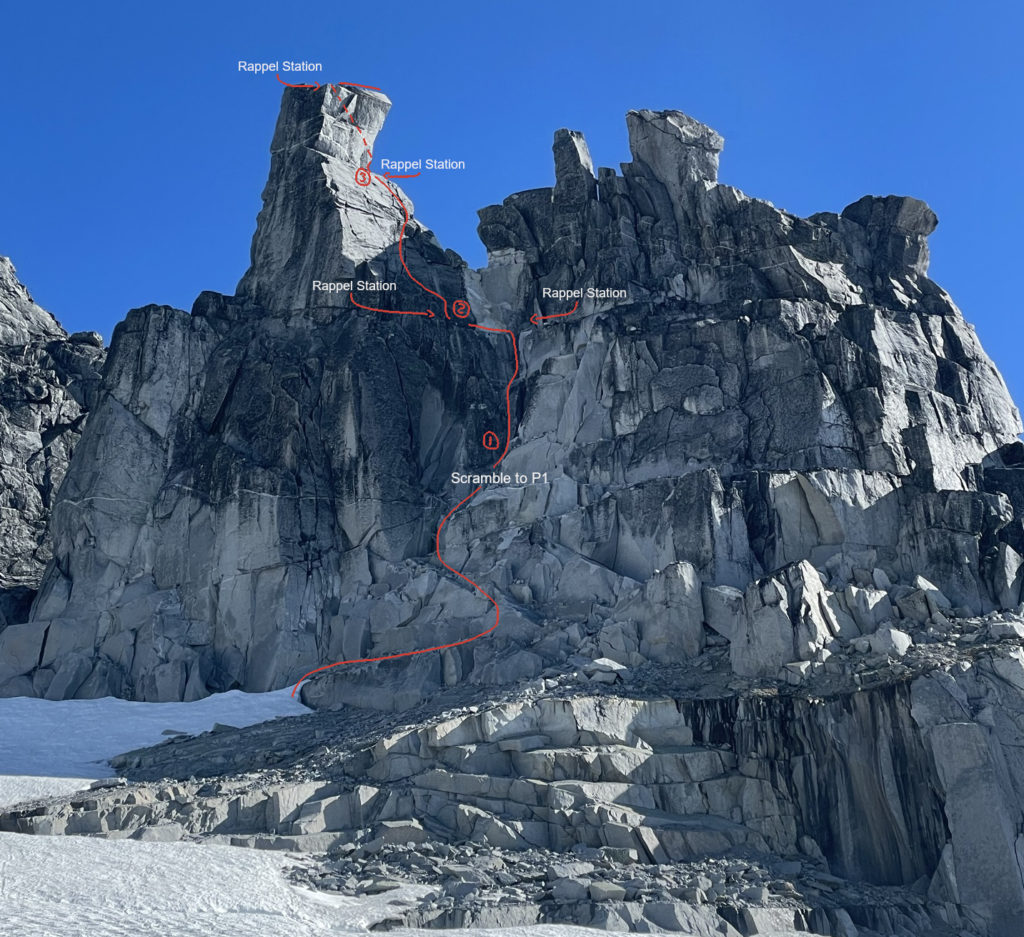
The glacier guarding the base of Phyllis’s Engine was definitely more involved than the Helm Glacier and so we decided to rope up this time. Andrea lead a great route through the crevasses and we reached the base of Phyllis’s Engine at long last. Now came the next tricky part… figuring out which route was actually the standard route. Despite this route being mentioned in McLane’s Alpine Select and getting climbed many times over the years, there’s no decent topo for the route. In fact, there’s only any real good beta for the 5.9 variation. Looking around though, I spotted a set of clean splitter cracks tucked into a corner that appeared to go at 5.8. These cracks topped out below the lower angled pitch two that was more well documented online, so I figured this must be it.


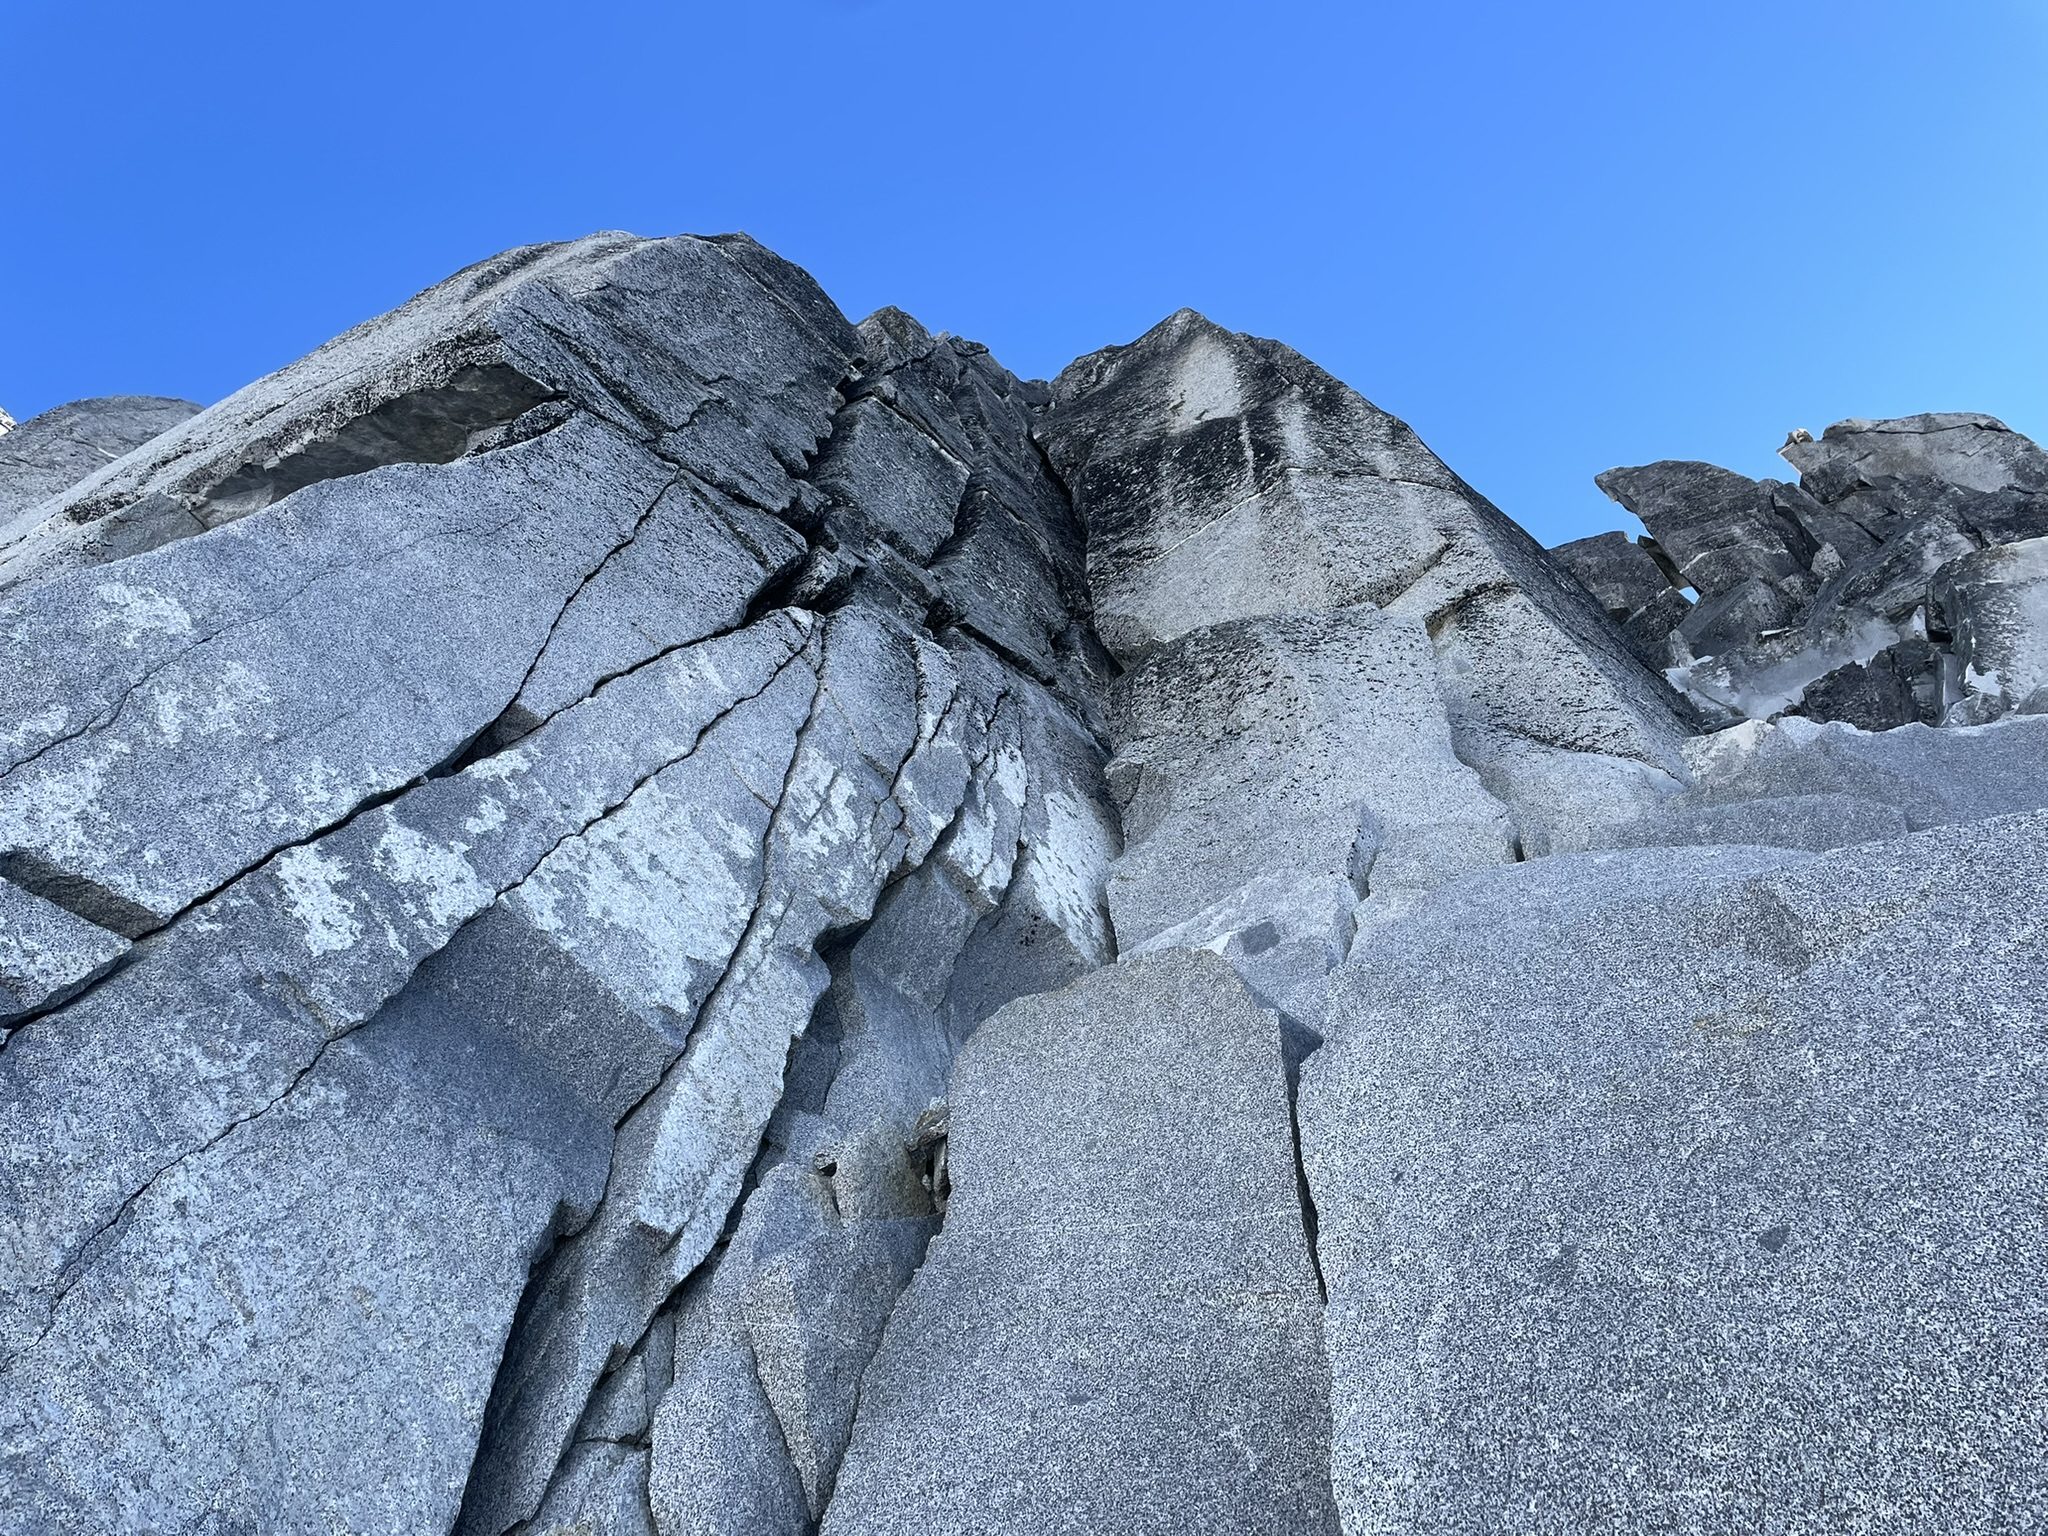
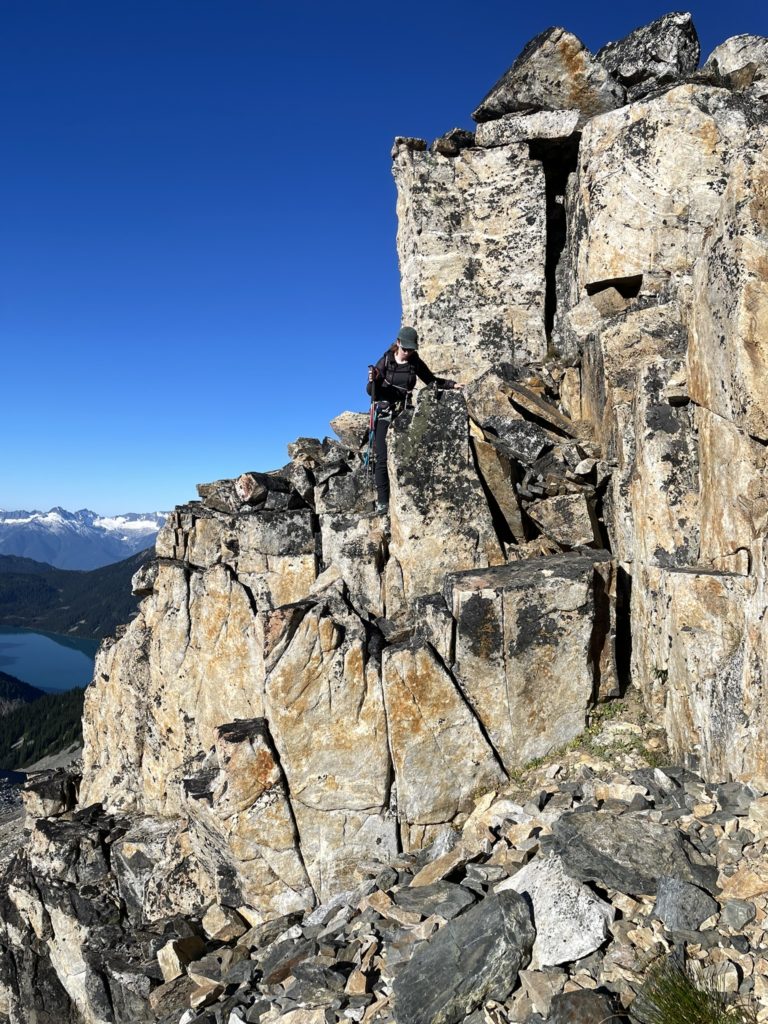
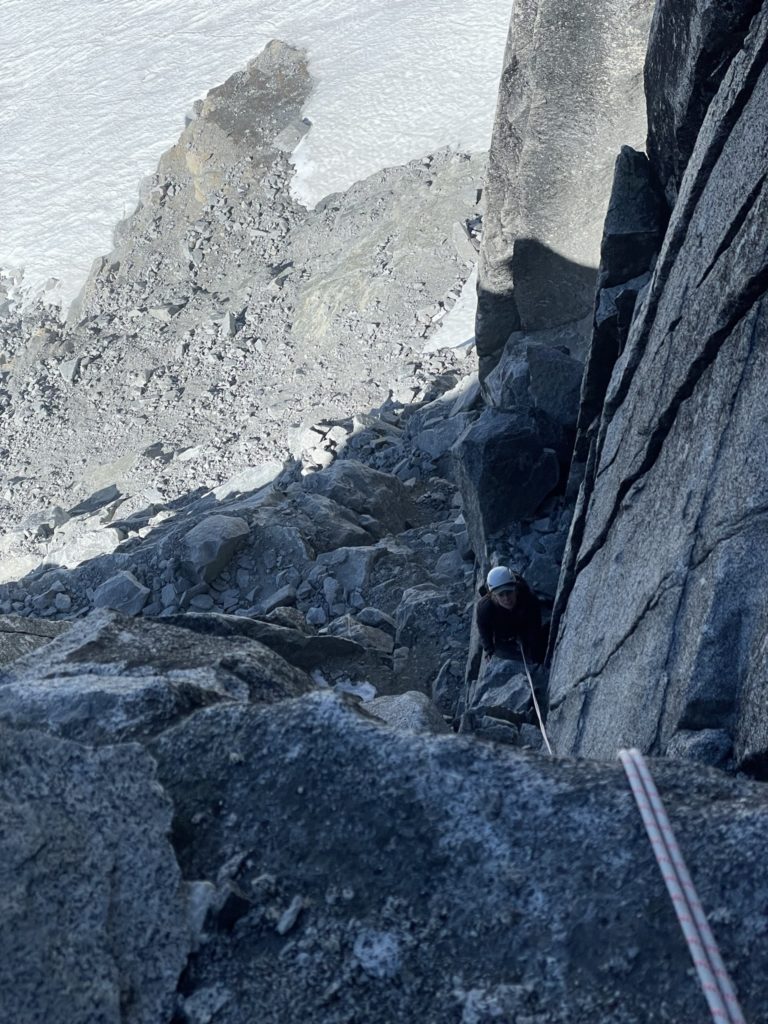
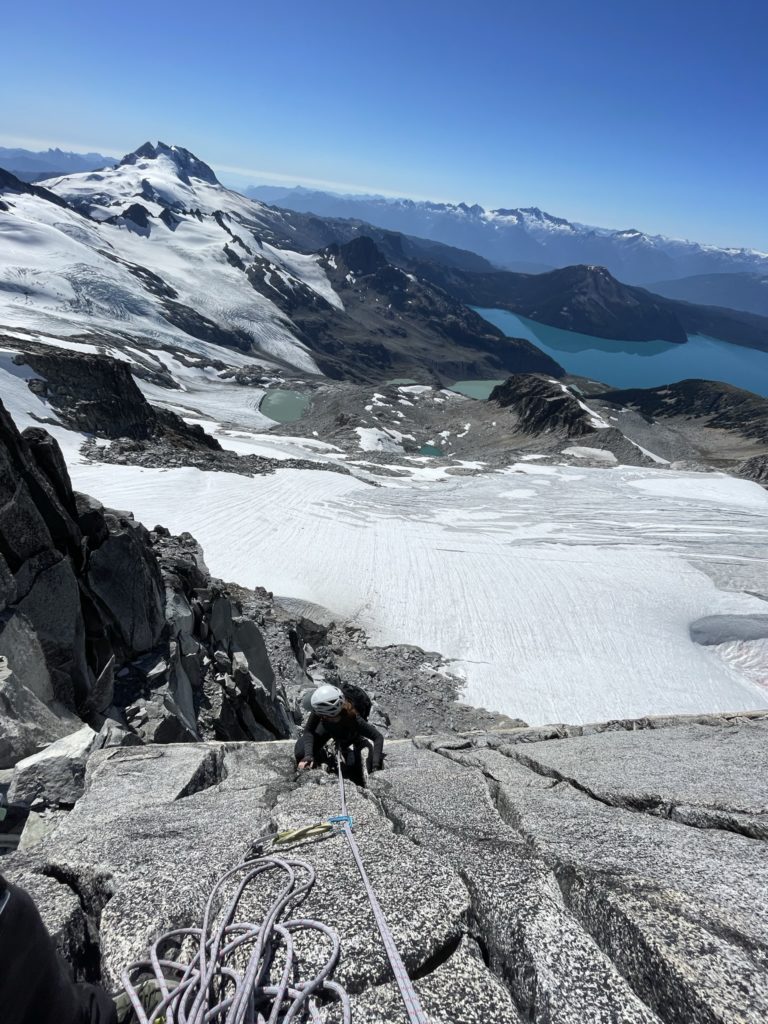
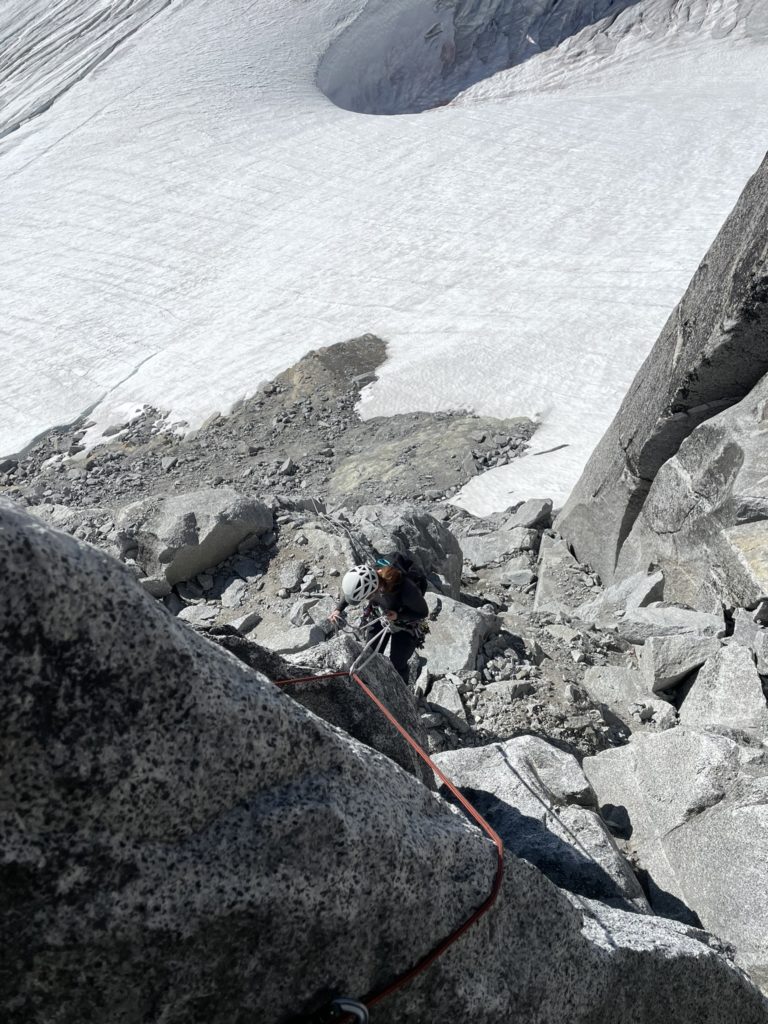
We ditched our gear on some slabs below the climb and then decided to scramble up the 4th and low 5th class terrain to reach the corner. The belay area was a bit awkward with down-sloping kitty litter, but we made it work and I geared up for the first lead.
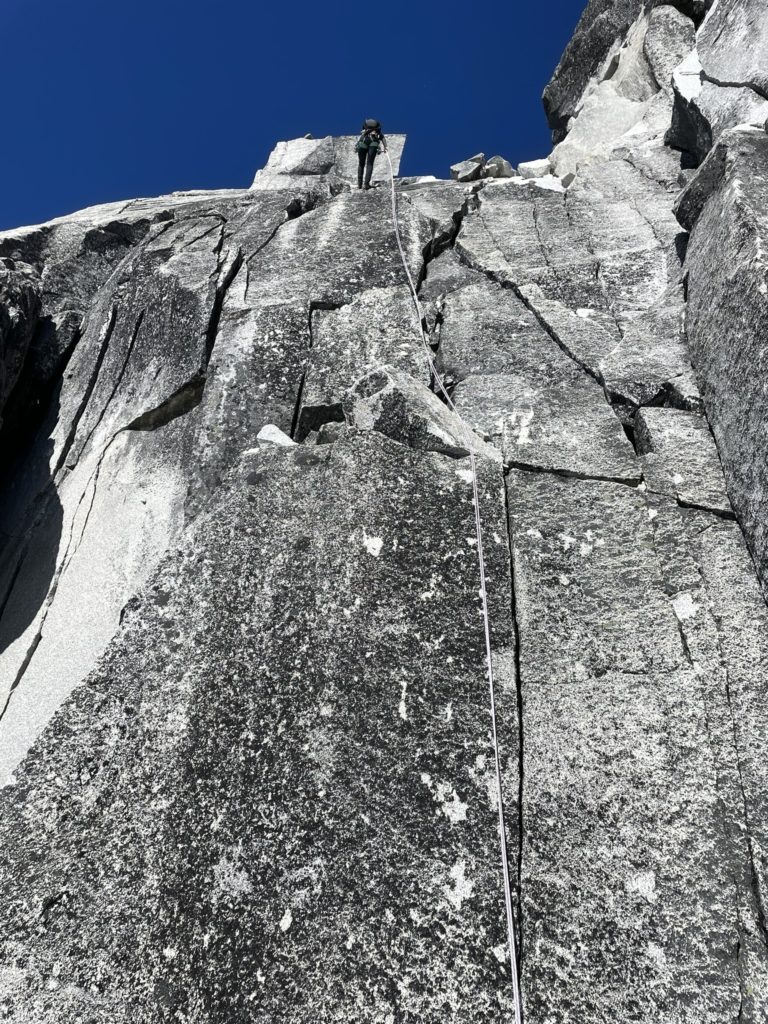
The first sequence of moves was a fun ring-lock to hand sized crack and then good face holds half way up the face. From the top of that first crack I did short traverse up to the upper corner where I had a fist-size crack on my right and a wavy ring-lock to finger-sized crack on my left. After comfortably leading the lower section I pulled myself up higher off of solid fist jams and a few fingers until reaching the top of the corner. Here it got extremely awkward as there’s no good holds to top out on and the pitch ends on slab with loose gravel over it. I pulled hard in a baggy finger jam in the left crack, feeling my hand slowly edge out. As quickly, but gingerly, as I could I got both feet high out of the corner and then did an awkward mantle climber’s right to a safe ledge. I let out a huge sigh relief after pulling the move. To my right was a rappel station that I graciously tied into and then put Andrea on belay.
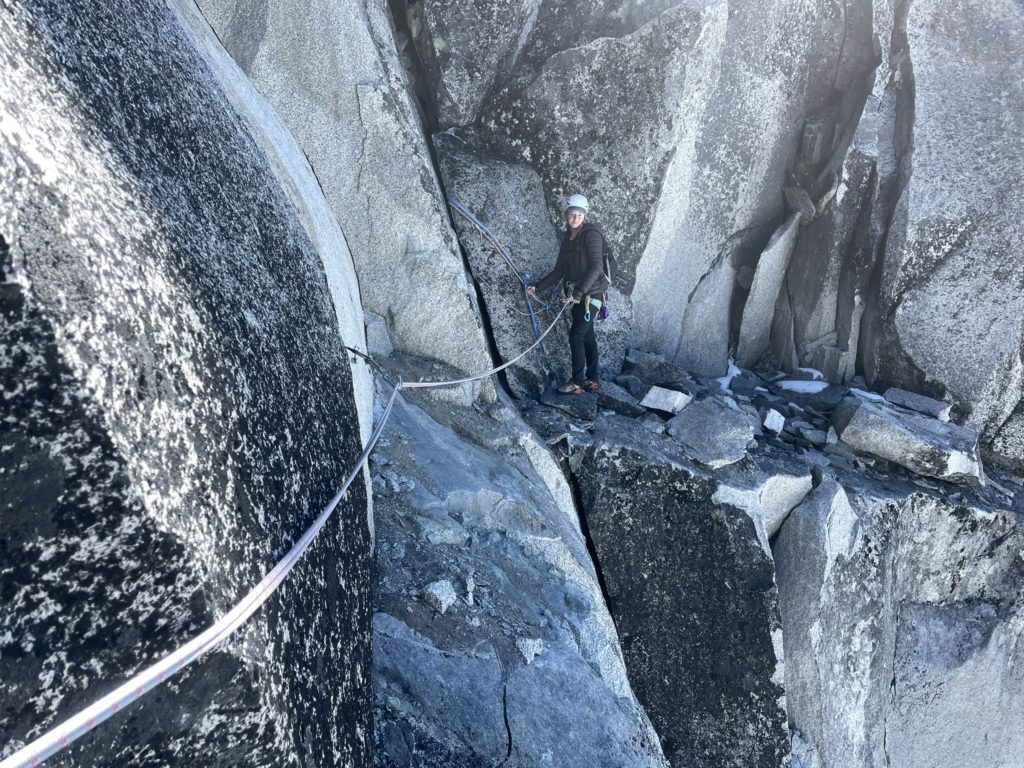
Andrea seconded up with relative ease and now we had to sort out the next pitch. By going climber’s right out of the corner I had accidentally put us in an awkward stance for the next pitch. Just across the slabs we spotted another rappel anchor directly below pitch two and figured this must be the actual top out area. We both agreed to relocate the anchor, but that meant a sketchy traverse across that loose slab to reach it. Andrea put me on belay again and I lead the way over, having to trust my feet on loose sand as best I could. I put in one piece for the second and then made it to the station with better holds half way along the slab.
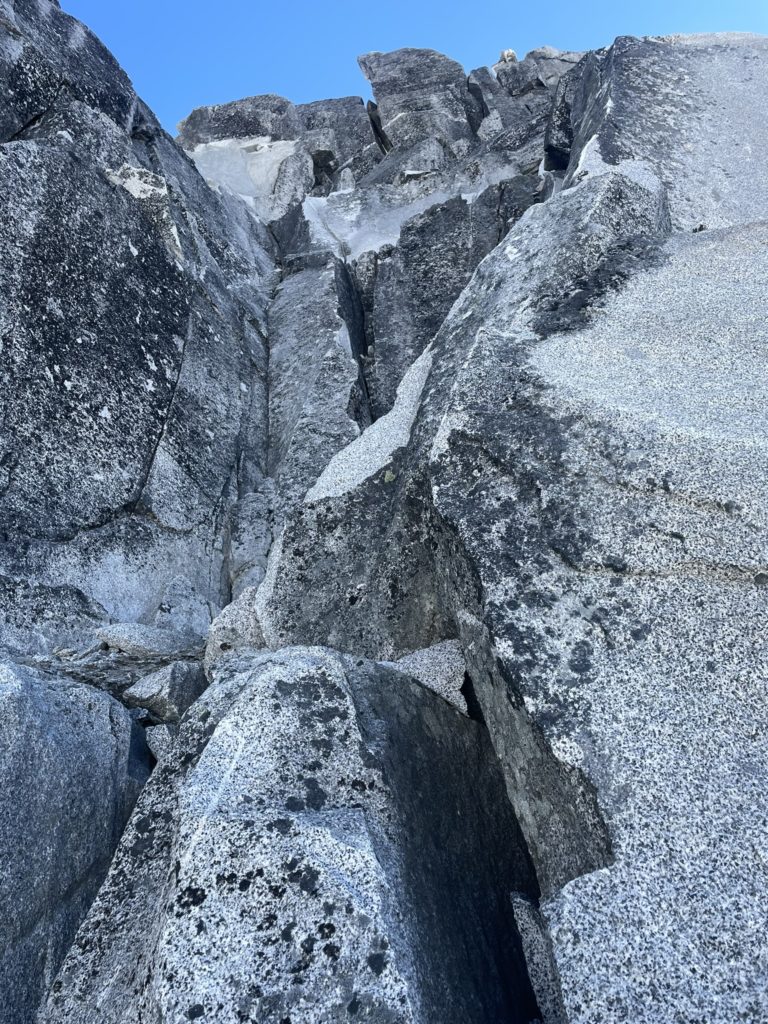
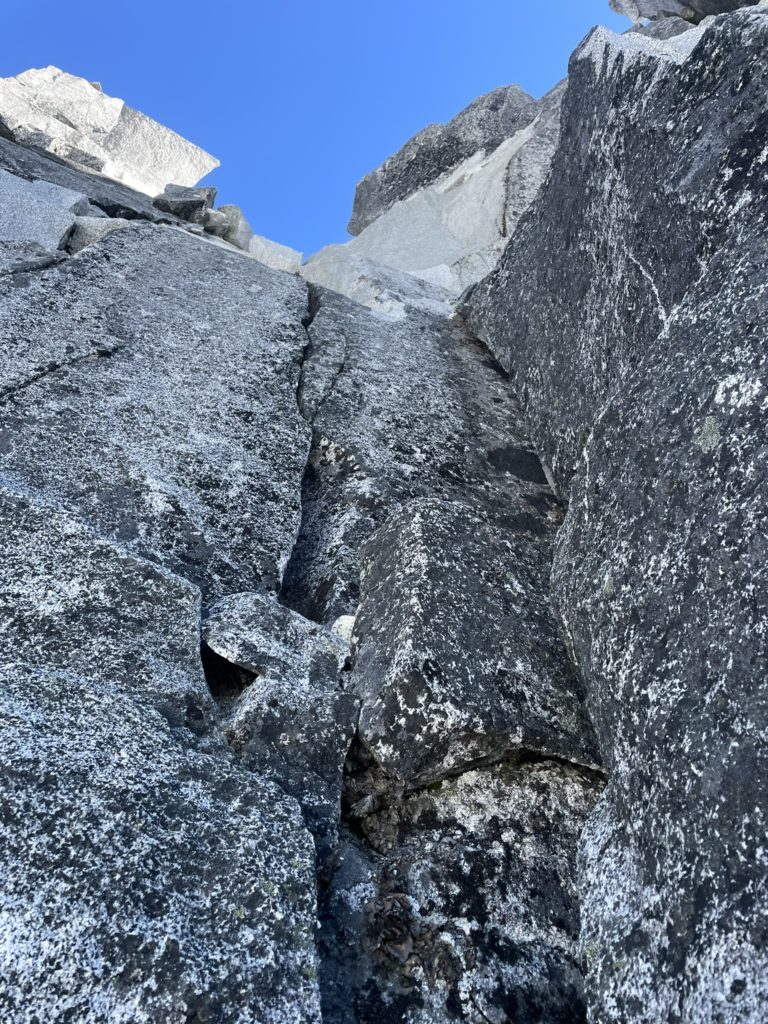
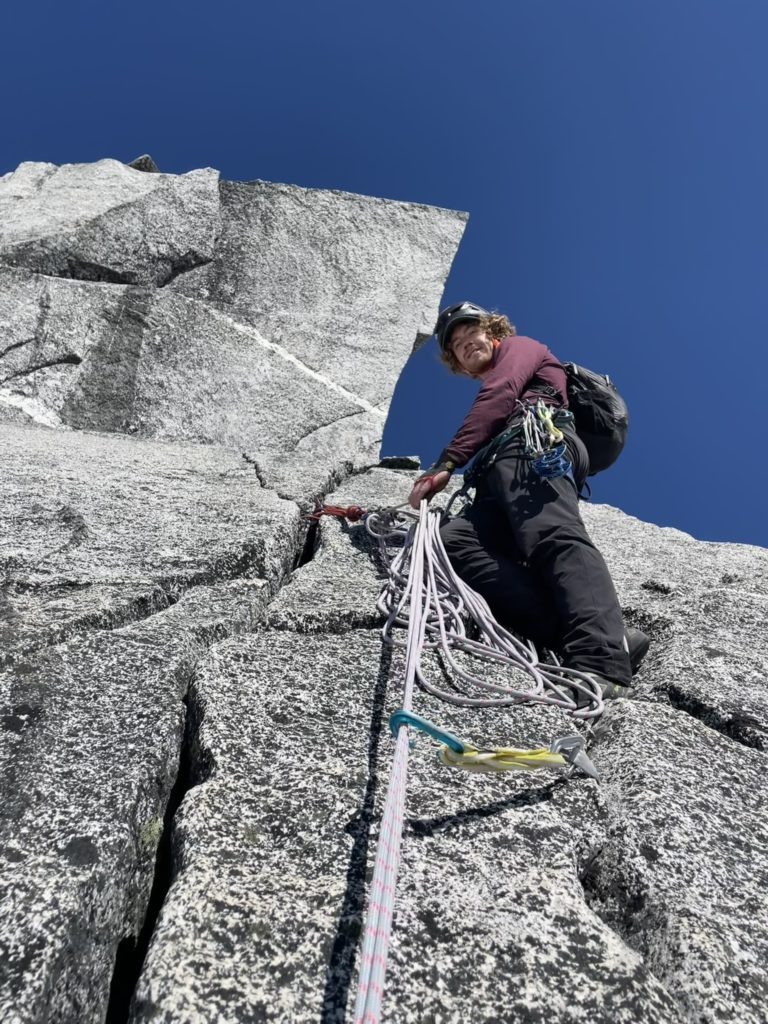
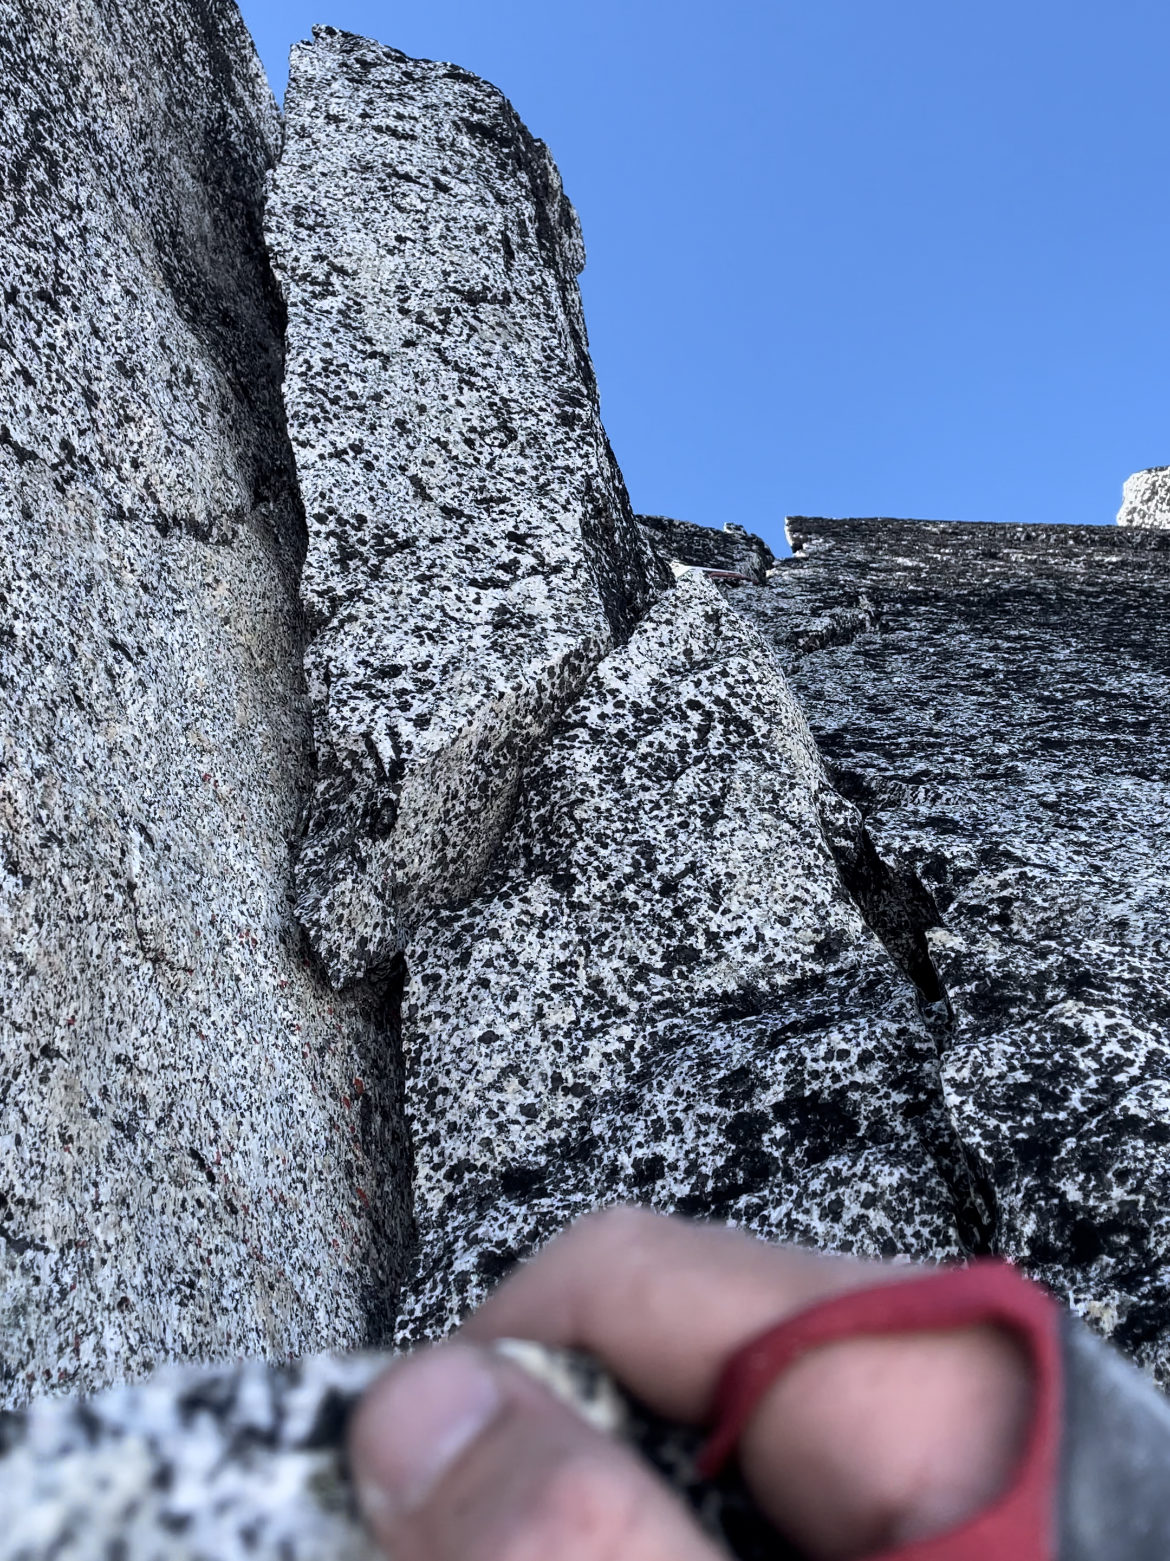
Now I belayed Andrea over and we were finally in position for pitch two. Andrea swung leads and started with a big mantling move up onto a ledge above the belay station. From there the route presented three different options. At climber’s right an open chimney with good feet, but no protection. Directly above: a wavy offset splitter to a roof and then slab. Finally at climber’s left a double hand size splitter that opened to off-width mid way up. The best option for our skill set was the hand-size splitter directly above the belay station, but given the wavy nature it looked difficult to protect. Andrea had a look around at all the options, but having an off-day on this particular trip decided it’s better to second the route instead.
After lowering Andrea off a #0.5 above and swapping gear, I went on lead and mantled up to the ledge. I waffled a bit over the three route options and finally decided to commit to the hand crack at centre. I climbed to mid-way on the first piece, found a great #0.75 and then slipped into a focused state of mind, tuning out the huge alpine terrain around us. The first few meters were a great mix of hand jams and finger constrictions and before I knew it, I was at the roof crux. I found a great #2 placement and then started to pull up the roof. As I leaned off my hand jam, I scrambled around for a good follow up hand placement, but started to get pumped out. Rather than push further I lowered a bit and called for a take. This technically blew my “on sight”, but that’s not a big loss for me personally. I hung out for a minute and with a less frantic perspective found the perfect set of moves to pull out of the roof.
Once above the roof, I was on to lower angled slab with hollow blocks filling in many of the cracks. I climbed above these without to much issue, but stopped just short of the huge summit block. Now a few meters below the top of pitch two I assessed the gear situation and decided I was better off building a gear anchor here as the next section was going to eat a few more pieces still. I found a decent spot above the hollow blocks and then put Andrea on belay again. She cleaned the route and then lead the short section above my anchor to the actual end of pitch two. At the top she found two permanently fixtured nuts and built and anchor off that and an additional piece before belaying me up.
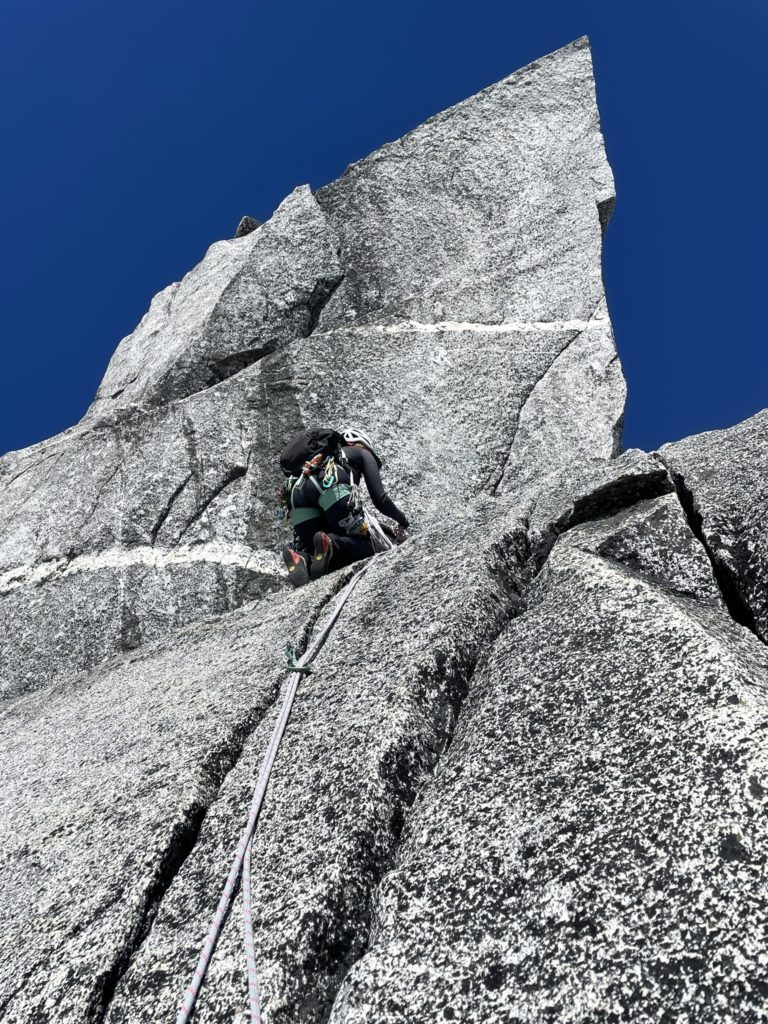
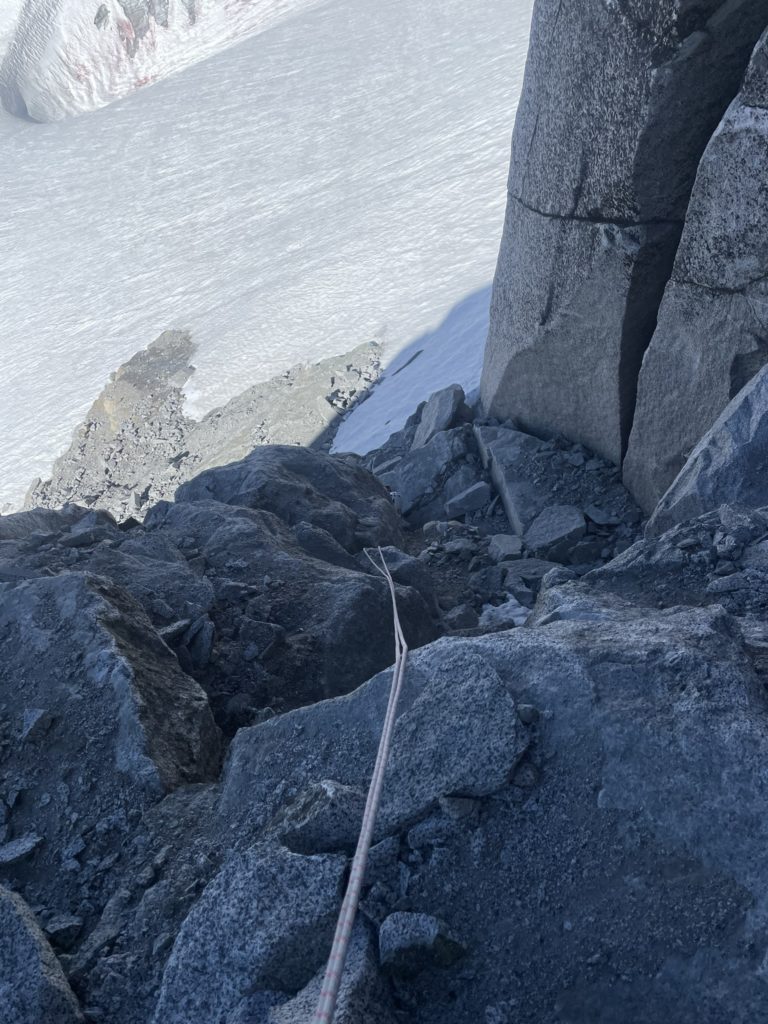
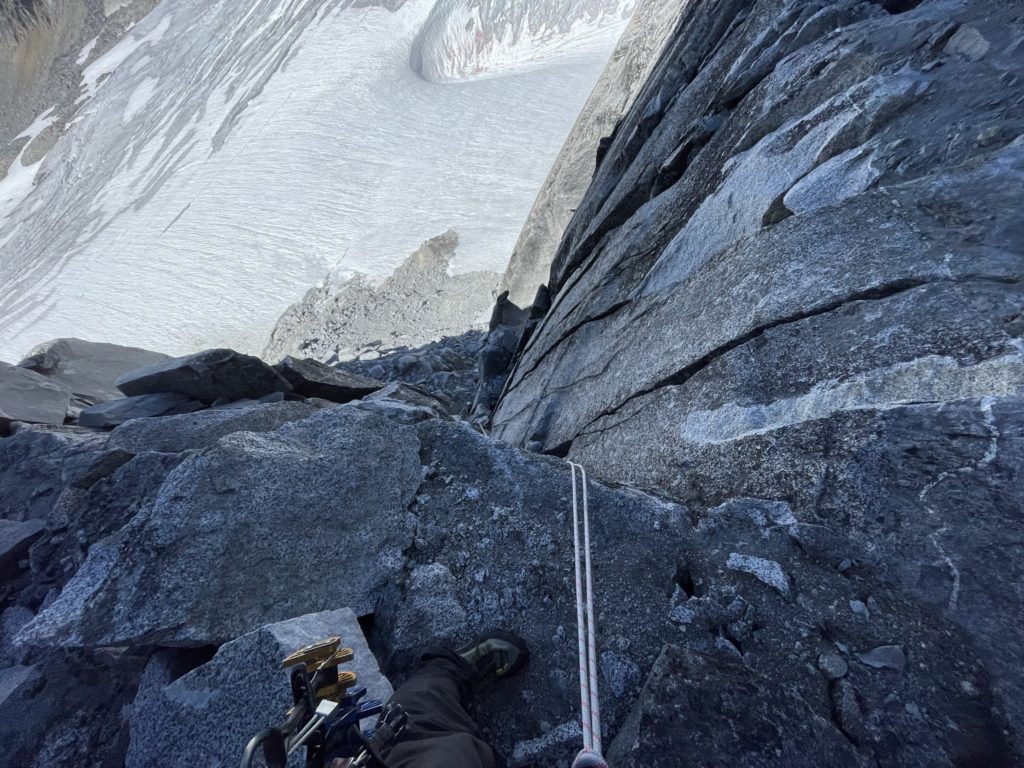
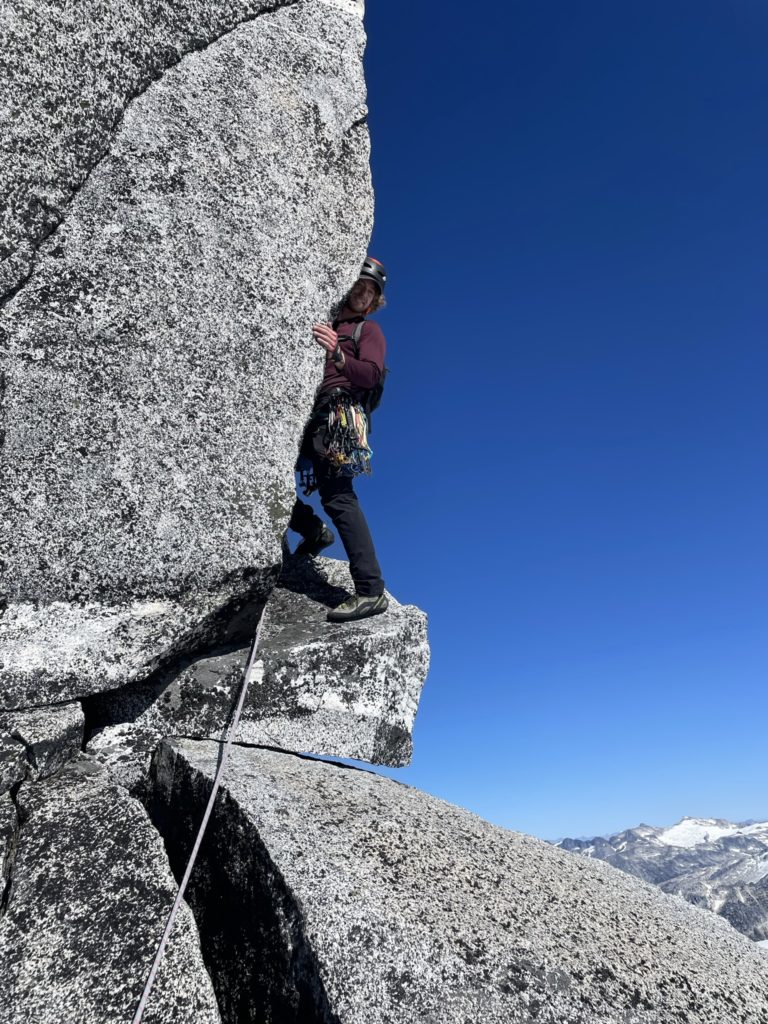
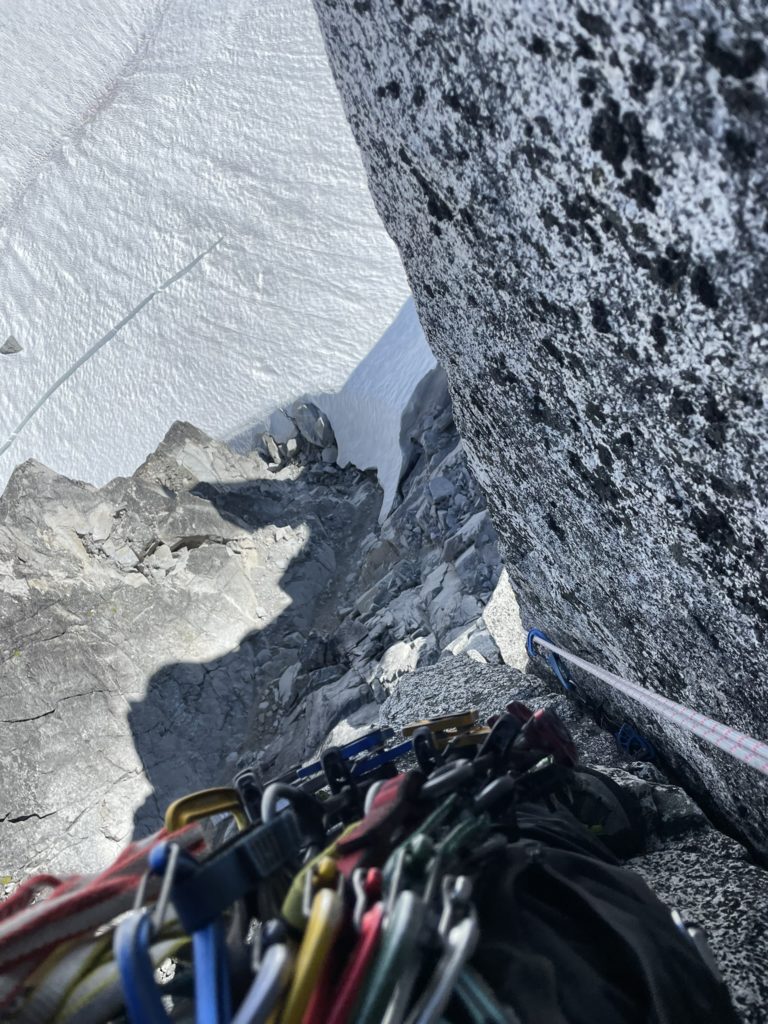
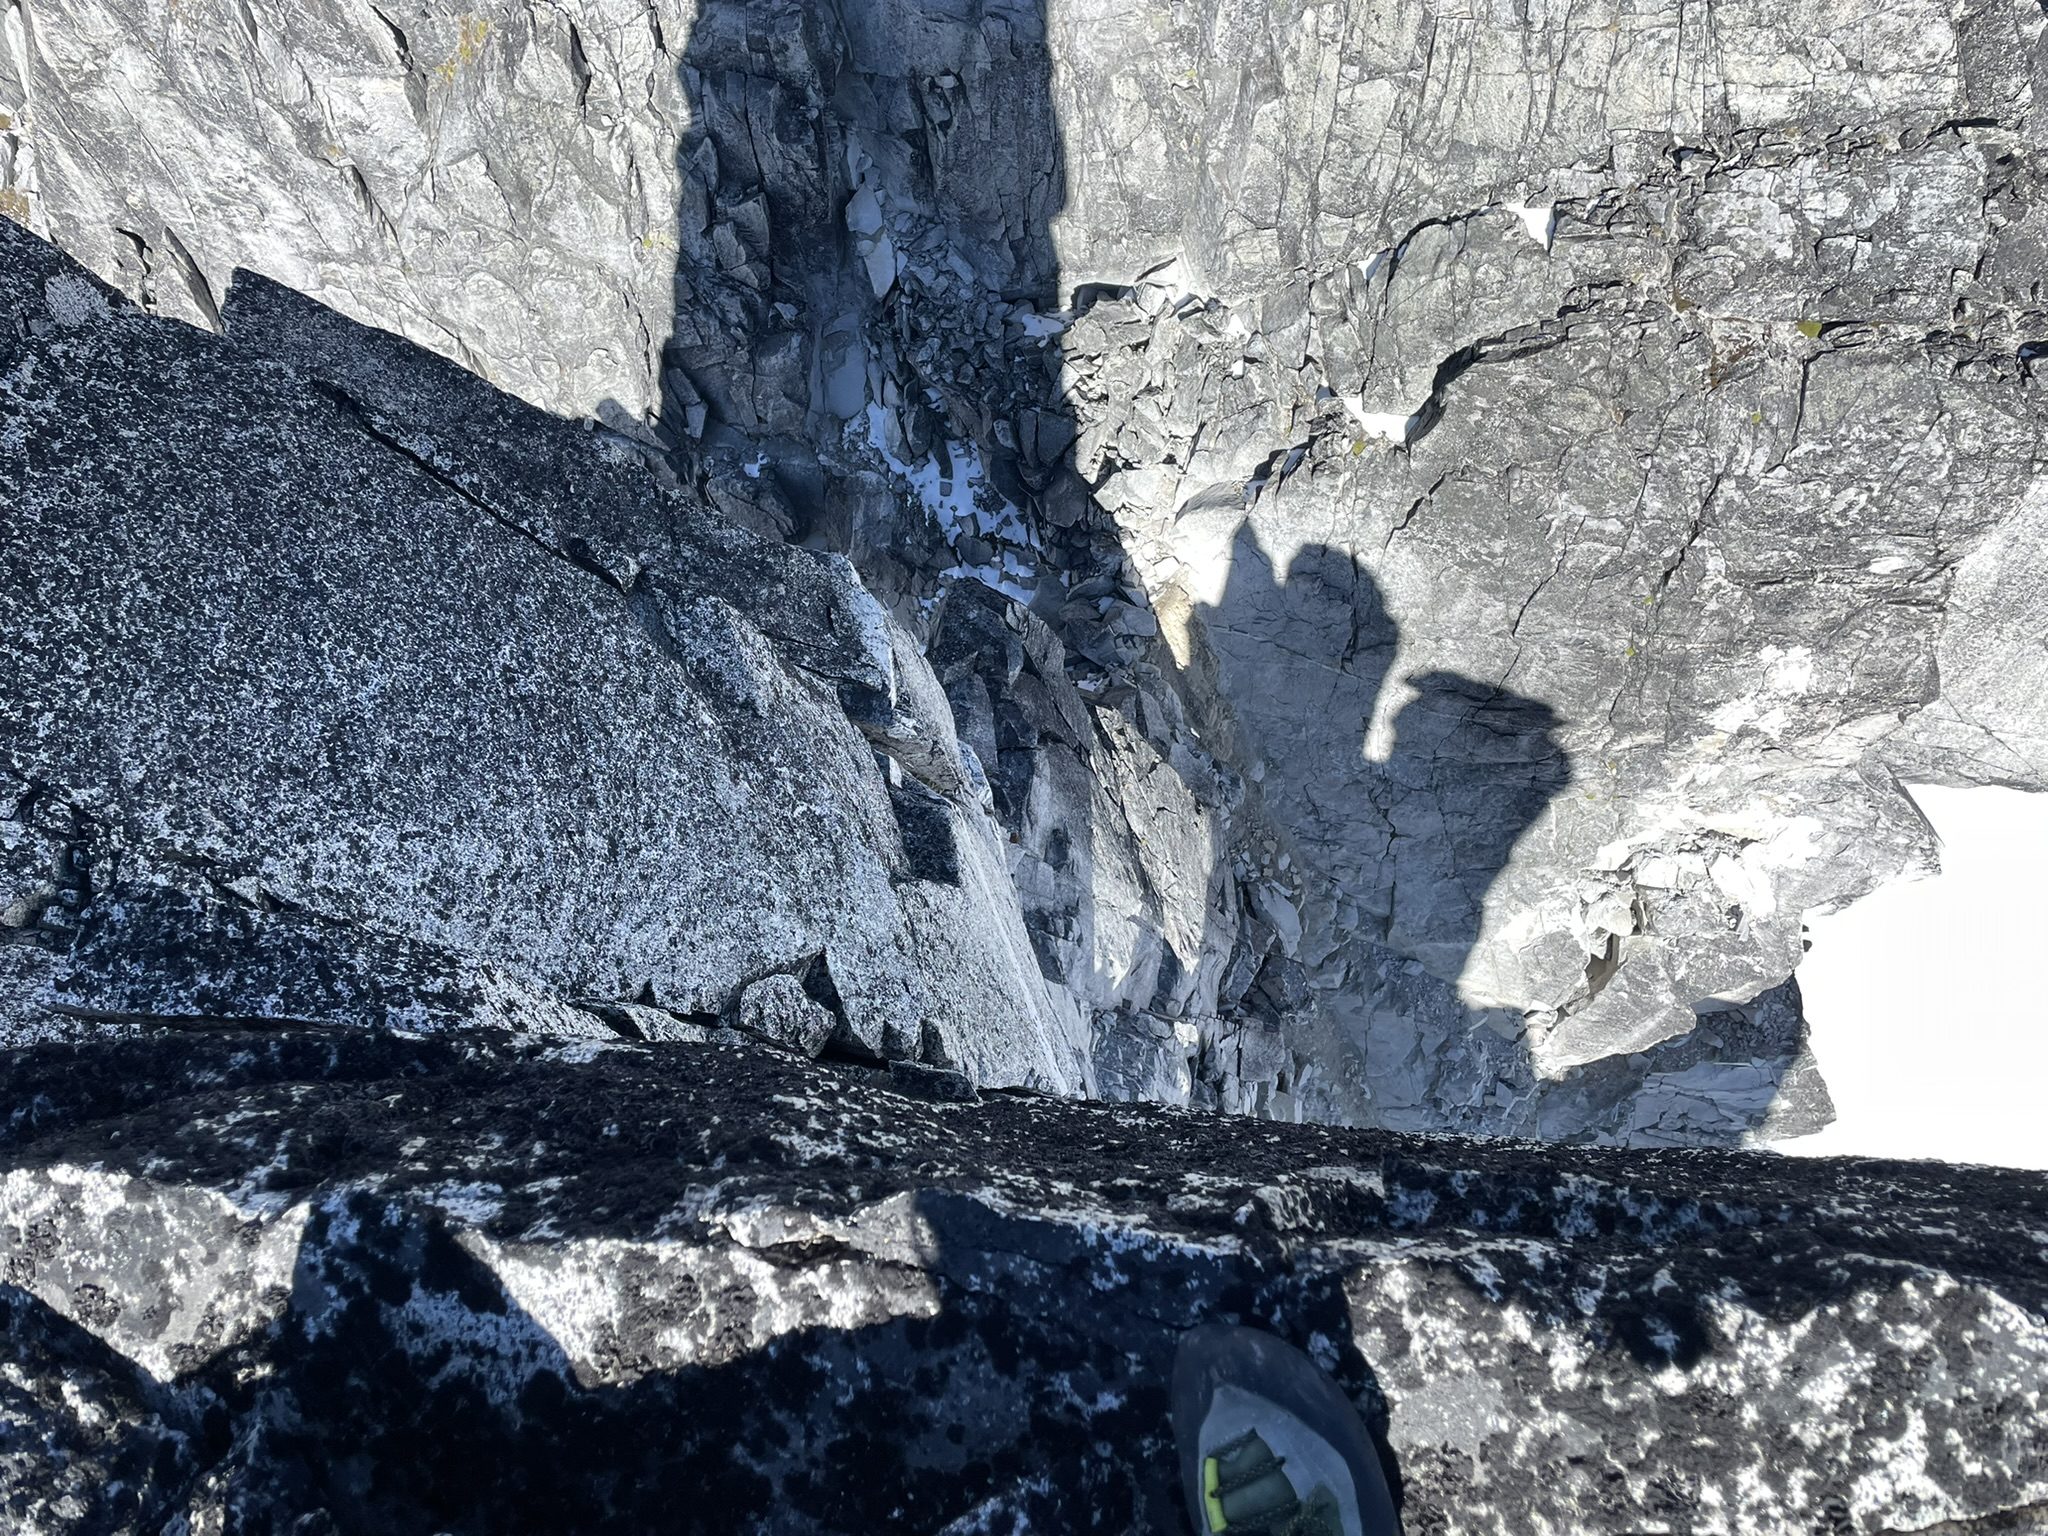
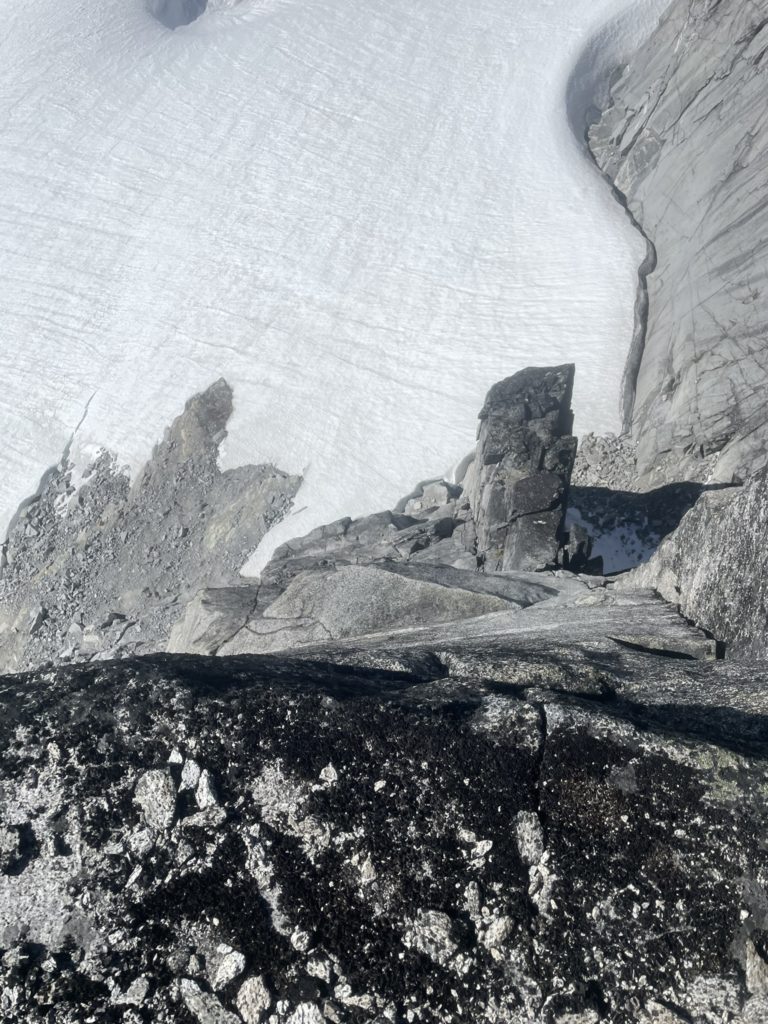
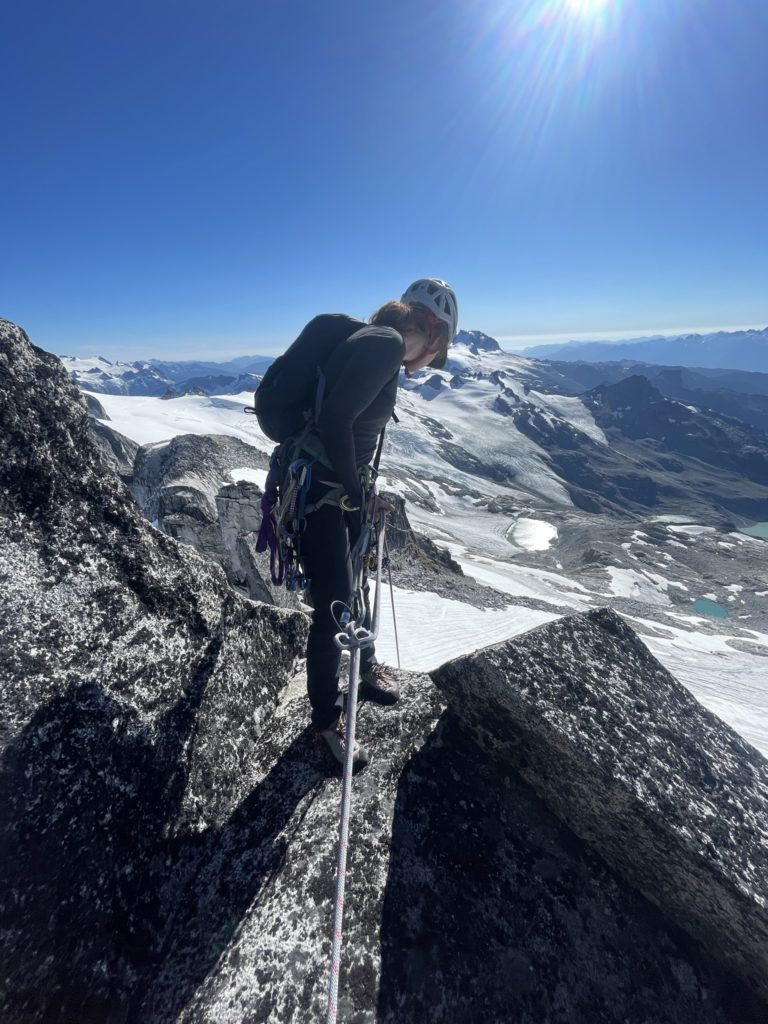
Now for the grand finale, the amazingly exposed pitch three that I had read all about. Andrea let me have the lead on this one and after exchanging gear I made the short traverse up the final slab section below the summit block. Then I made a stemming move around the block to the base of a vertical fist-sized crack. Below me was nothing but air and glacier a 100m down. I found a bomber #3 and then stepped up a short ledge to get a better position. I placed a second #3 even higher in the crack and then pulled the bottom piece for use higher up. The fists felt solid, but I wasn’t confident in pulling vertically off of it. Thankfully after peaking my head around climber’s right I spotted a beautiful hand-sized crack to compliment the route. Now I knew I could pull the moves, so I committed to hauling off the hand jams and after 3m of exposed climbing reached a perfect ledge to hang off of. Above the ledge was easy slab and now I knew I had made the summit for sure.
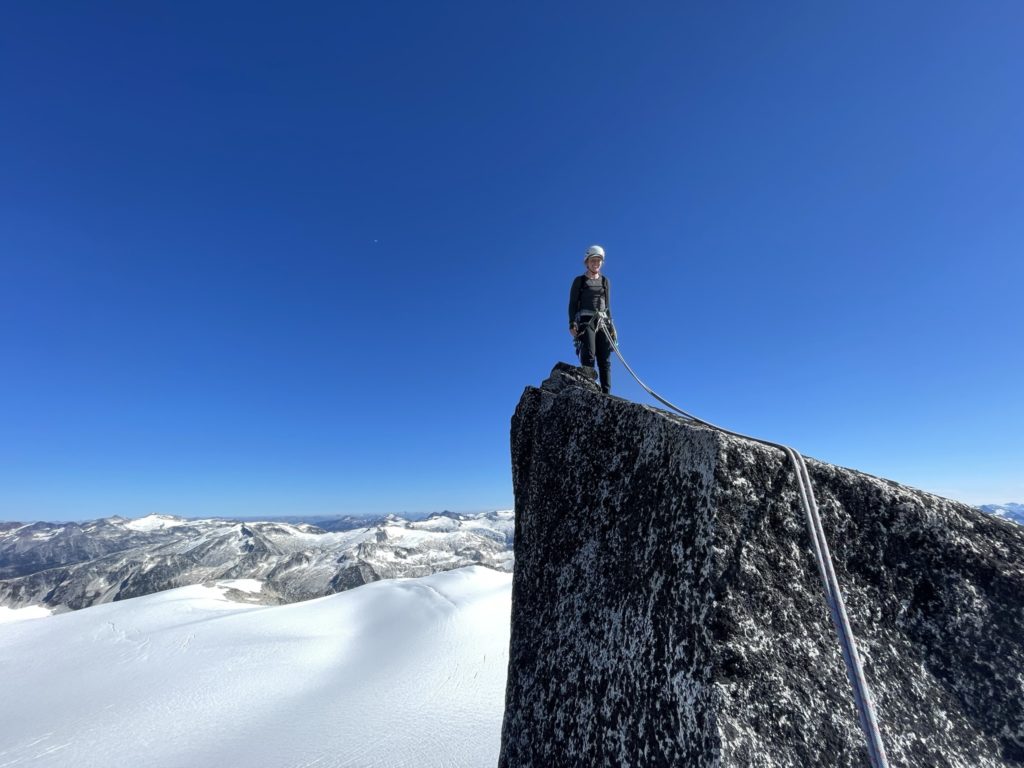
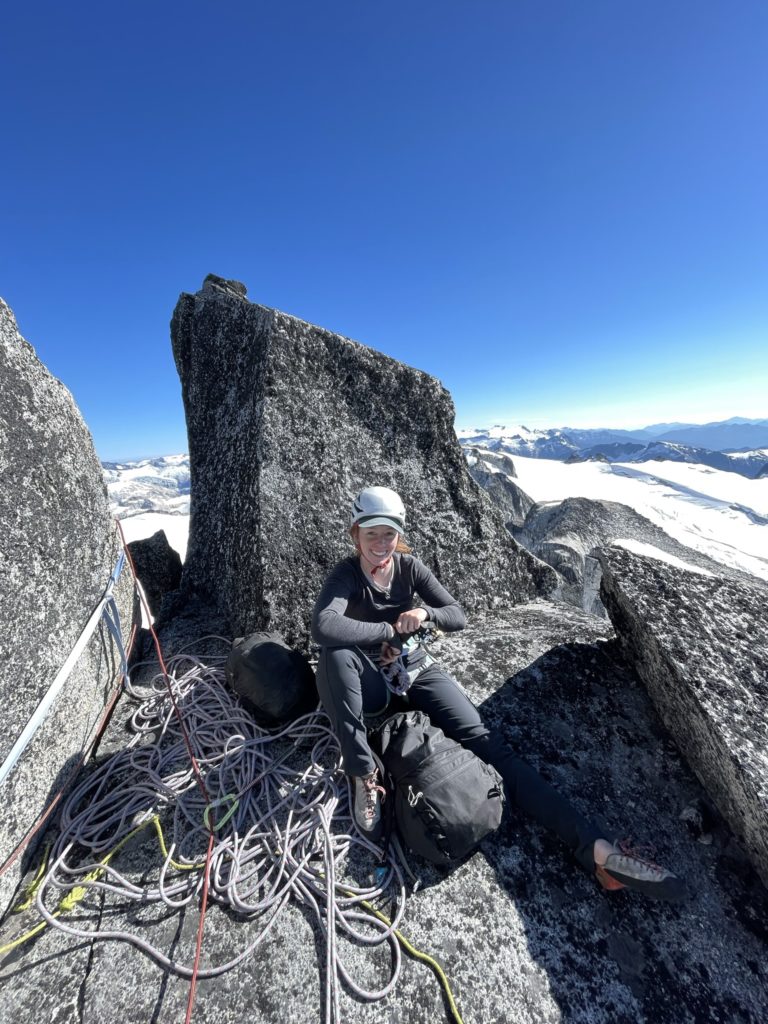
I paused at the ledge to take some photos of the amazing positioning and then pulled off the rock above and onto the slabs. Then it’s an easy ascent up four more meters to the summit tower. On the tower itself are two large boulders higher than the belay area and they must be climbed to claim the true summit. But first, I belayed Andrea up sharing the stoke with her as she seconded up the route. Andrea wasted no time putting me on belay at the top and I mantled the summit boulder with relative ease.

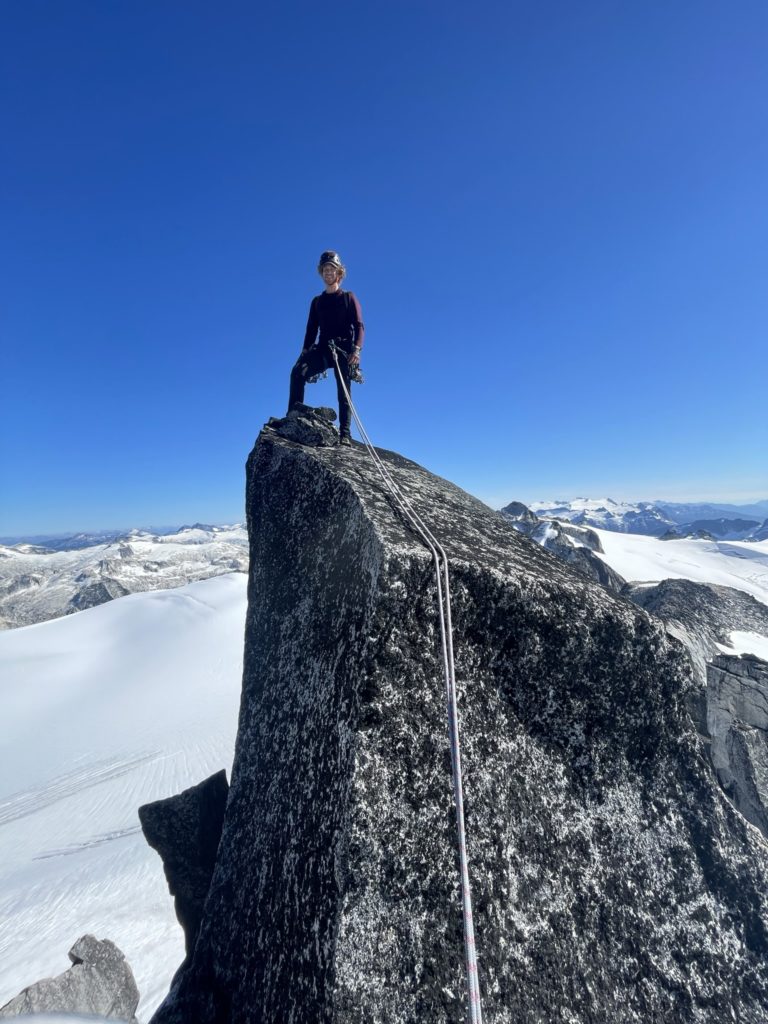
And so, there it was, on a 100m granite spire shooting vertically out of the Sphinx and Cheakamus Glaciers, the moment I had dreamt of. A year before, this was just a for-long idea and now combining all I had learned in the last few months I was able to send a surreal alpine climb like Phyllis’s Engine. Just three months earlier, I did my first crack climb and now to be applying that in such a commanding setting was really a life highlight for me. After the internal reflection, I returned to the base of the summit boulder and belayed Andrea up for her summit top out as well.
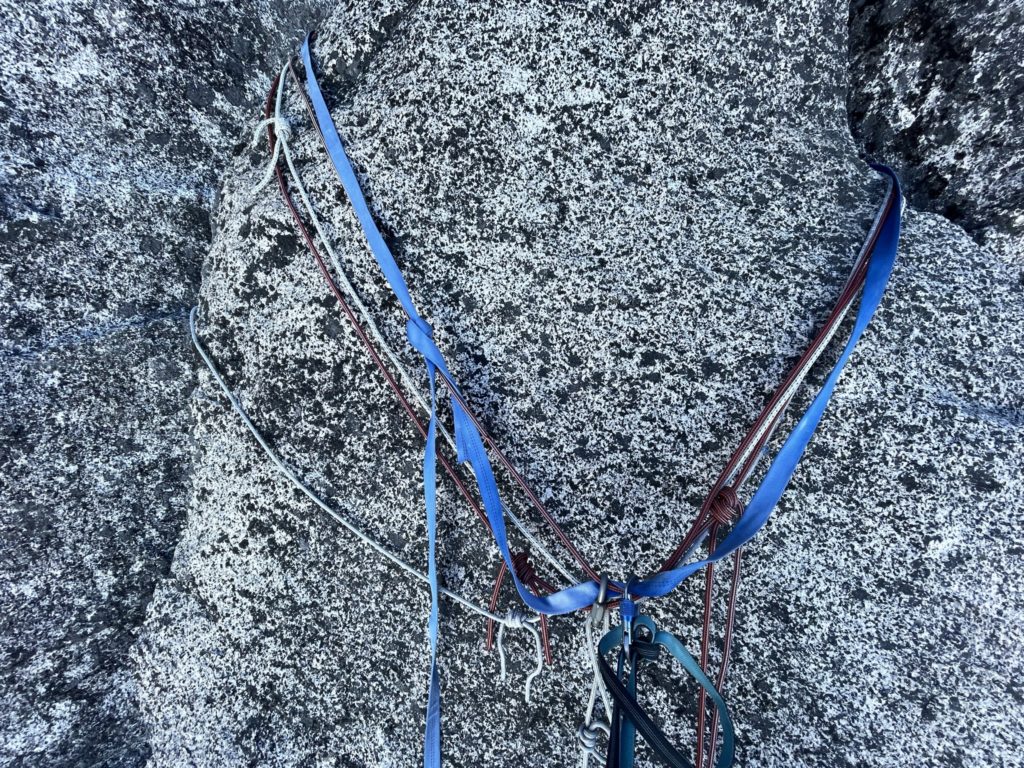
Sadly, there wasn’t much time to waste on the summit as the day was really getting on now. We still had a massive descent ahead of us and so we got to work setting up rappel. Most of the rappel tat was looking aged on the summit block, so I slung a new cord around and then Andrea flaked and tossed the rope. I had read on several reports that this rappel route can snag and hang up ropes very easily. It was a major concern on the front of my mind as there’s no easy way to retrieve stuck ropes on a route like this. We’d have to just cross that bridge when it came though.
Andrea rapped to the bottom and quickly discovered our 60m rope wouldn’t reach the next rappel station. That’s when we realized those nuts at the top of pitch two were most likely the next rappel station. So the correct order would have been to rappel the summit block 10m to the top of pitch two and then a 60m rope would reach the next station no problem. Too late for us now though. Andrea landed somewhere on the ledge above the pitch two rappel station and slung a block for us to do an intermediary rappel off of. I followed down and then we had to figure out how to reach the next rap station. It’s a pretty involved, albeit short, down climb, so we decided to go on belay and lower one another of a bail biner.

Once we reached the second rappel station, below pitch two, I added new webbing to the block and then we rappelled down to base of pitch one. This time, thankfully the rope made it. At the bottom we pulled the rope and just like the first rappel, held our breath to see if it would get stuck. When the rope end made resounding whip next to us, we let out a sigh of relief. Now at the base of pitch one we were faced with that low 5th class terrain to down climb, which had a lot of shitty loose rock where you didn’t want it. I spotted a nice horn a few meters over from where we landed and decided to sacrifice another length of cord and a rap ring to bypass the crappy terrain.
Andrea rappelled first and then me and that finally concluded our descent on Phyllis’s Engine. We roped up for the glacier and Andrea lead us back through our original line to the safety of the glacier bed rock near Polemonium Ridge. Once on the slabs we bypassed a few sections on snow, as it as softer and walkable now, saving us a bit of time. From there we reversed our route back up the ridge and finally to camp. By now, the sun was just 15-20 minutes from setting and that meant we’d be descending in the dark for sure. We briefly considered an unplanned stay over, but we’d run out of food for the day and no one was keen to push 19+ km on an empty stomach the following morning.

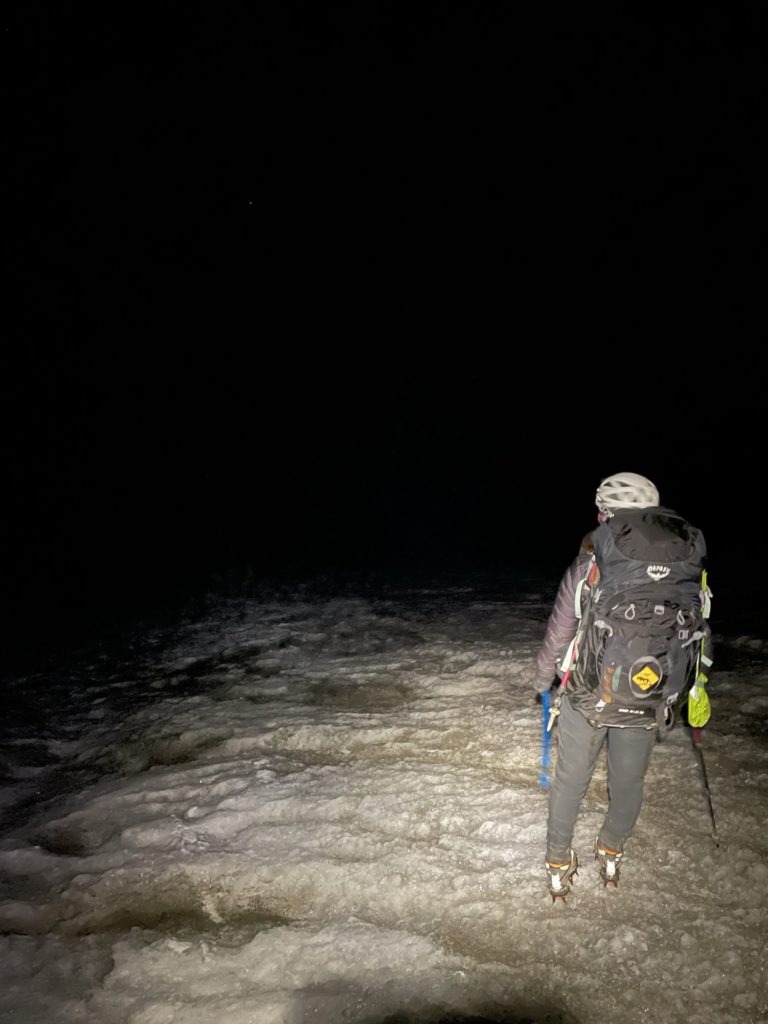
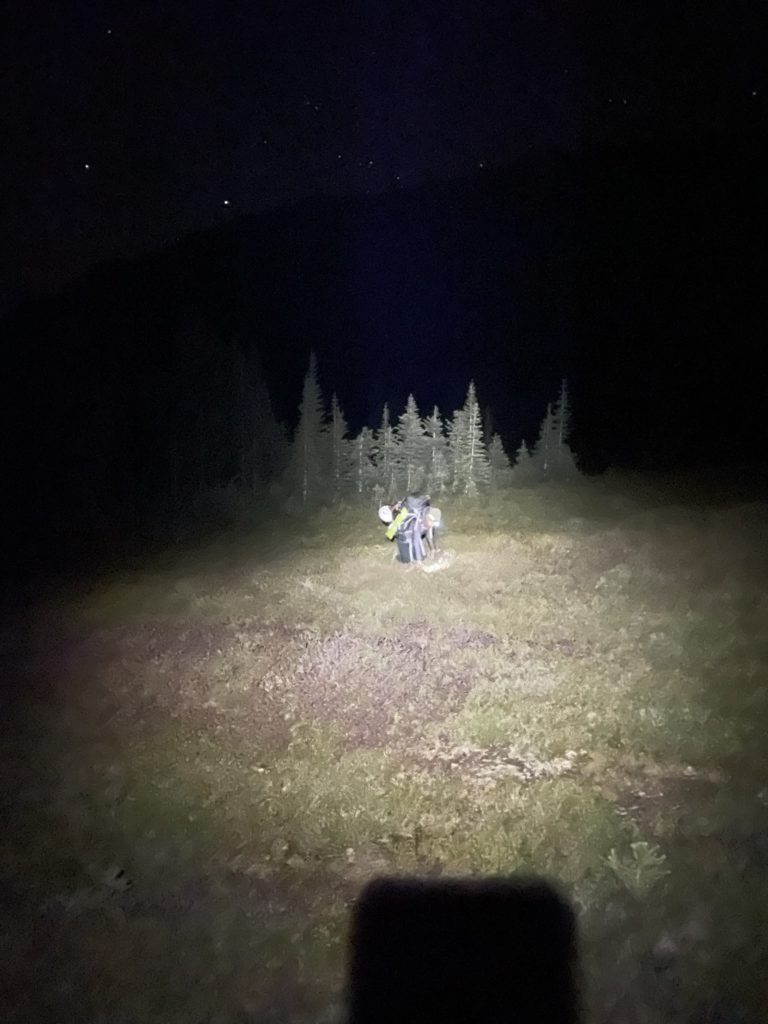
With that, we tore down the camp site and packed up. It initially felt backwards tearing the tent down as it’s getting dark, but I was very much attached to the idea of being home for the morning now. The descent and re-ascent up Gentian Pass was not much to speak of, but head lamps had to come out just before reaching the bottom. Once we reached the top of Gentian Ridge, things got interesting.
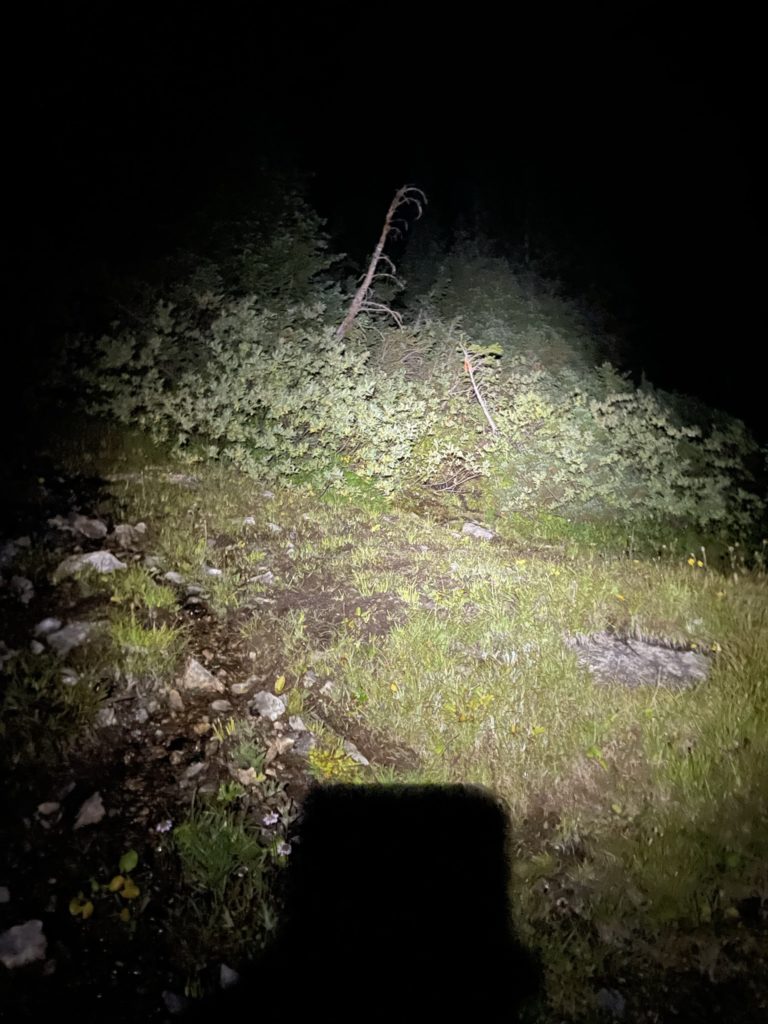
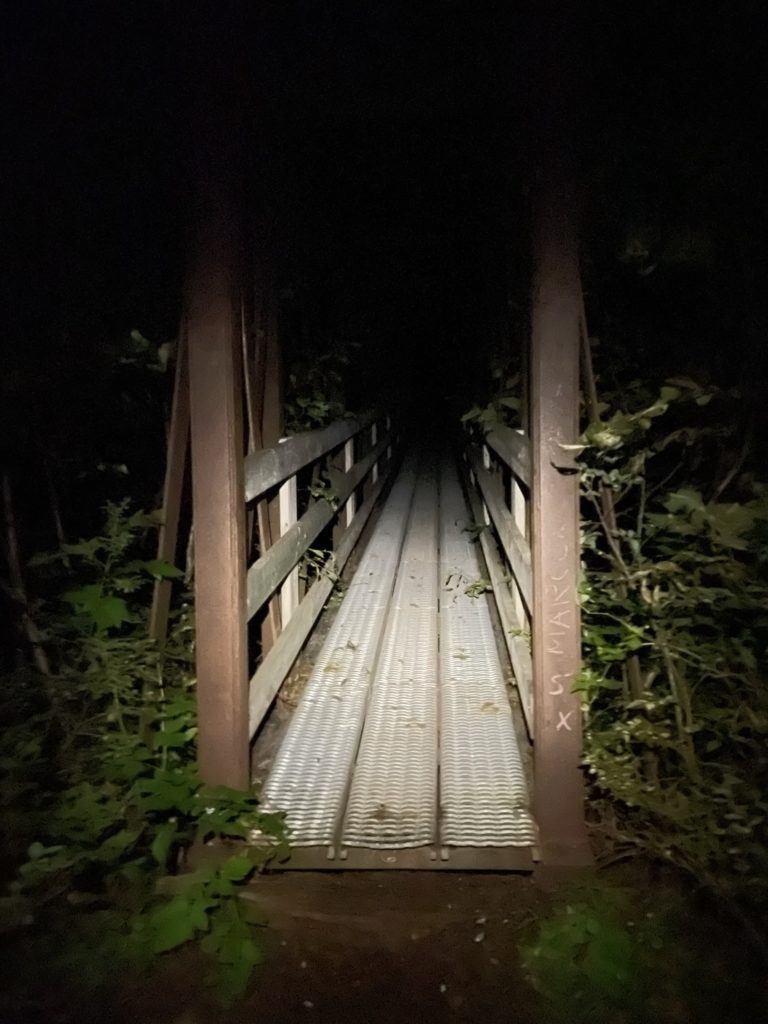
The night was pitch black and now we were faced with descending the Helm Glacier in a total abyss. The only saving grace was that we knew the glacier is relatively safe and we had a good idea of the route we took up the previous day. With head lamps on, we headed into the void. Each step produced a distinct crackle of ice and snow and the landscape felt totally alien. After an eerie kilometer of glacier traverse, we reached the safe haven of rock again. With all of technical difficulties out of the way, we just had to go on auto-pilot to return. The route back to the Helm Creek trail was unforgivably long and boring. Neither of us remembered the traverse beyond the glacier being so far, but perhaps with the bulk of the day behind us now it was just in our heads.
At long last we reached the main trail and then we slogged our way back to the truck, finally returning around 4am. A total of 19 hours on the move, my longest day yet. On the bright side, the return to Vancouver was a cruise with no traffic and we finally crashed at home around 6am.
This was an epic adventure to say the least and Phyllis’s Engine was the full-on ascent I was looking for to cap off the alpine season. If you’re strictly a climber, the prospect of 21km on approach with gear is probably not a great one. I think to enjoy a summit like this, you’ll want to be someone who takes joy in the whole process as there’s no doubt an element of suffering to reach the top.
Gear Notes:
- Doubles of BD #0.4 to #3; singles of #0.3 and #4, DMM Wallnuts #1 to #6
- Twin 8mm x 60m rope
- 4m cord, 5m cord, 4m webbing, 4 rappel rings and double length sling to bail
- Glacier rescue kit (prusik + traxion), no snow pickets though
Bringing a double rack ended up being extremely useful. Pitch one ate doubles in #1 while pitch two I used both #0.75 and finally above all else pitch three I used both #3s to great effect. The #4 came in handy on pitch one, but not strictly necessary to have. The double rope worked great, however you can’t rappel directly from the summit block to the next rappel station with a 60m. Rappel to the nuts directly above pitch two or bring a 70m rope instead.
A very good report. Well done, buddy👍
Very well written and great photos too.
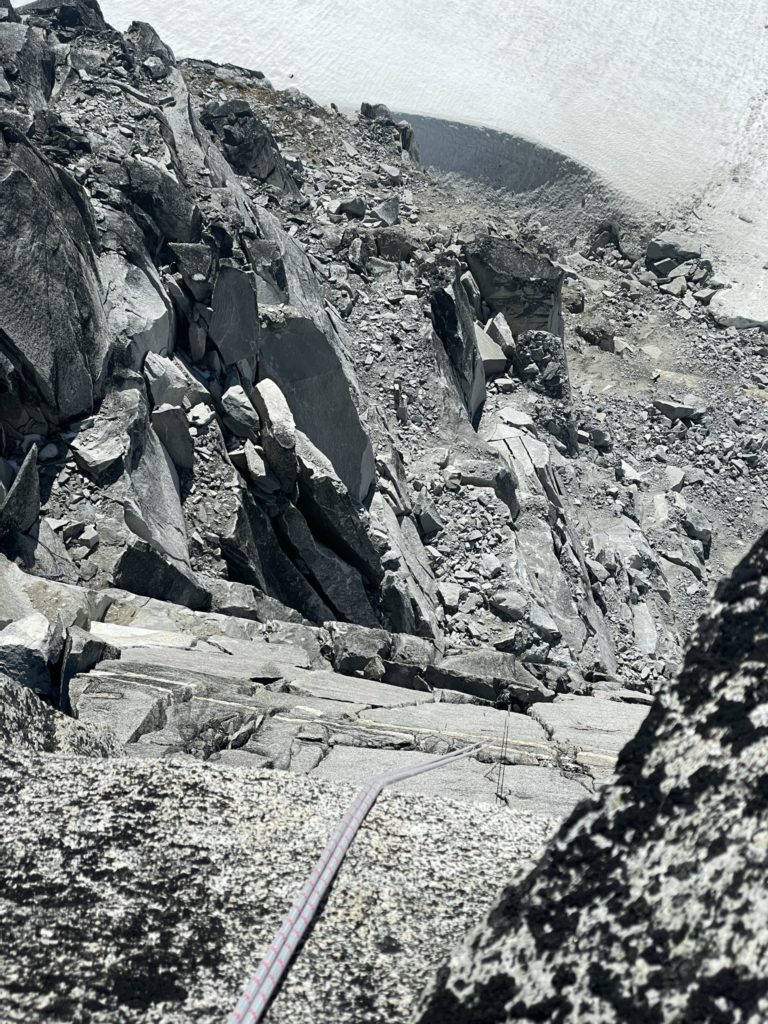
Dang! Didja notice the rock was especially crisp and sharp? Looks like the corner you climbed up has been obliterated by a tower collapse in the last couple years! 😐
Oh very interesting, now I’m curious to know what the route would have looked like previously!
Fantastic report and photos, thank you!
Hi – I am Claudia‘s cousin and accessed your site from her Christmas letter which I have just read. I picked a random summit climb and came up with this one – I am SO impressed! I was fascinated by your technical descriptions, even though I’m not a climber. Your photographs are gorgeous – thanks for the “experience,” and hi to Andrea!