Elevation Gain: 1,334m
Distance: 14.2km
Total Time: 13 hours 41 minutes
Date: August 28th, 2022
Before heading into Washington for a long weekend, Andrea and I had been searching around for fun alpine objectives to take on. We first settled on doing a few summits in the Washington Pass group, but then decided we should search a bit farther to see if there’s any other cool areas worth looking it. Andrea was tasked with finding something for us on Sunday that was outside of the Liberty Bell/Washington Pass area. That’s when Vesper Peak came up. While the East face is a simple class 2 scramble, the North face offers over 300m of clean diorite rock with several developed alpine routes. One route in particular is highly regarded: Ragged Edges. It goes at 5.7 across 6 pitches and provides amazing positioning above a high alpine lake and impressive steep face.
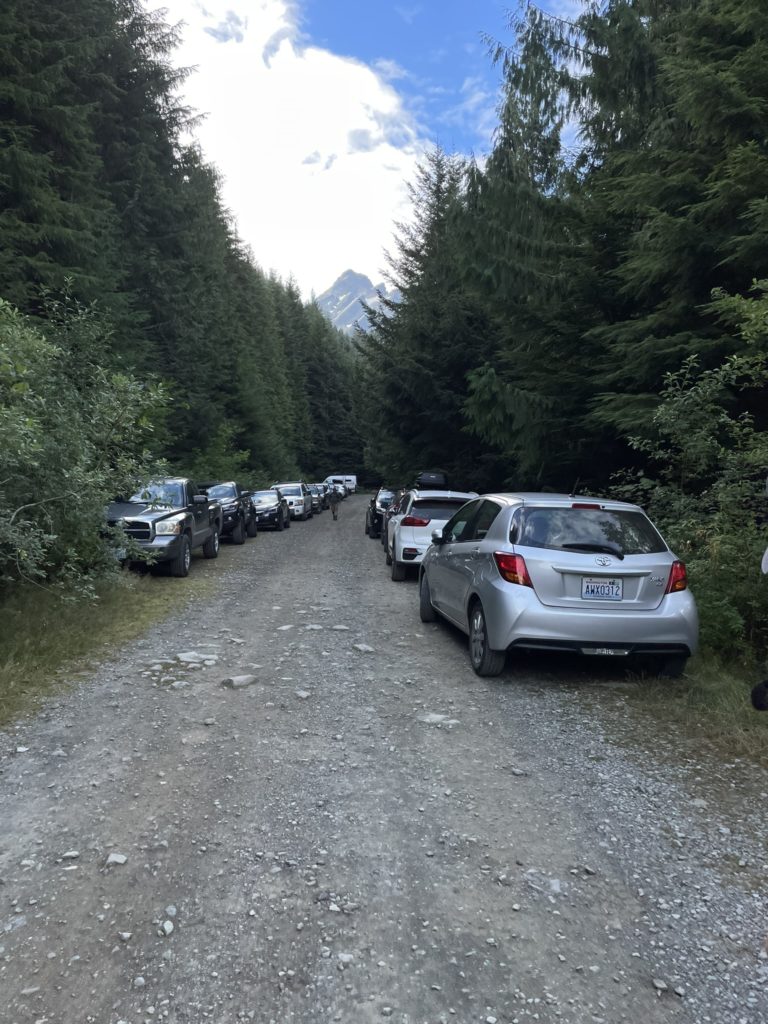
Unfortunately, when we left for Washington Friday morning, the forecast was for rain all weekend in that area; so it was a no go. After climbing Liberty Bell on Friday, we decided to check the weather one more time the following morning. Sure enough, sun in the forecast all day over Vesper! Both of us were keen on some variety so we came up with a new plan to check it out. Weather in most places Saturday was for rain so we went to hang out in nearby Winthrop and then sport climb in Mazama. Then we drove ~4 hours to the trail head of Vesper and car camped for the night. We thought an early start might be necessary, but ended up sleeping in when the clouds were still hanging over the nearby peaks.
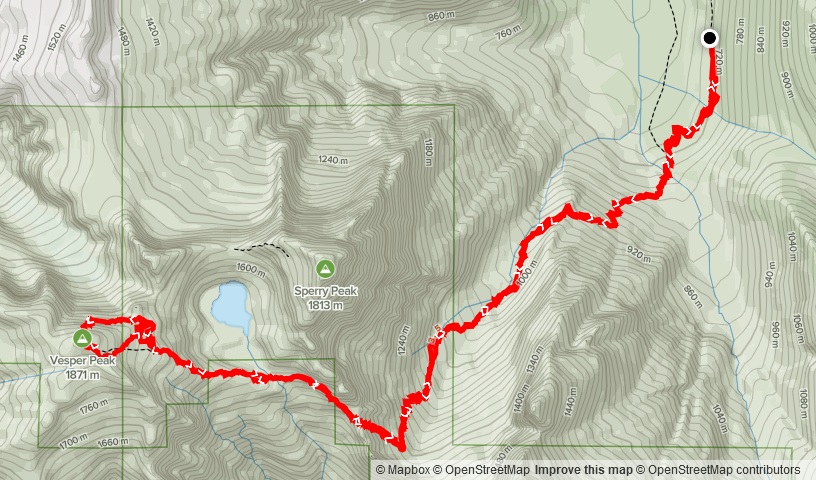
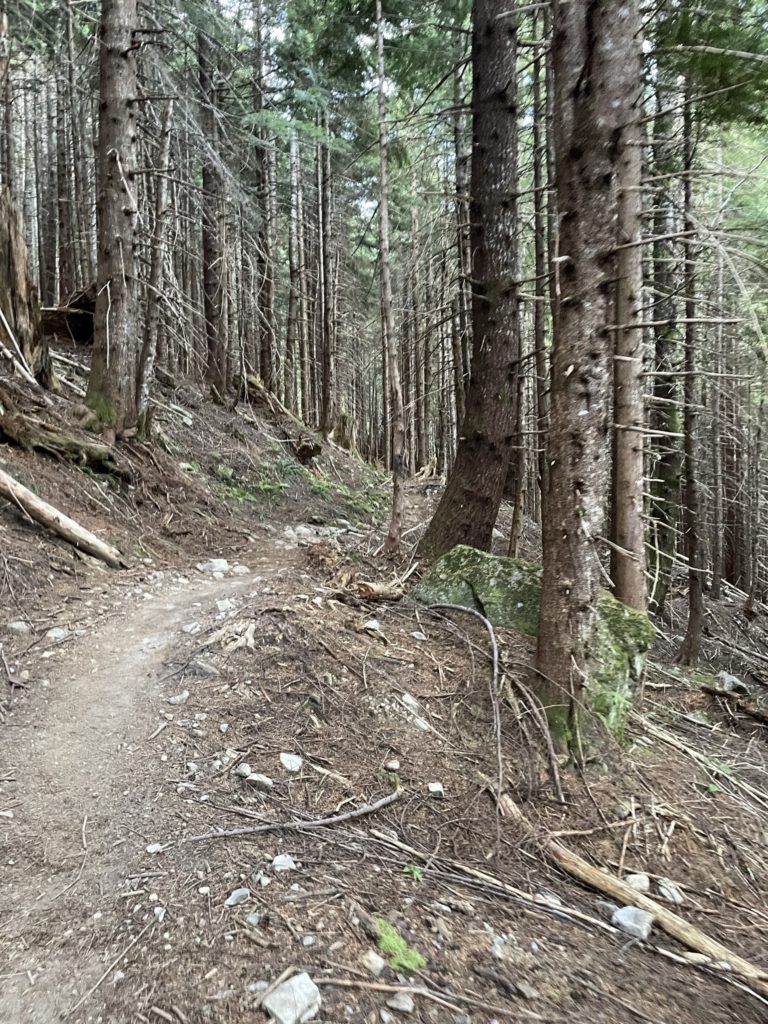
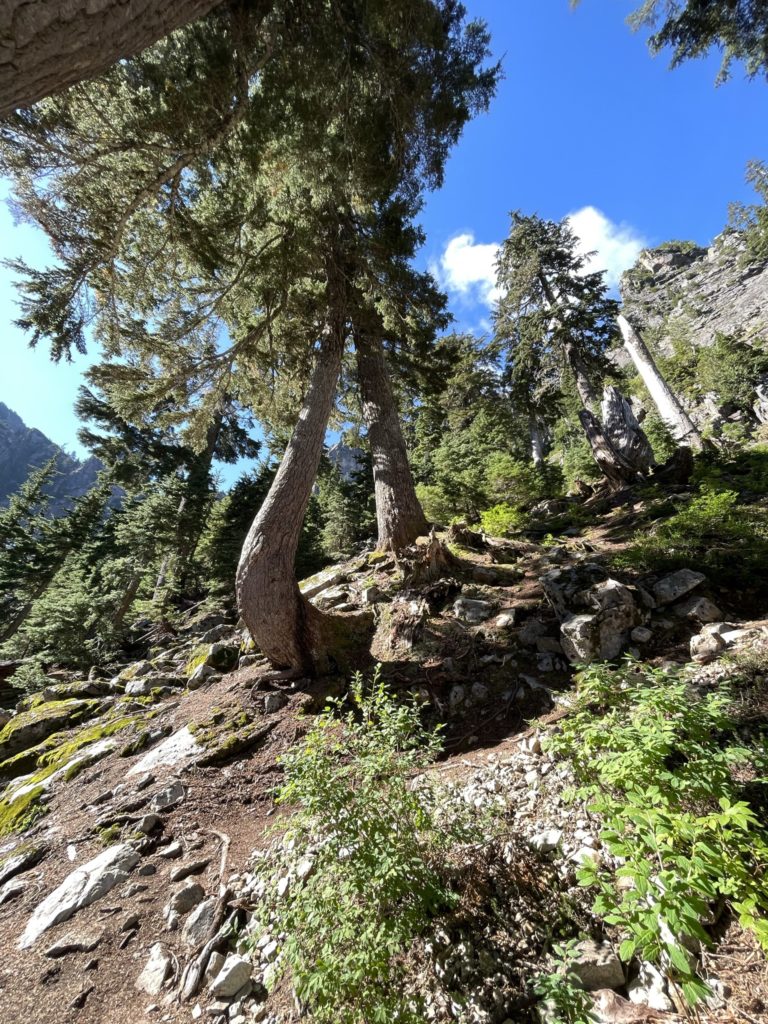
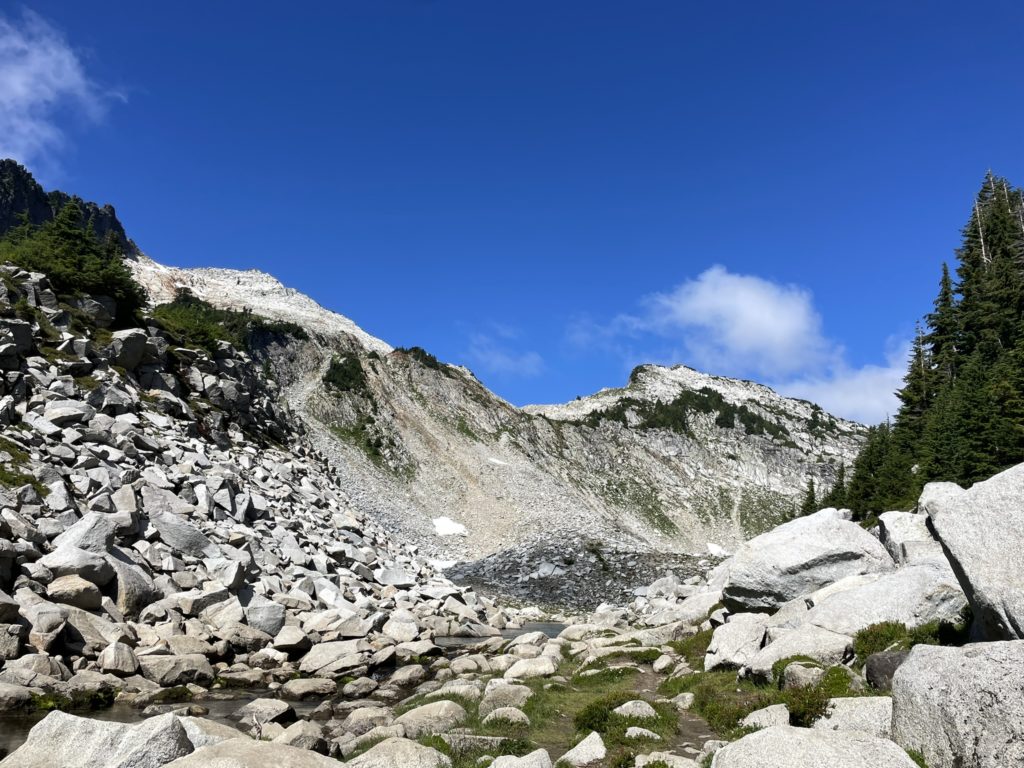
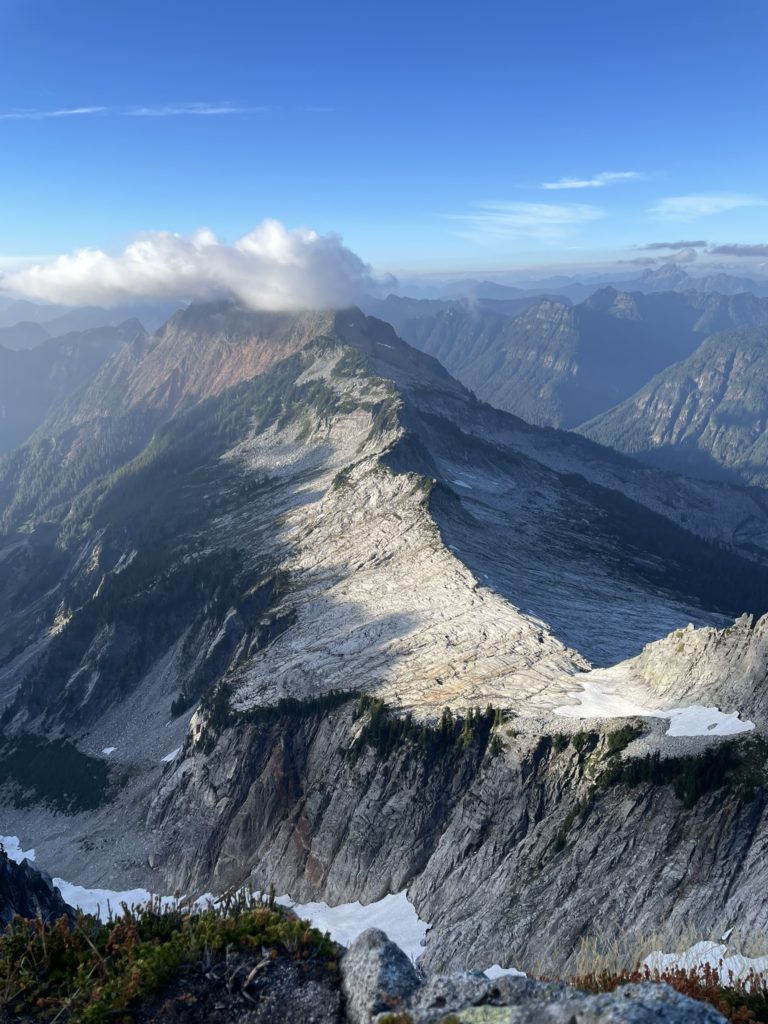
We got going around 9am and made our way down the smooth worn path of the Sunrise Mine trail. The route initially lead us up through a slide path and then into a shaded hanging valley. All above us stood high rocky spires giving the impression that we were entering nature’s fortress. As we walked to the southern end, aiming for a key gully, we found numerous salmon and huckle berry plants and ate as many as we could grab mid-walk. The air was exceptionally calm and still and it made the approach peaceful and fast. Finally we reached the gully and zig zagged up an easy path all the way to a glacial outflow near the base of a small tarn.
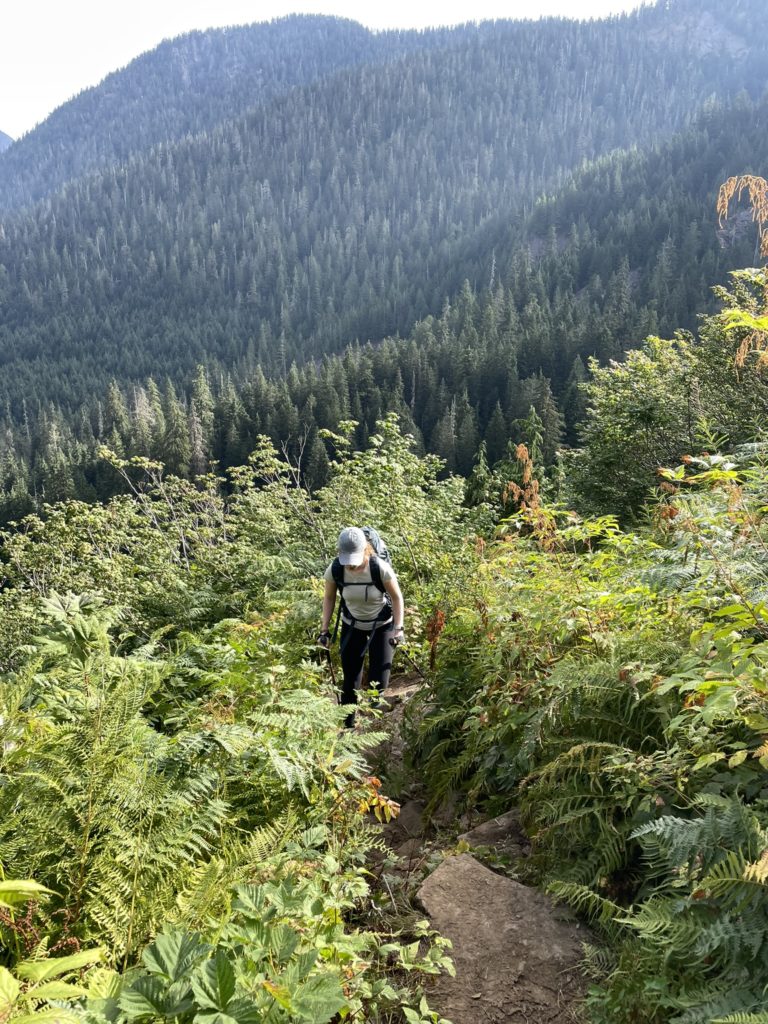


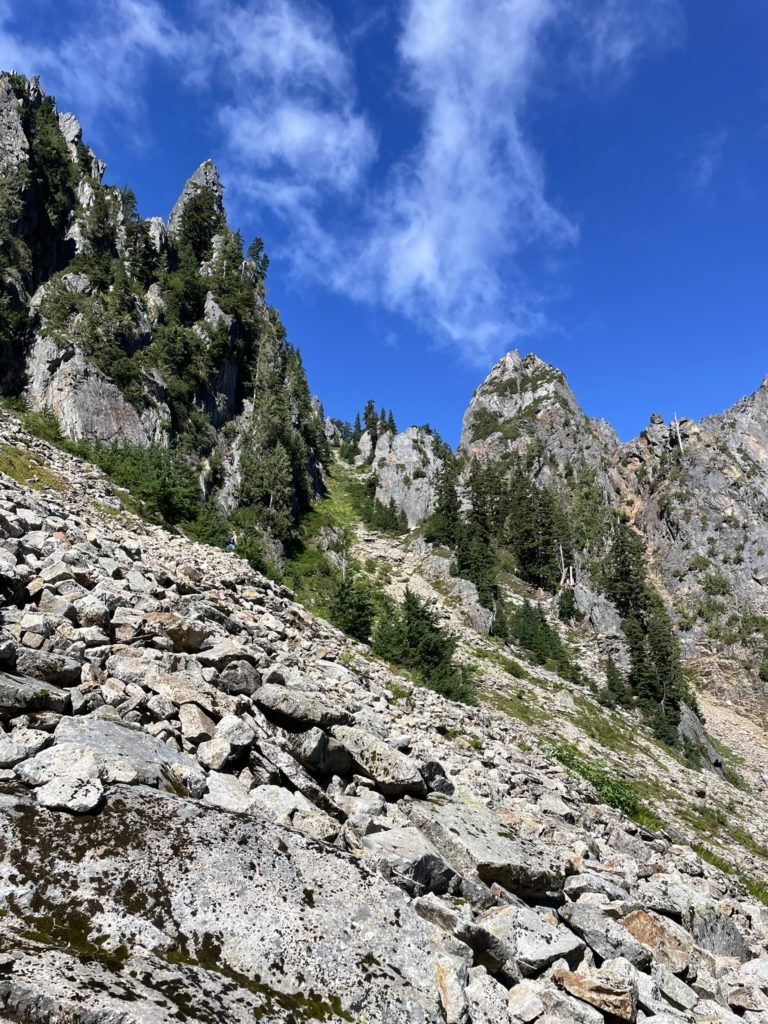
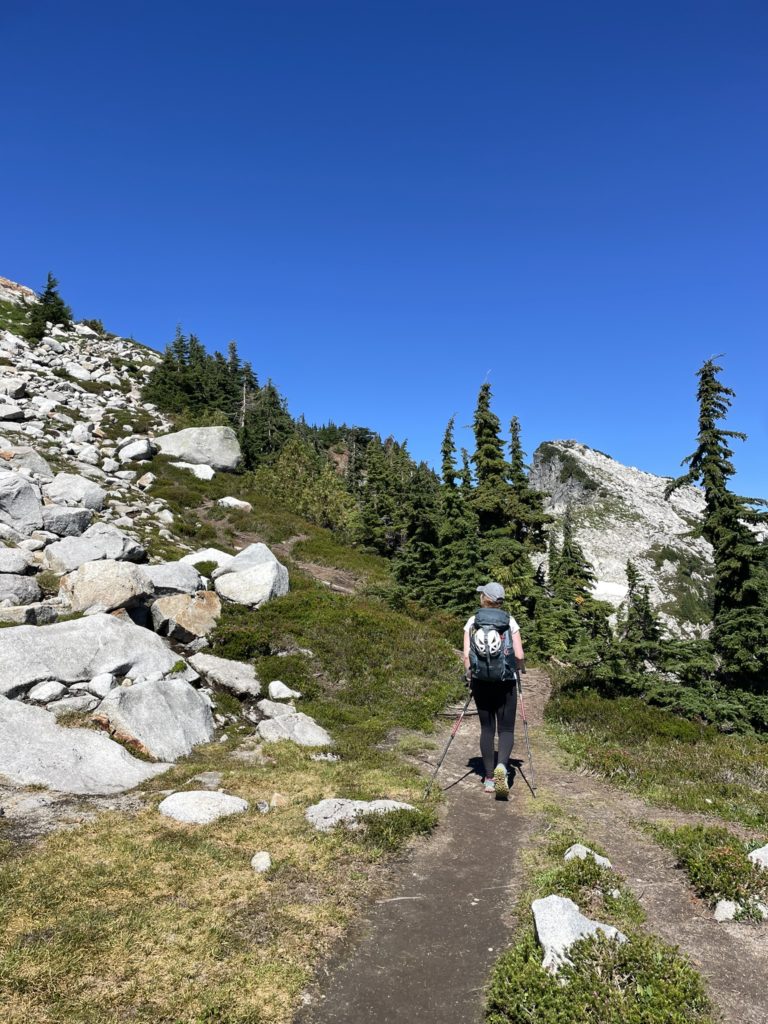
Now we had to sort out the actual approach to the climb. From our vantage we could see a hiker’s trail at climber’s left and then a gully of sorts that would take us to the col between “Wolf Peak” and Vesper Peak. Based on our beta, we knew that’s where we needed to be, but it wasn’t super clear which approach we should take. Finally, Andrea found a more definitive answer in an old forum post she saved offline and that confirmed we should continue on the hiking trail until ~1760m before traversing climber’s right.
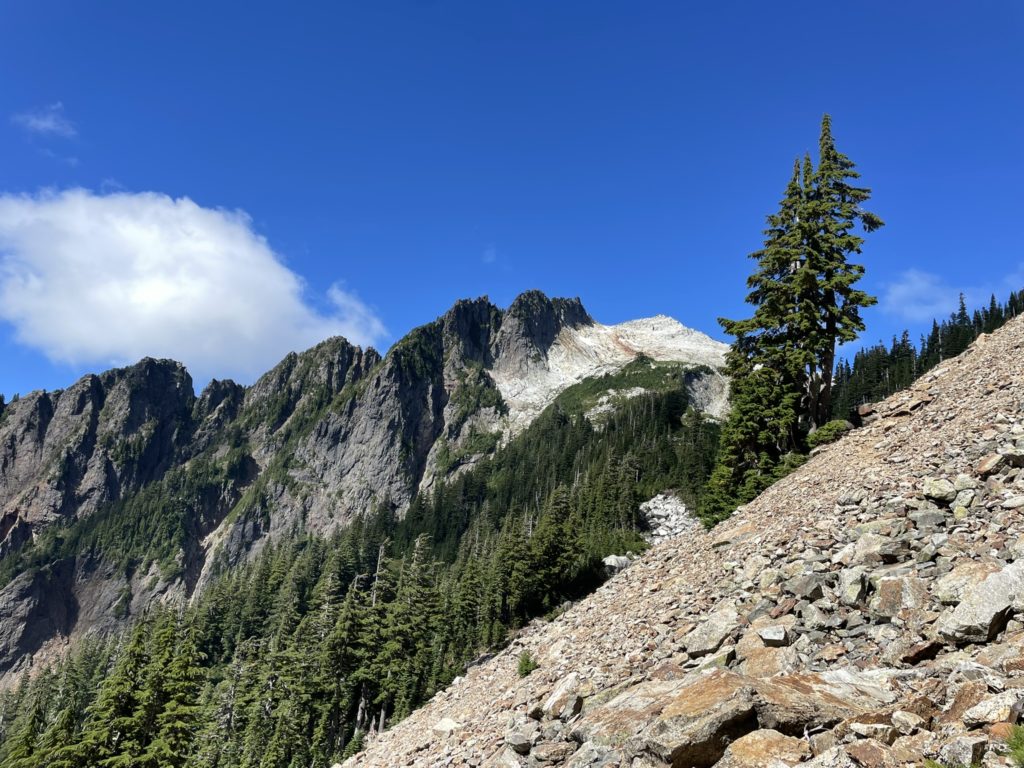
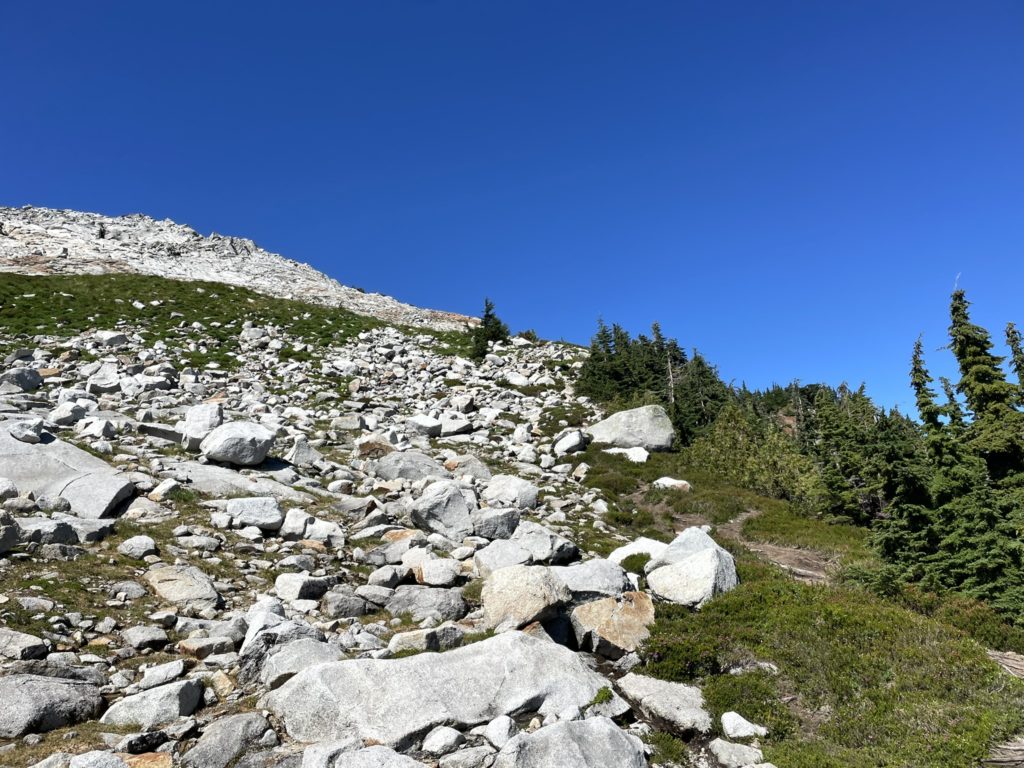
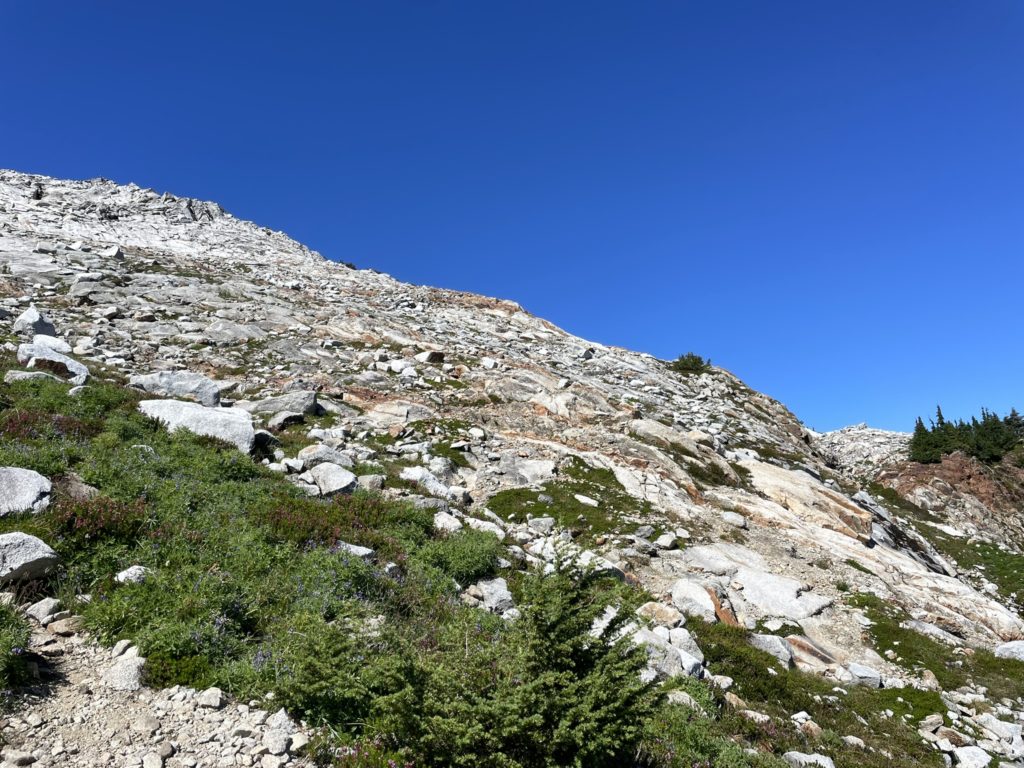
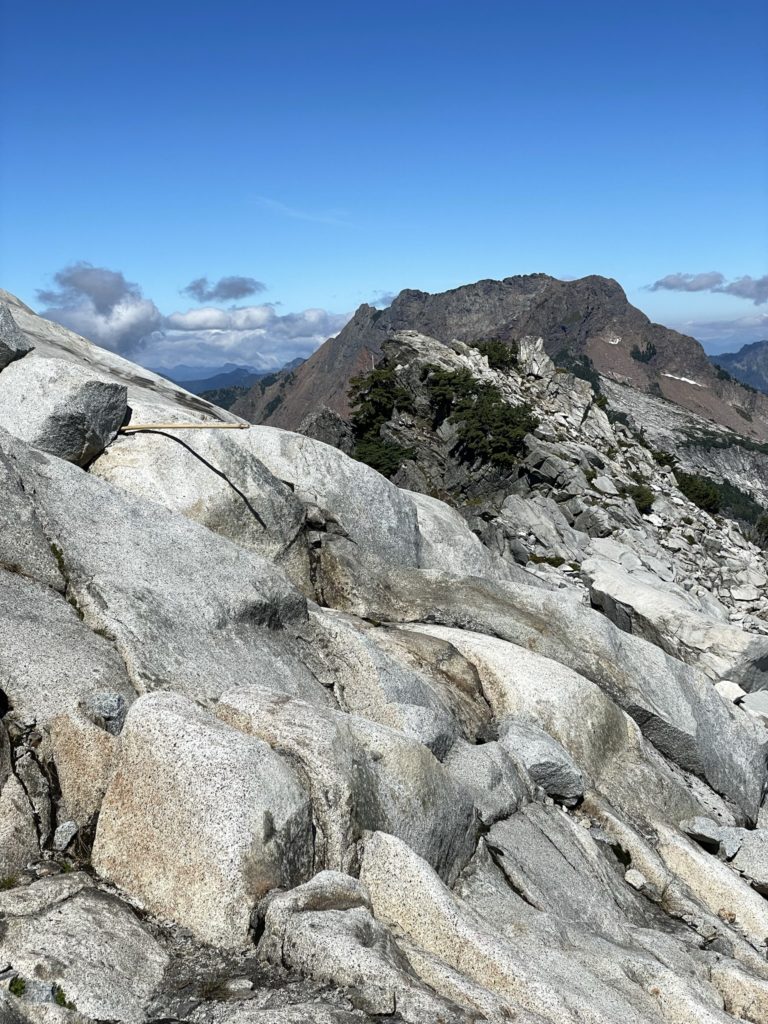
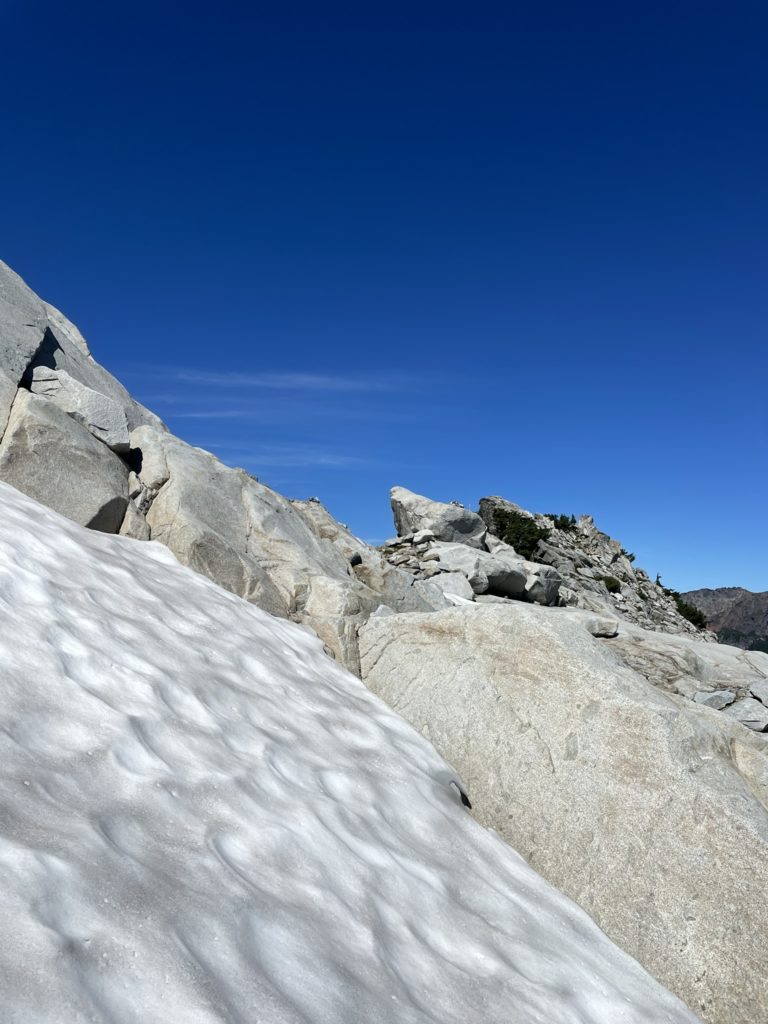
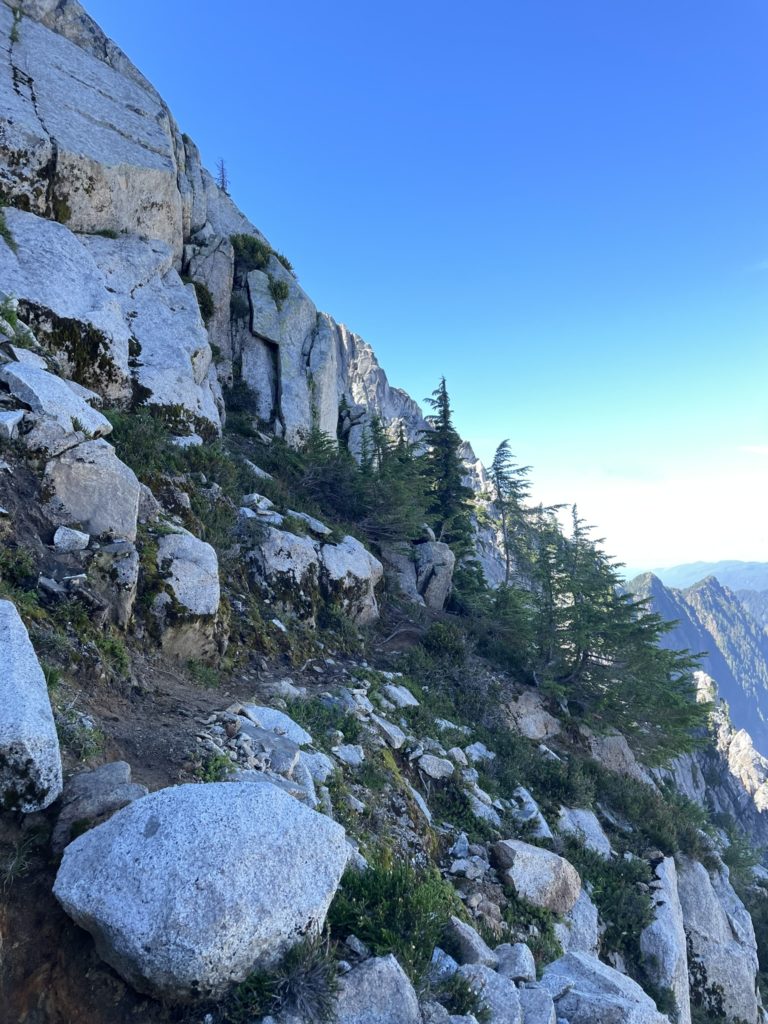
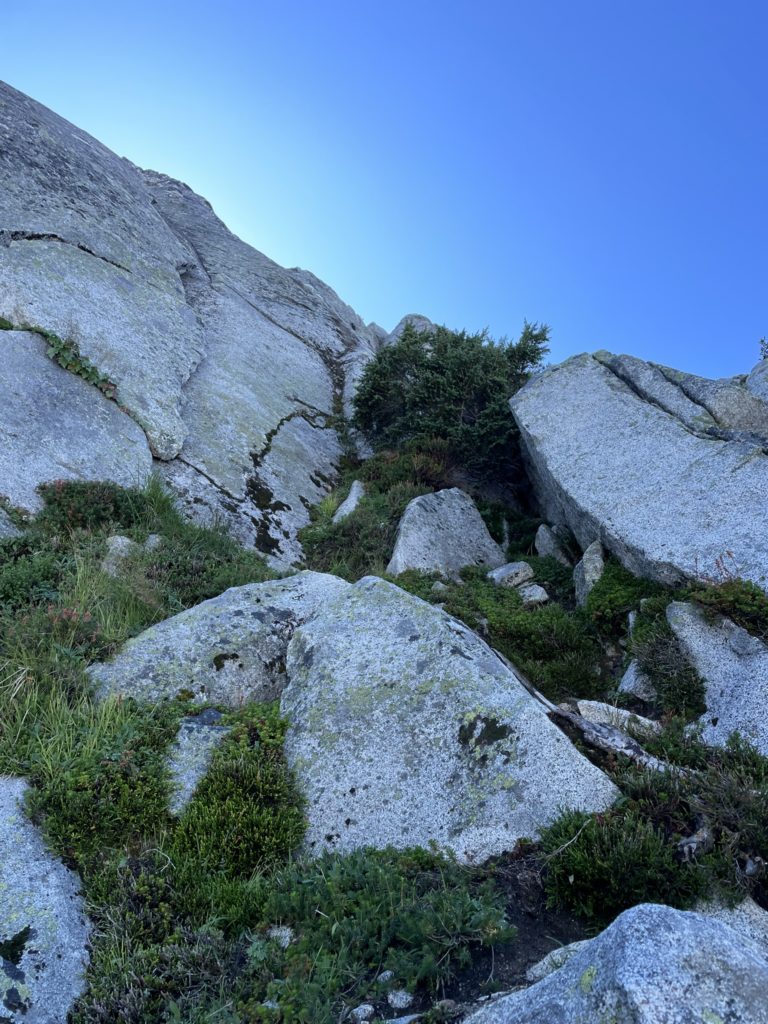
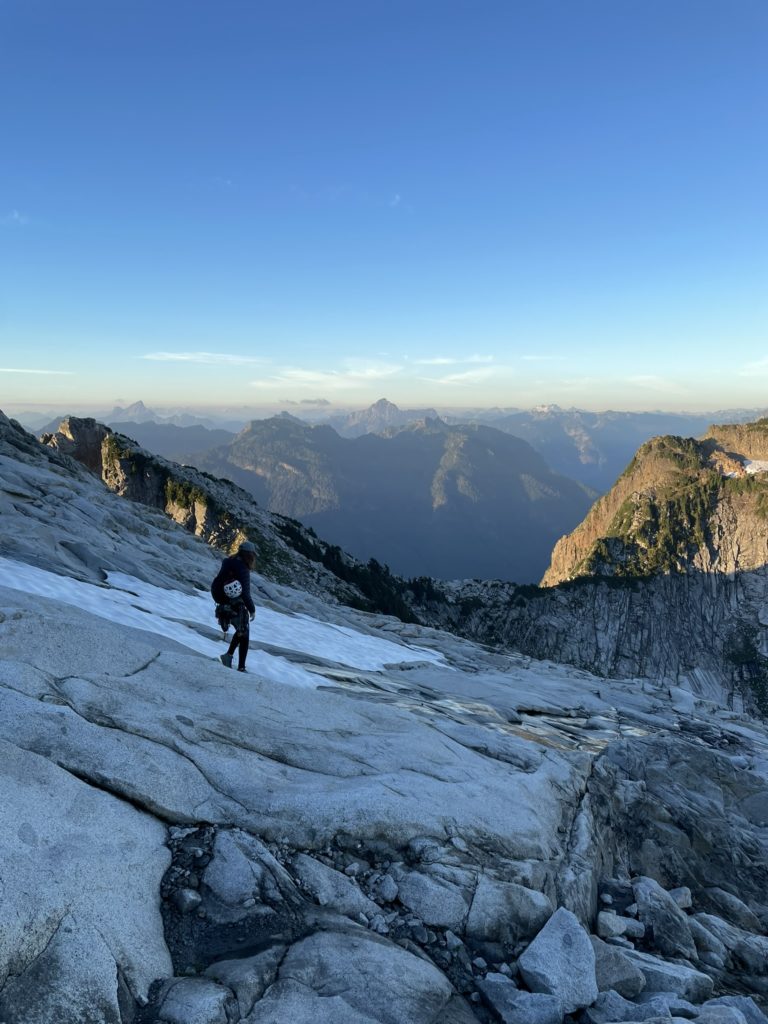
We climbed up through the last remainder of stunted alpine trees and then broke out on to the large diorite slabs below the summit. Once we reached our target elevation, we traversed climber’s right looking for a ramp down to the col. Sure enough, someone had place a large pole of sorts to mark the ramp and we followed that to the edge and successfully found the start of the climber’s approach.
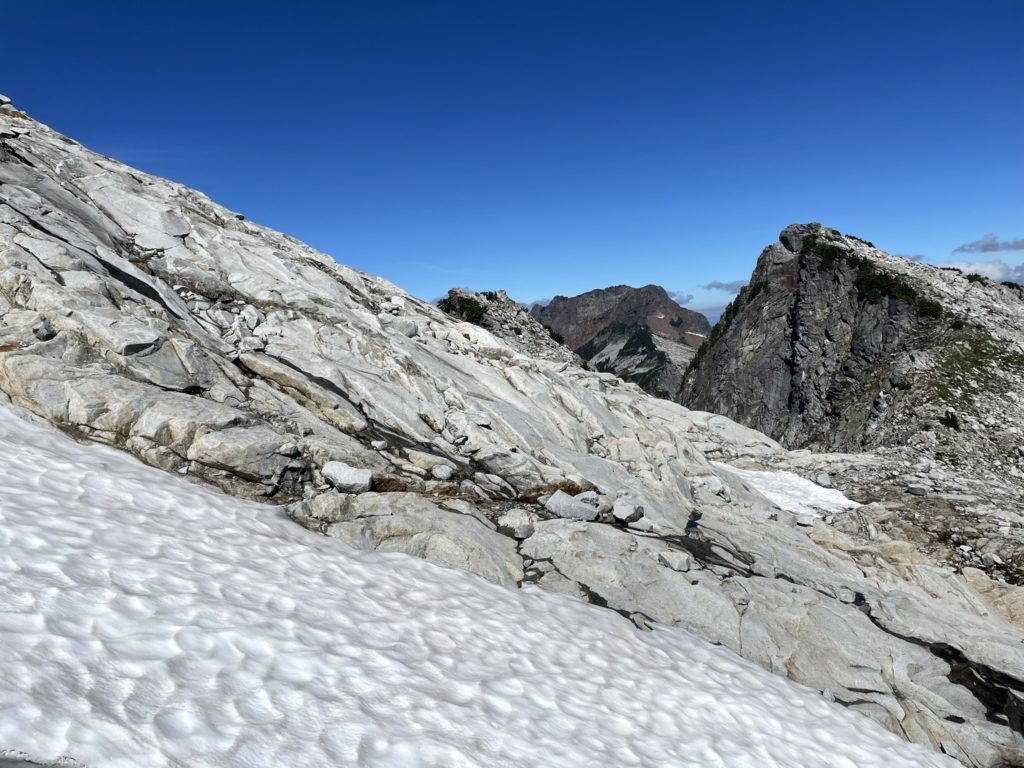
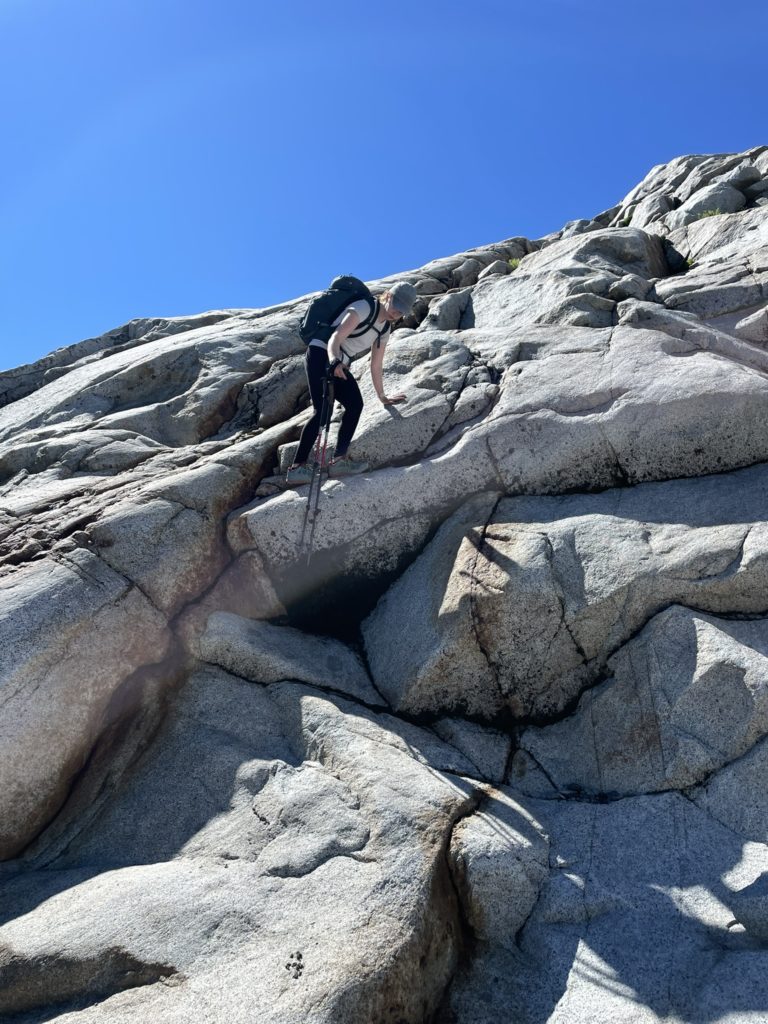
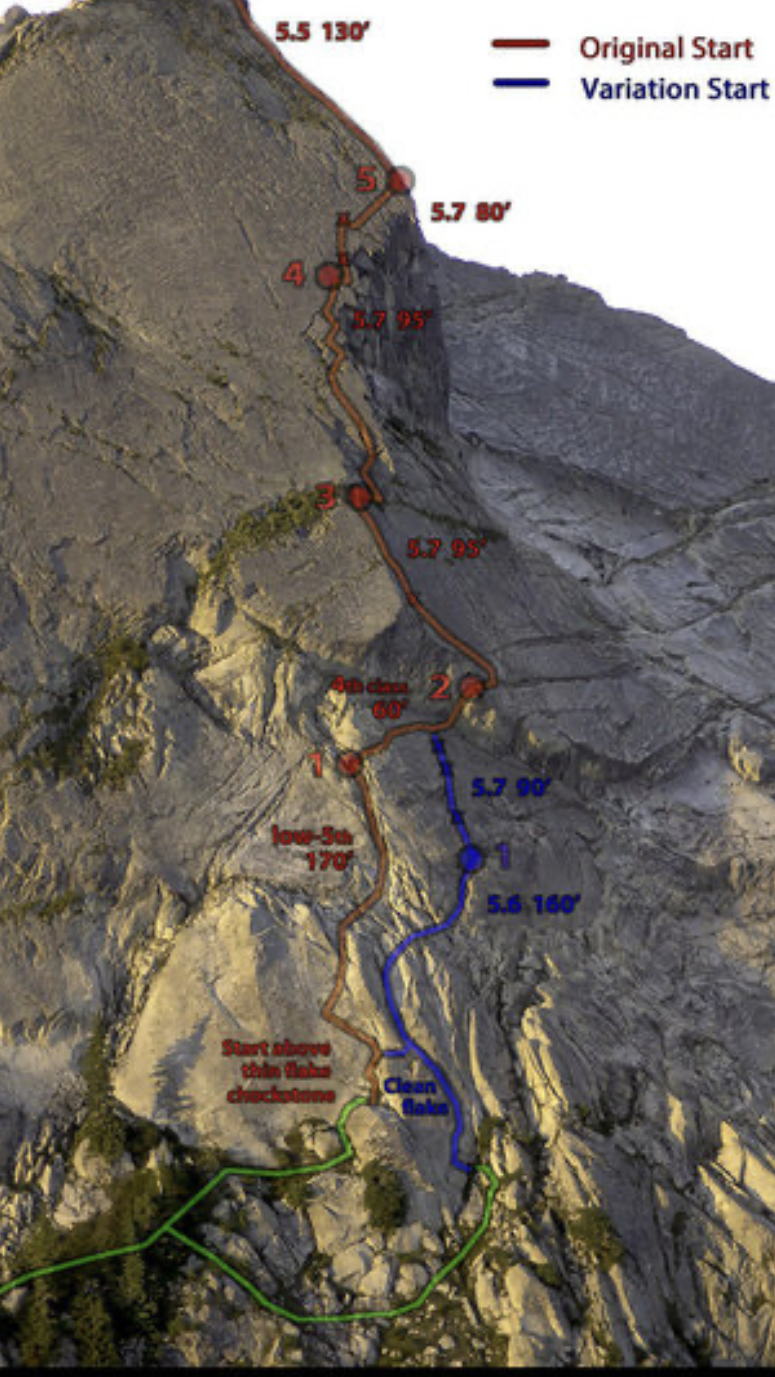
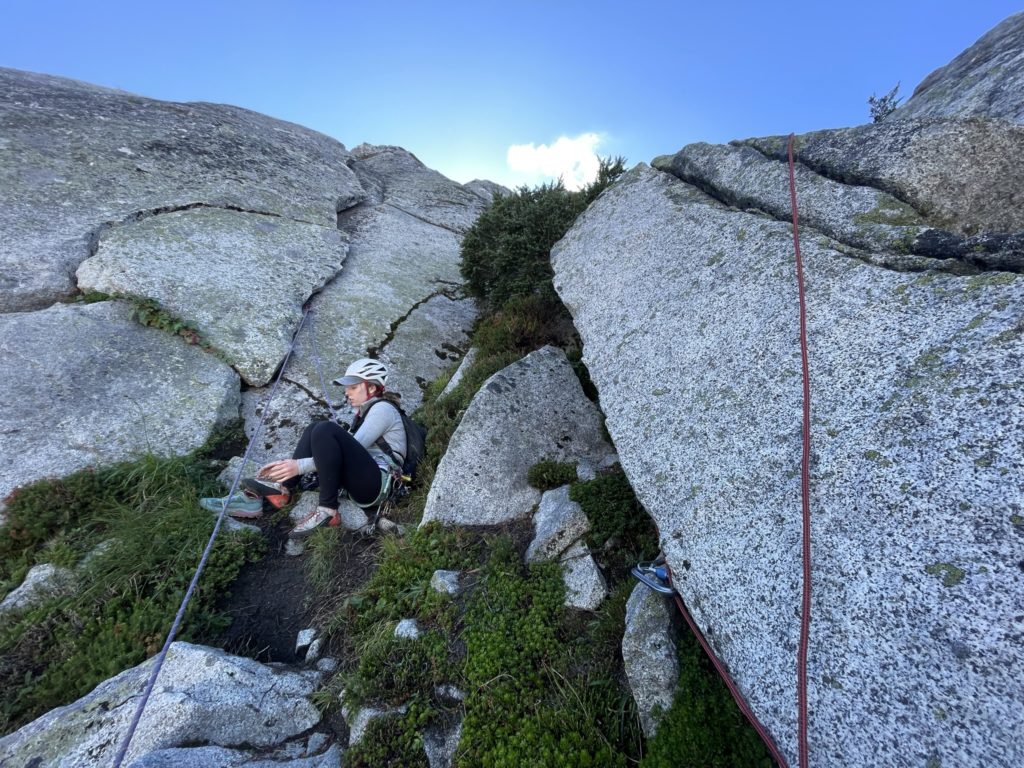
At the col we ditched our approach gear and brought only what we needed for the climb. From our vantage the exposed ramps to reach the climb looked a little intimidating, but as we got going on them we found it’s really only class 2 maybe 3 with some exposure. We traversed for about 220m before reaching the junction for our route. There’s two possible options at the junction. First was a low 5th class pitch that was easy to access but probably not very engaging. Second was a new route variation that provided a nice 5.6 pitch and link up to a 5.7 slab pitch above. We came here to climb so the new variation it was!
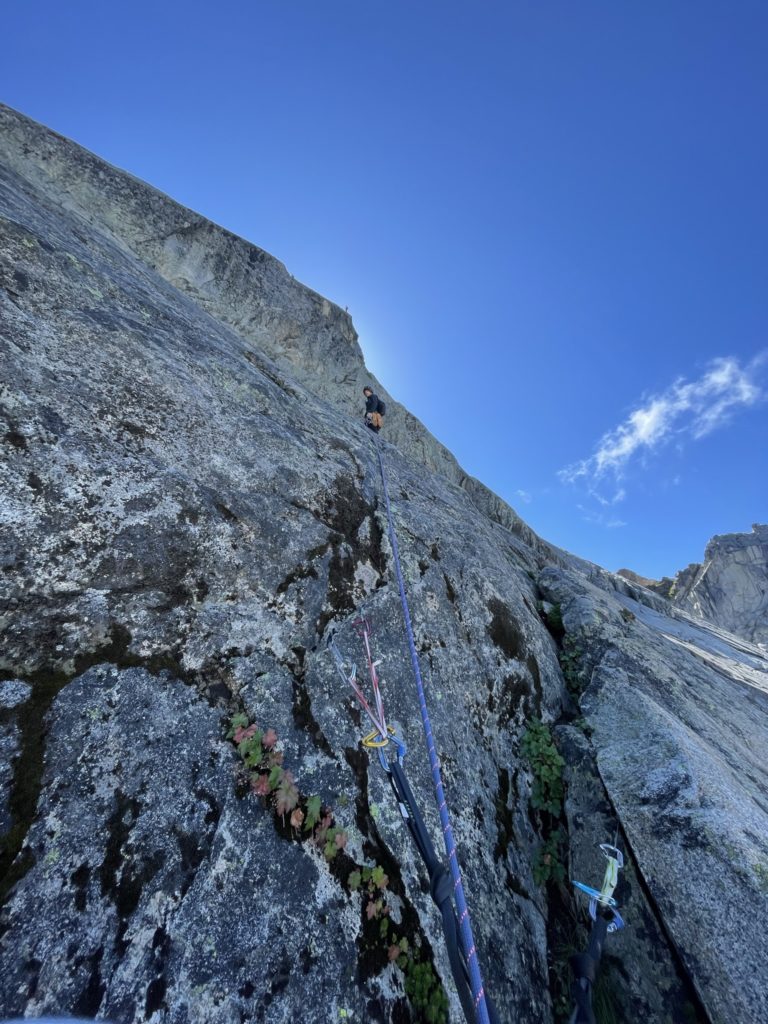
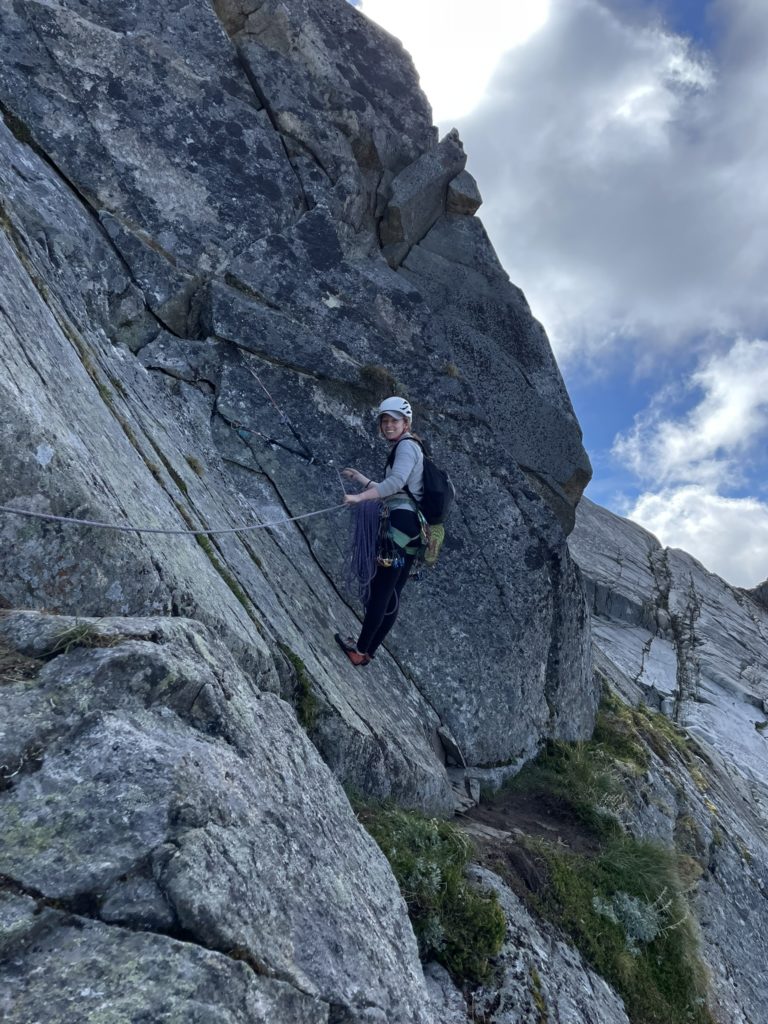
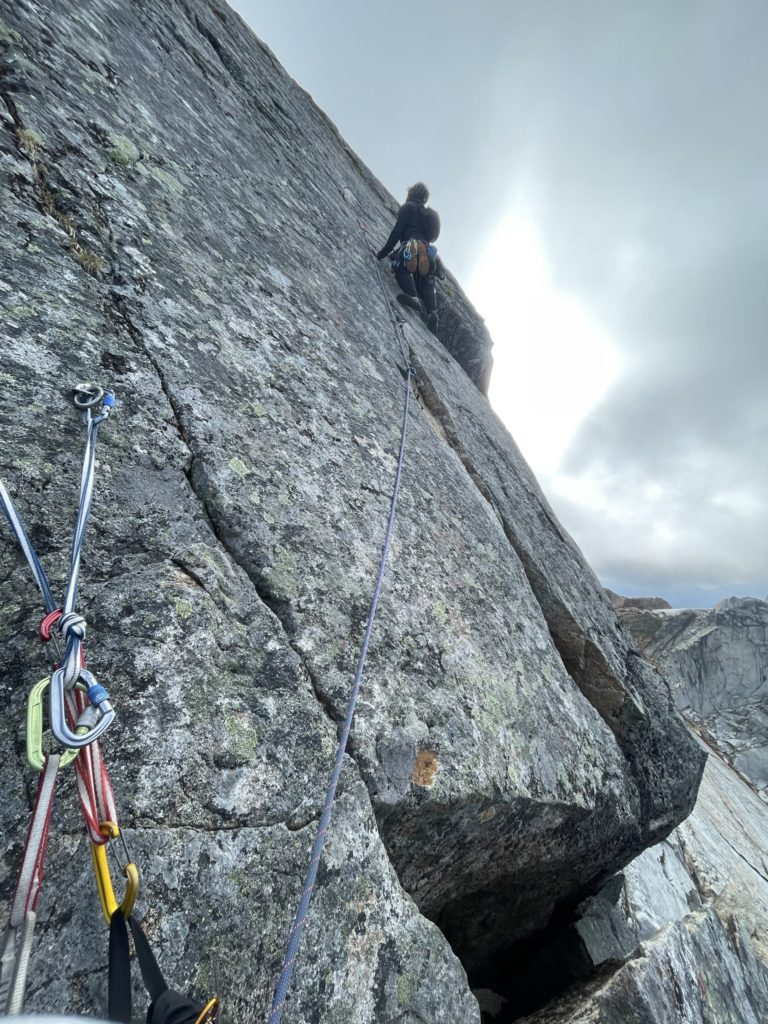
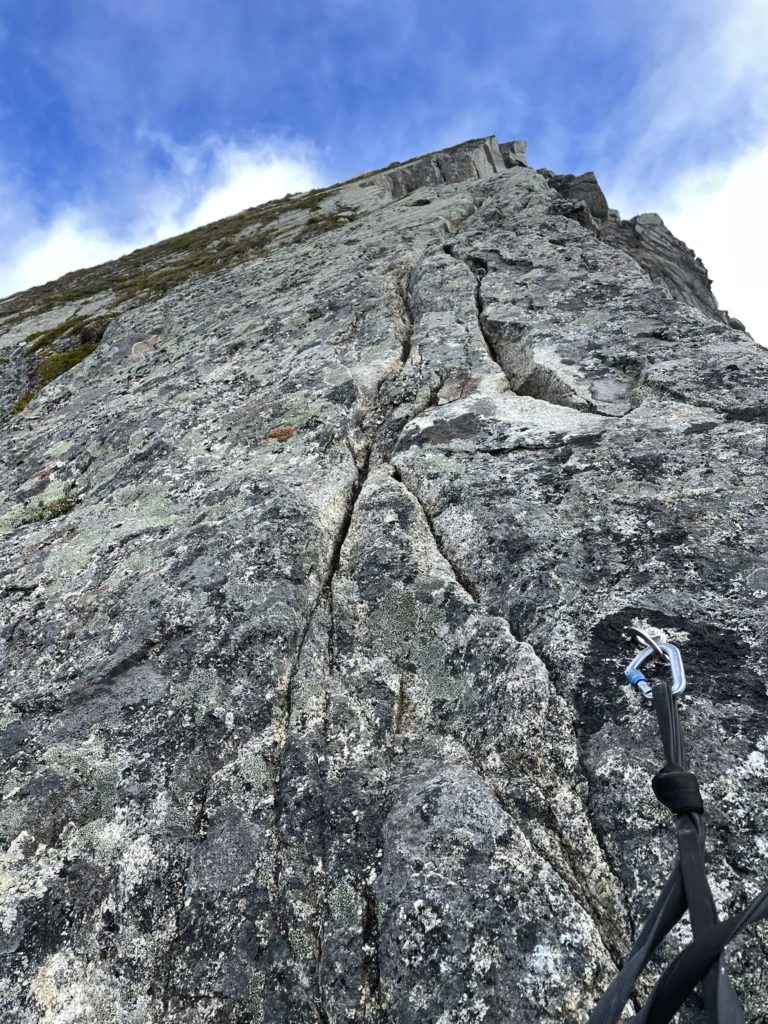
Andrea spotted a ramp down and lead us through one very exposed section to reach the start of pitch 1. We accidentally traversed too far right at first, but could see the large flake mentioned in the topo just to our left, so climbed back. The flake seemed to be close to off-width size, but looked appropriate for the grade. I setup a sling around a horn to belay off of while Andrea got ready to lead. The first few moves looked a little tricky, but Andrea made it up placing a few pieces along the way and then running it out a slab after. From there Andrea disappeared out of sight as she made a hard turn right towards the pitch 2 anchor spot.

Some time later, I heard a shout from above and it turned out to be Andrea. We quickly found out the radios didn’t work in this spot, but thankfully we could still hear each other. Andrea had located the start to P2, but the supposed gear anchor options were all marginal. She managed to set something reasonable up and then I seconded up. I found the moves on the flake a little difficult as the crack size was awkward and the flake sloping making laybacks not entirely easy. Once above the flake it was an easy walk/scramble up to pitch 2.
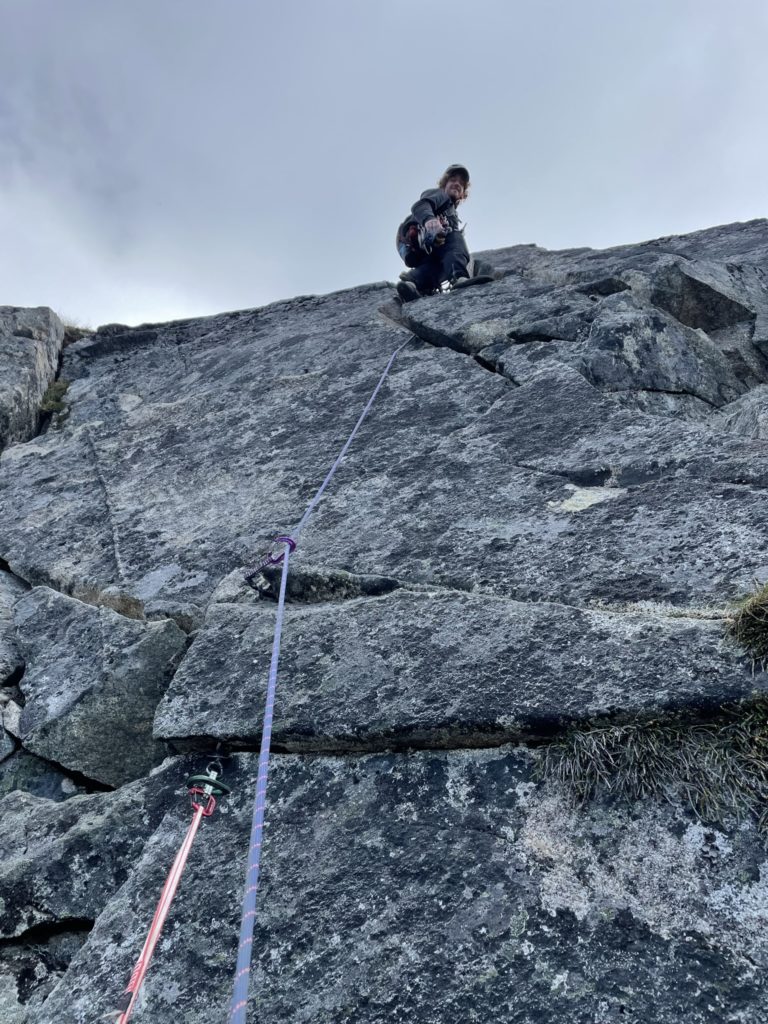
We swung leads at pitch 2 with me on lead now. This section involved 3 bolts on steep-ish slab and then topping out through a weakness in the head wall directly above us. I climbed up to the first two bolts with out too much problem and then had to make some delicate movements to get to a ledge below the head wall. I ended up missing bolt 3, but it didn’t matter as once you’re on the ledge it’s basically a walk up to the bolted anchor at the top of pitch 2. I belayed Andrea up and now it’s time for the committing pitch 3.
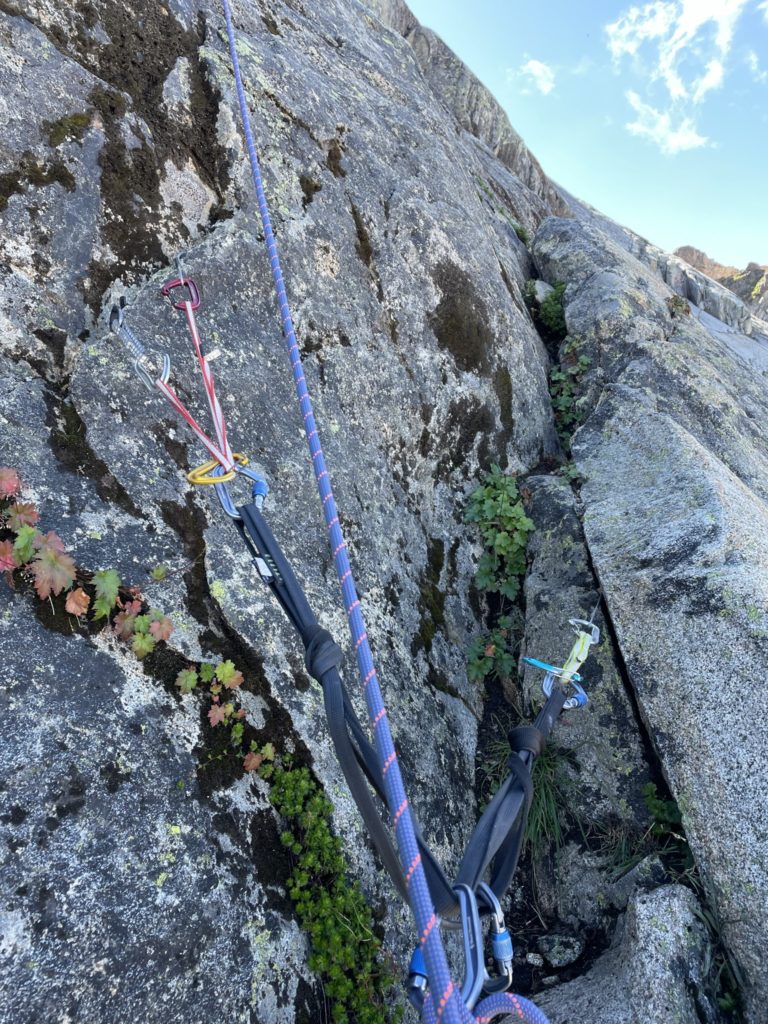
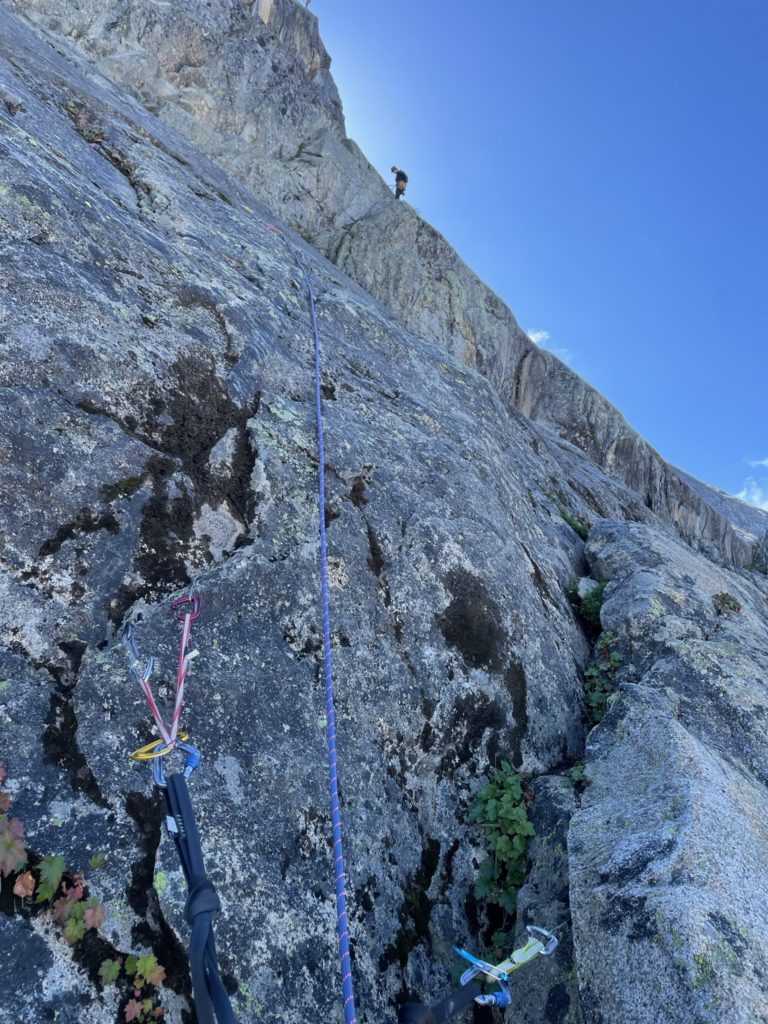
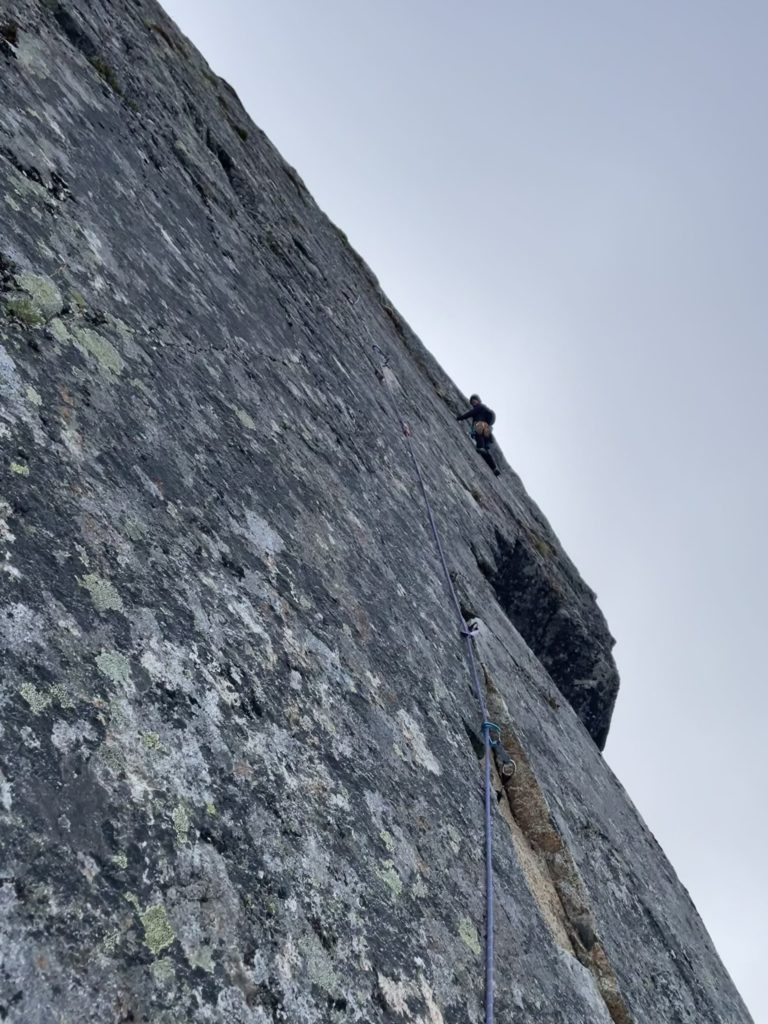
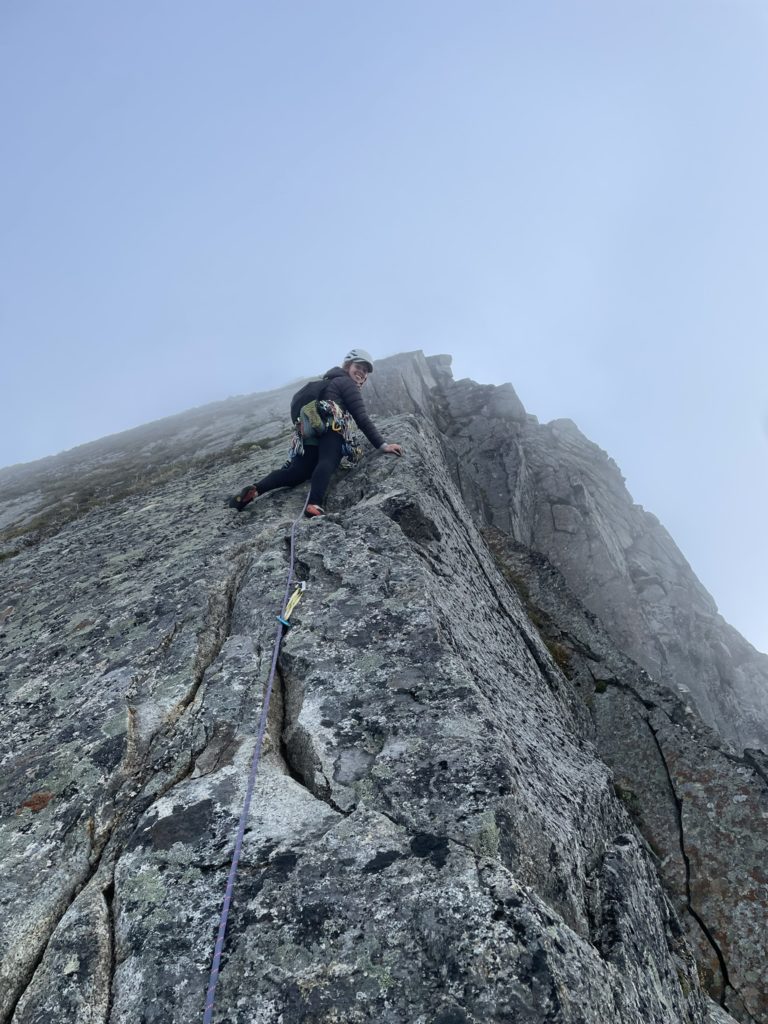
Pitch 3 looked fairly blank from our position, but the topo seemed to indicate a short climb up climber’s right then a traverse leftwards along a small horizontal ledge system before reaching a long flake higher up. We could spot some bolts above us, but they looked awfully far away. Andrea took in a deep breath and then committed to the lead. Thankfully, she found some pro a few meters above the anchor and then the rest of the traverse was easily protectable. Now came the crux, which was a thin finger crack with some sparse bolts/pins for protection. Andrea climbed up with relative ease and then topped out on the heather ledges at the top of pitch 3.

As she walked in further to the heather ledges, a nightmare began to unfold. Some poorly mannered climber had apparently taken a shit on the tiny belay ledge and either they or subsequent climbers had smeared the shit all over the surrounding climbing holds. The smell alone is enough to spoil the climb, but now poo-covered holds must be dodged as well. I was not keen to second up to the ledge now, but the quicker I did, the quicker Andrea could bail out of there. I followed up without too much issue as the ledge system was straight forward. The crux on the flake took a few seconds to figure out the right moves, but otherwise I was able to power through without too much issue.
Once I reached the belay station, I could smell the disaster awaiting me. Andrea had wisely set up a hanging gear belay to avoid dragging the rope along the ground and to elevate herself above the new public bathroom. Despite the nice anchor setup, I didn’t linger for long and started the swing lead up pitch 4 as quickly as I could. Sadly, I only made one move up high and the first thing I placed my hand on was…. yes. Shit. Andrea quickly whipped out the hand sanitizer and I managed to scrub it off before ascending higher. After the shitty start there were some fun vertical moves up several large blocks before reaching a slab higher up. The protection was ample and the climbing phenomenal. Easy movements, but super fun and I reached the bolted anchor without any problems. Now Andrea came up and joined me, free from the prolonged bathroom disaster on pitch 3 at last.
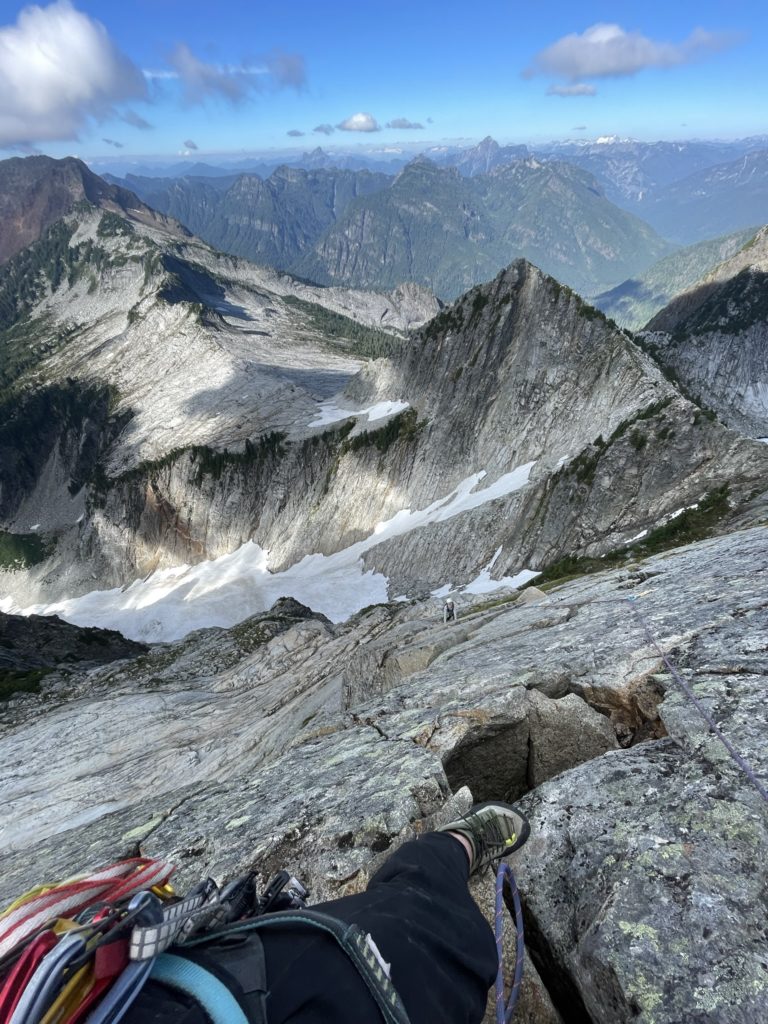
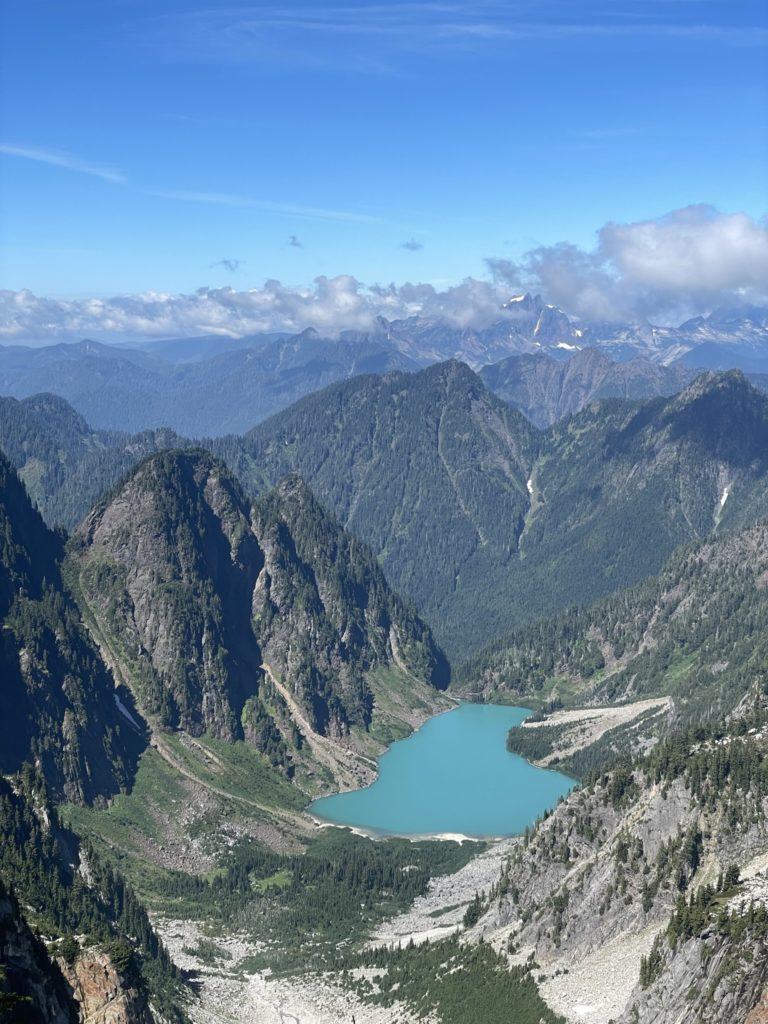
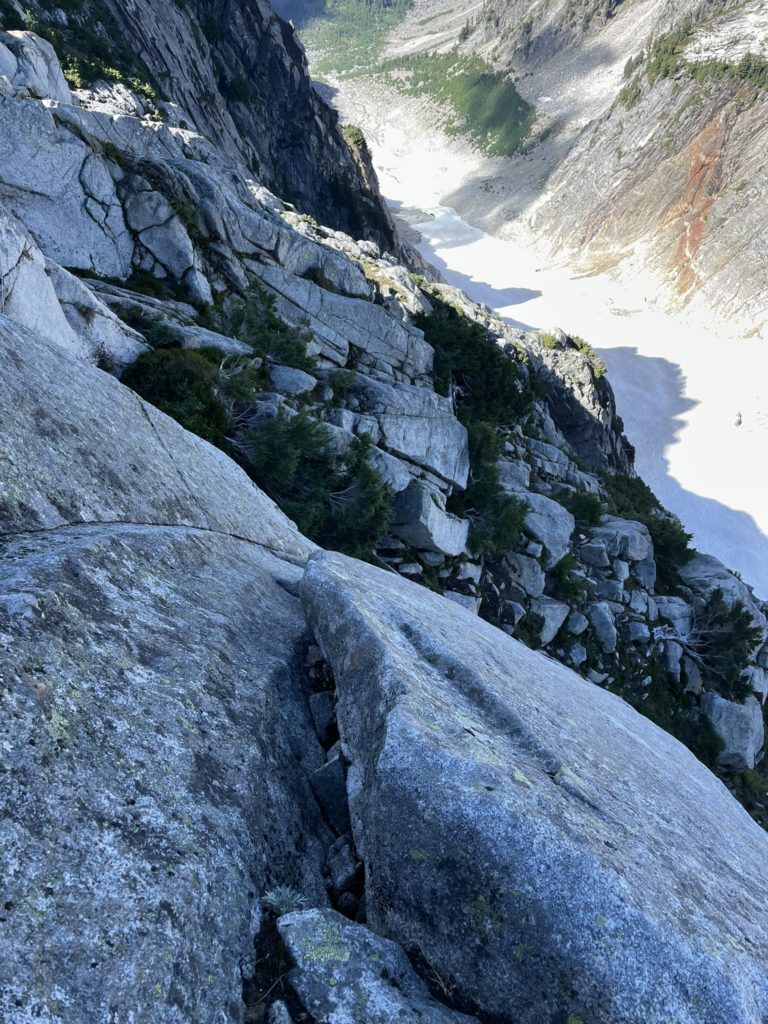
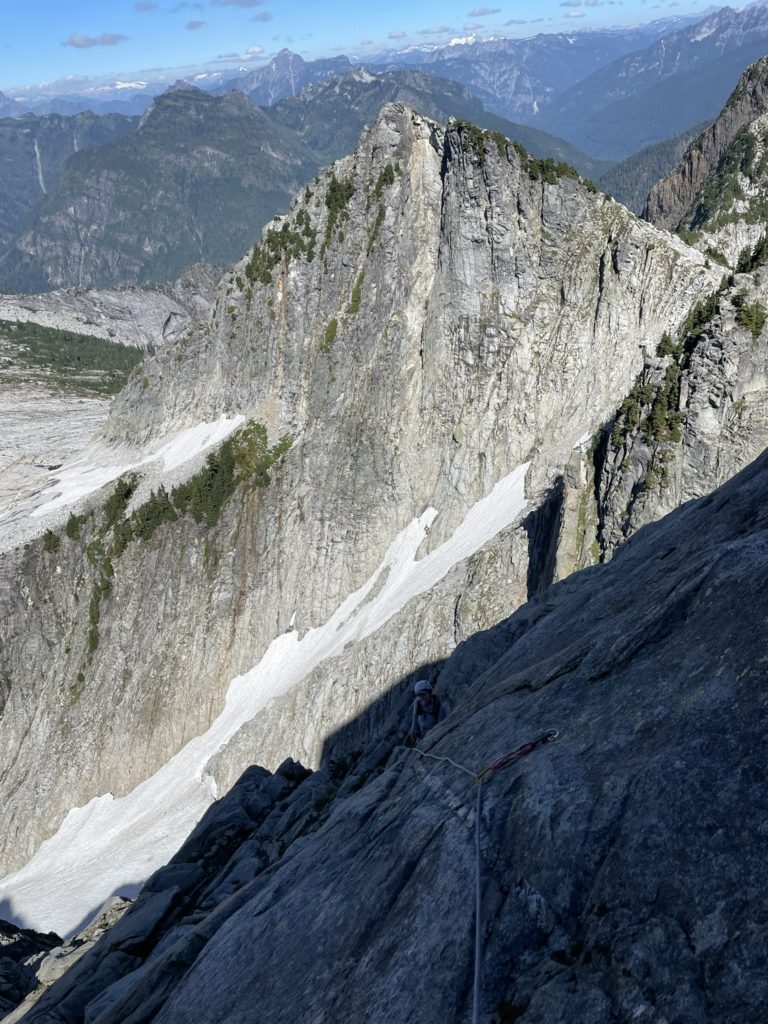
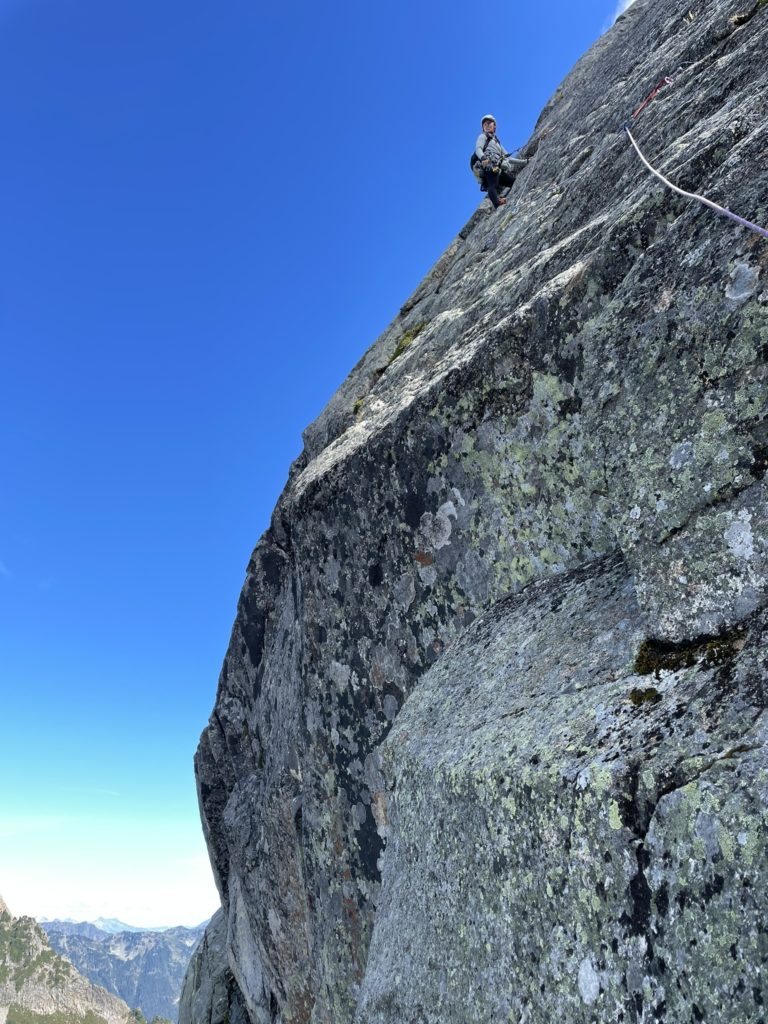
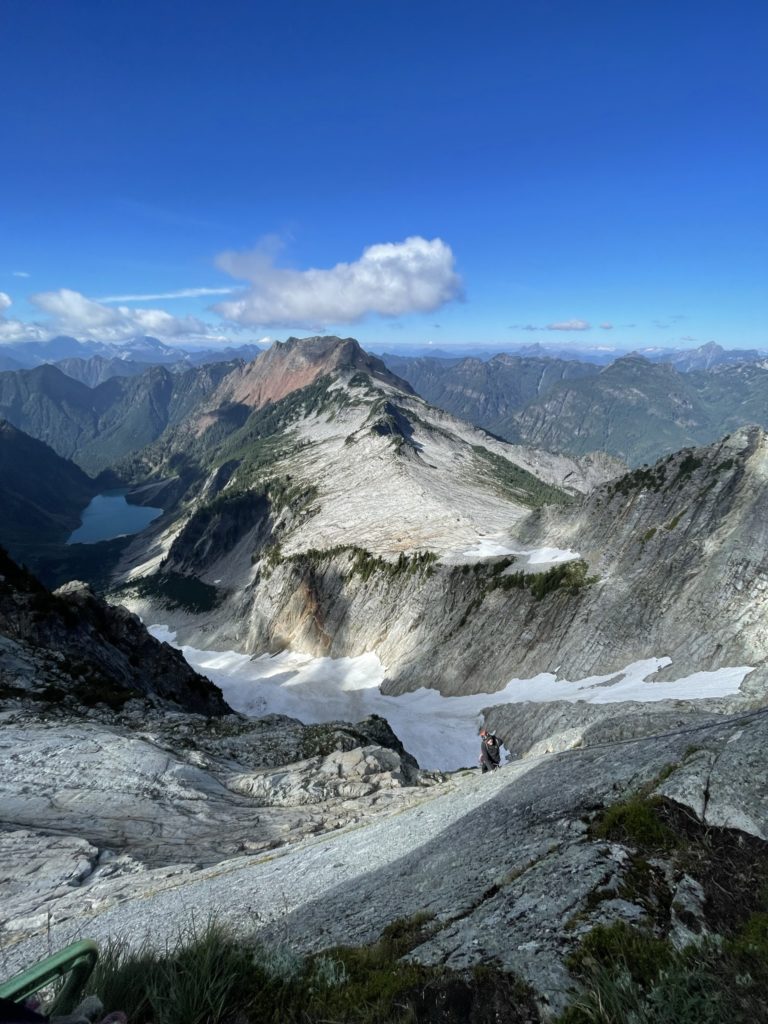
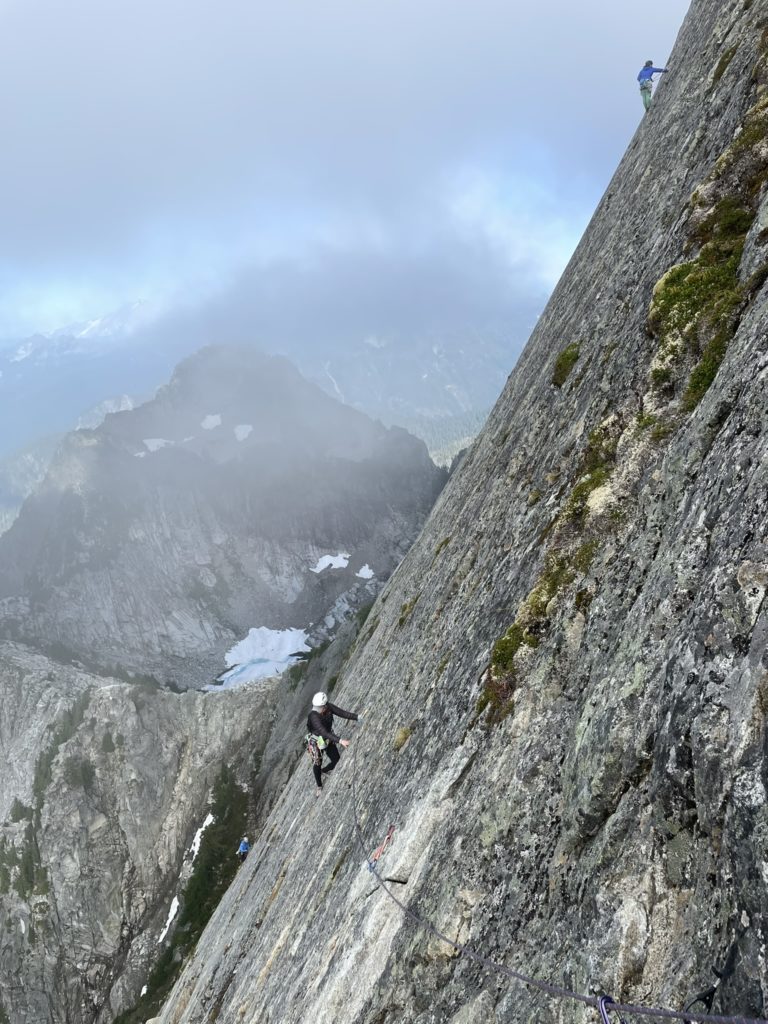
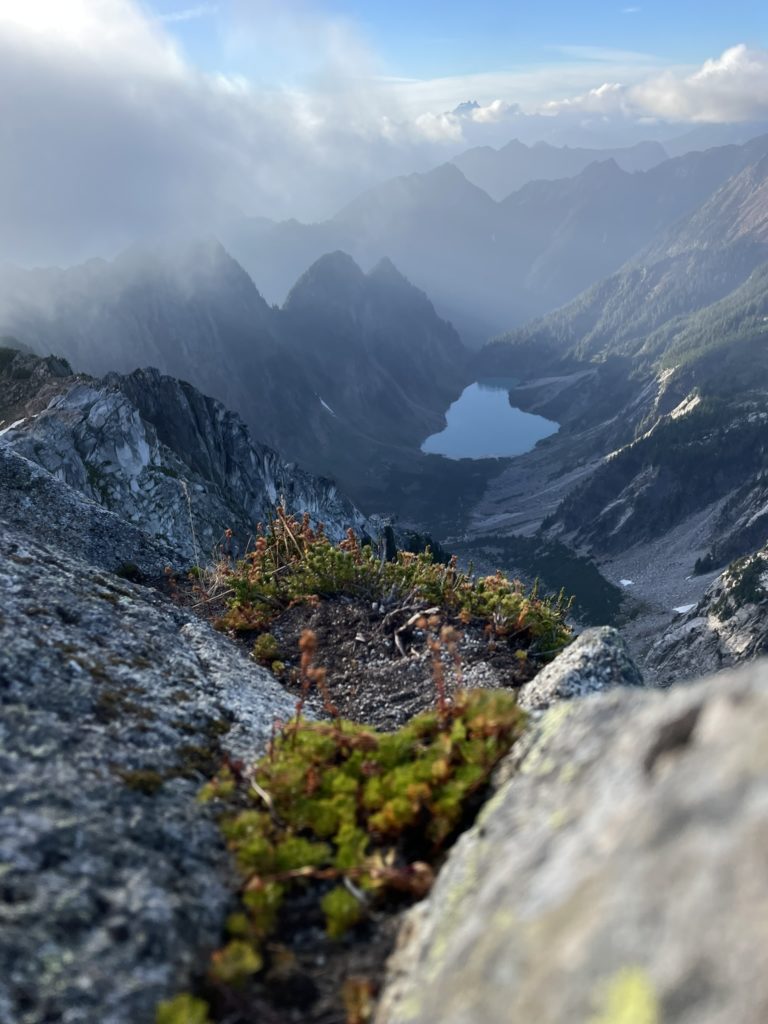
The next pitch was a very exposed traverse up a steep face to reach the bolted anchor and start of the final arete pitch. We decided to switch leads on this, so I headed out into the unknown. I climbed up small crack system placing a few pieces and then clipped the first of two bolts higher up. Then I traversed a few meters right to clip the second bolt. To reach the anchor I could traverse further along a blank face or down climb a bit, close to the edge of the head wall below and then up through better holds. The down climb wasn’t too bad and the rest of the moves after were easy, but exposed. The positioning was second to none with each move placing me higher along the steep diorite face high above Copper Lake. I managed to place a few more pieces along the way, ensuring a nicer time for both me and the second if we fell then belayed Andrea up.
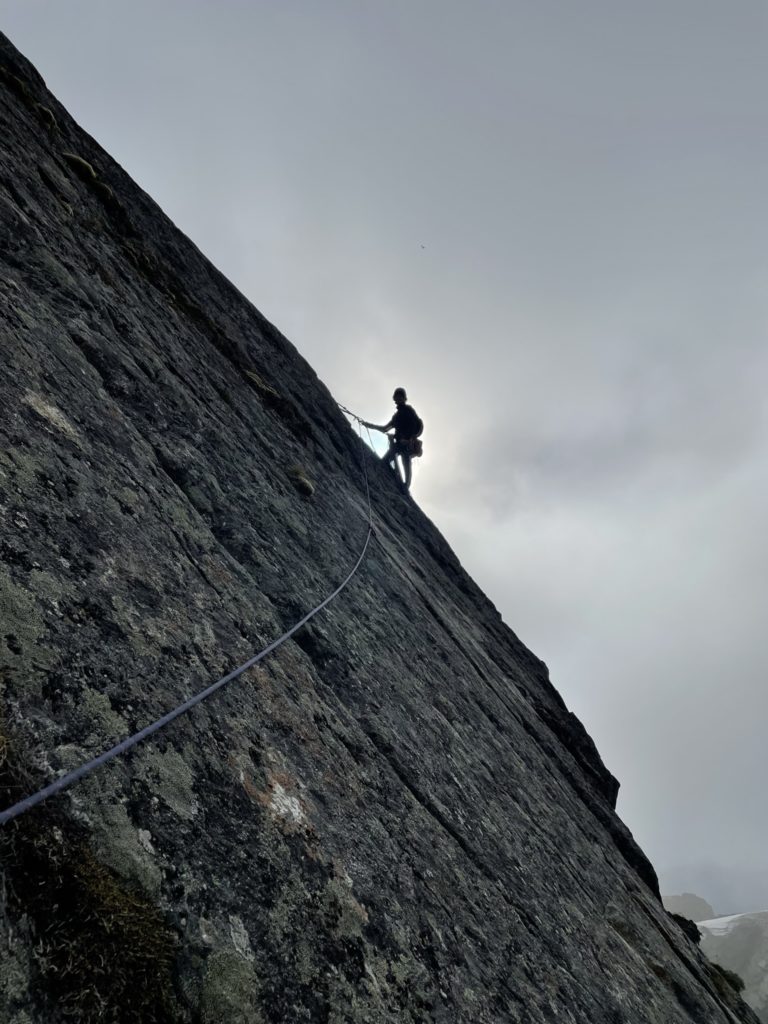
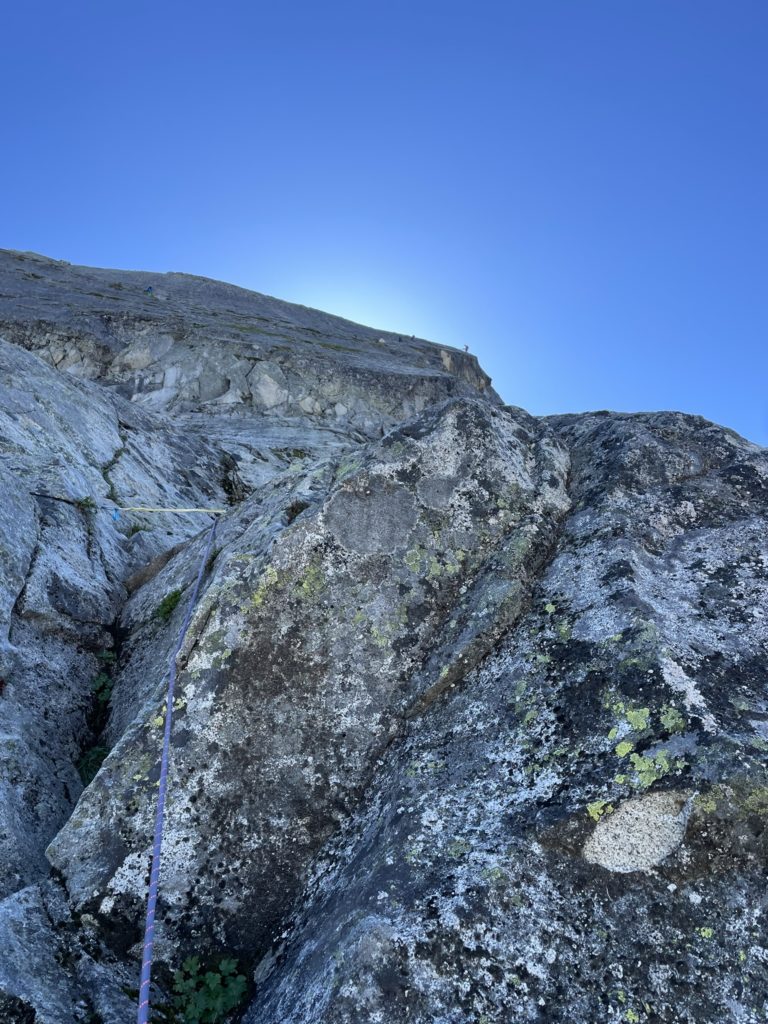
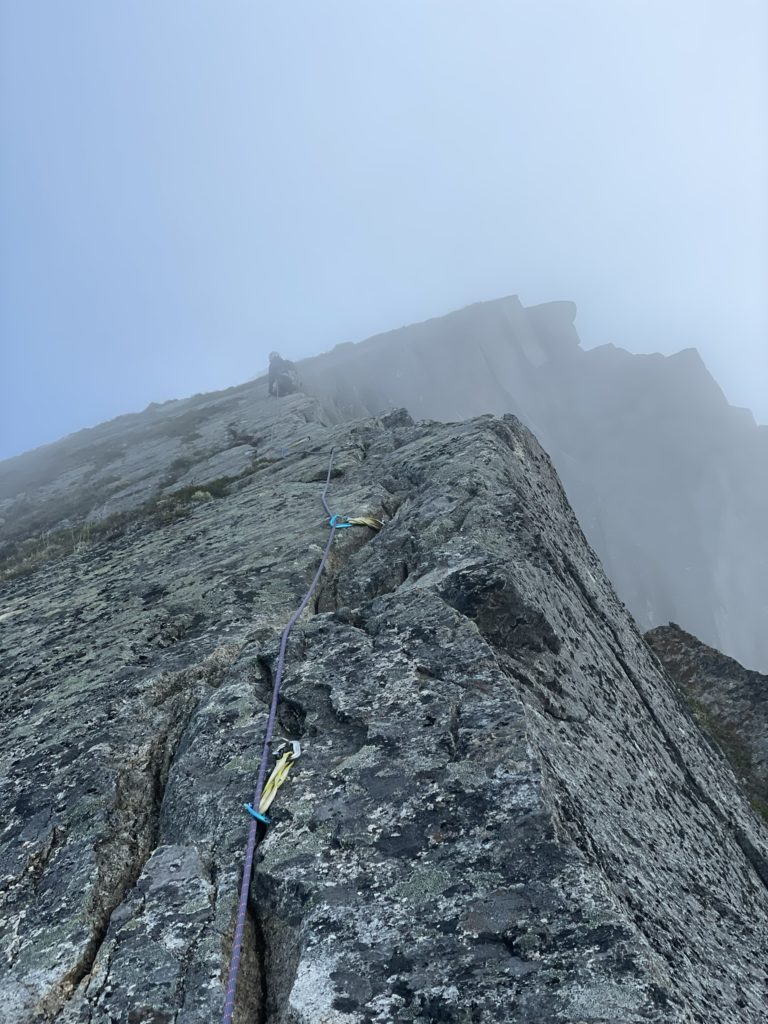
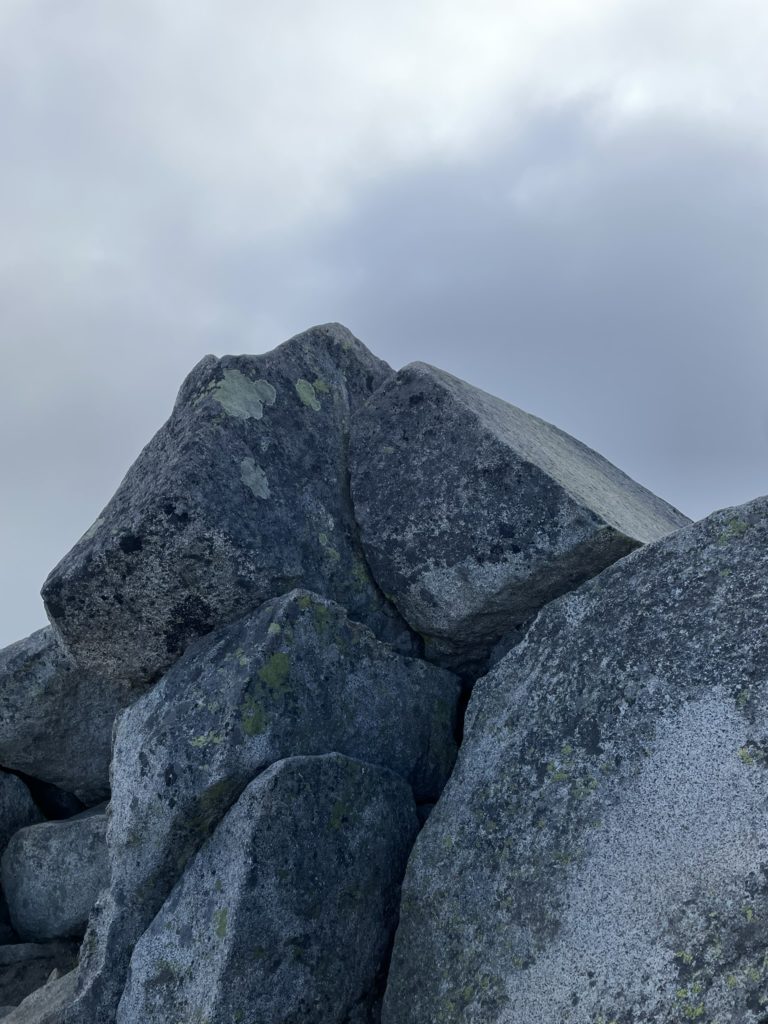
Now for the final pitch. A super aesthetic 5.5 arete all the way to the summit. The clouds were rolling in too, making for the full on alpine feel up to the top. Andrea cruised up the arete and despite its appearance from below the route actually ate up quite a few pieces of pro along the way. At the top she searched around for a bolted anchor but turns out there was none. In the end she slung a boulder and I followed up soon after. Climbing the arete for myself was an amazing feeling and I really didn’t feel let down on any one pitch this entire climb.

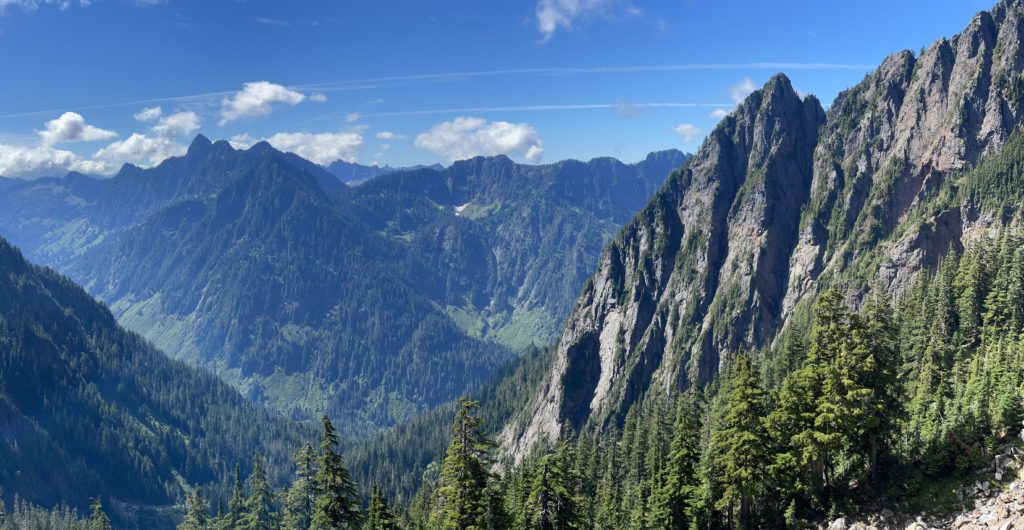
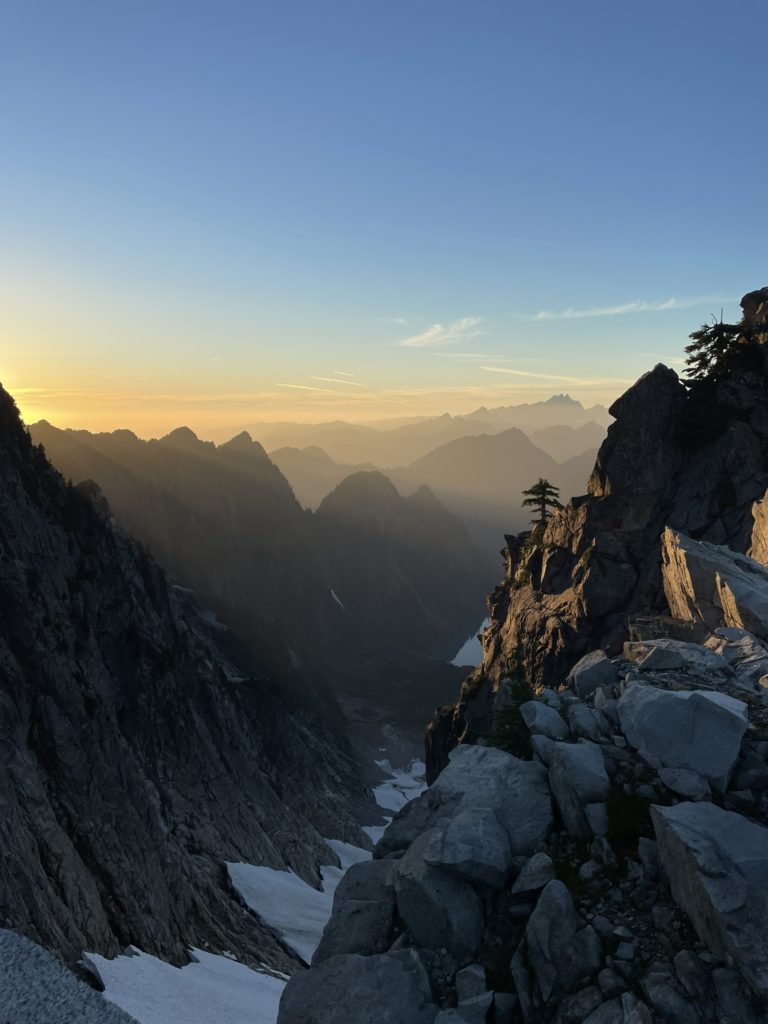
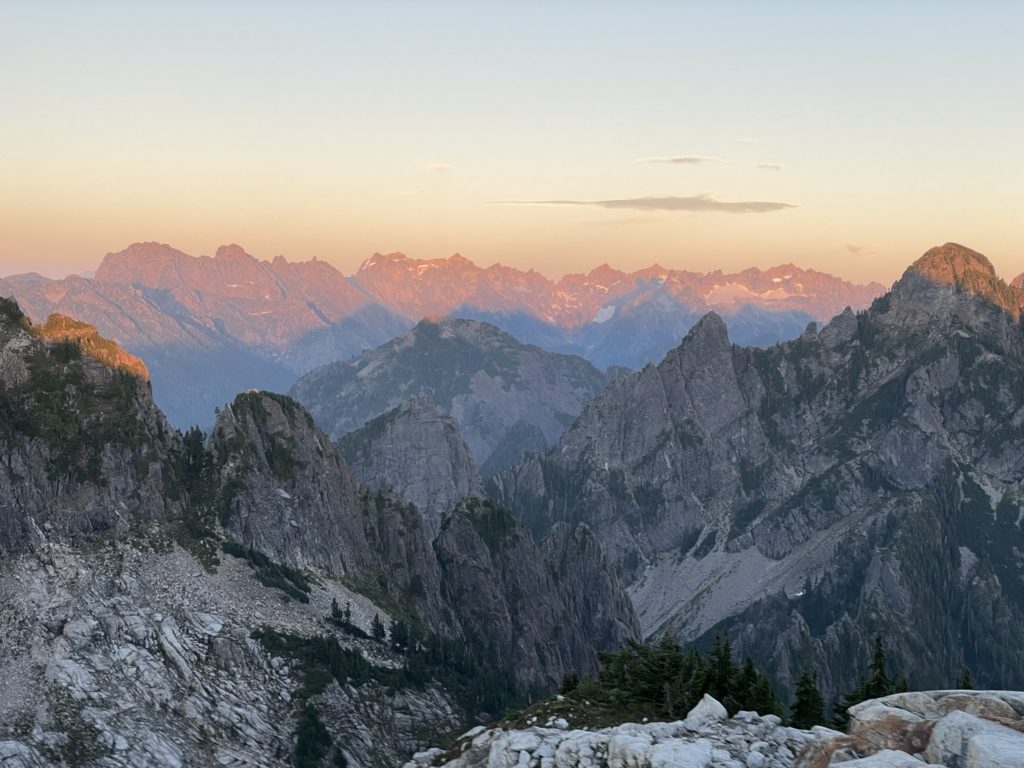
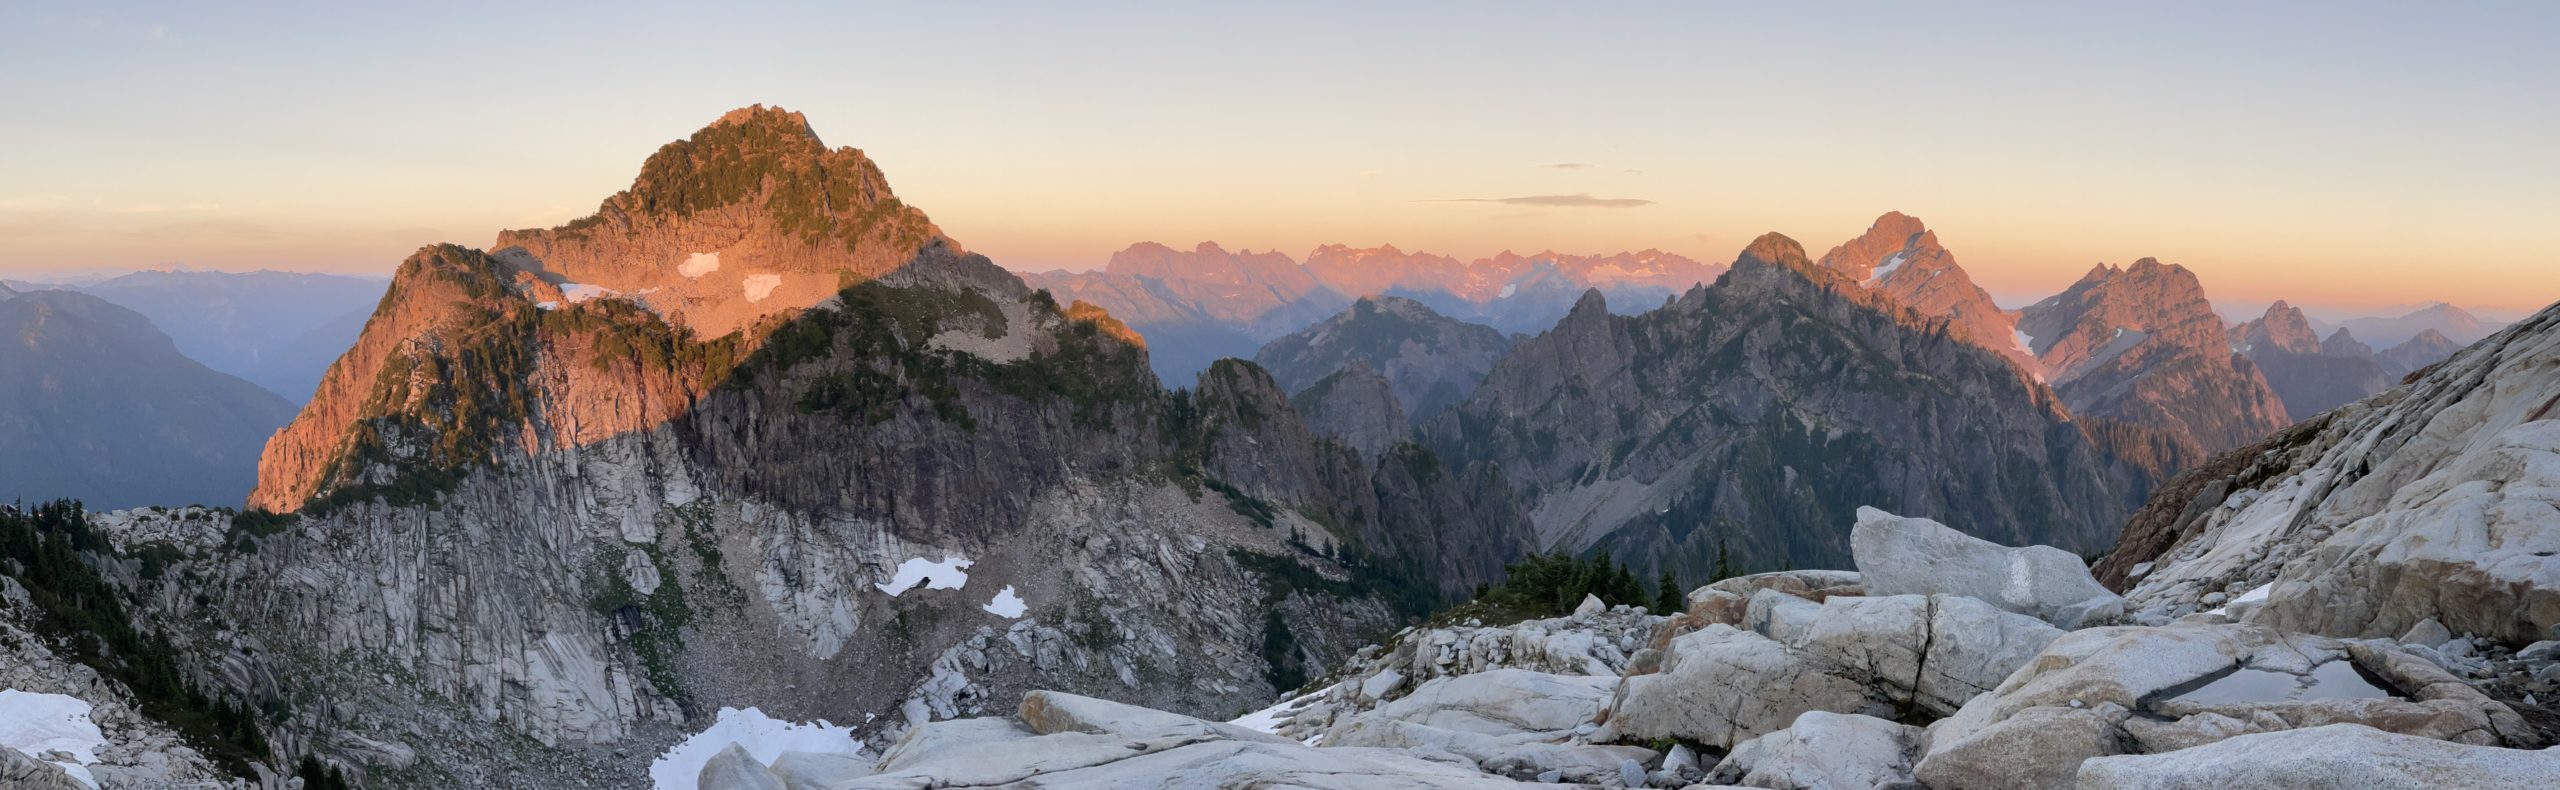
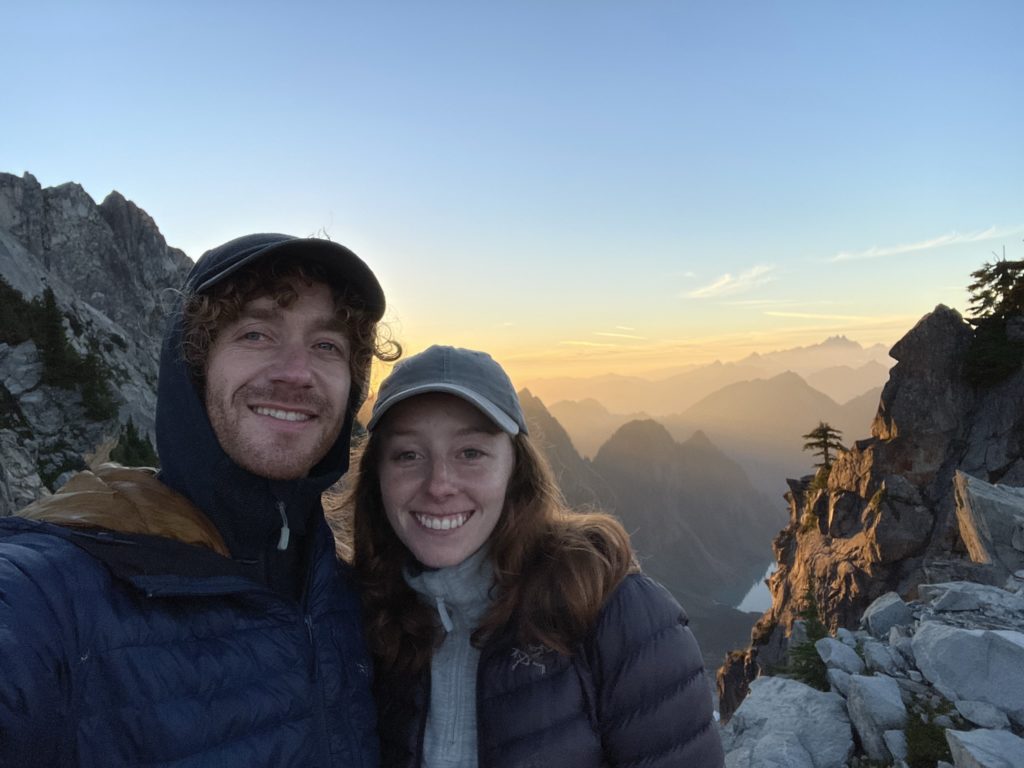
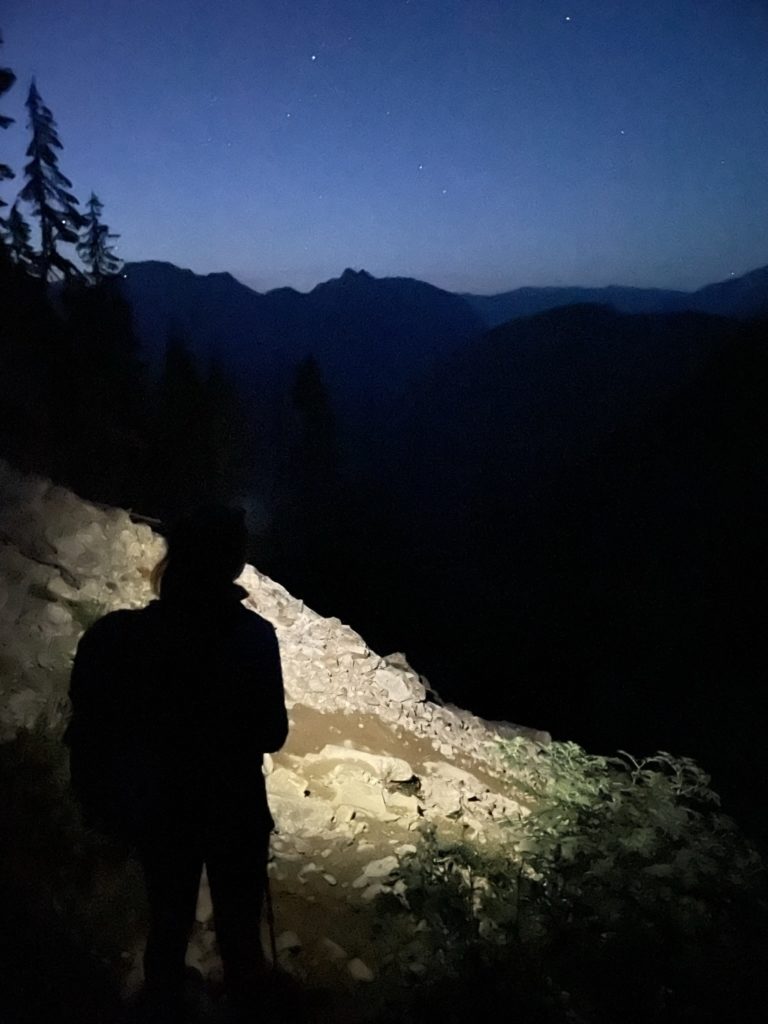
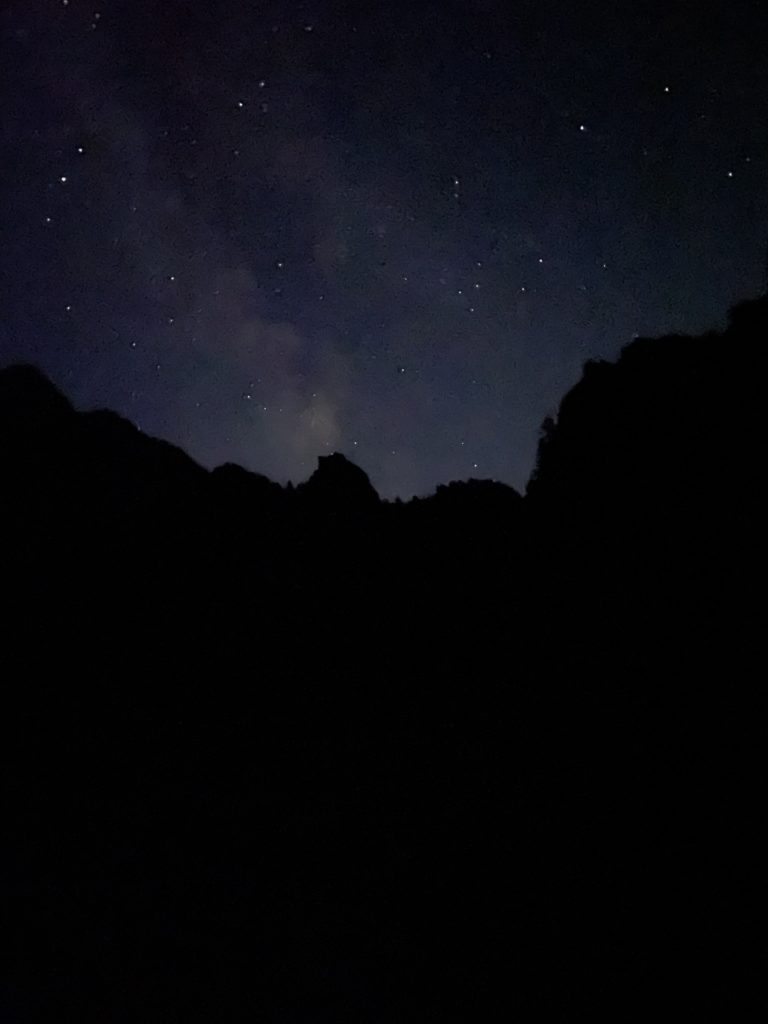
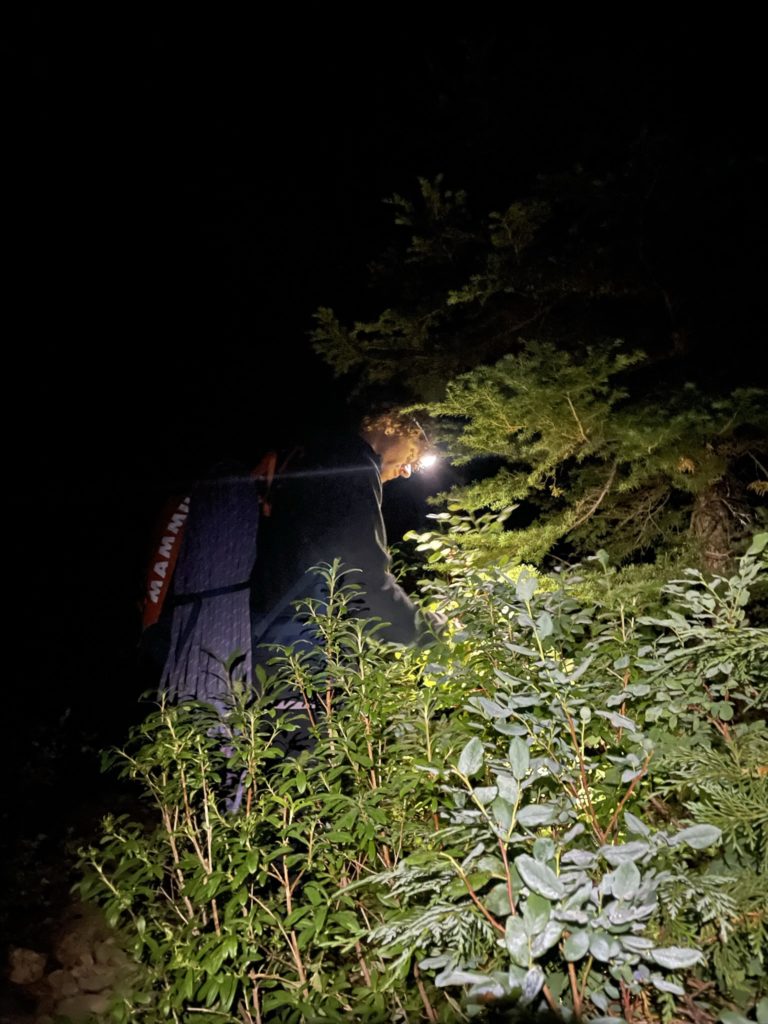
On the summit we ran into two other climbers, but they descended soon after and then we had the entire place to ourselves. The sun began to set and we caught golden hour light across the entire range. We stayed until just before dark, absorbing as many views as we could before retreating back to our gear stash. The scramble down was easy and reaching the gear didn’t take long now that we knew the way. We caught one long glimpse of alpen glow at the stash spot and then headed down into the impending darkness. The head lamps came out just before the top of the gully and then we finished the remainder of the descent under the cover of darkness.
I have to say this is one of my favourite climbs to date. The north face provides some exceptional exposure and positioning. All 6 pitches were engaging but not too stressful and I personally found pitch 5 to be the best pitch. The descent is easy and the whole area is really unique looking, especially compared to SWBC.
Gear Notes:
- DMM Wallnuts #1-6
- Doubles of BD #0.3 to #3
- 70m x 9mm Rope
Overall doubles were useful as I used two #3s on pitch 4 and Andrea used two #0.75s on her gear anchor at pitch 3. Definitely some alternative gear could have been found, but the approach was short and having the flexibility was nice. Wallnuts came in handy on several occasions as well. Overall, I wouldn’t change much about what we brought. A 60m rope would be fine, we just had the 70m in case we sent the Early Winters Spires.