
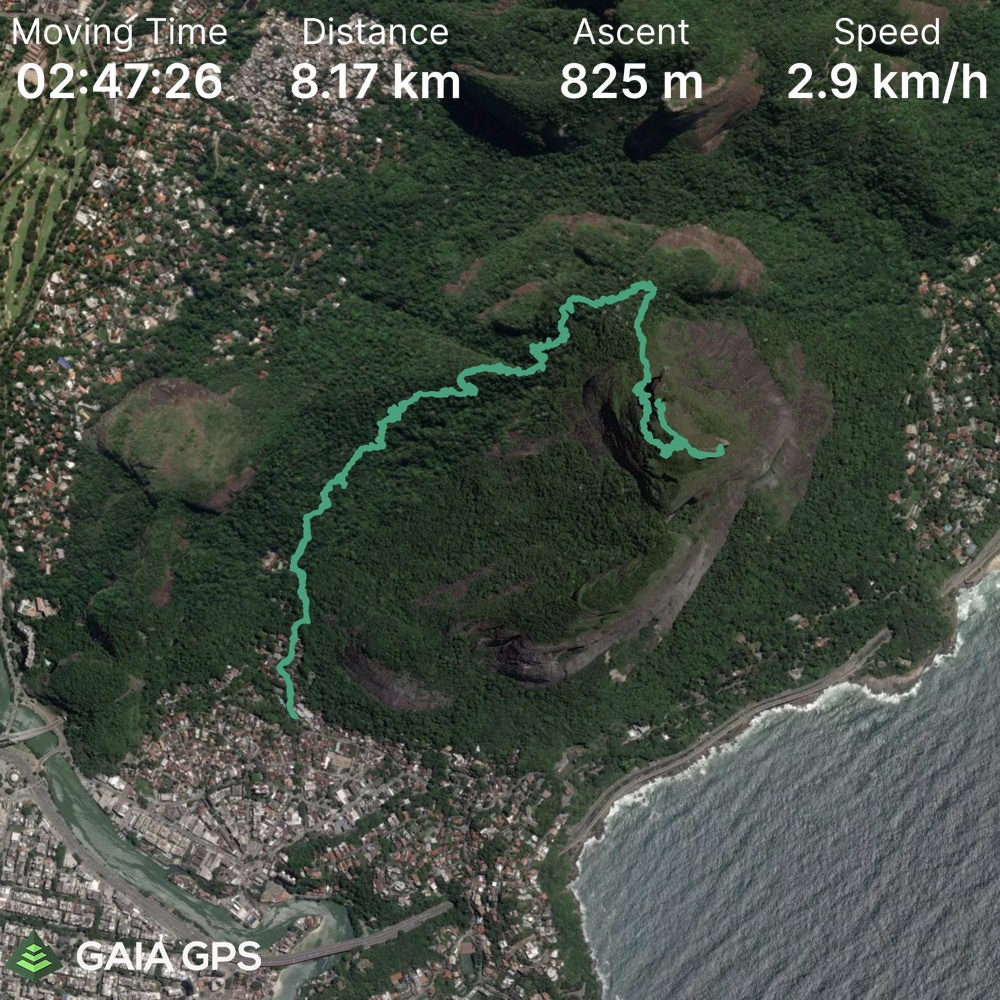
Elevation Gain: 986m
Distance: 9.95km
Total Time: 4 hours 30 minutes
Date: February 21st, 2021
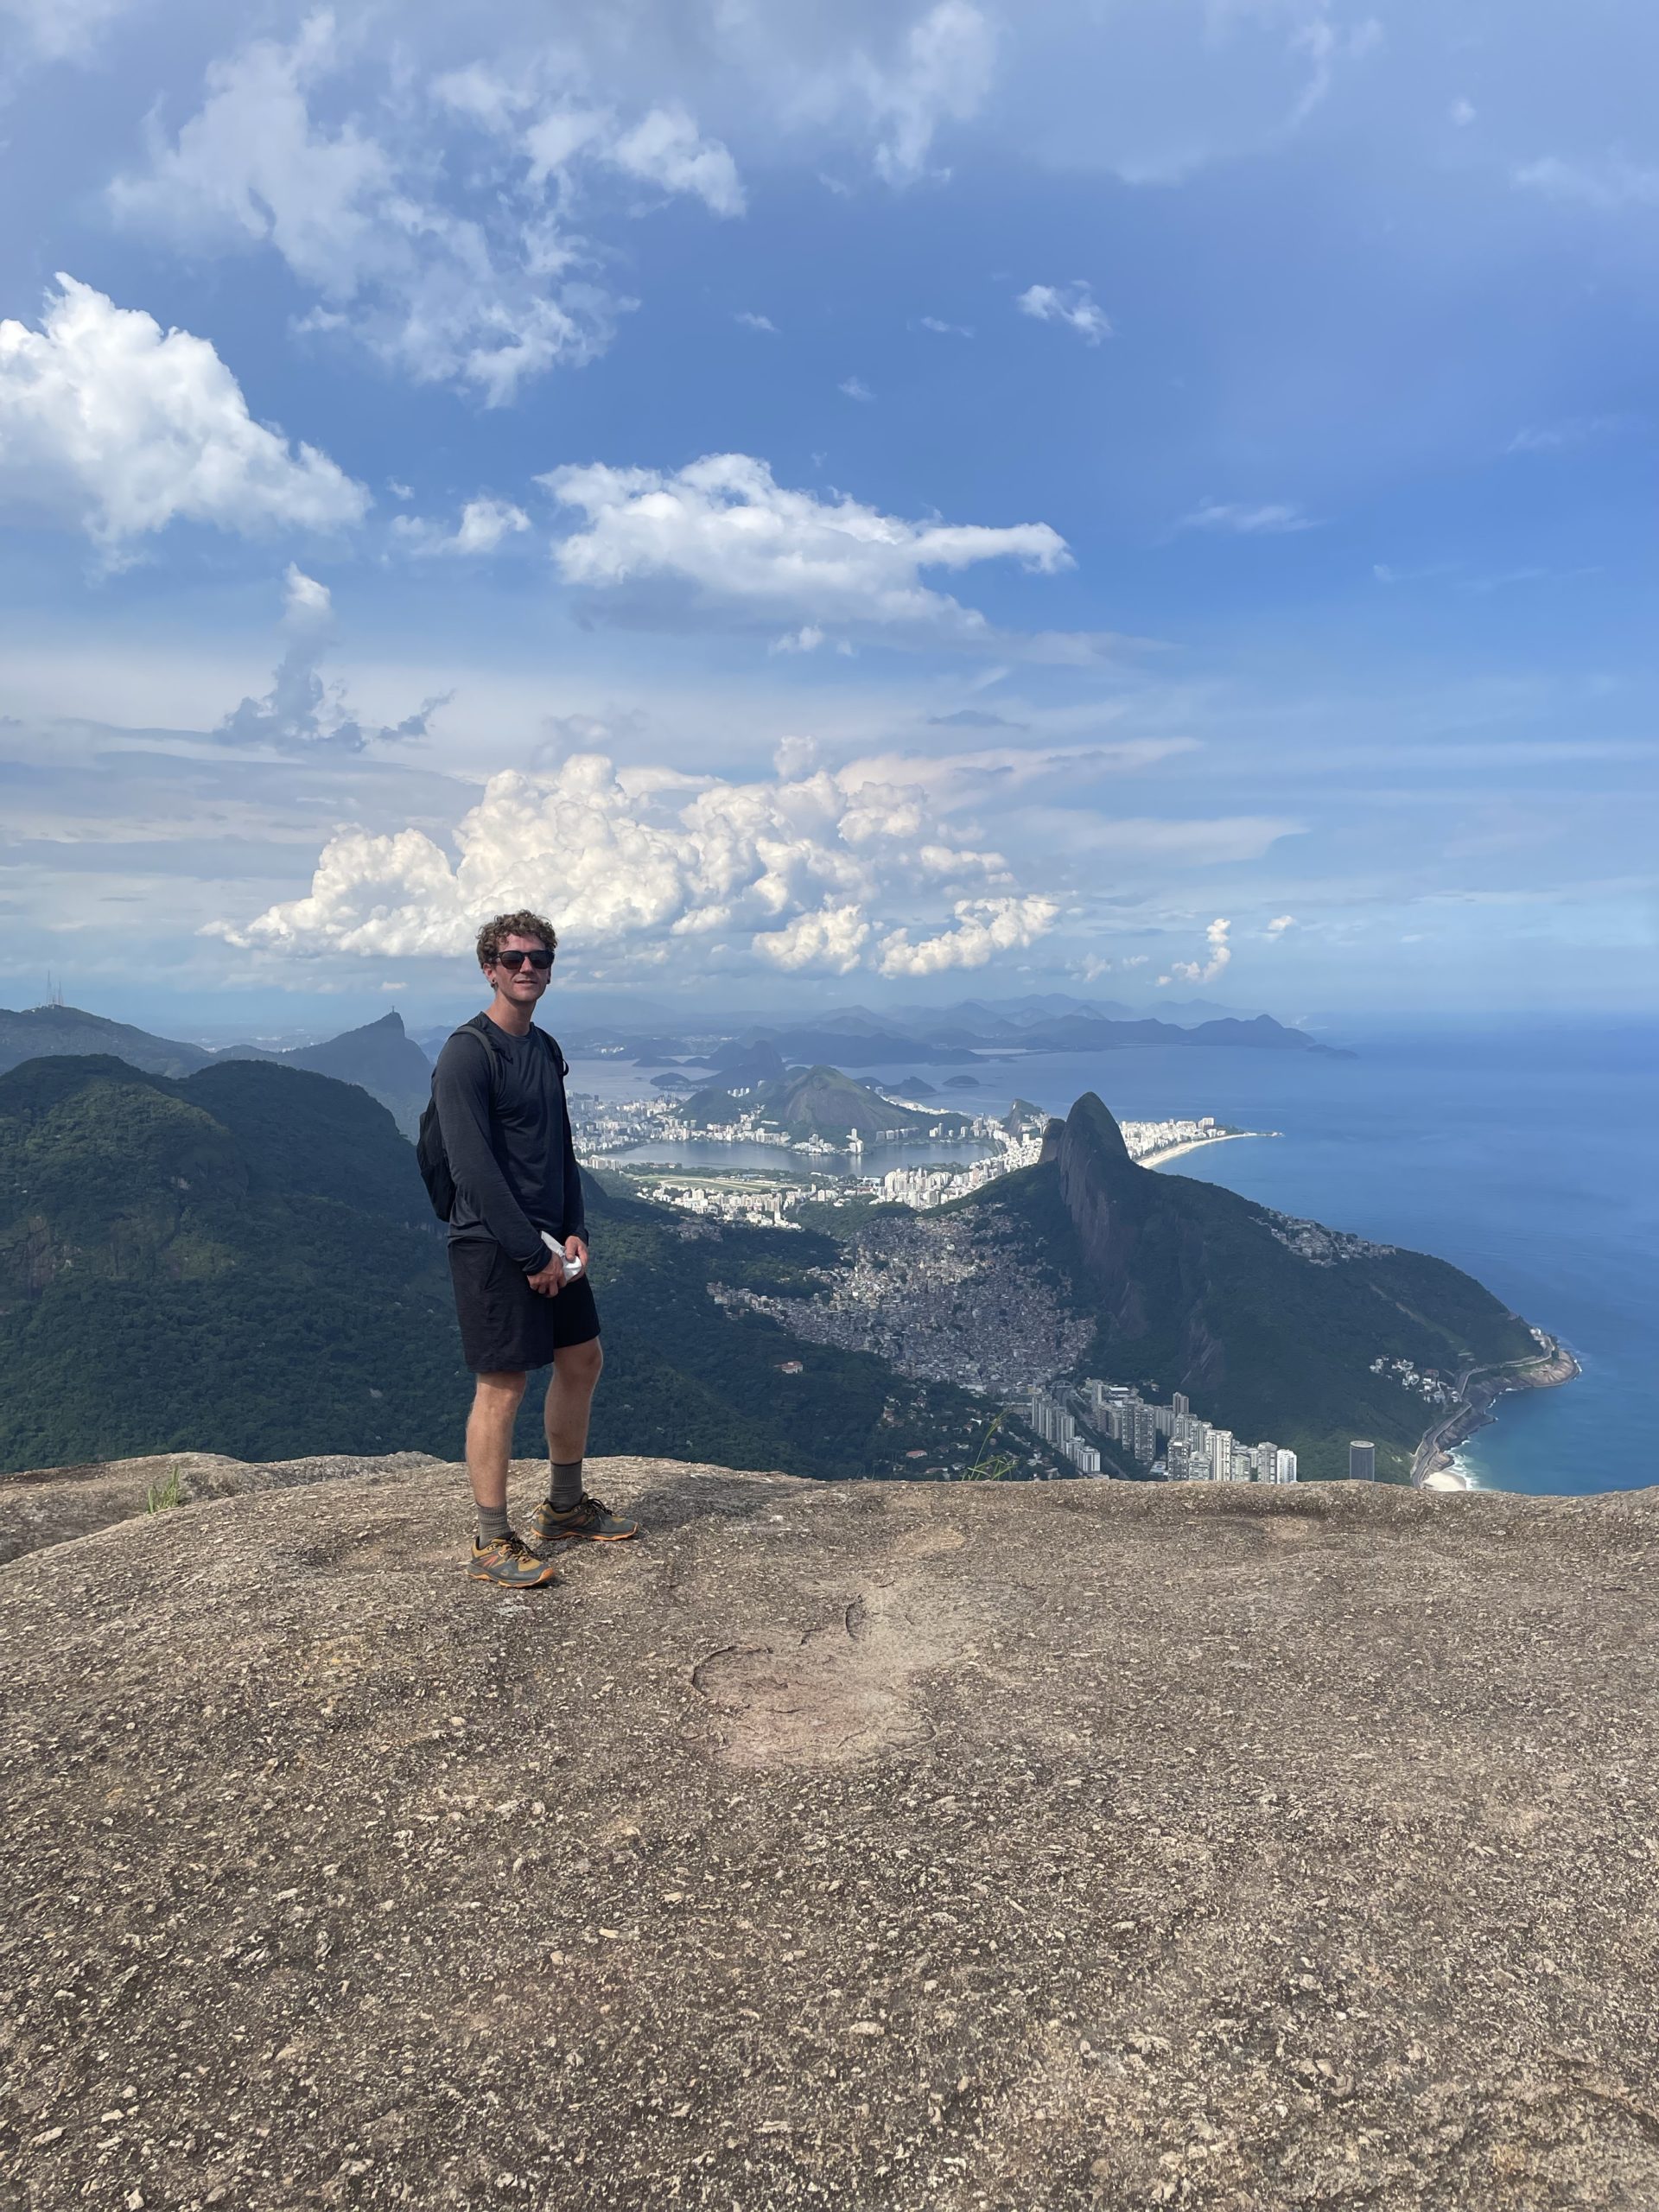
Pedra da Gavea is one of the more famous summits around Rio de Janeiro after Morro Corcovado, Sugarloaf and Dois Irmaos. What separates it from the rest is the difficulty of the summit by the easiest route. By local accounts the summit can only be accessed by a prolonged section of low 5th class rock near the top. In my experience this route is really only 4th class by BC standards, but nonetheless many companies offer a guided experience complete with ropes, harness and all.
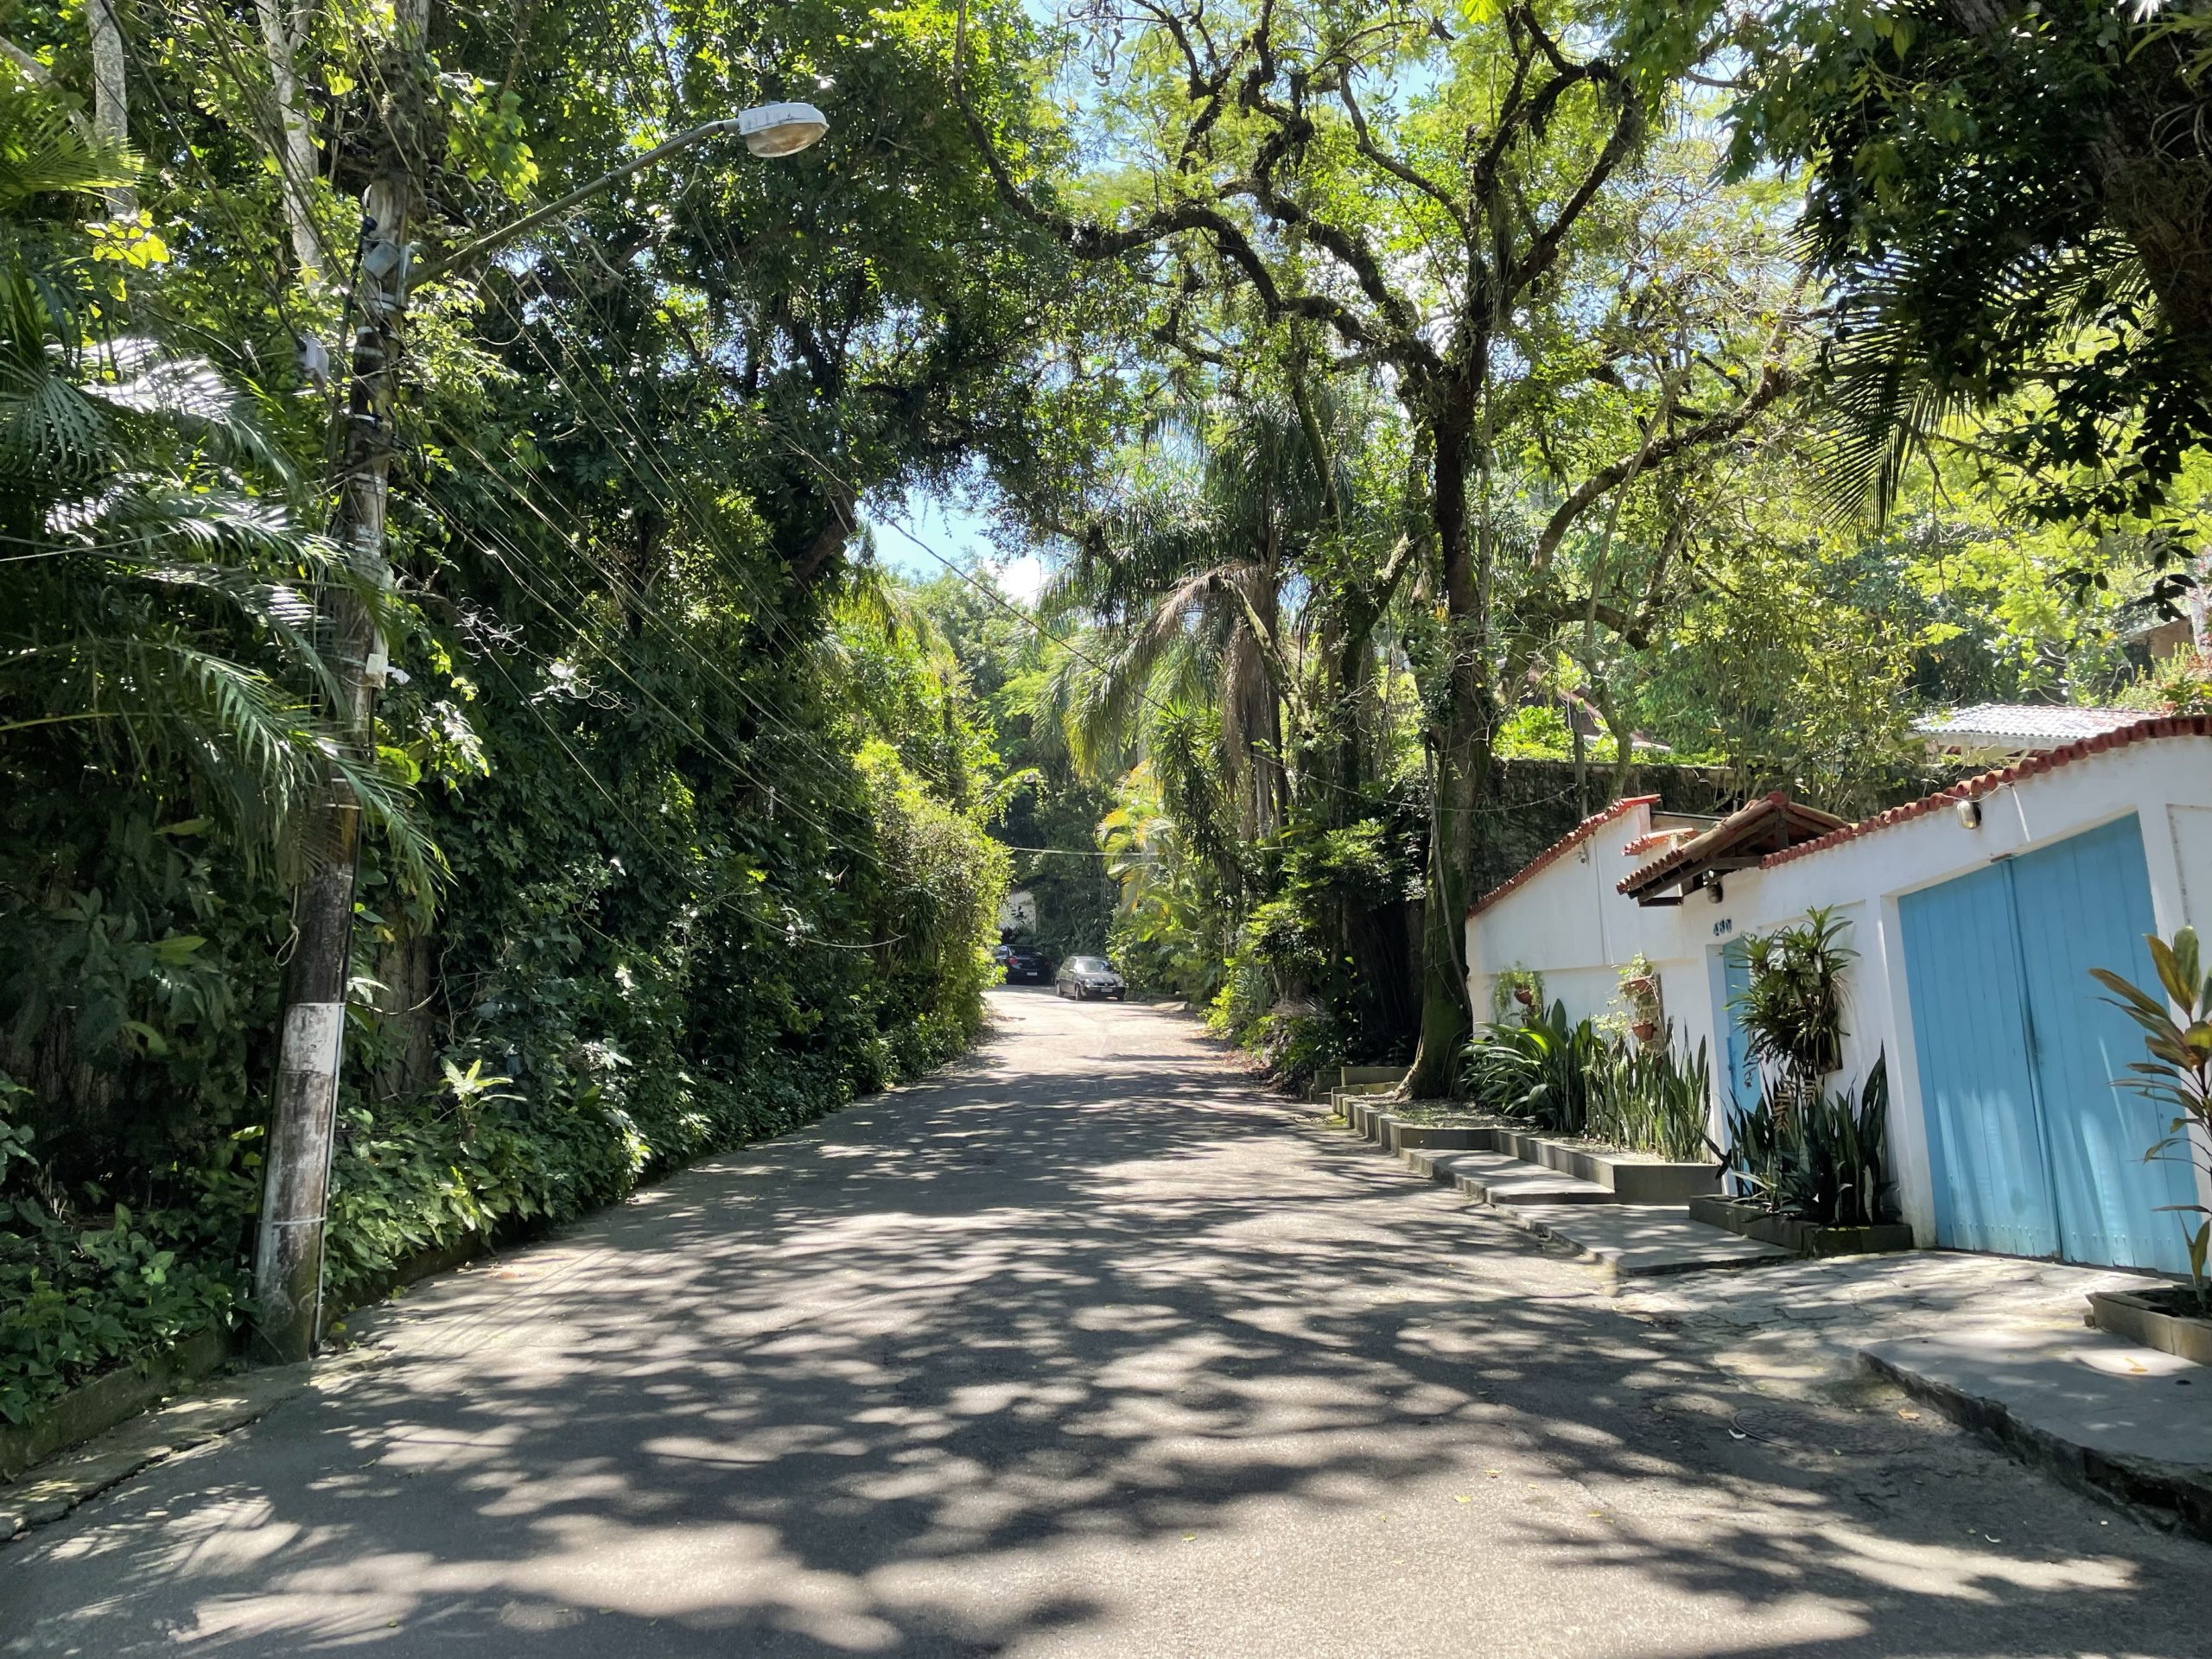
I had arrived in Rio de Janeiro on the 20th and was reached out to by a travel acquaintance, Aly, I met in Manuas. She asked me if I’d be interested in doing a guided trip up to Pedra da Gavea. I initially agreed, but I didn’t like the idea of using a guide. My preference is always to be self-sufficient on adventures. So, I started to look into this summit further to see why it warranted a guide at all. I found an excellent trip report here. To my surprise, the route up looked really easy, even with the supposed 5th class section towards the top. I was confident I could get us both up without a guide and pitched the new plan to Aly. She was on board and we agreed to set off on the following day.
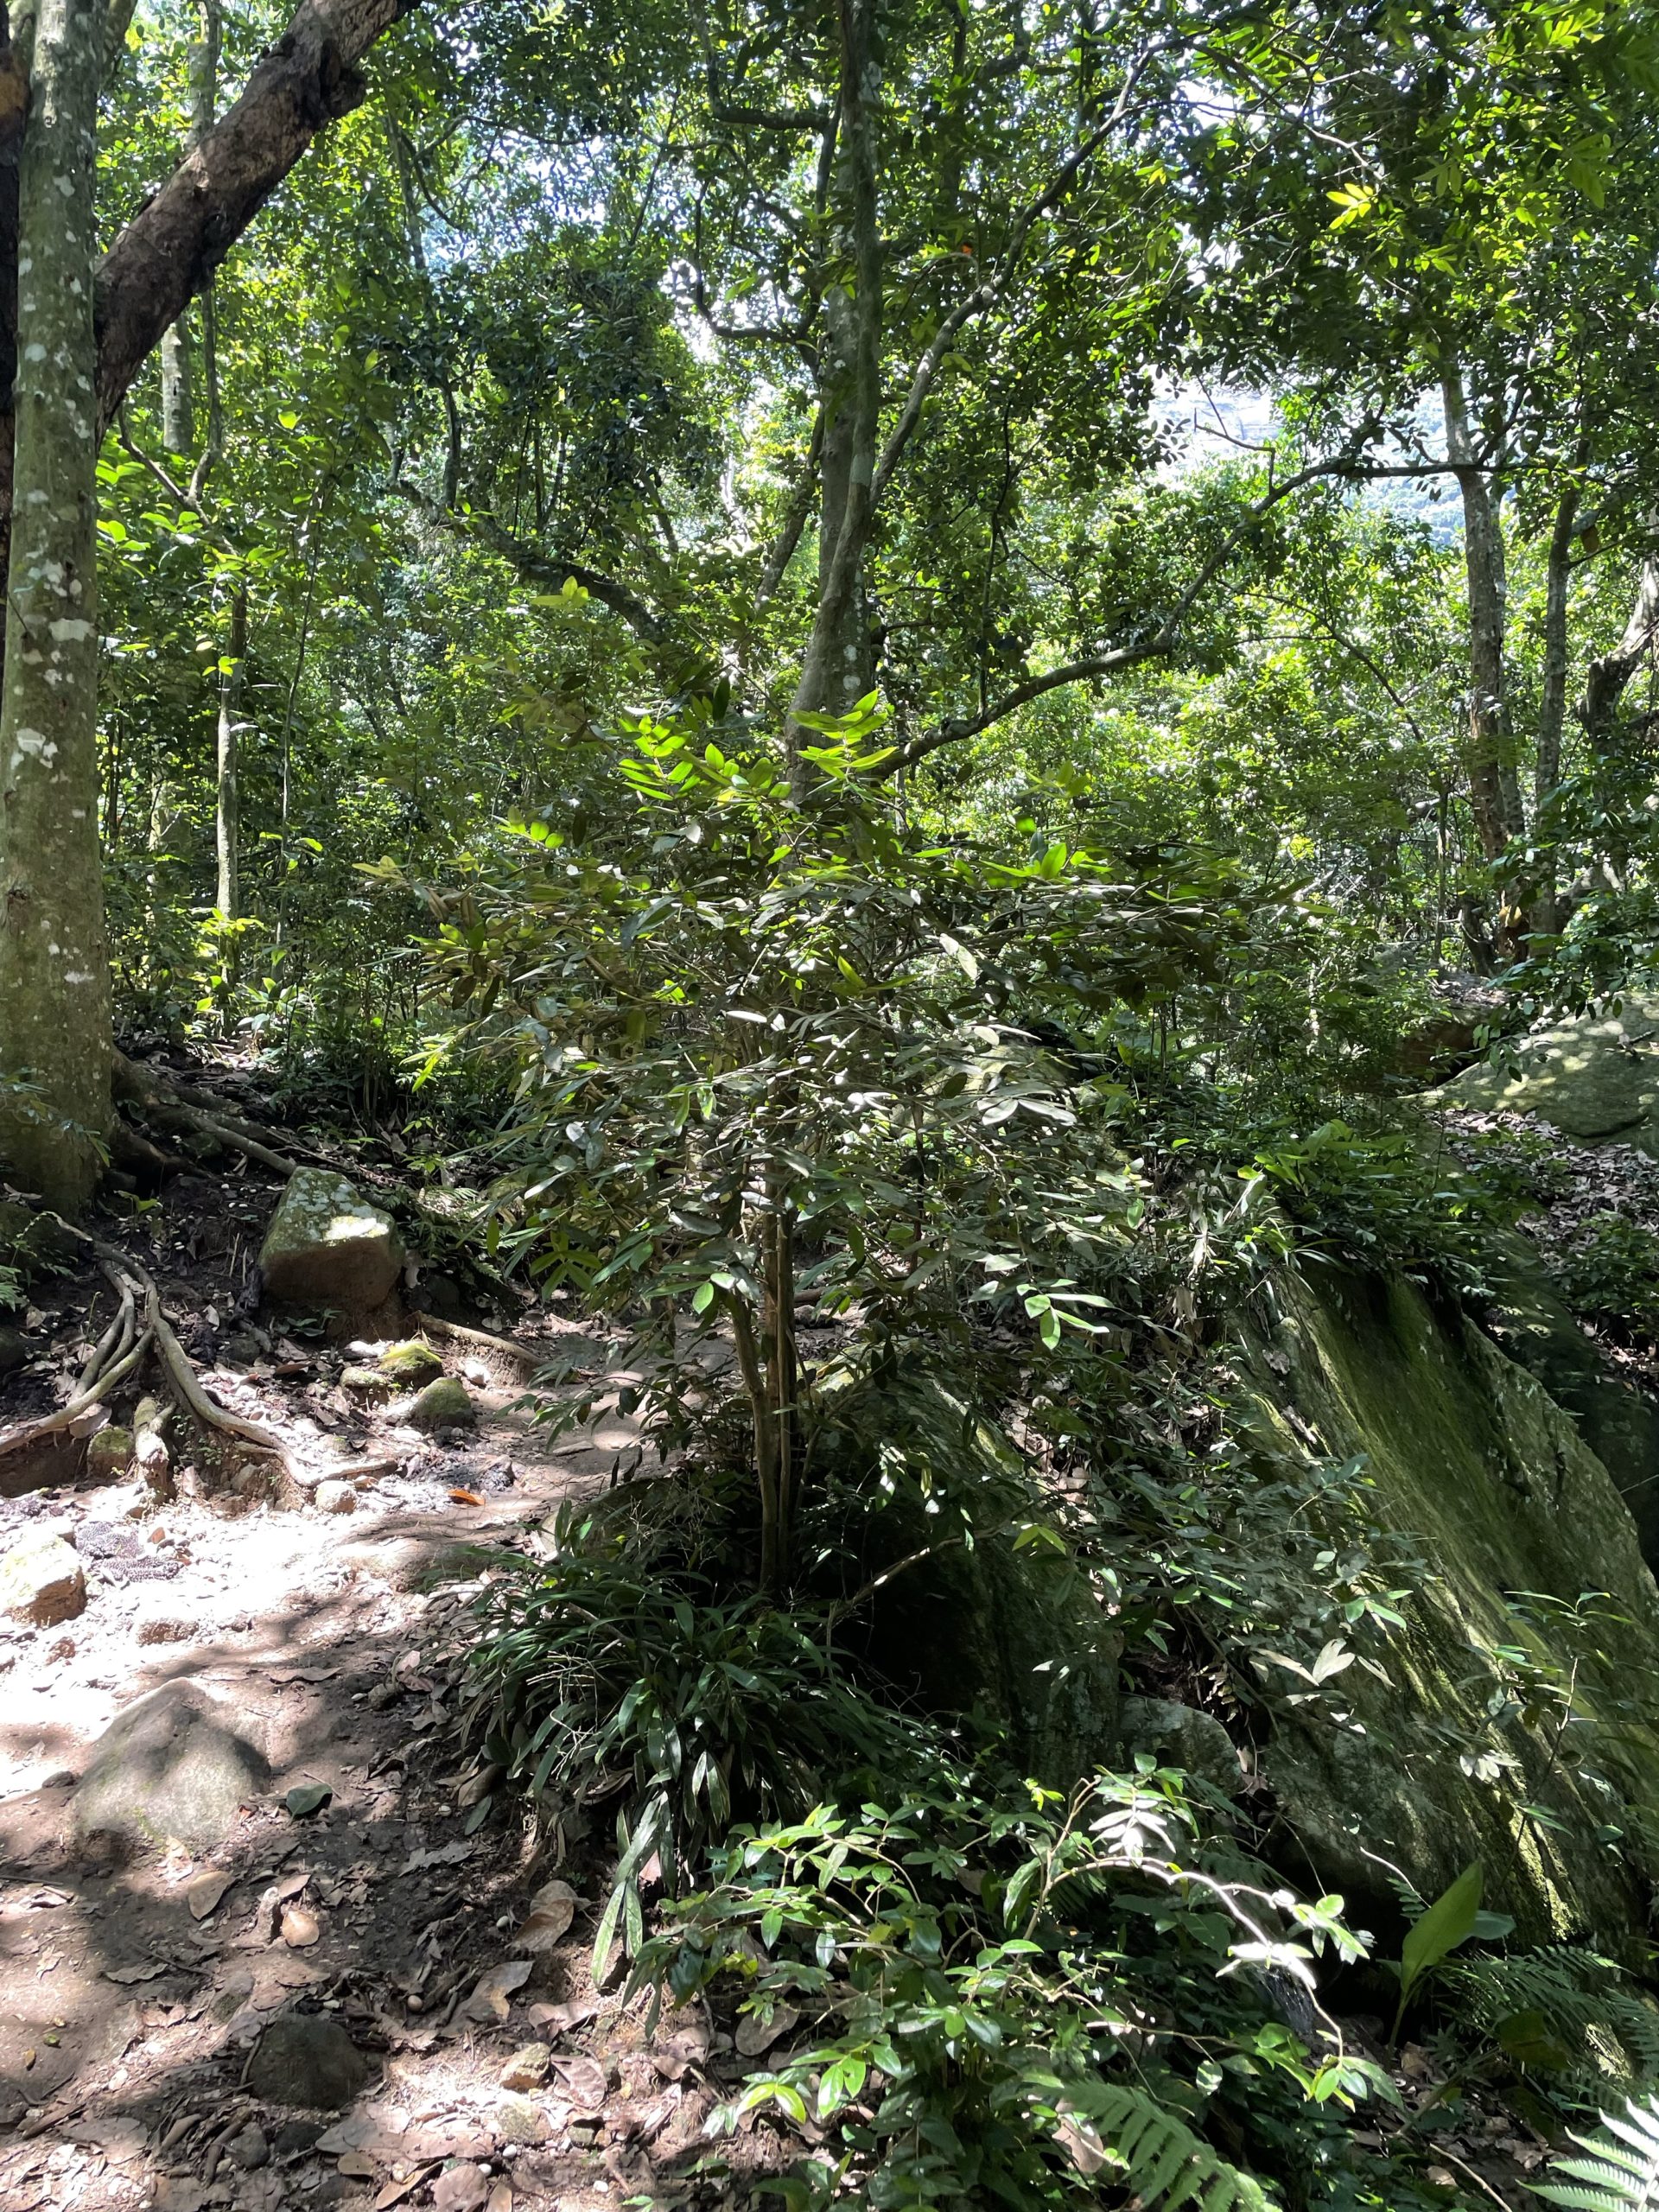
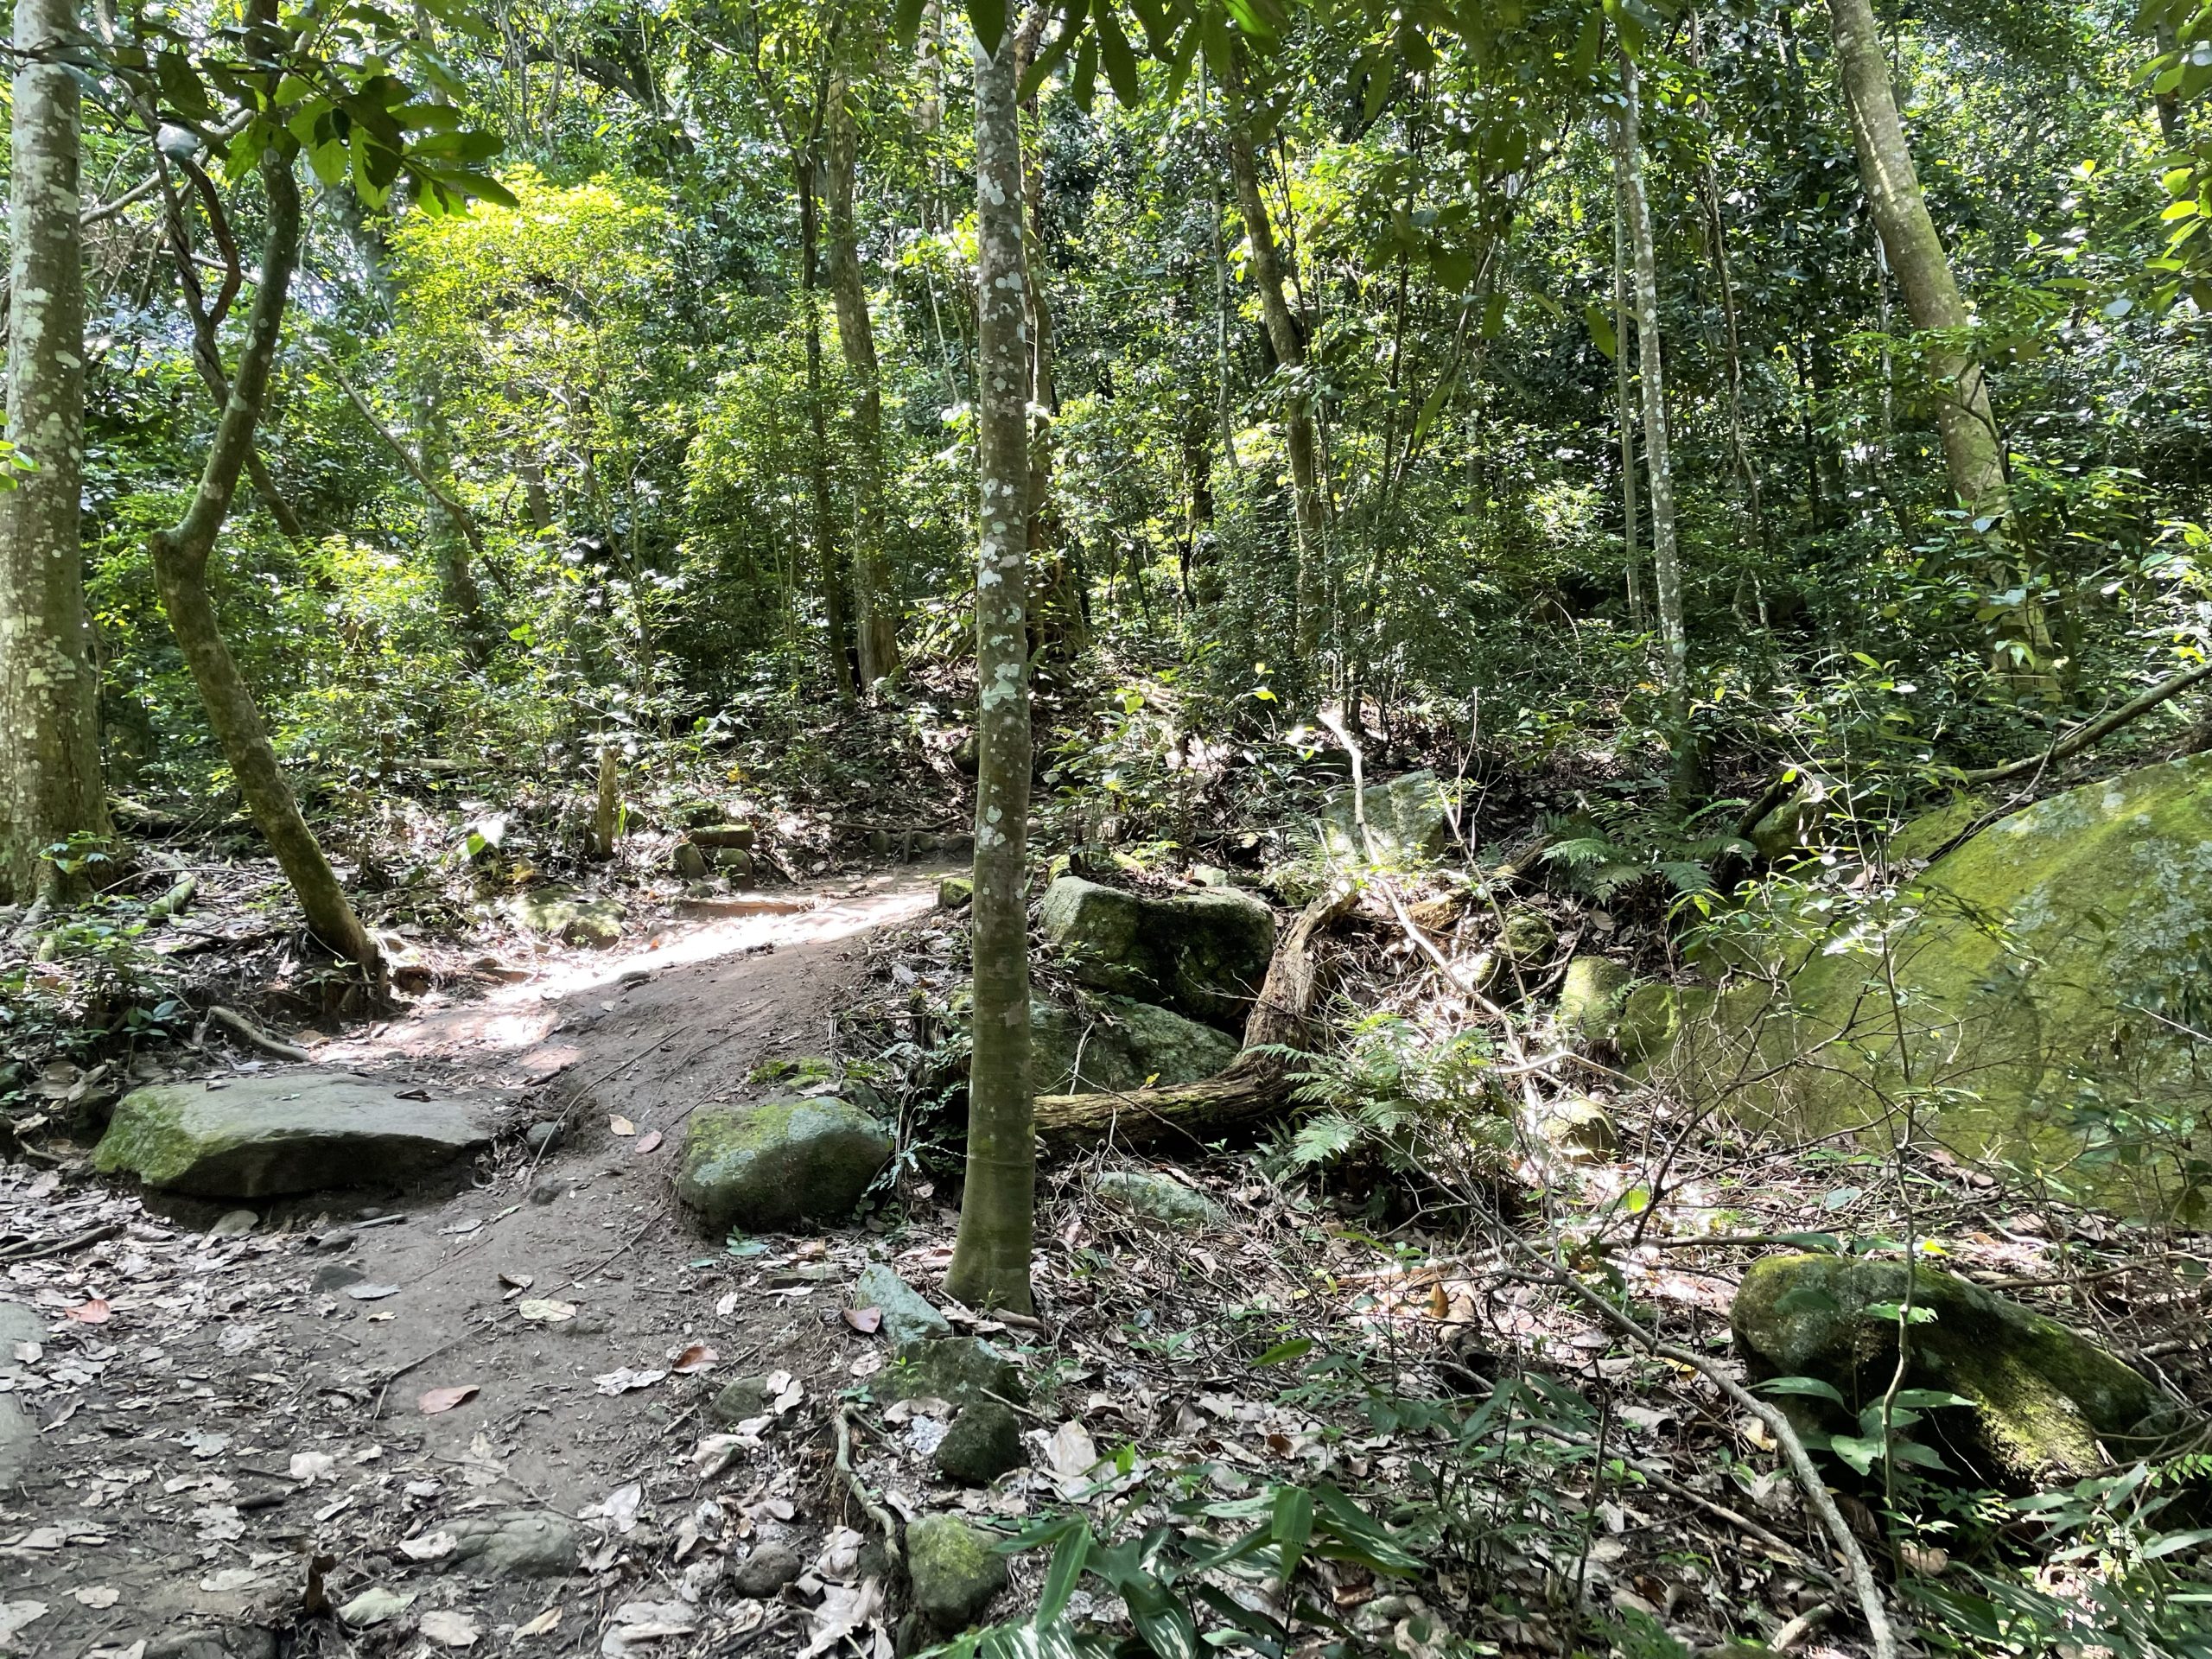
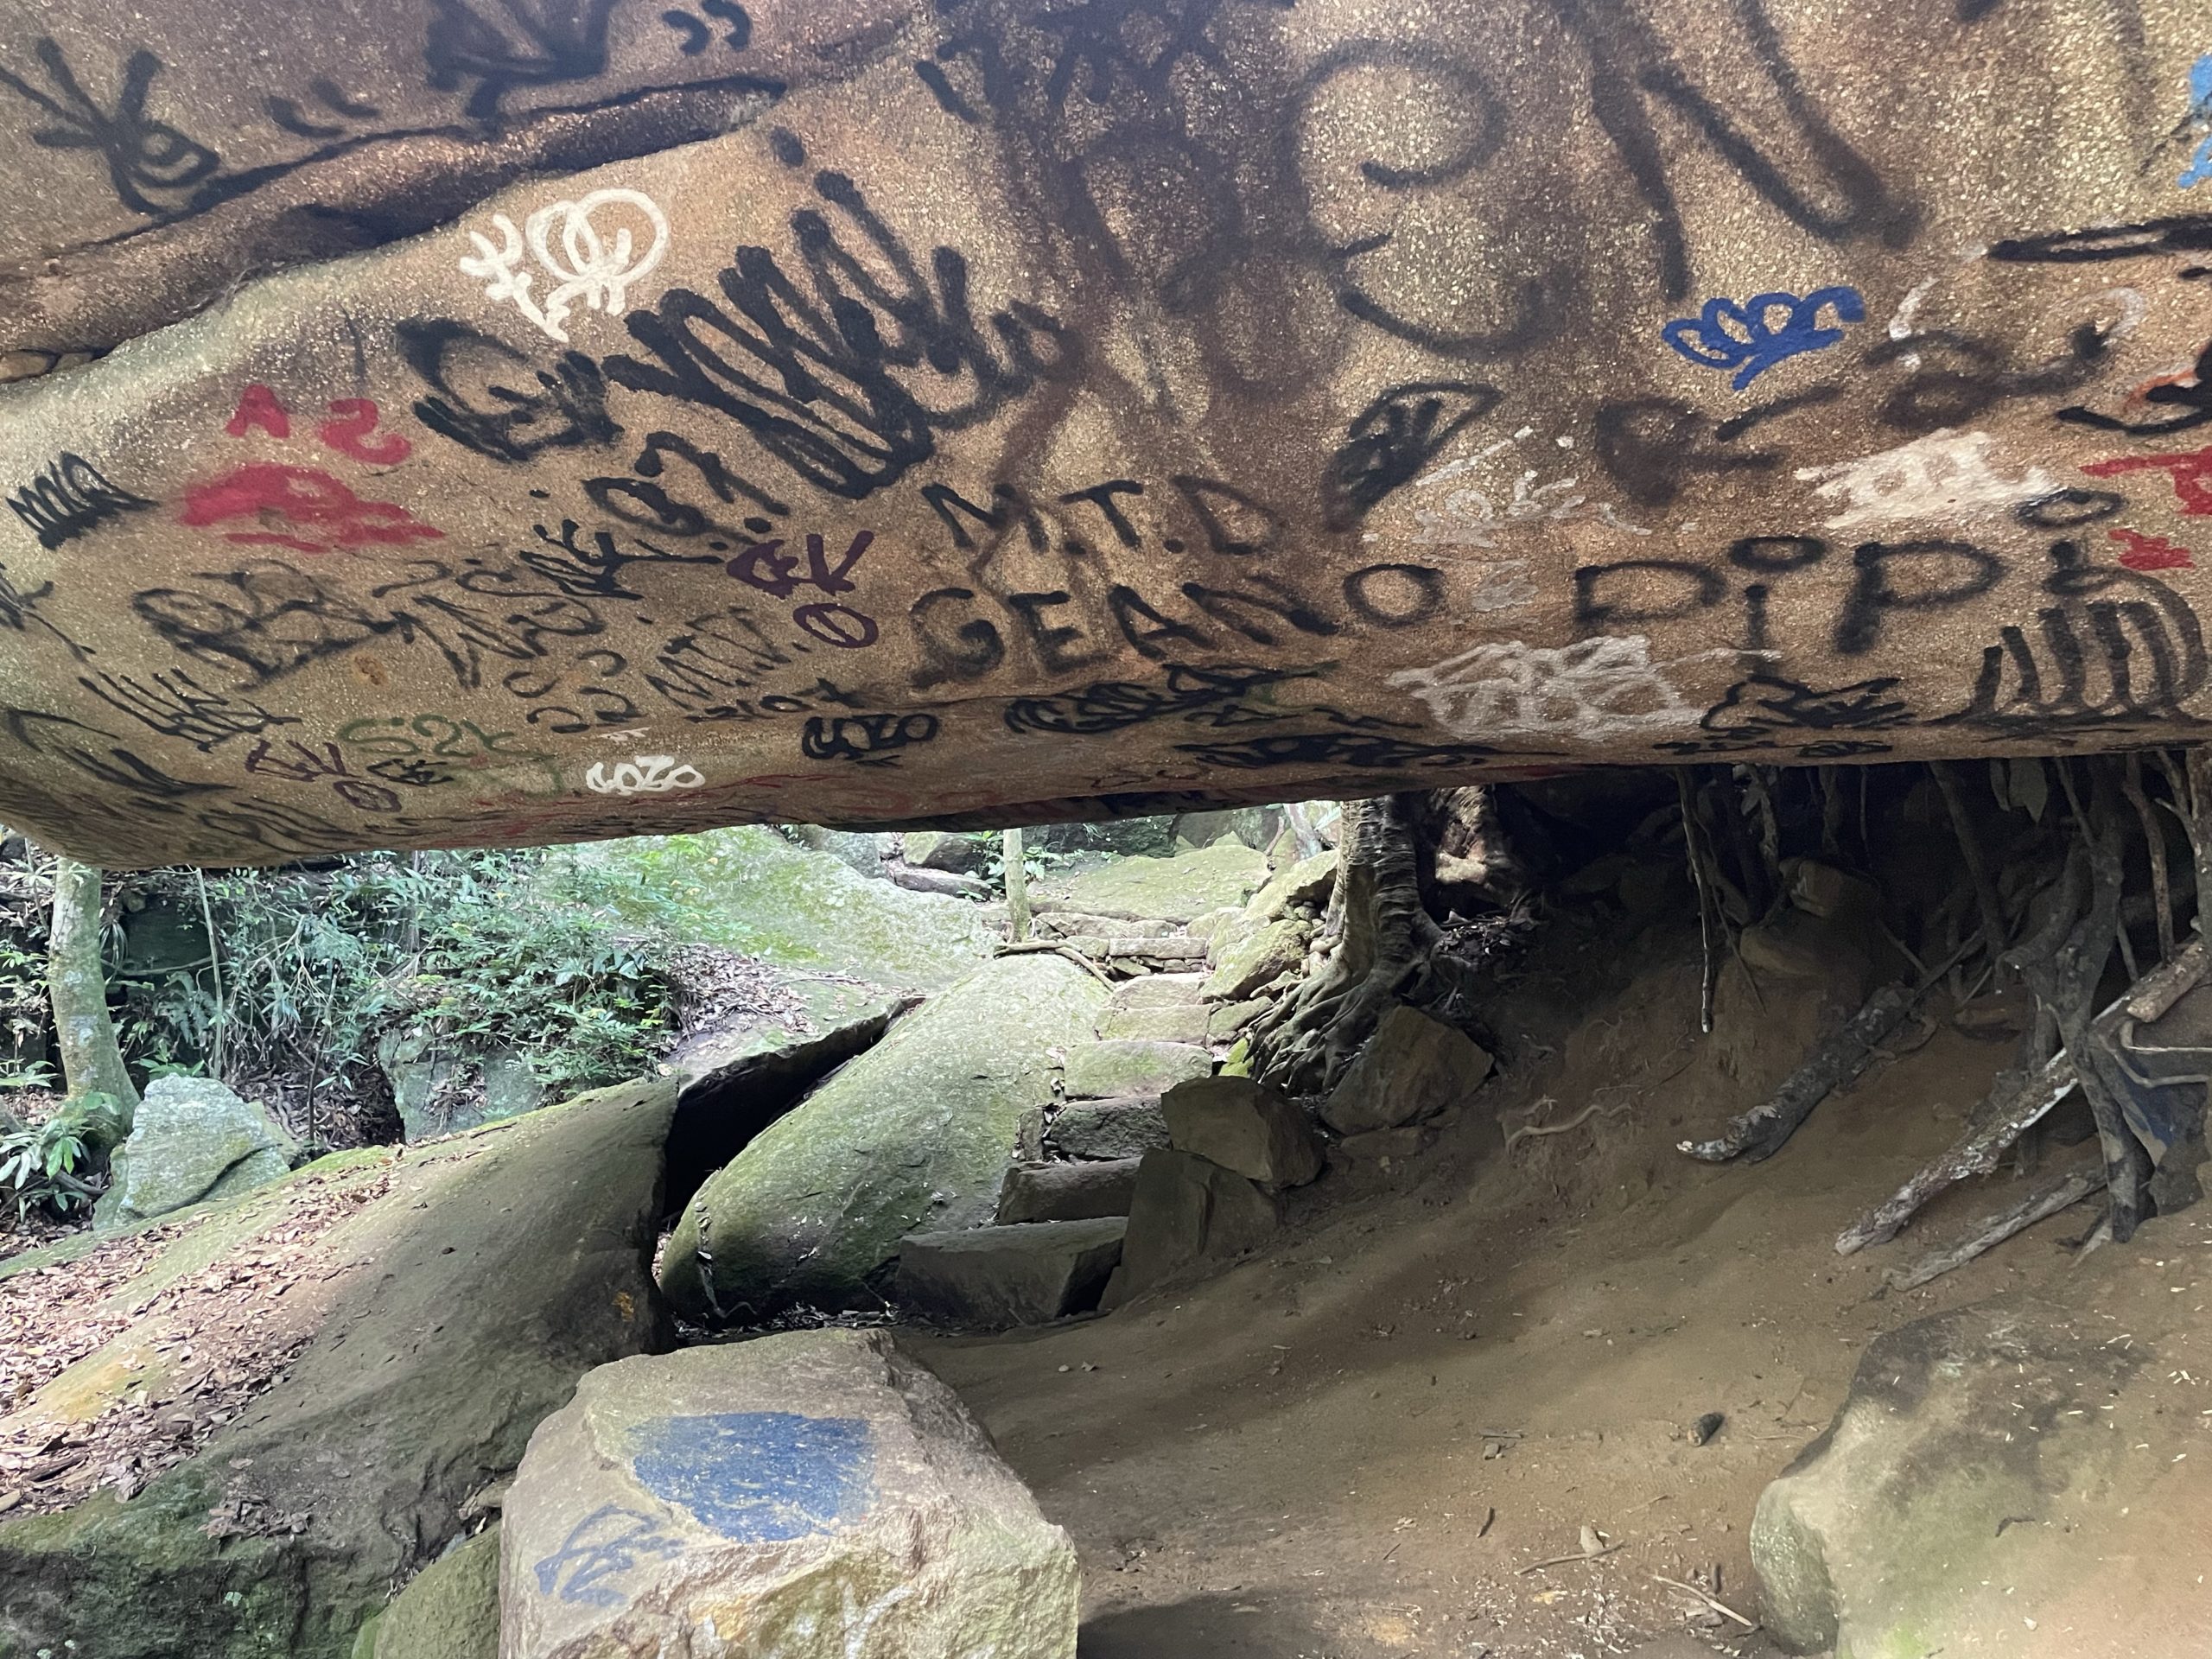
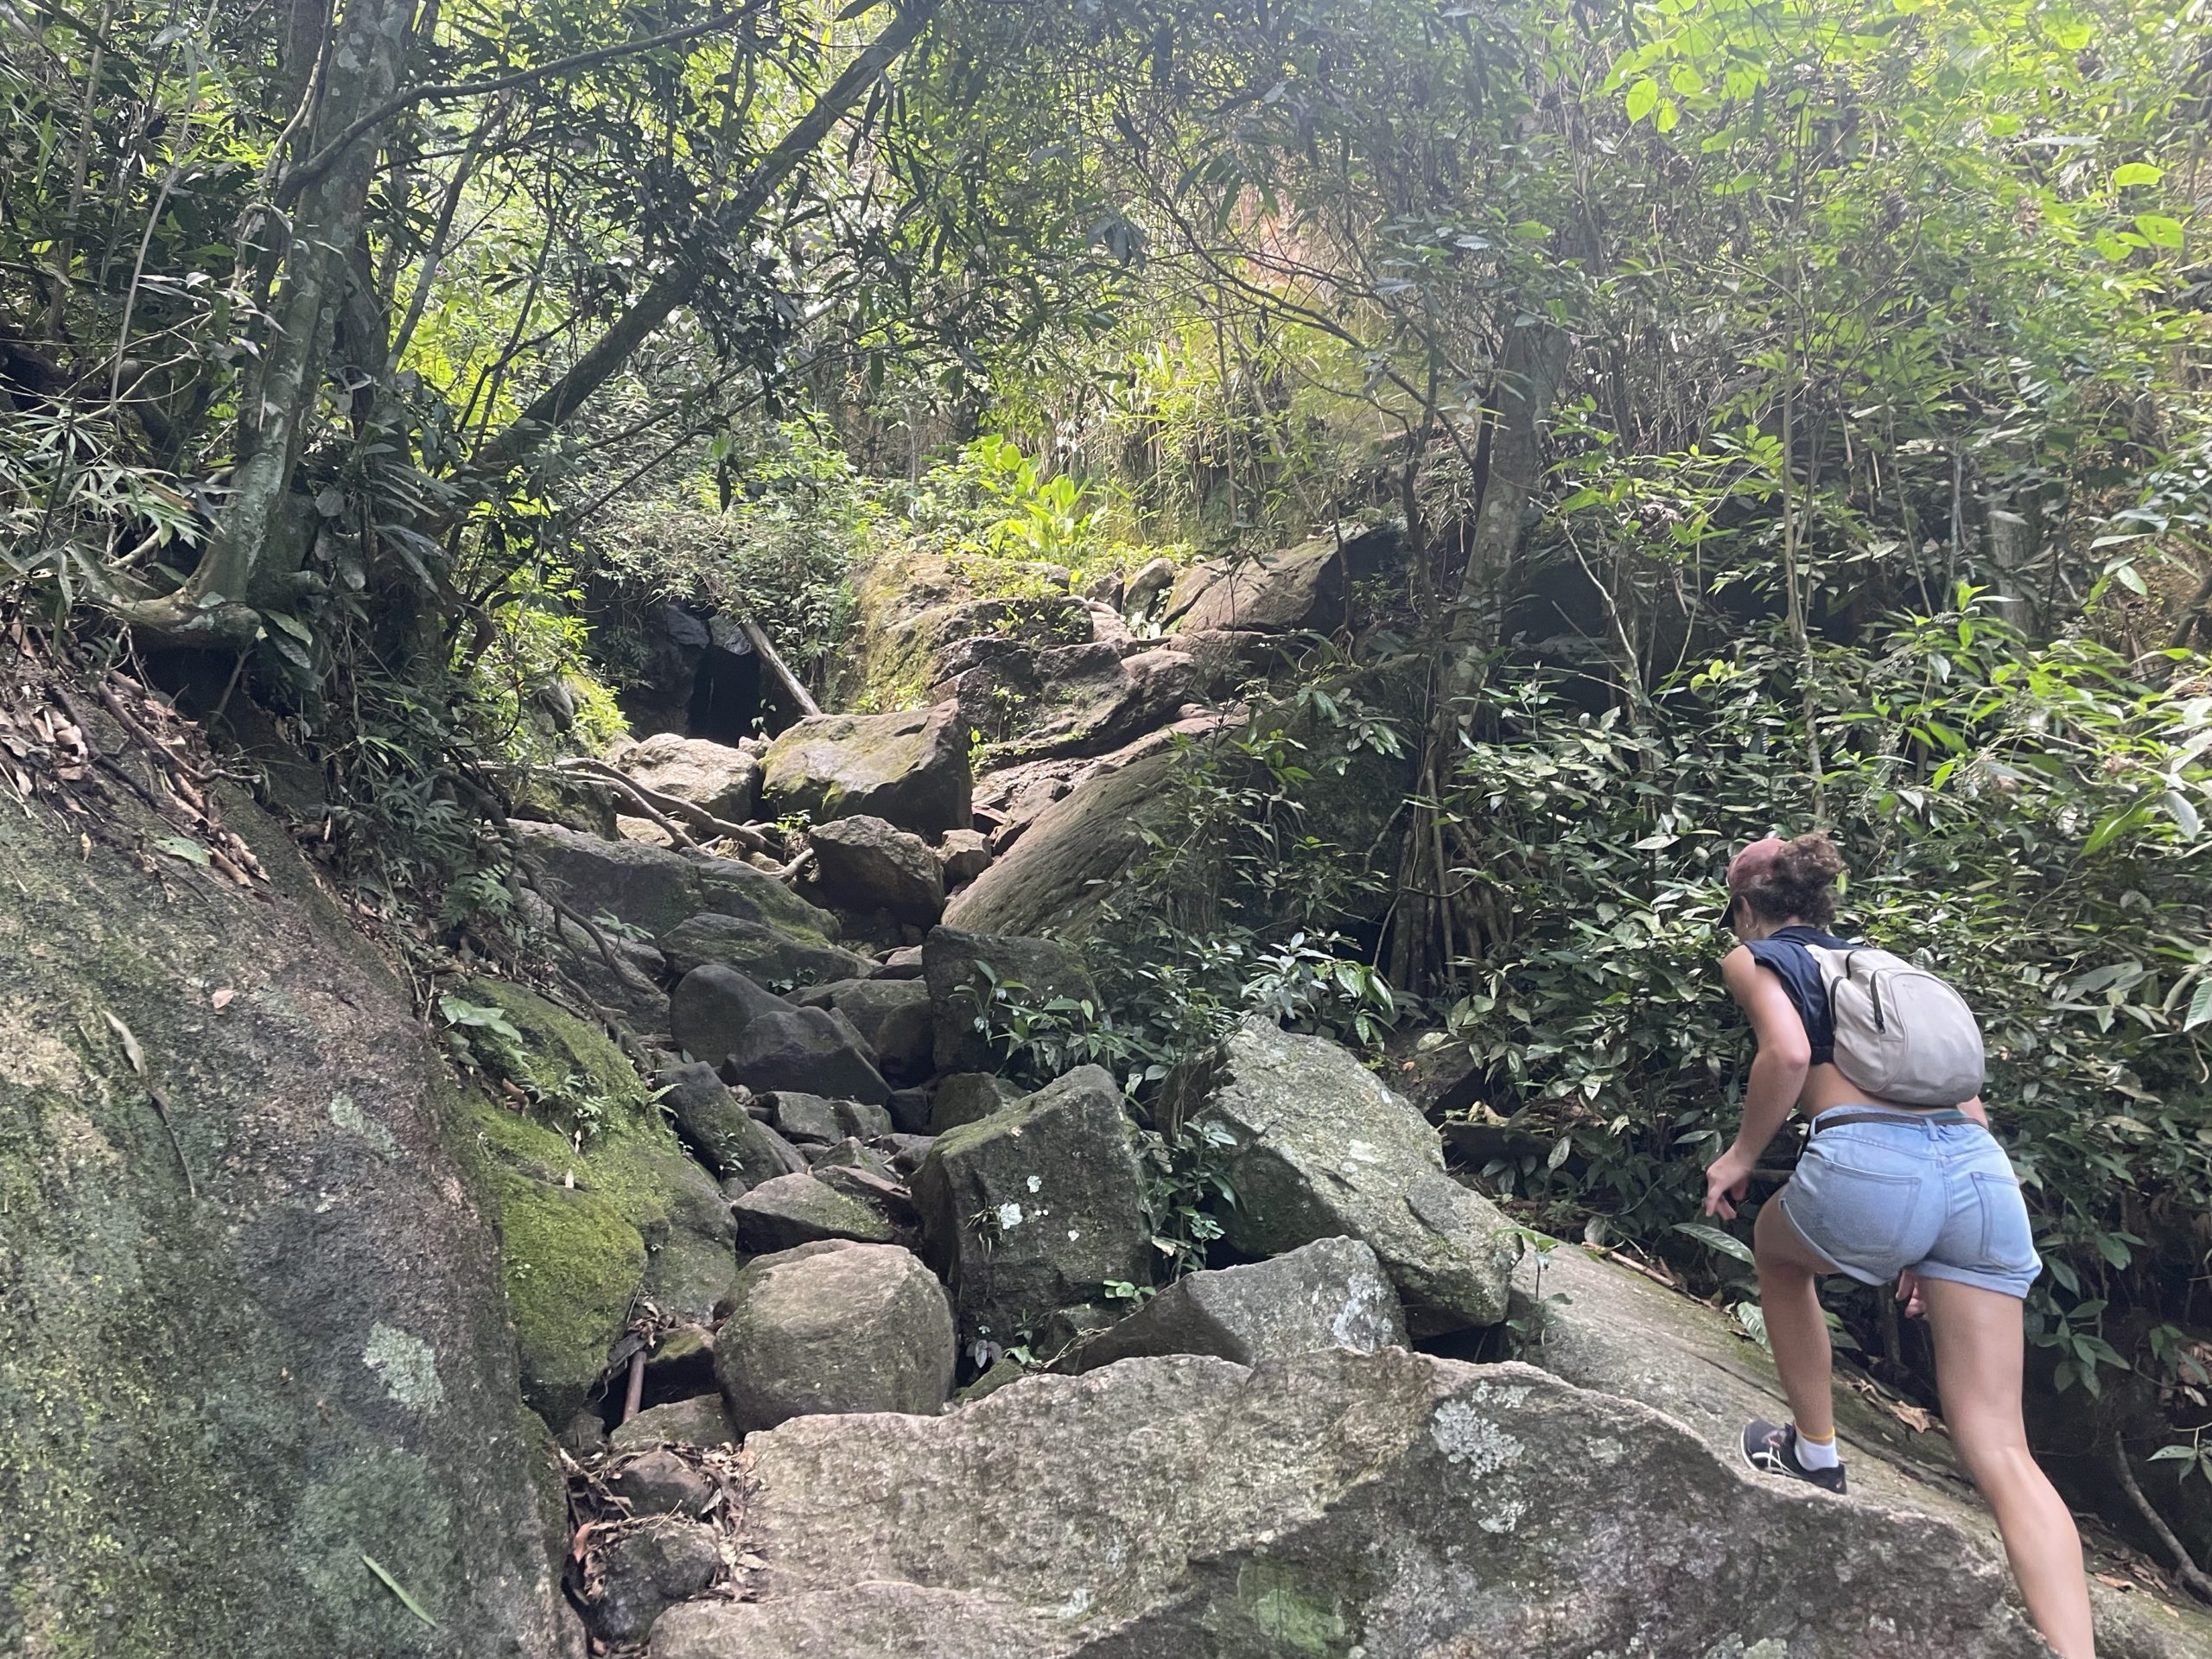
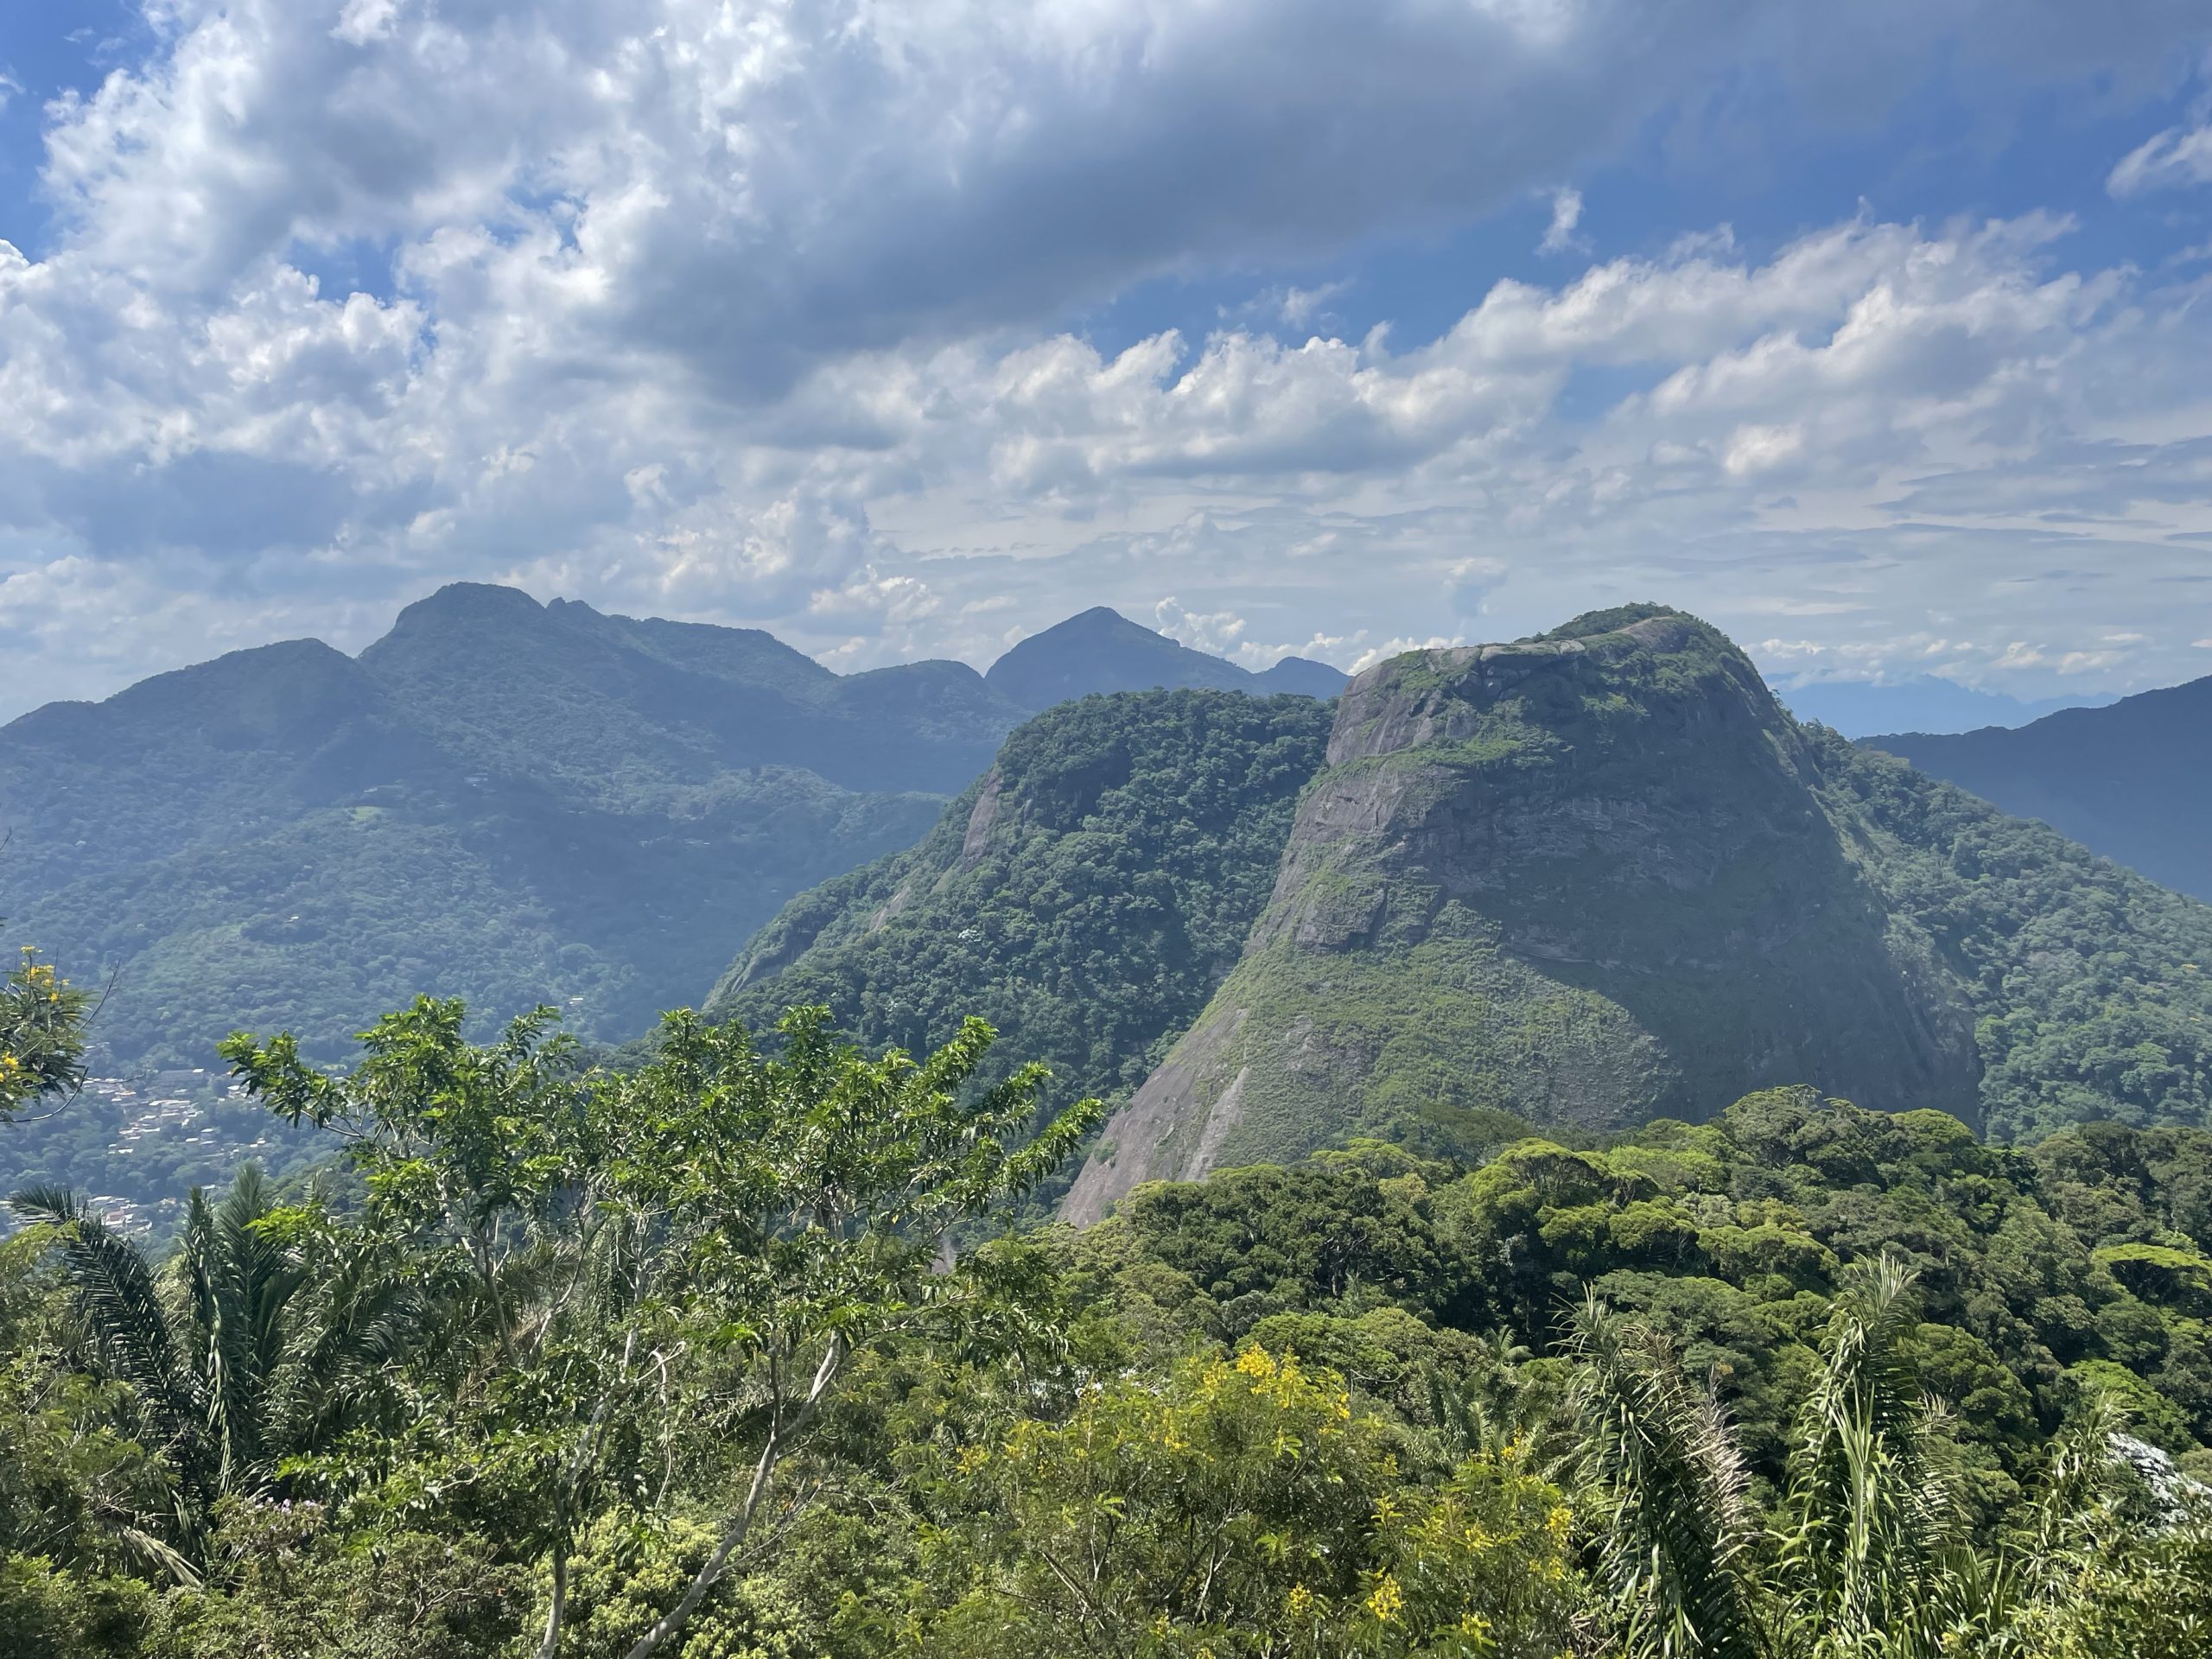
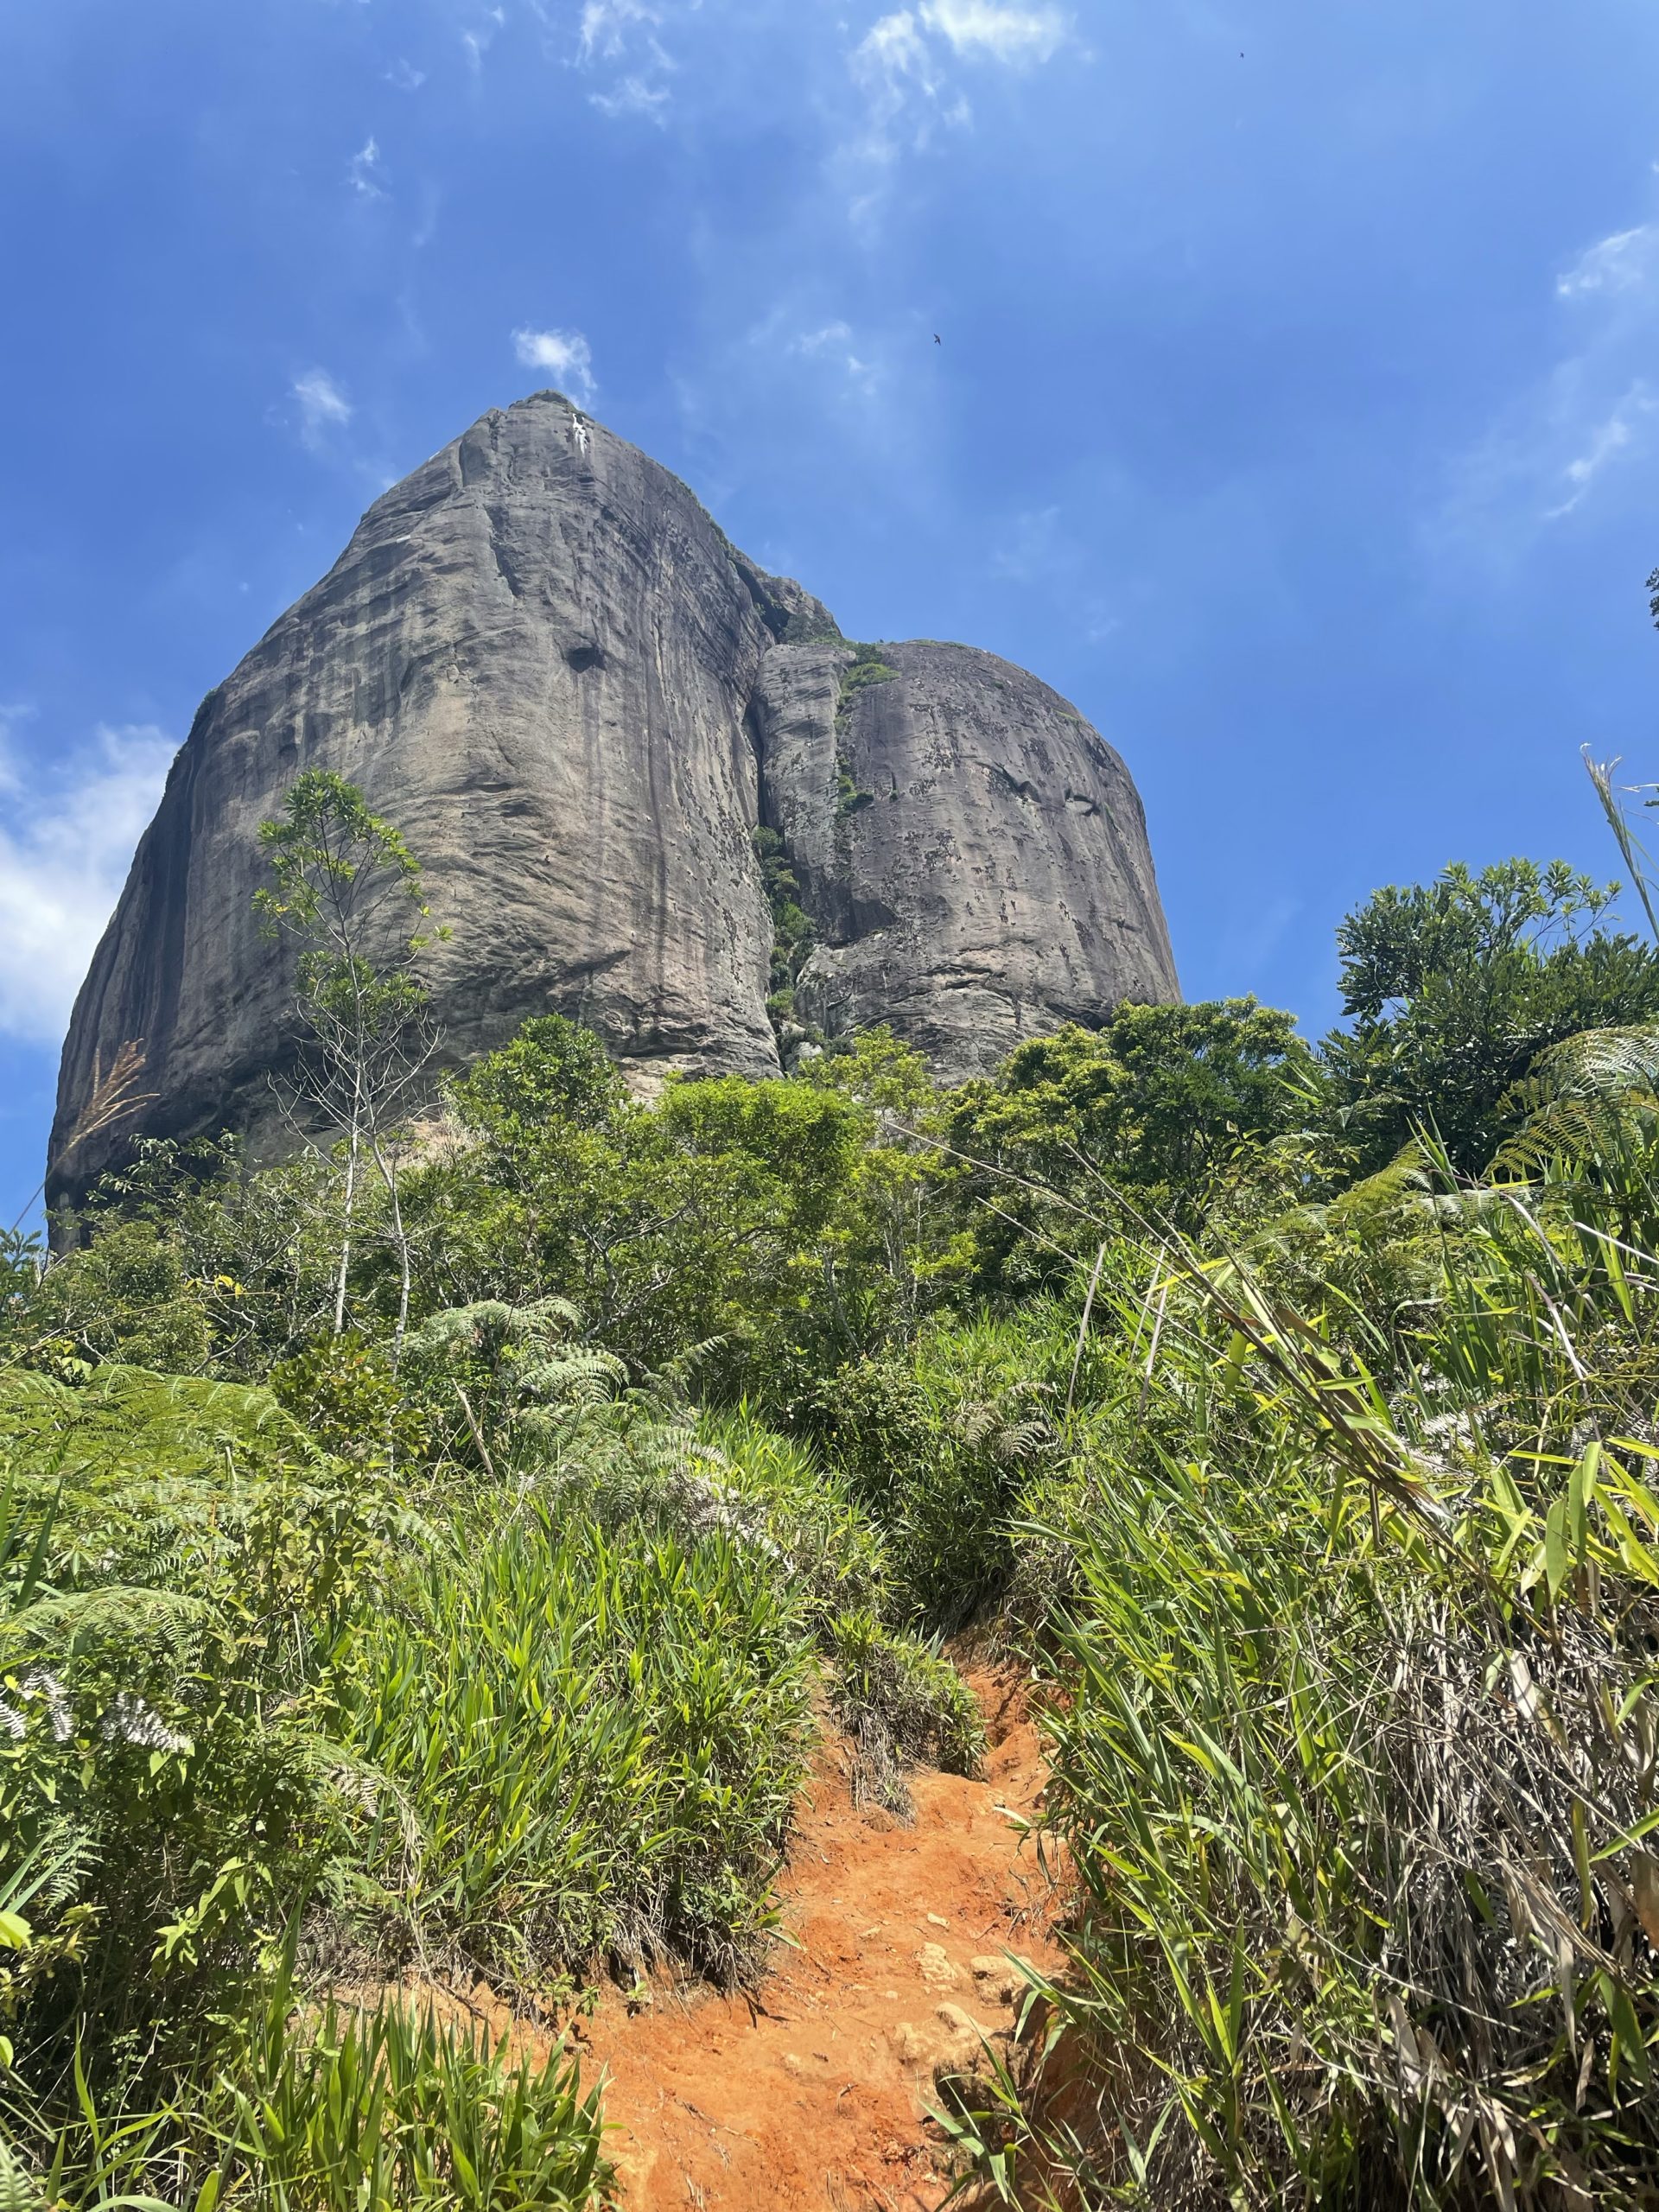
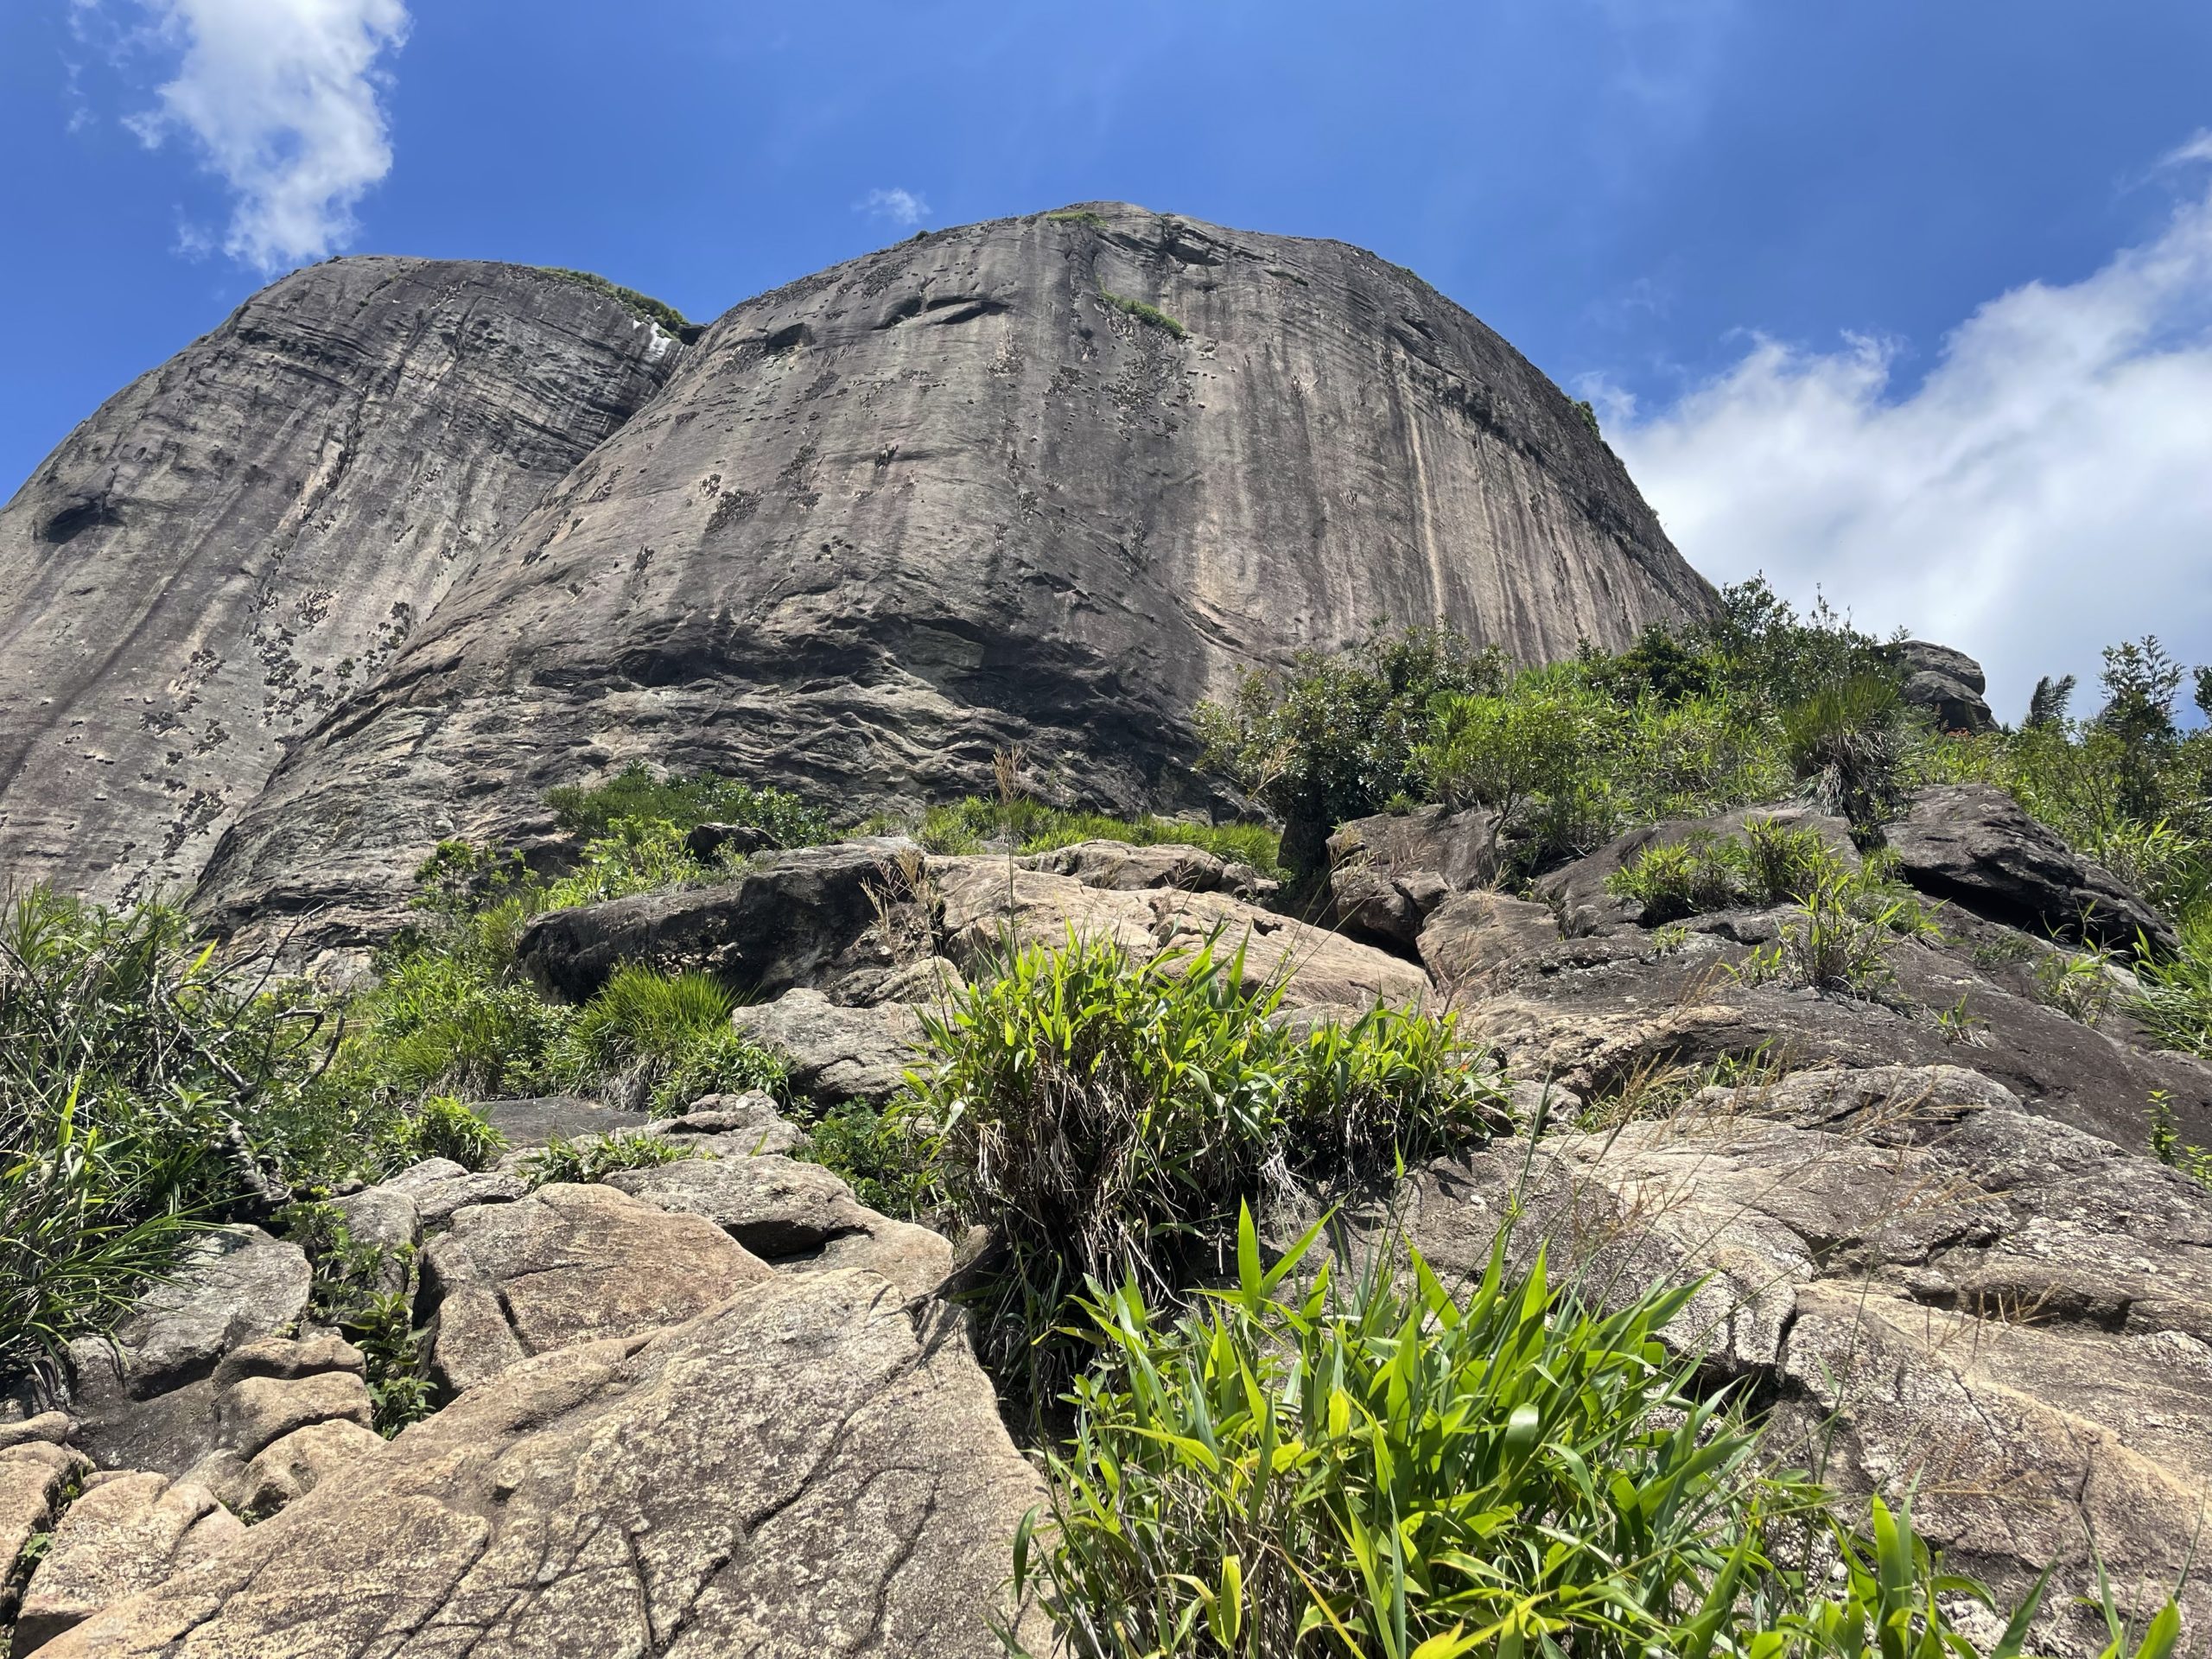
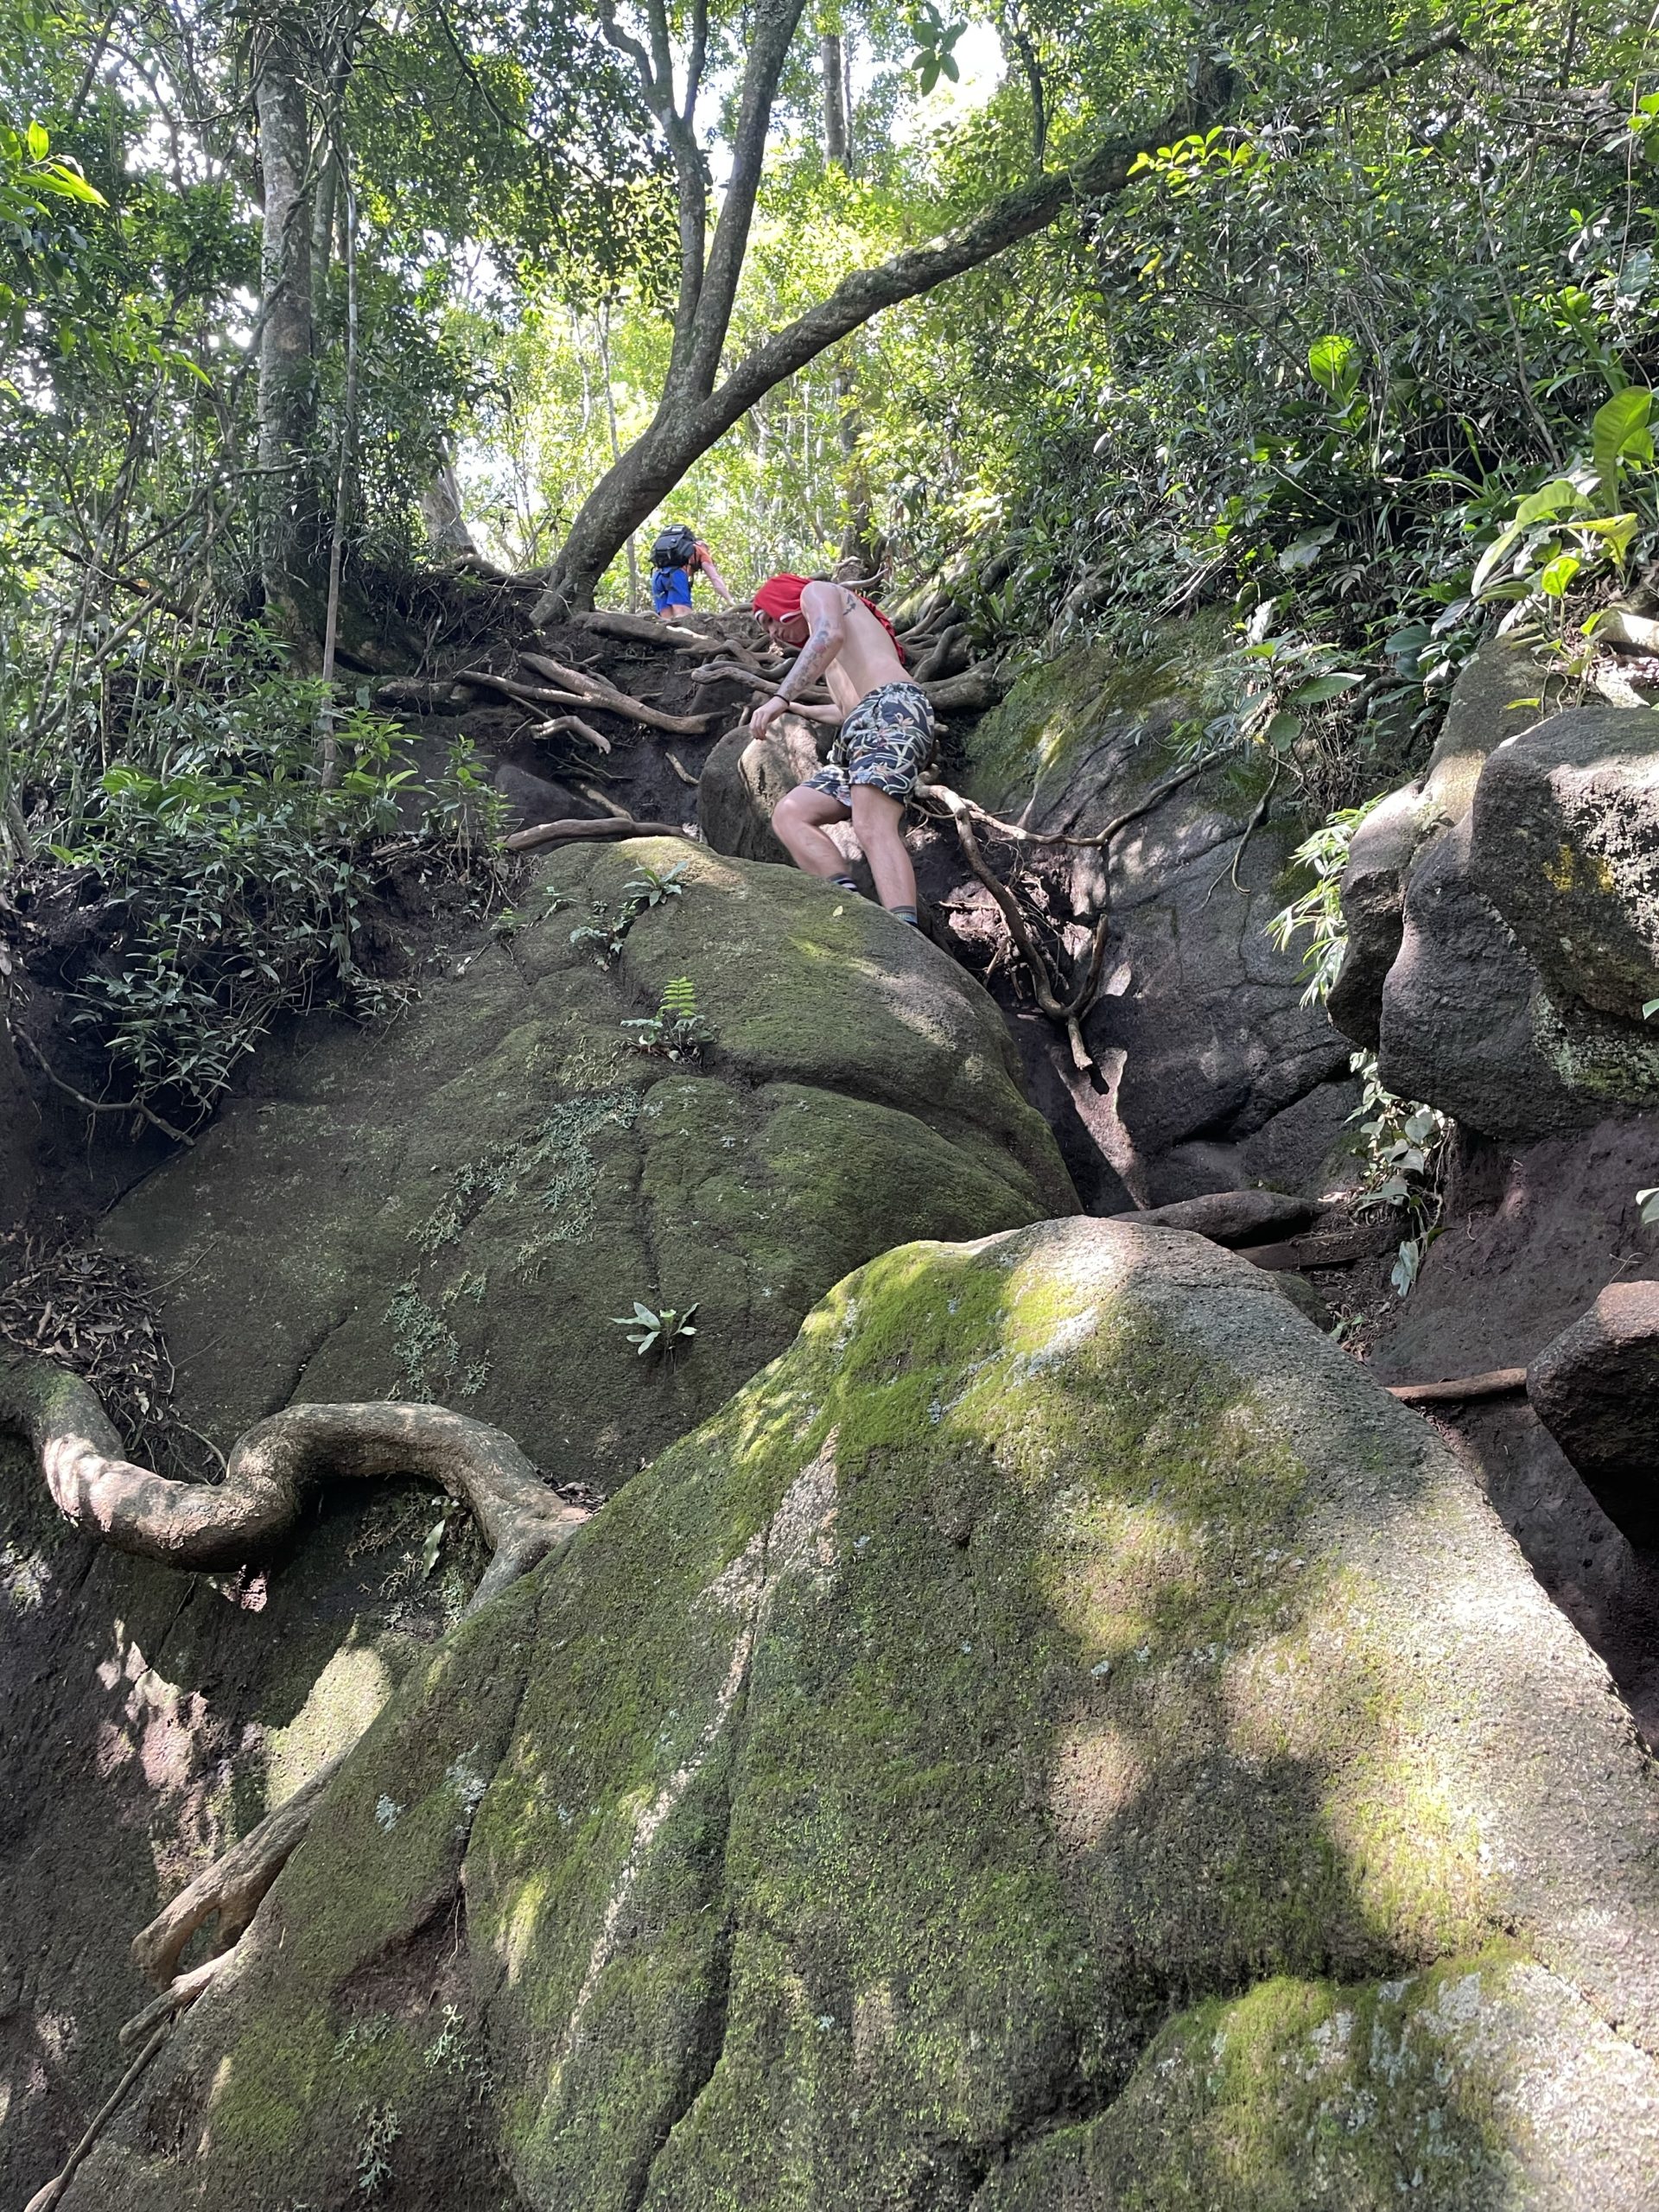
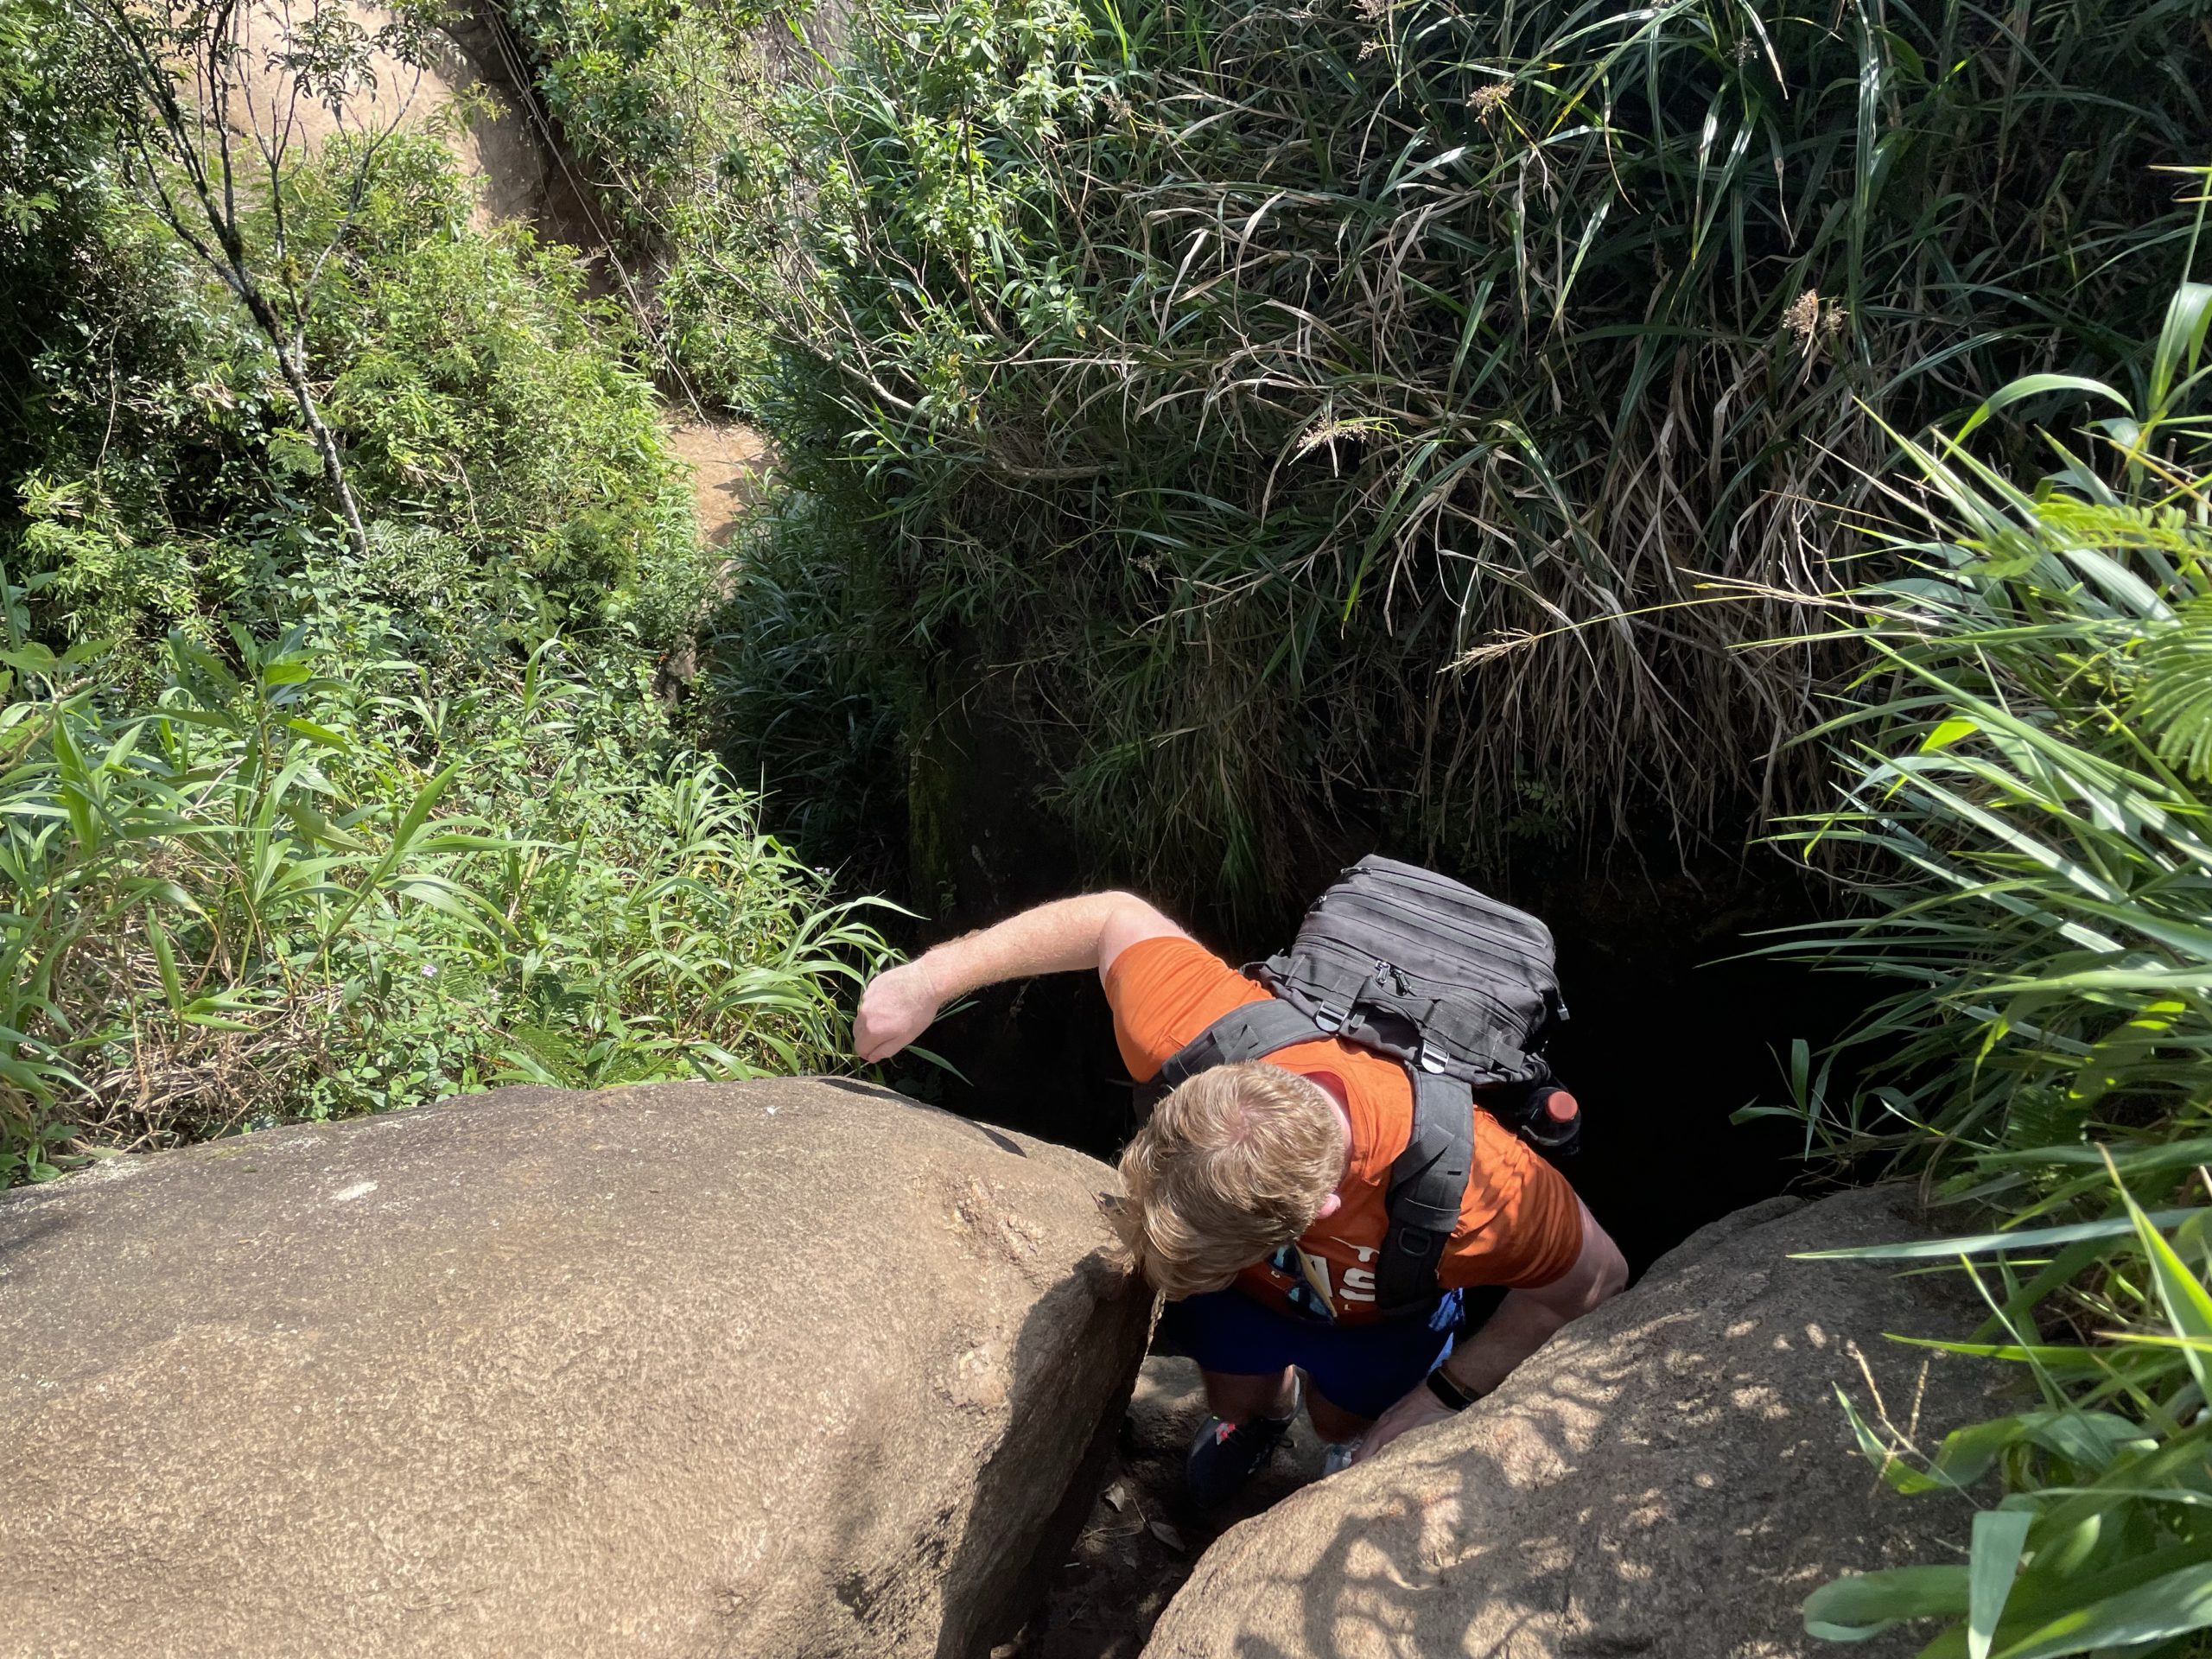
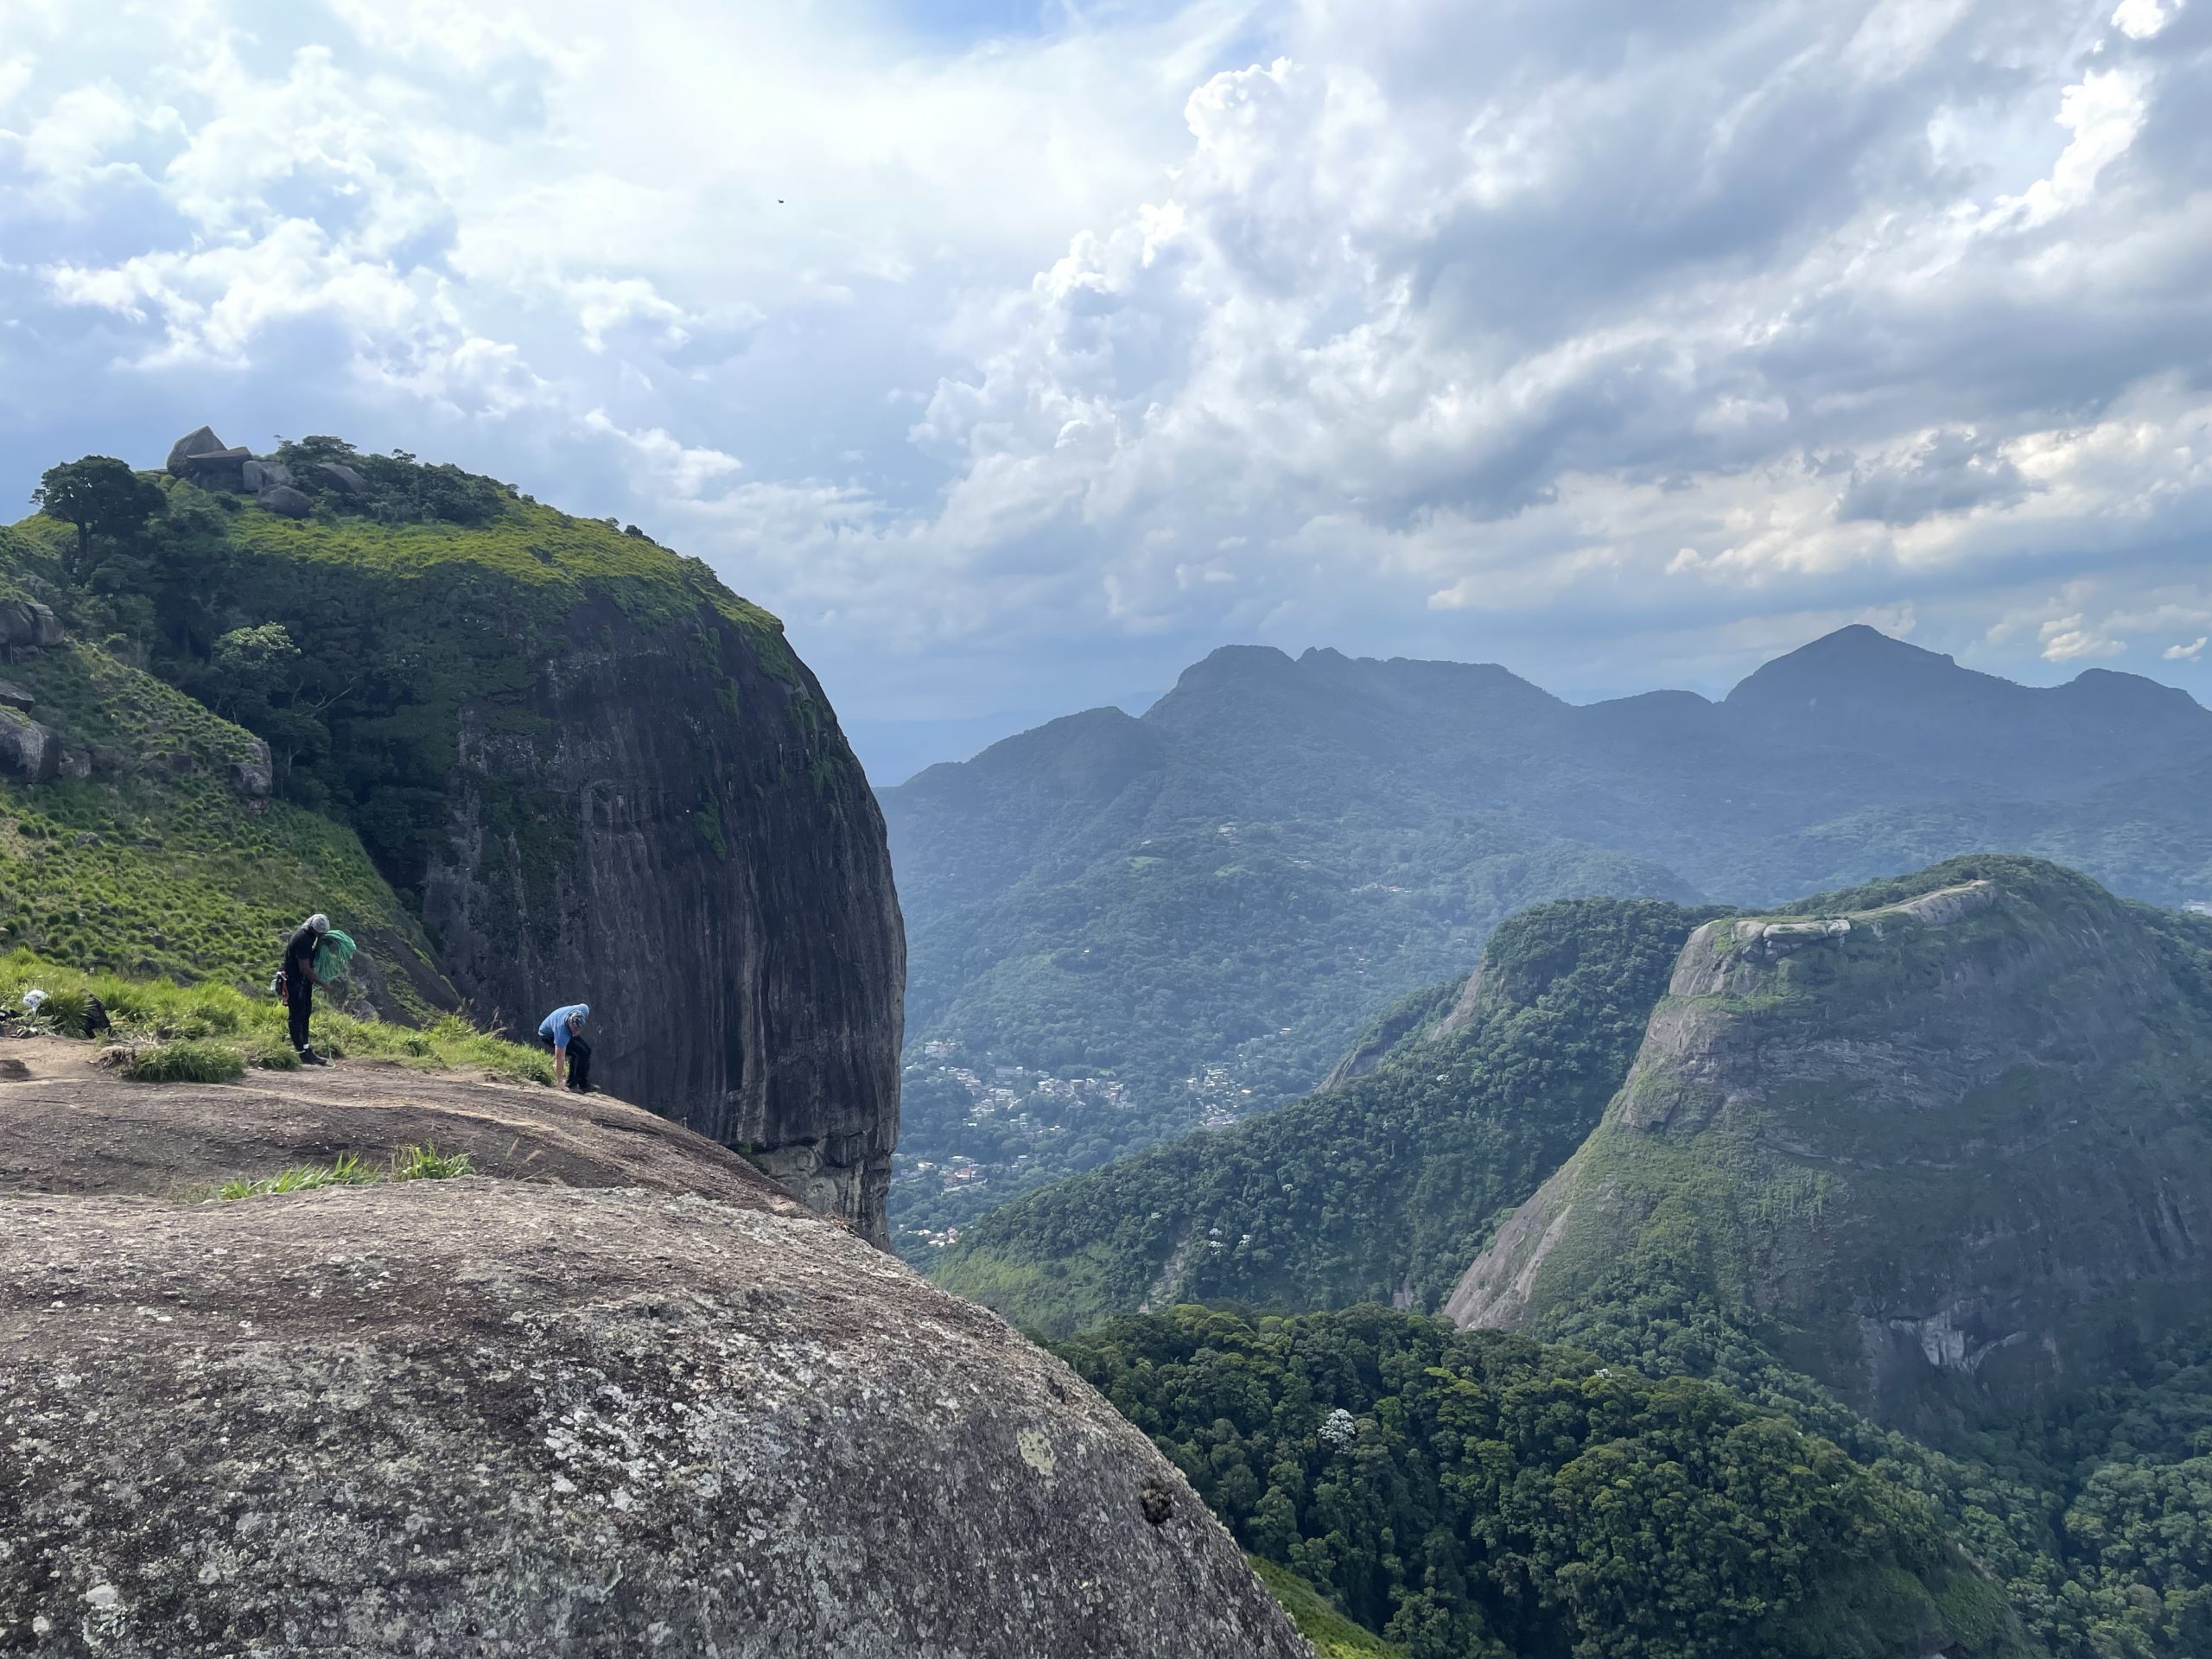
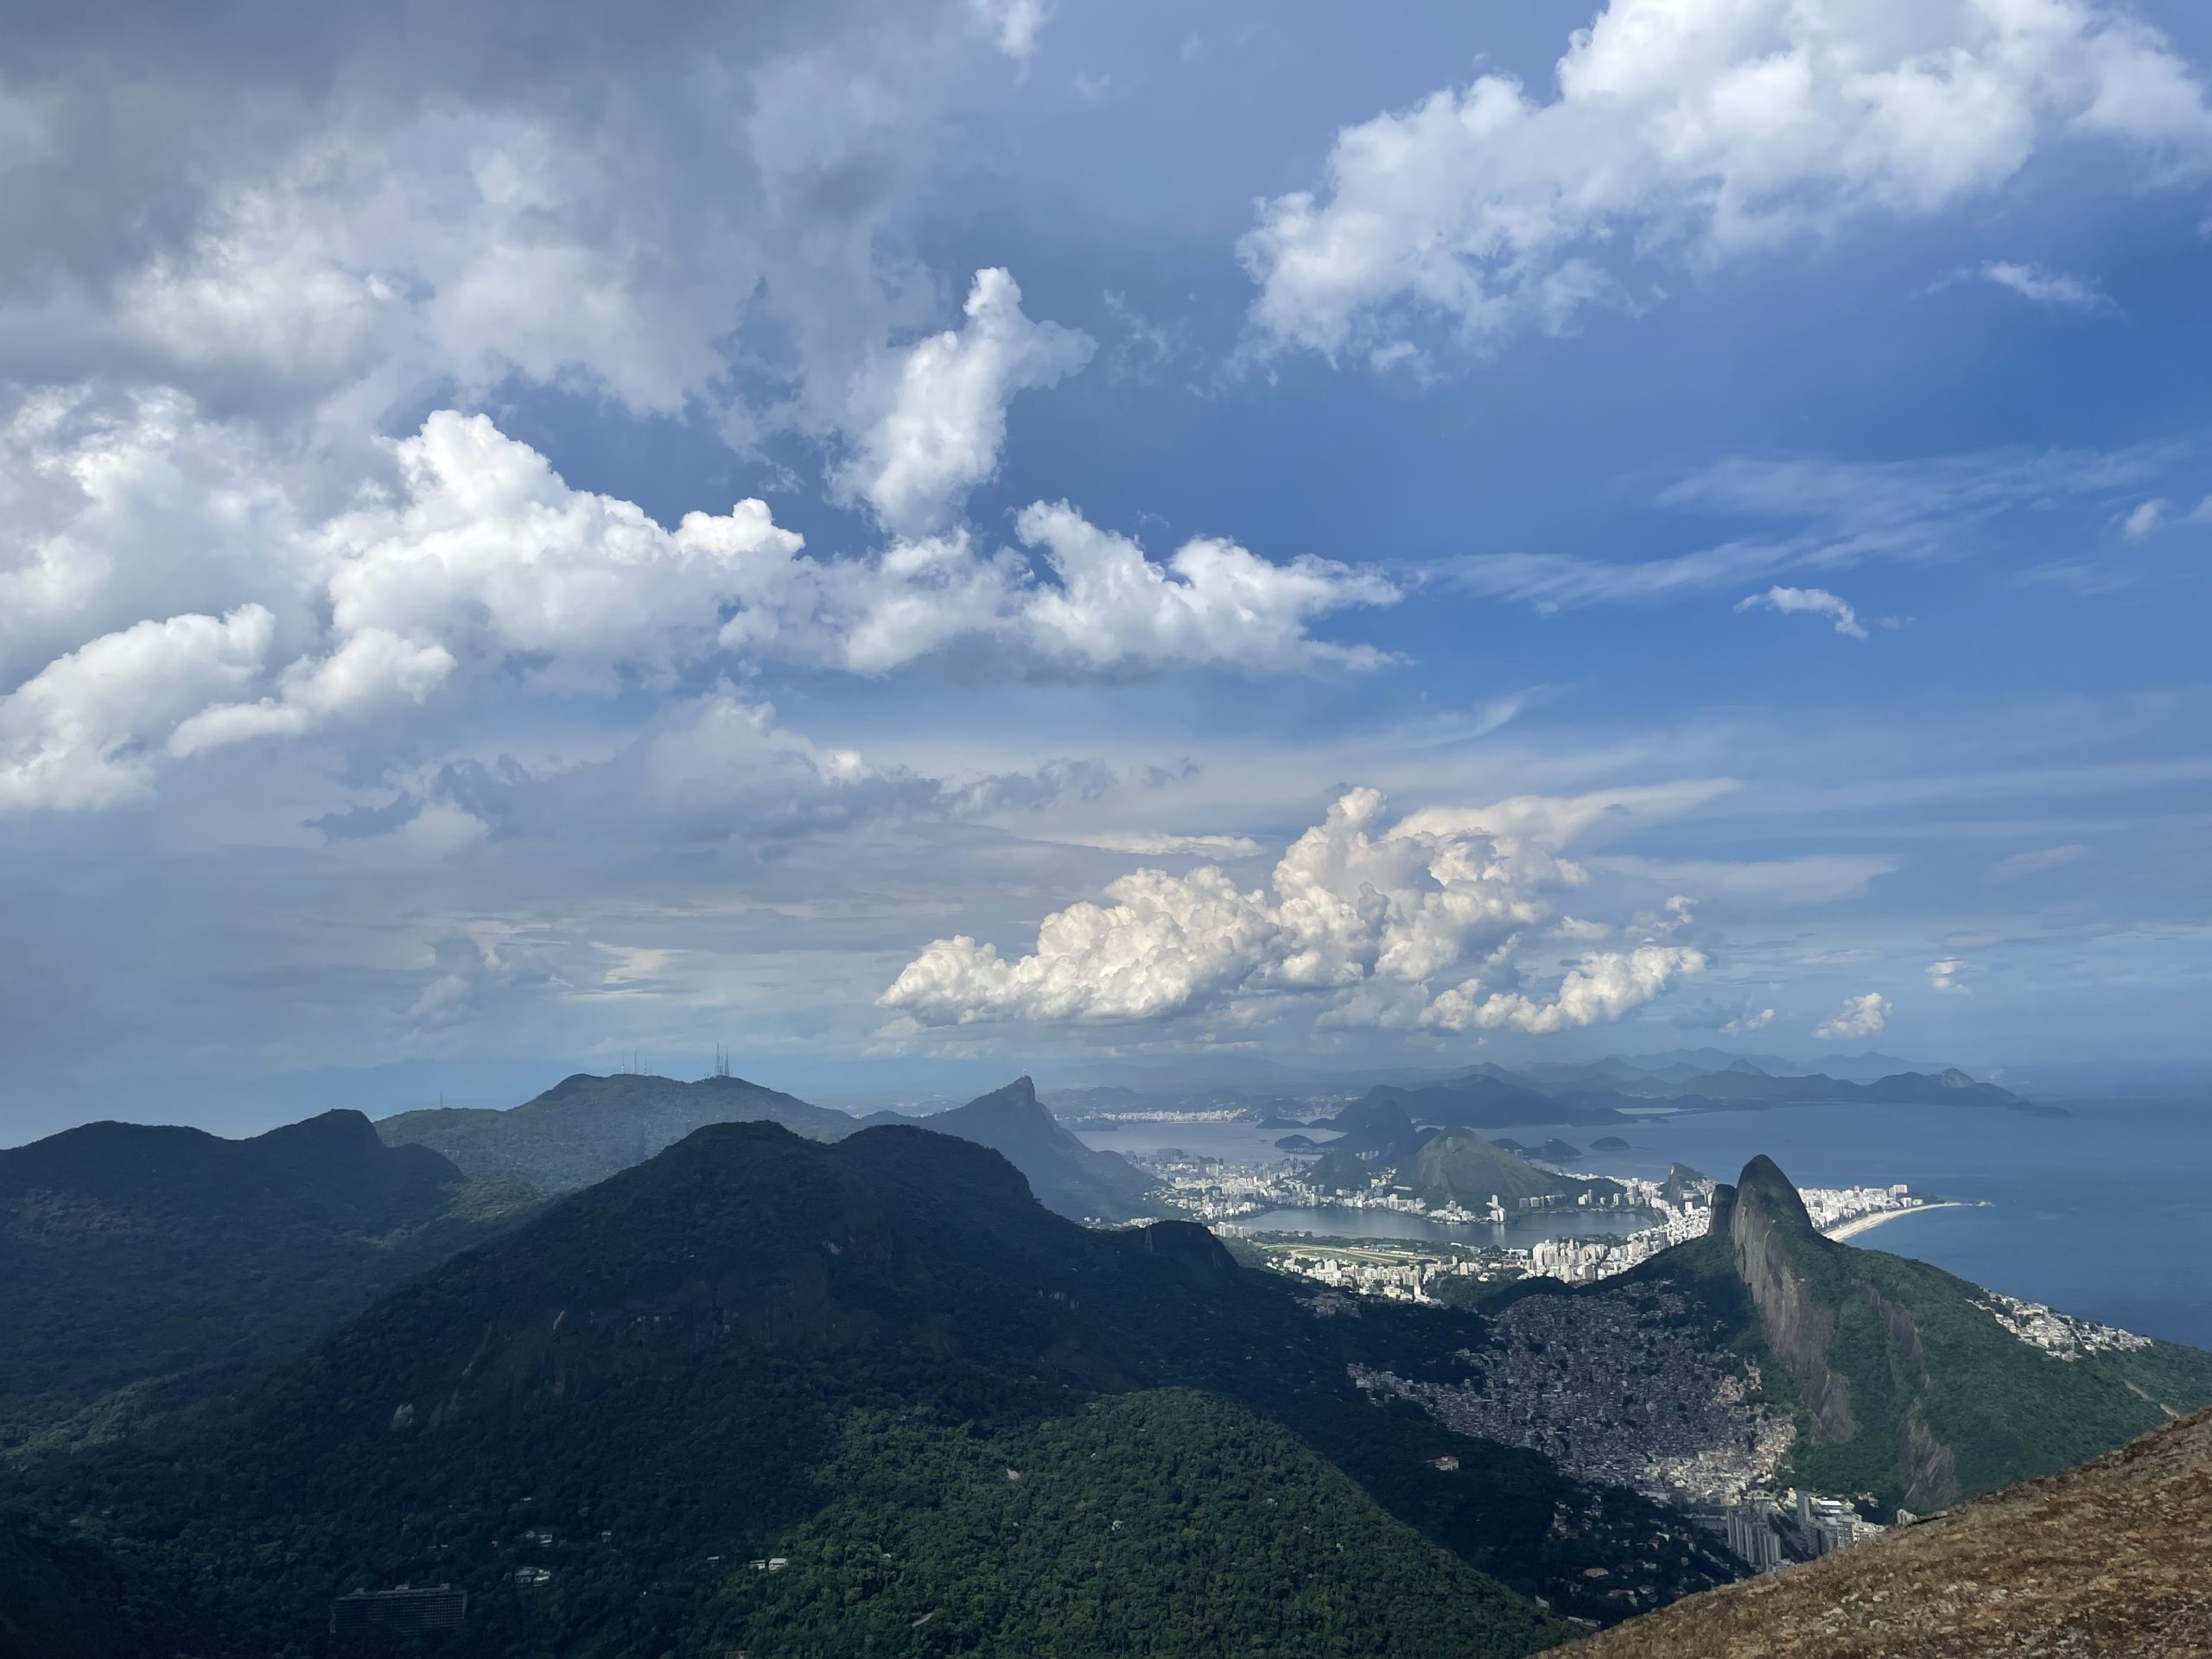
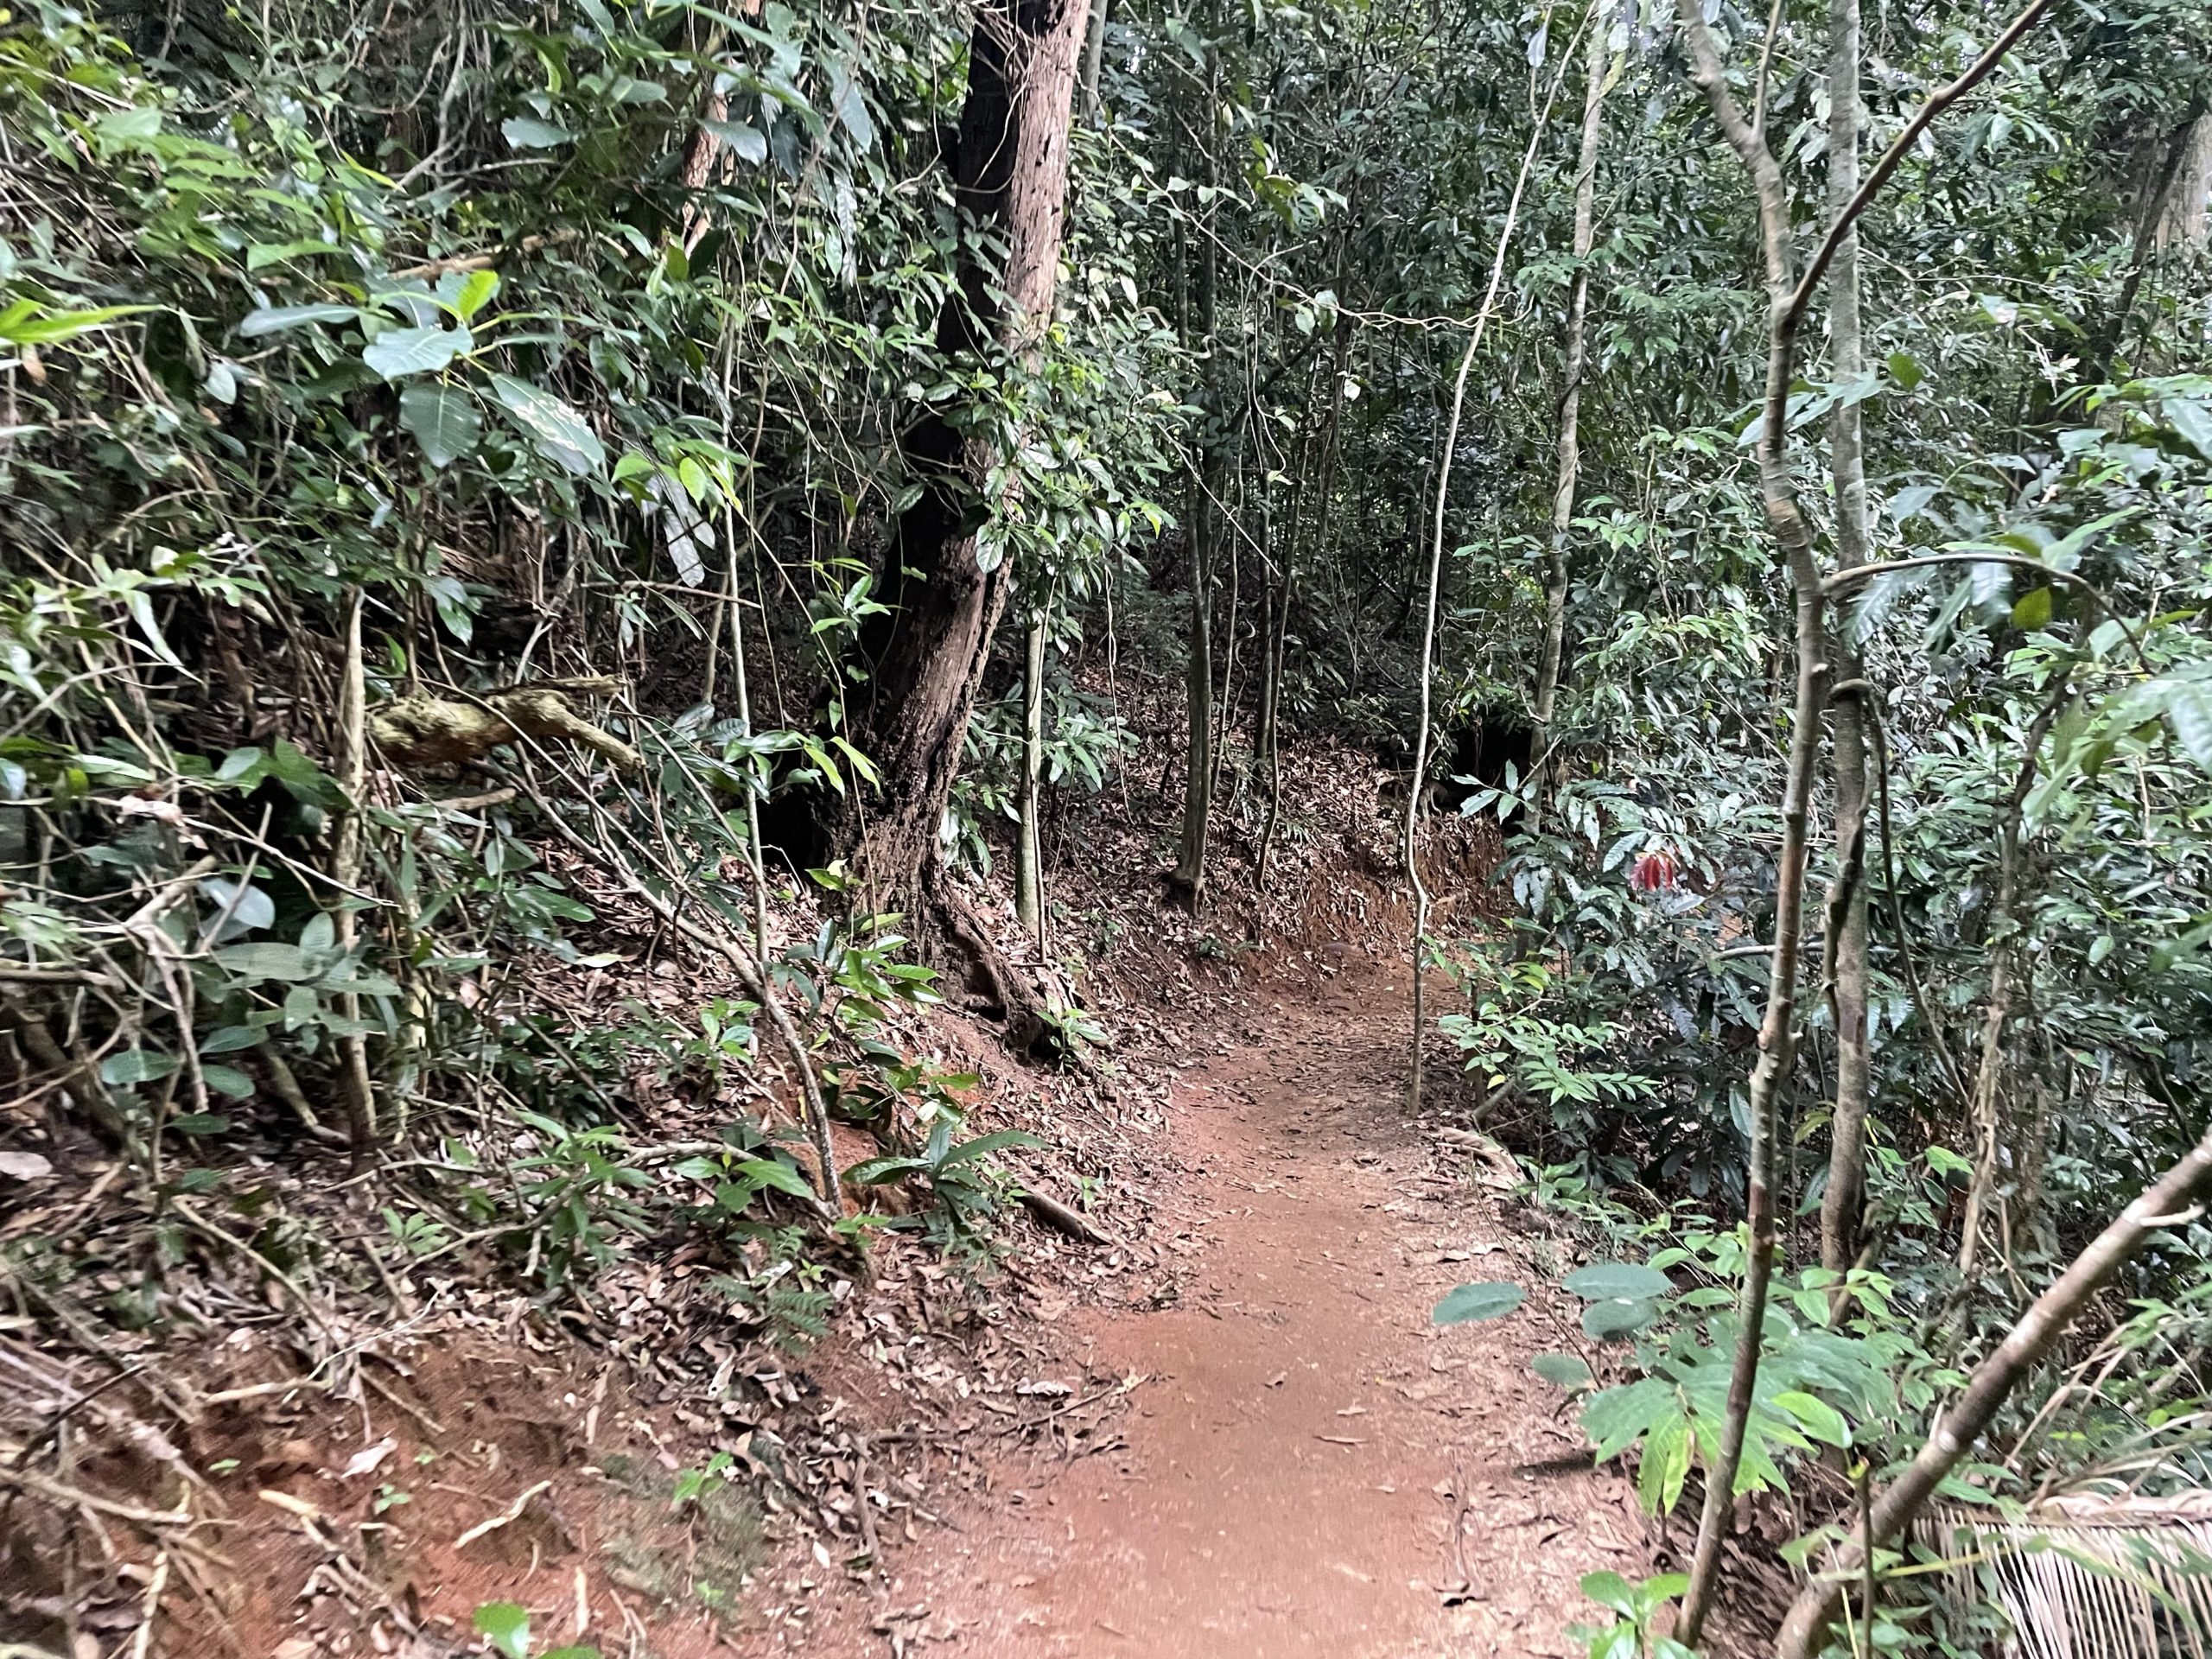
We took an uber over and kicked off the ascent by 12:30pm or so. The trail up was easy cruising, albeit it a bit stifling with the heat. One section involved hiking up a creek bed, immediately after a cool overhanging boulder roof that didn’t resemble any sort of trail. However, one man made tree cut gave us the confidence to continue and the trail returned to normal soon after this spot. Before long we could see the imposing vertical face of the summit from the east side. The trail skirted around the south side of it and we reached the base of the technical section. One look at it and I could see all sorts of easy routes up. Next to the climable section was steep slab that some locals had set up a rappel station on. For a fee you could jumar up and rappel down if the scramble was beyond your skill limit.
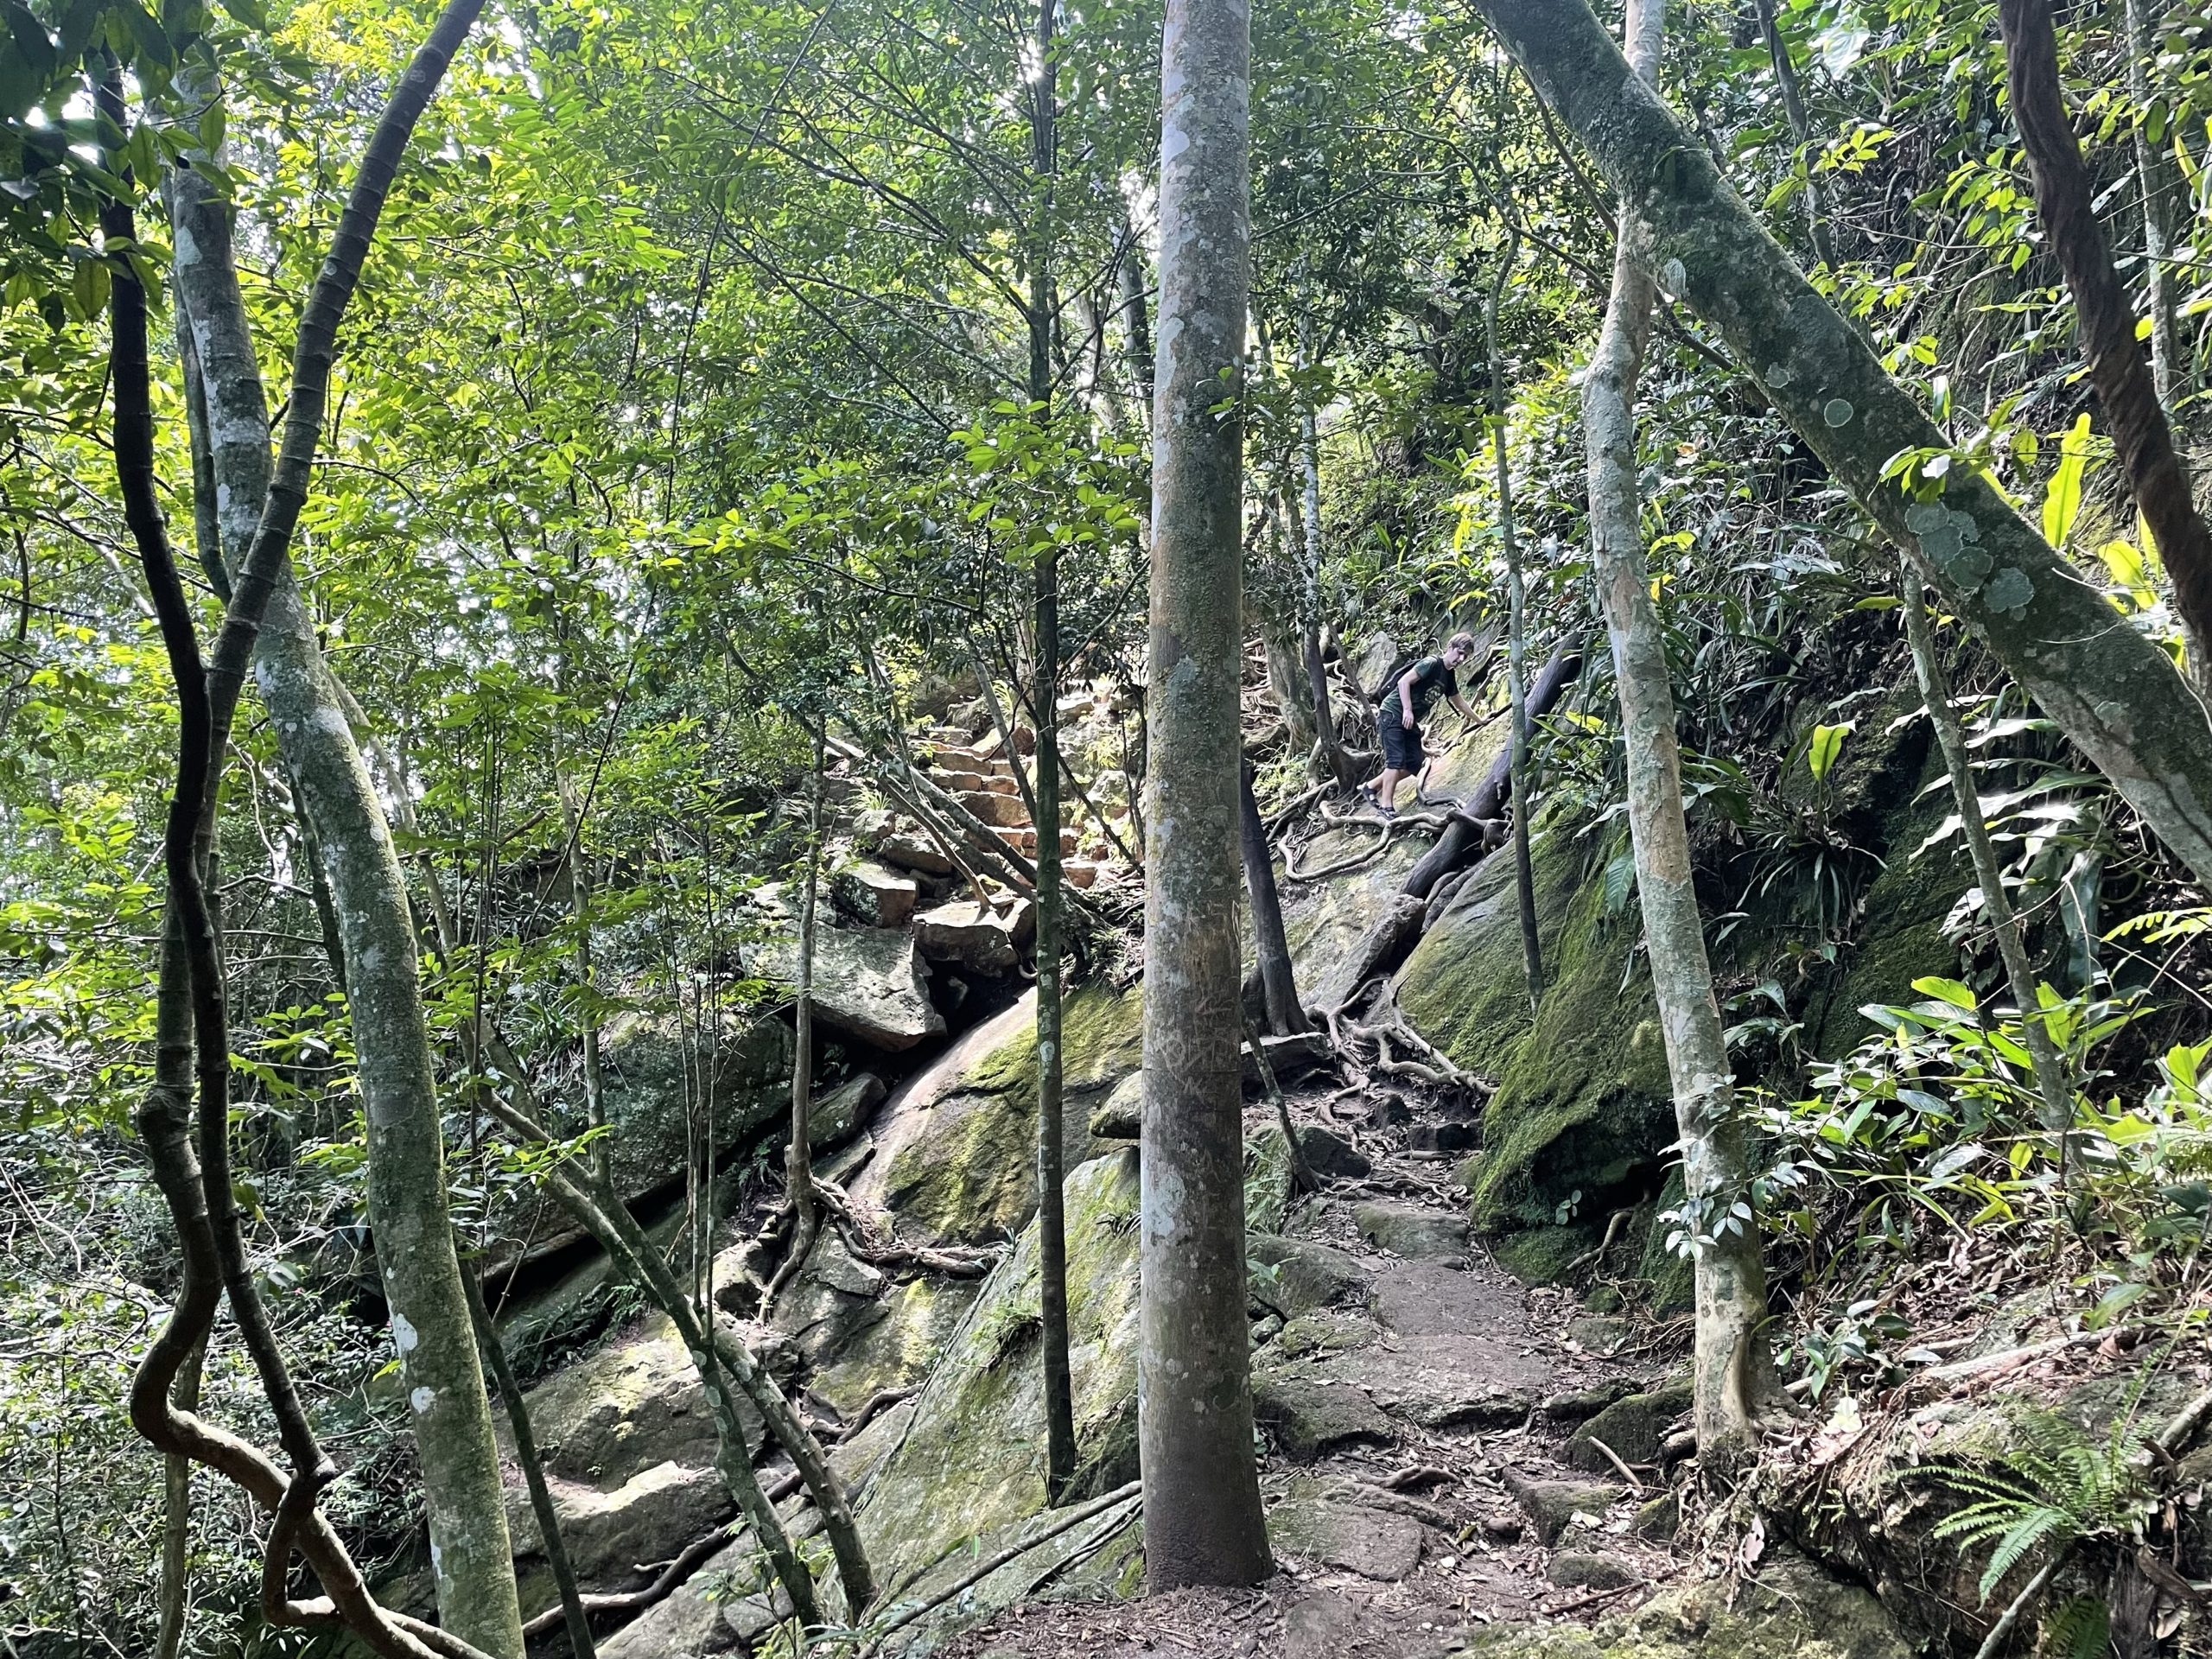
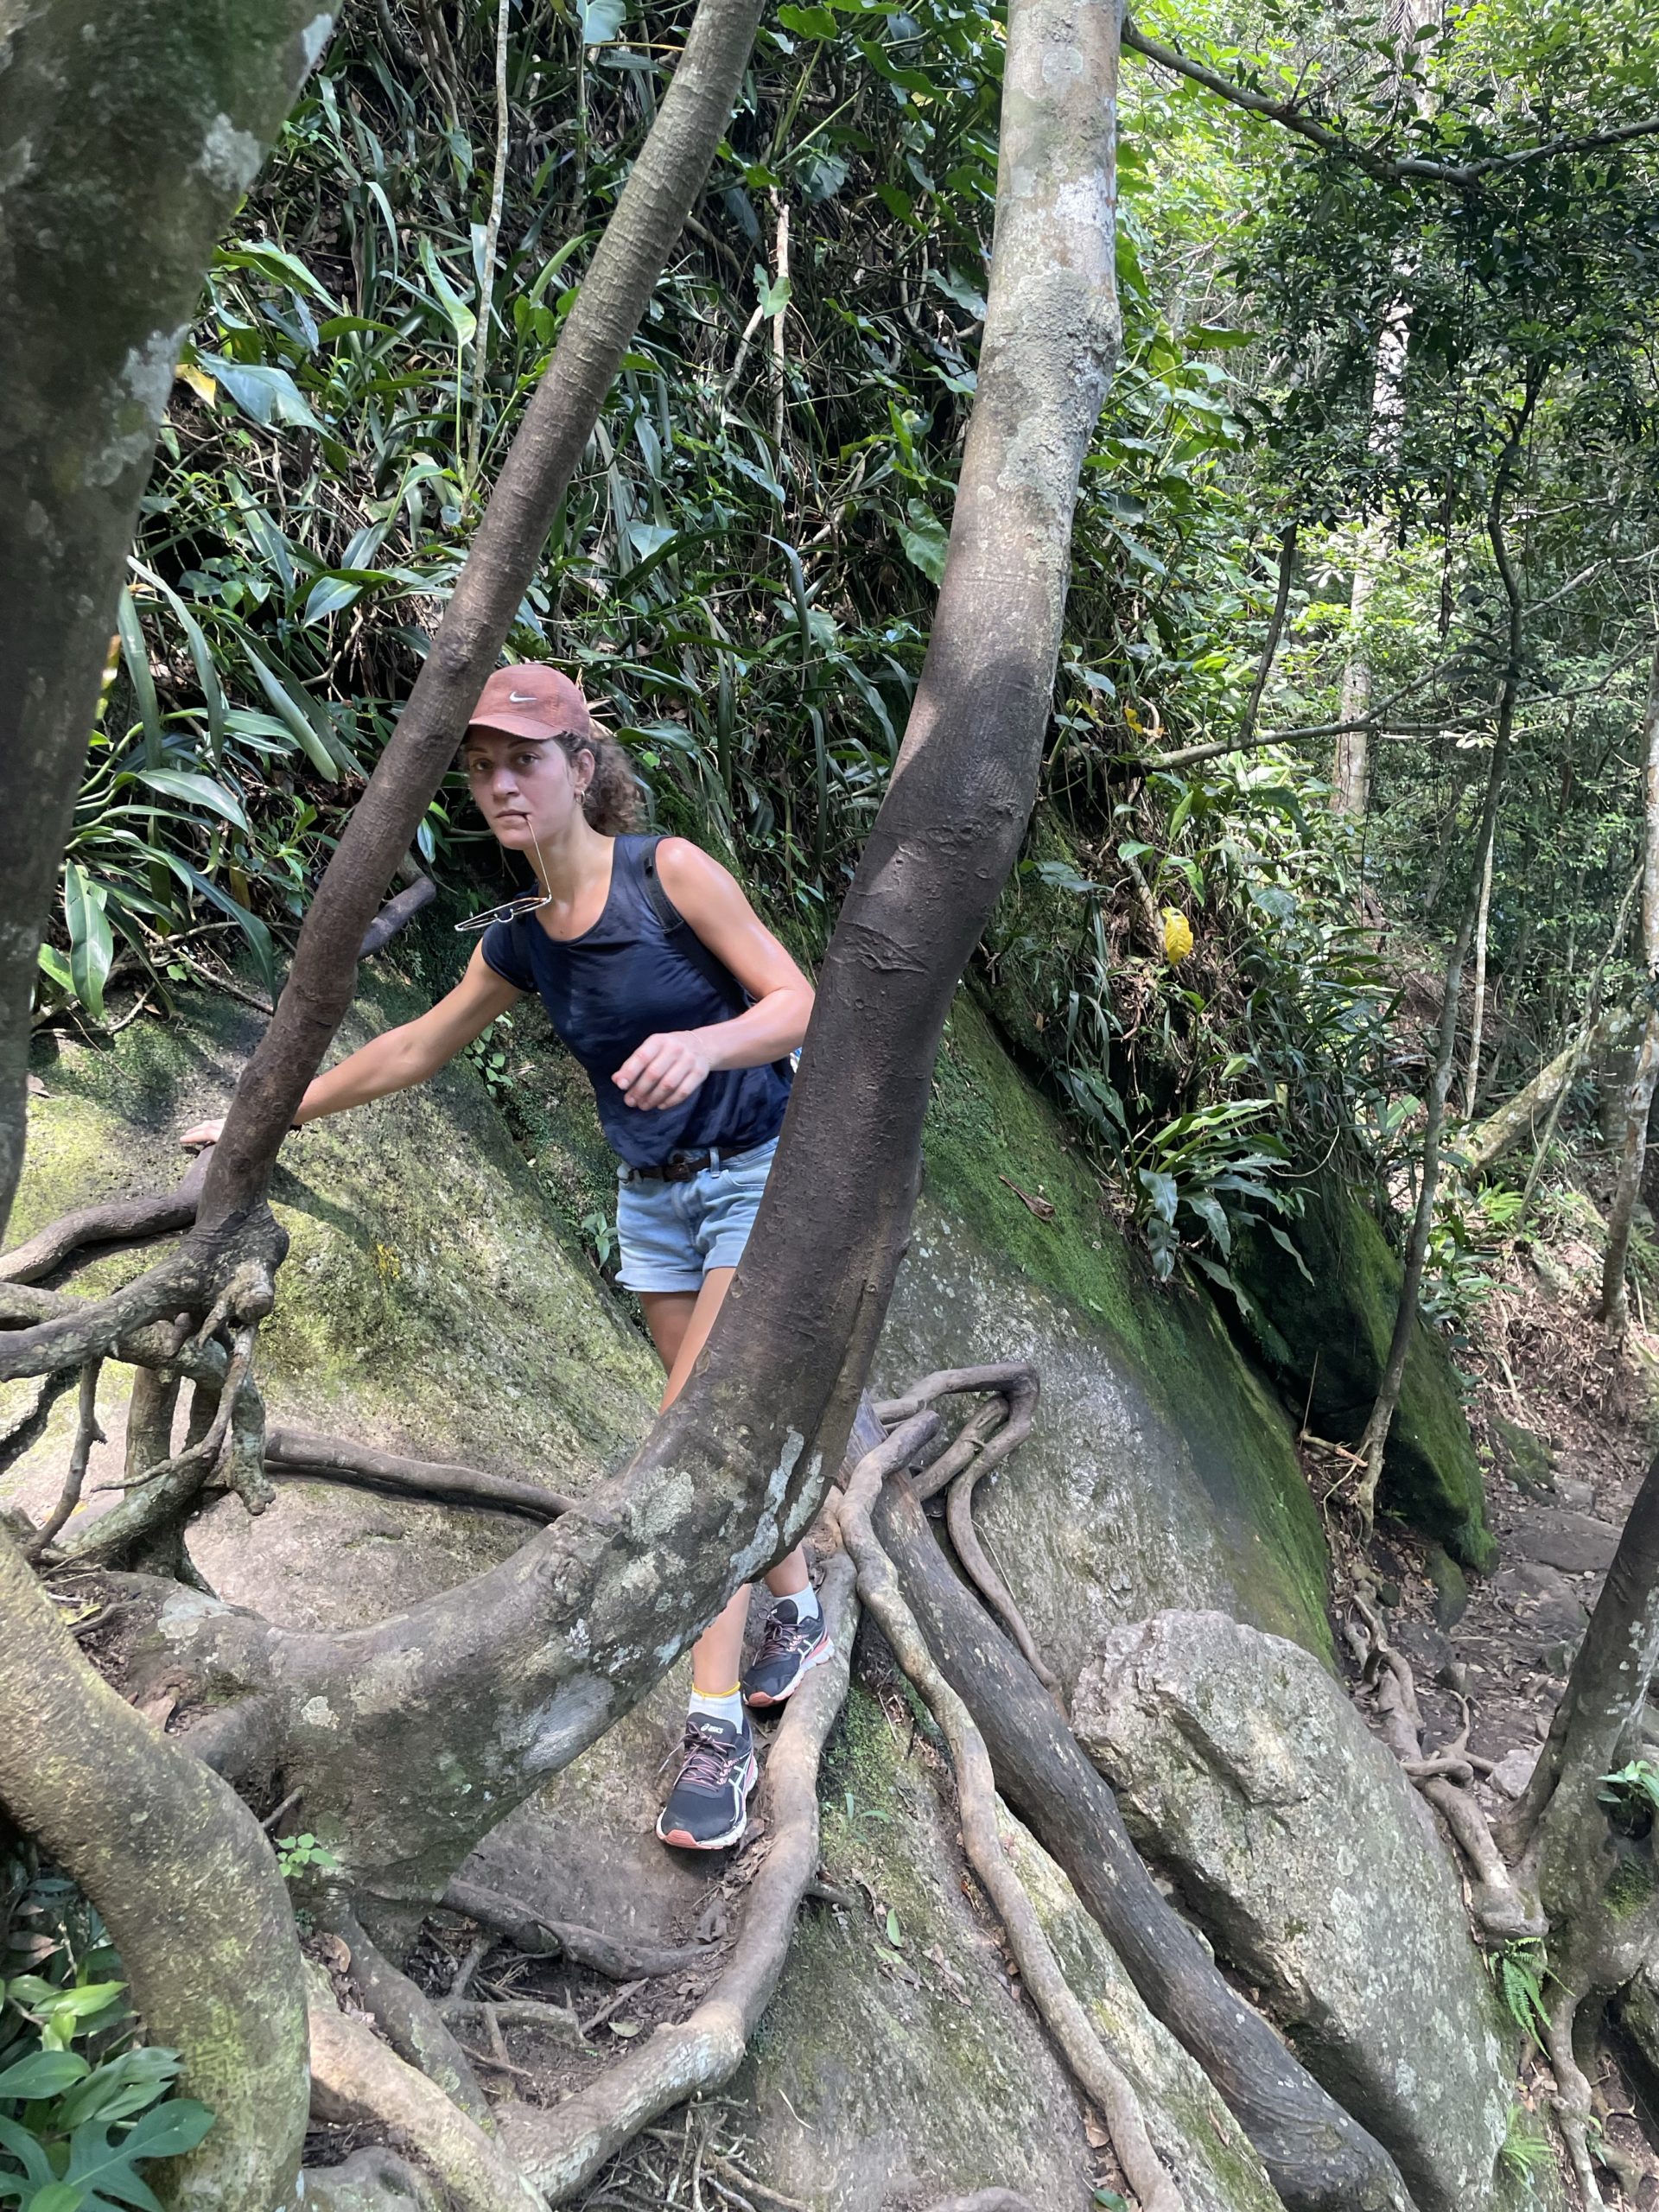

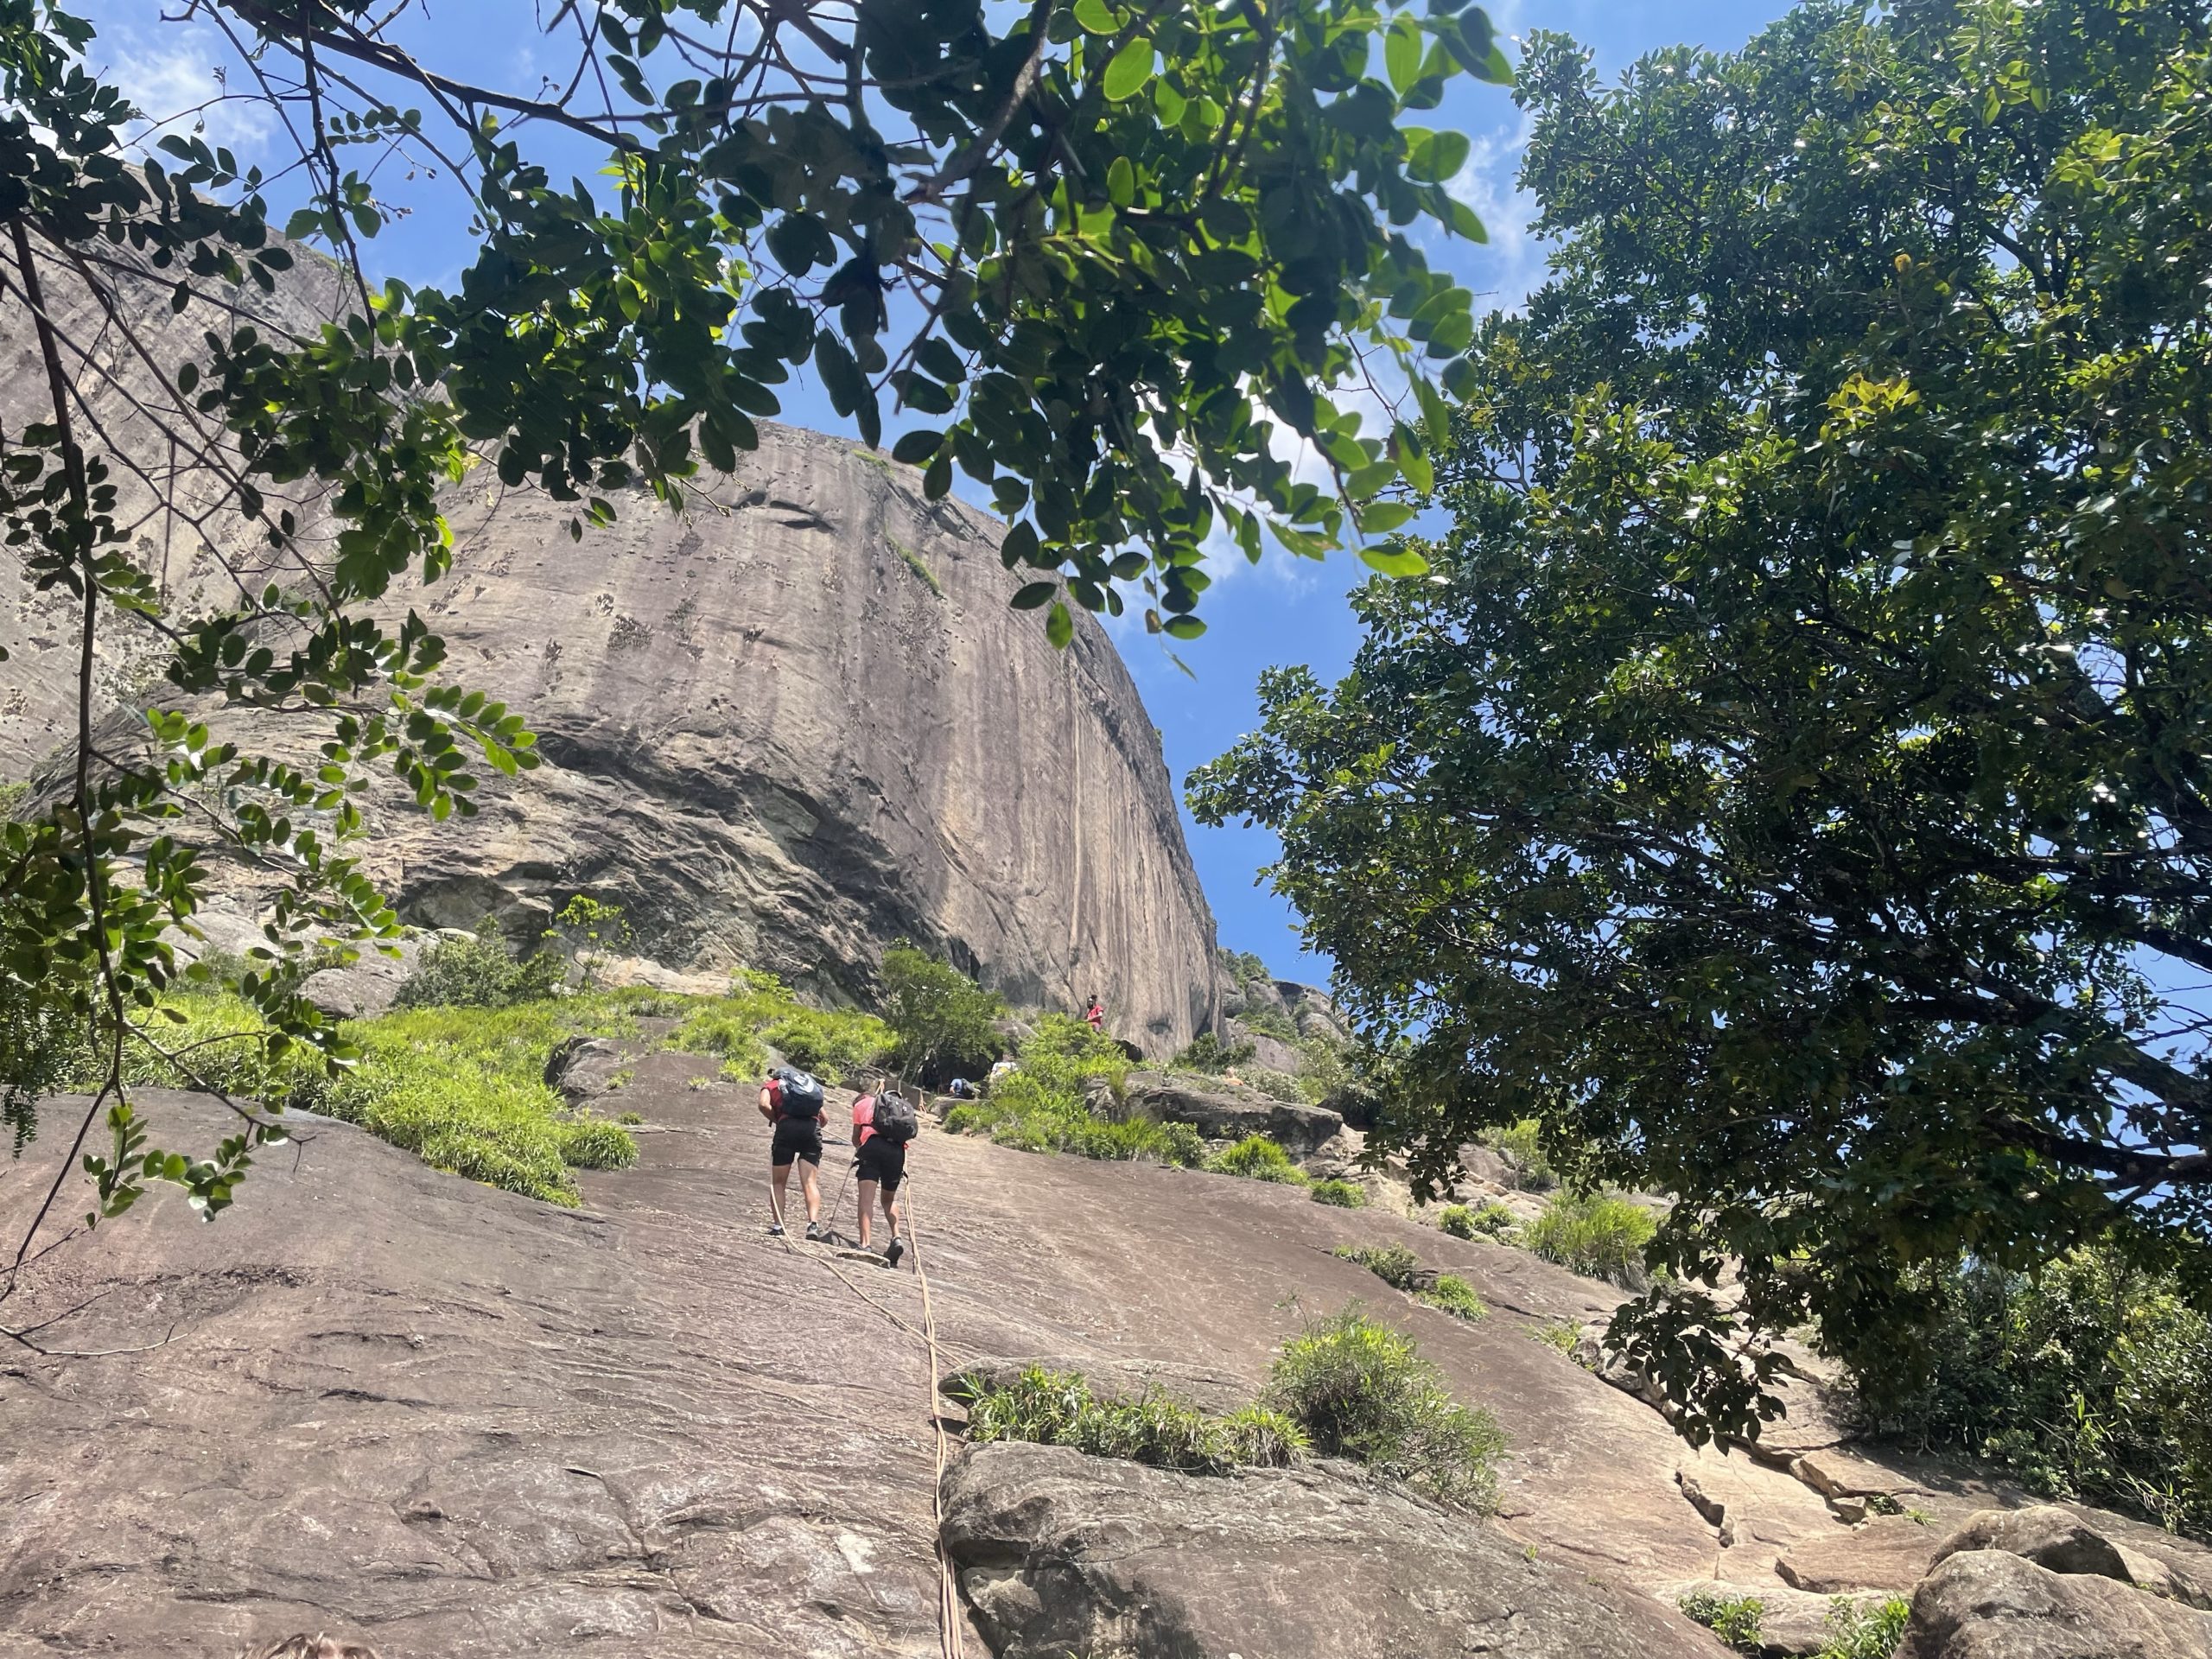
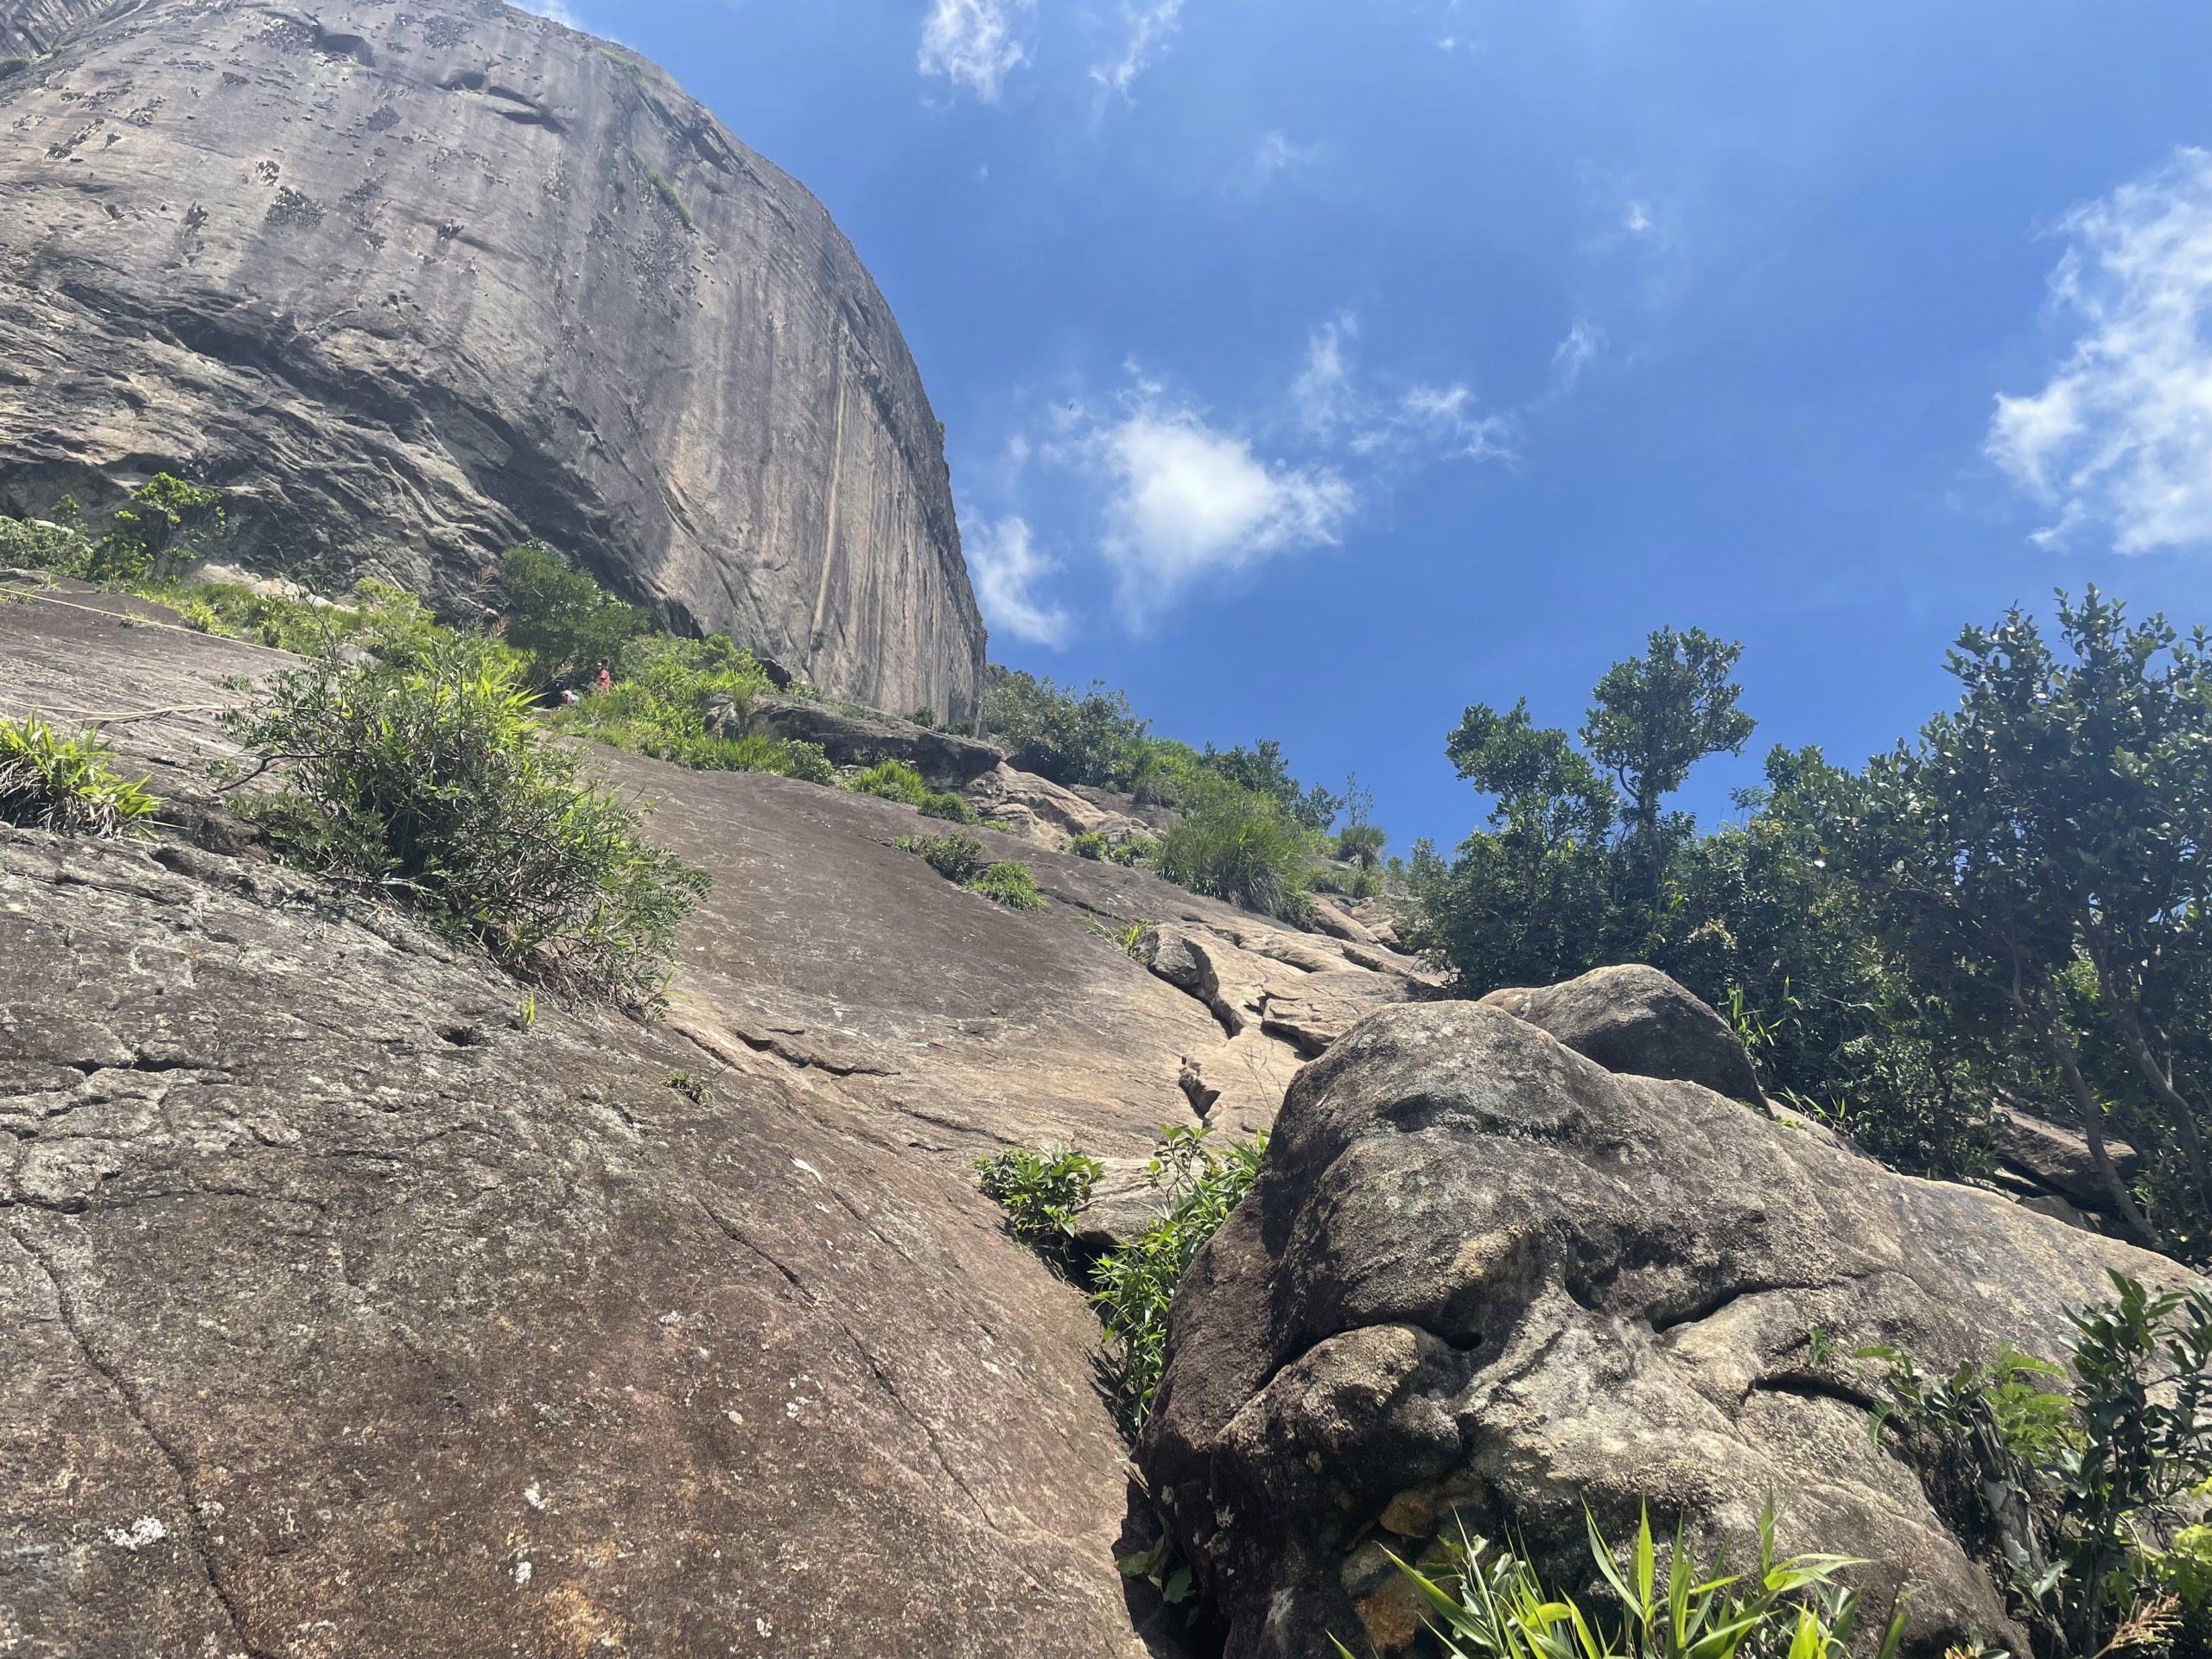

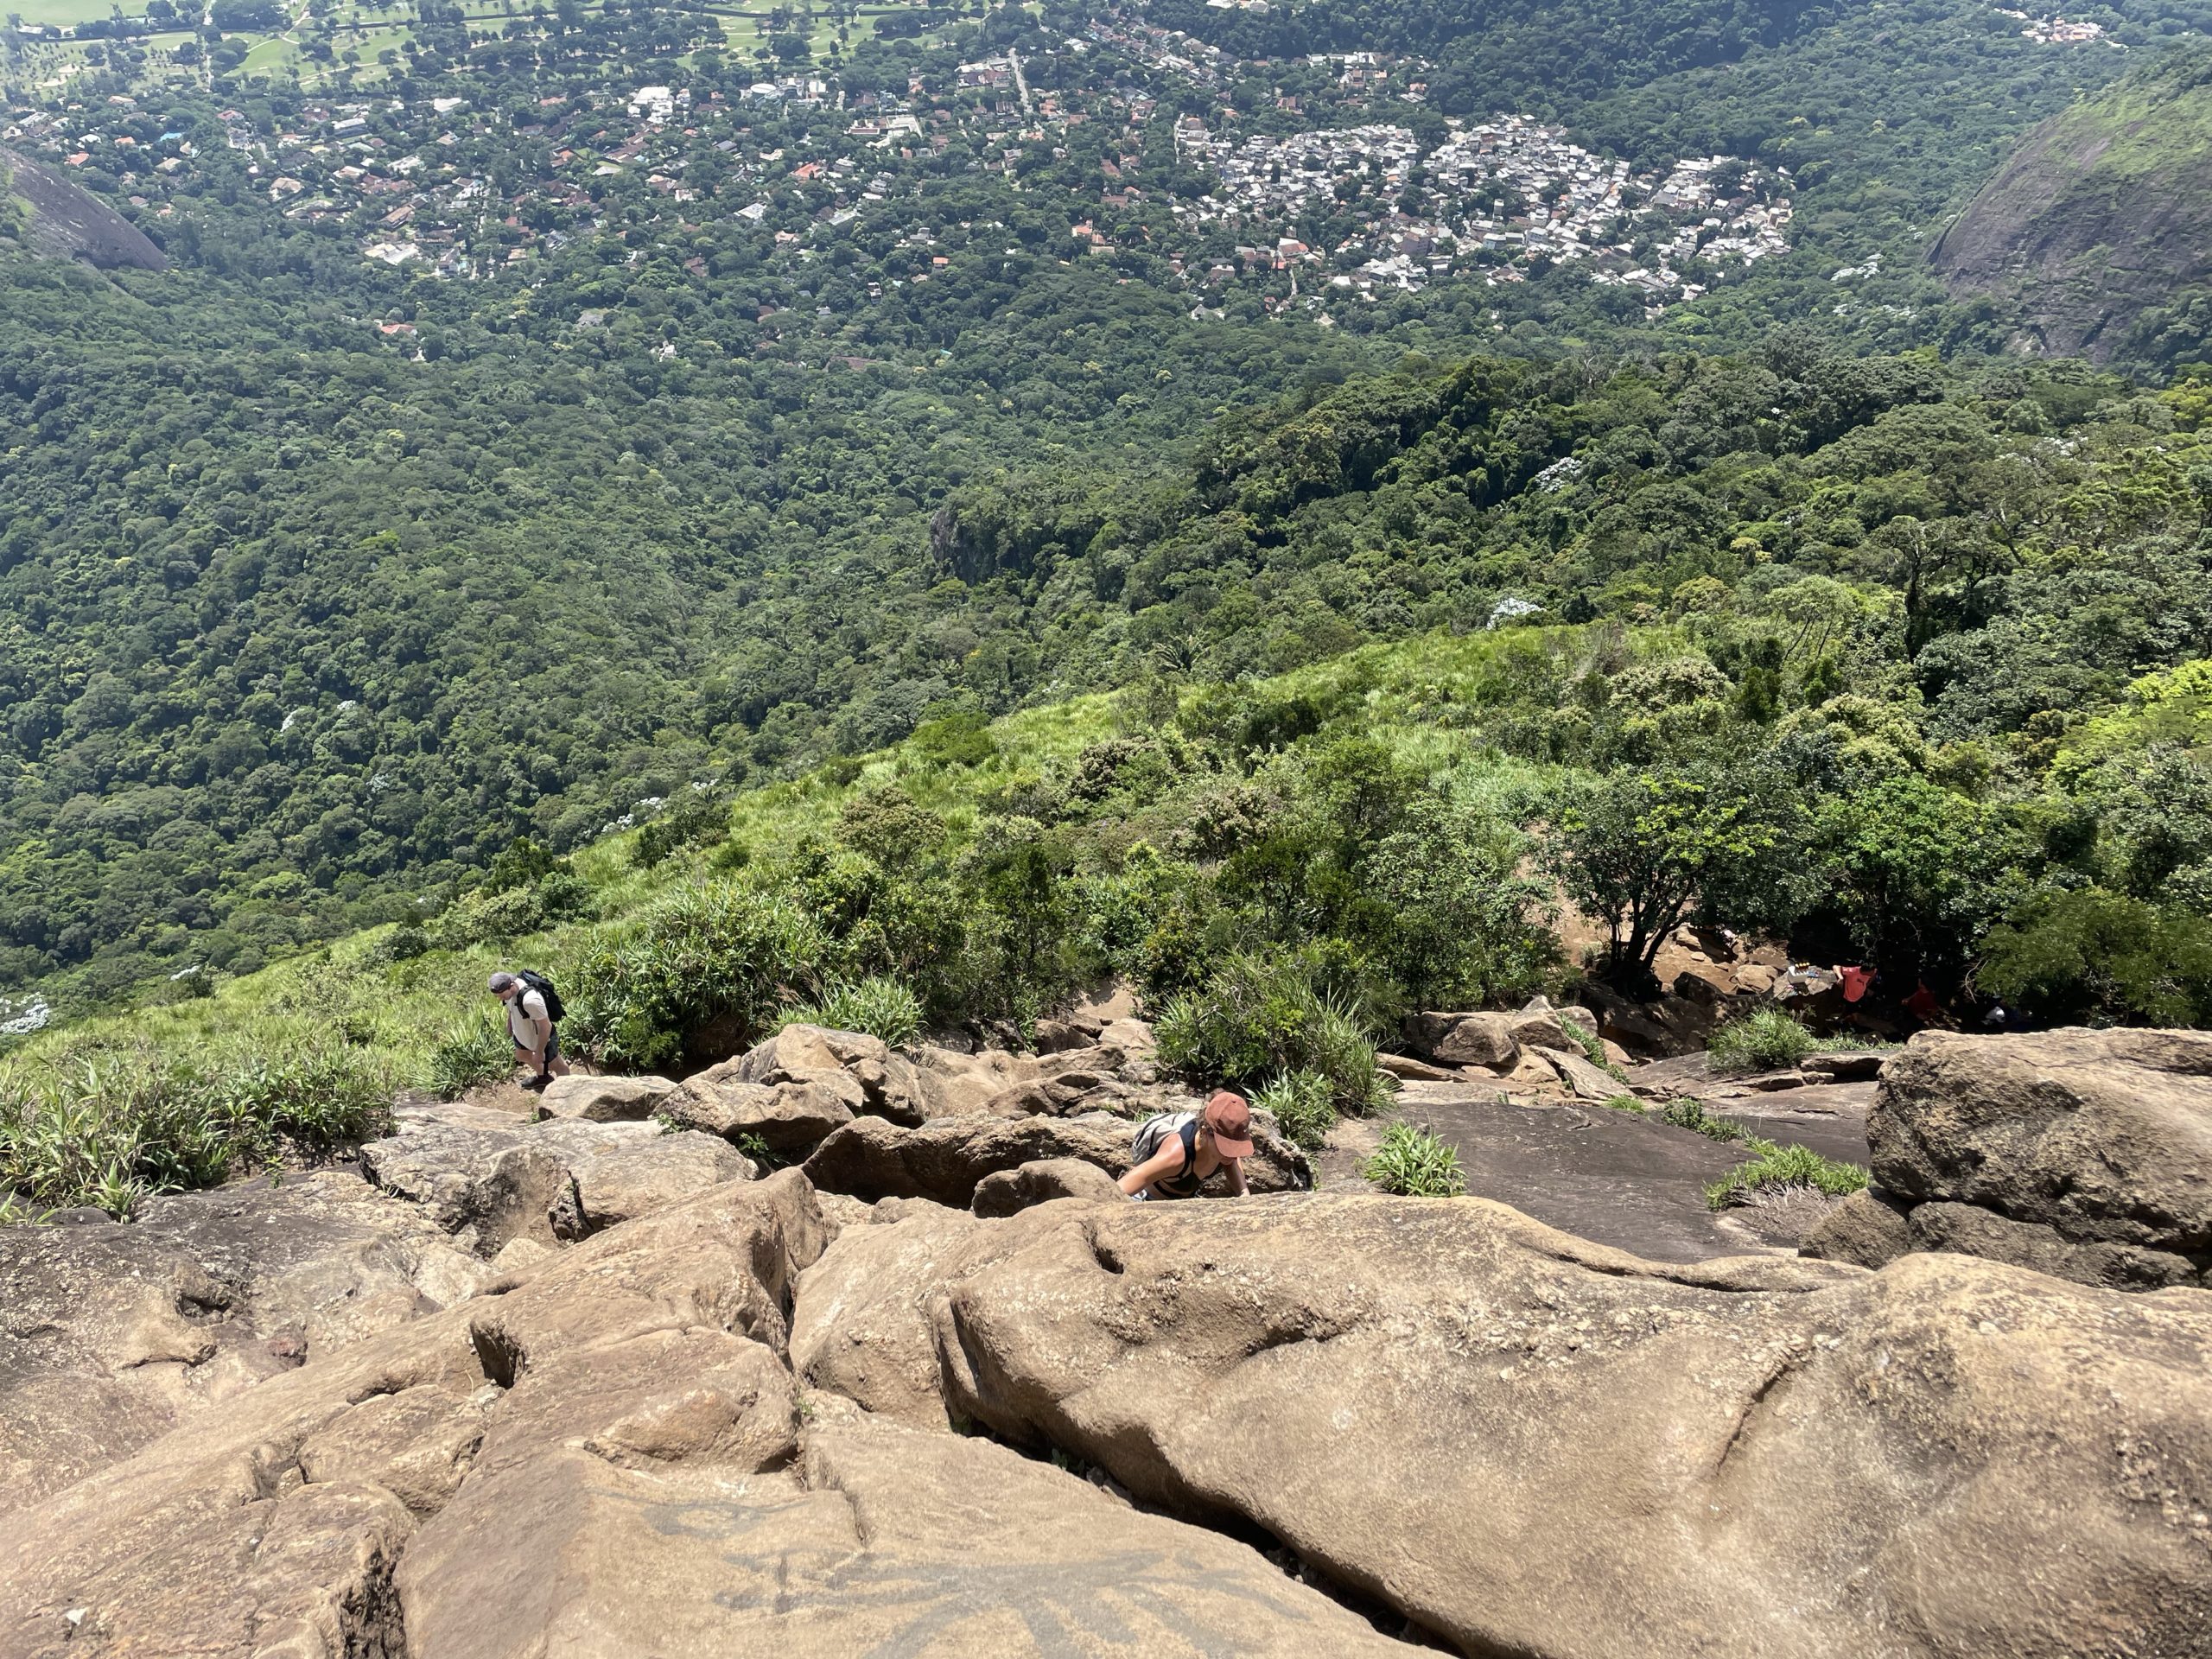
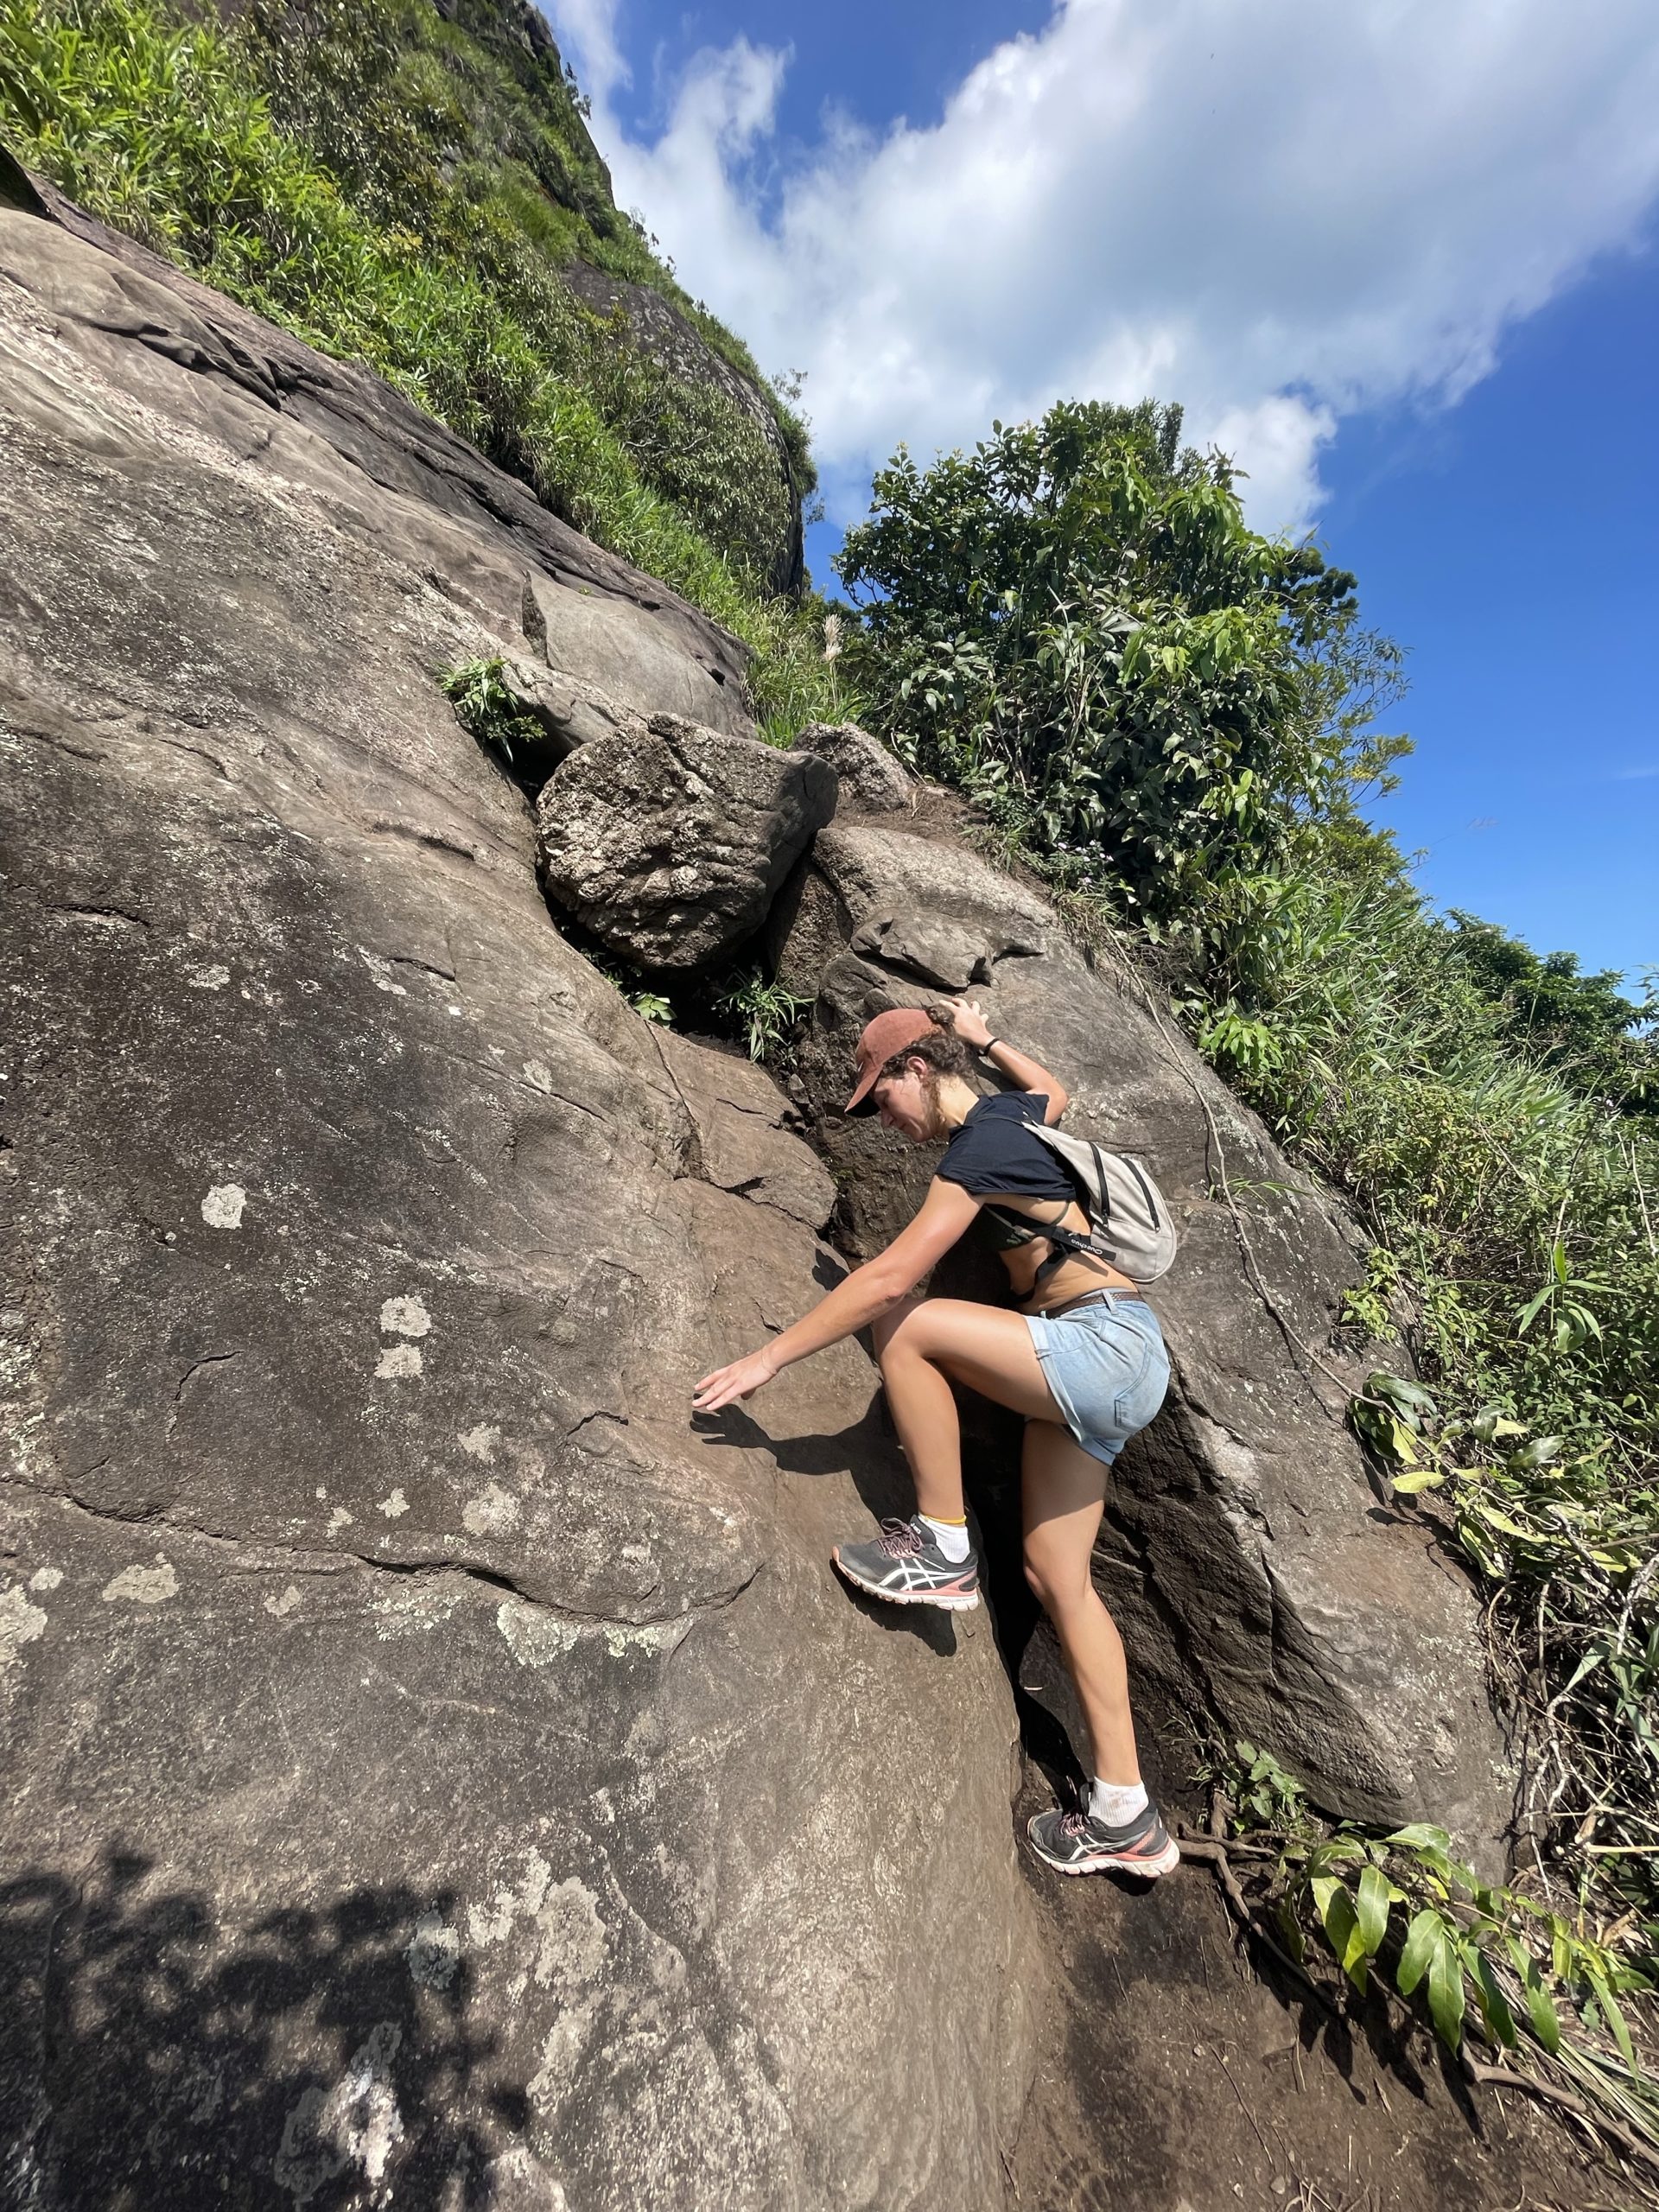
Aly was not as confident as me in her ability to get up, but I encouraged her to follow my movements and she’d have no issue. We made it about 1/3rd of the way up and she made the decision to turn around. I figured there was 20 more minutes to the summit so we agreed I’d push on while she waited. I didn’t make it more than a few moves up and she had changed her mind. A local guide was coming down and volunteered to guide her hands and feet to where they needed to be. I pushed up to the top of the section and Aly made it up shortly after.
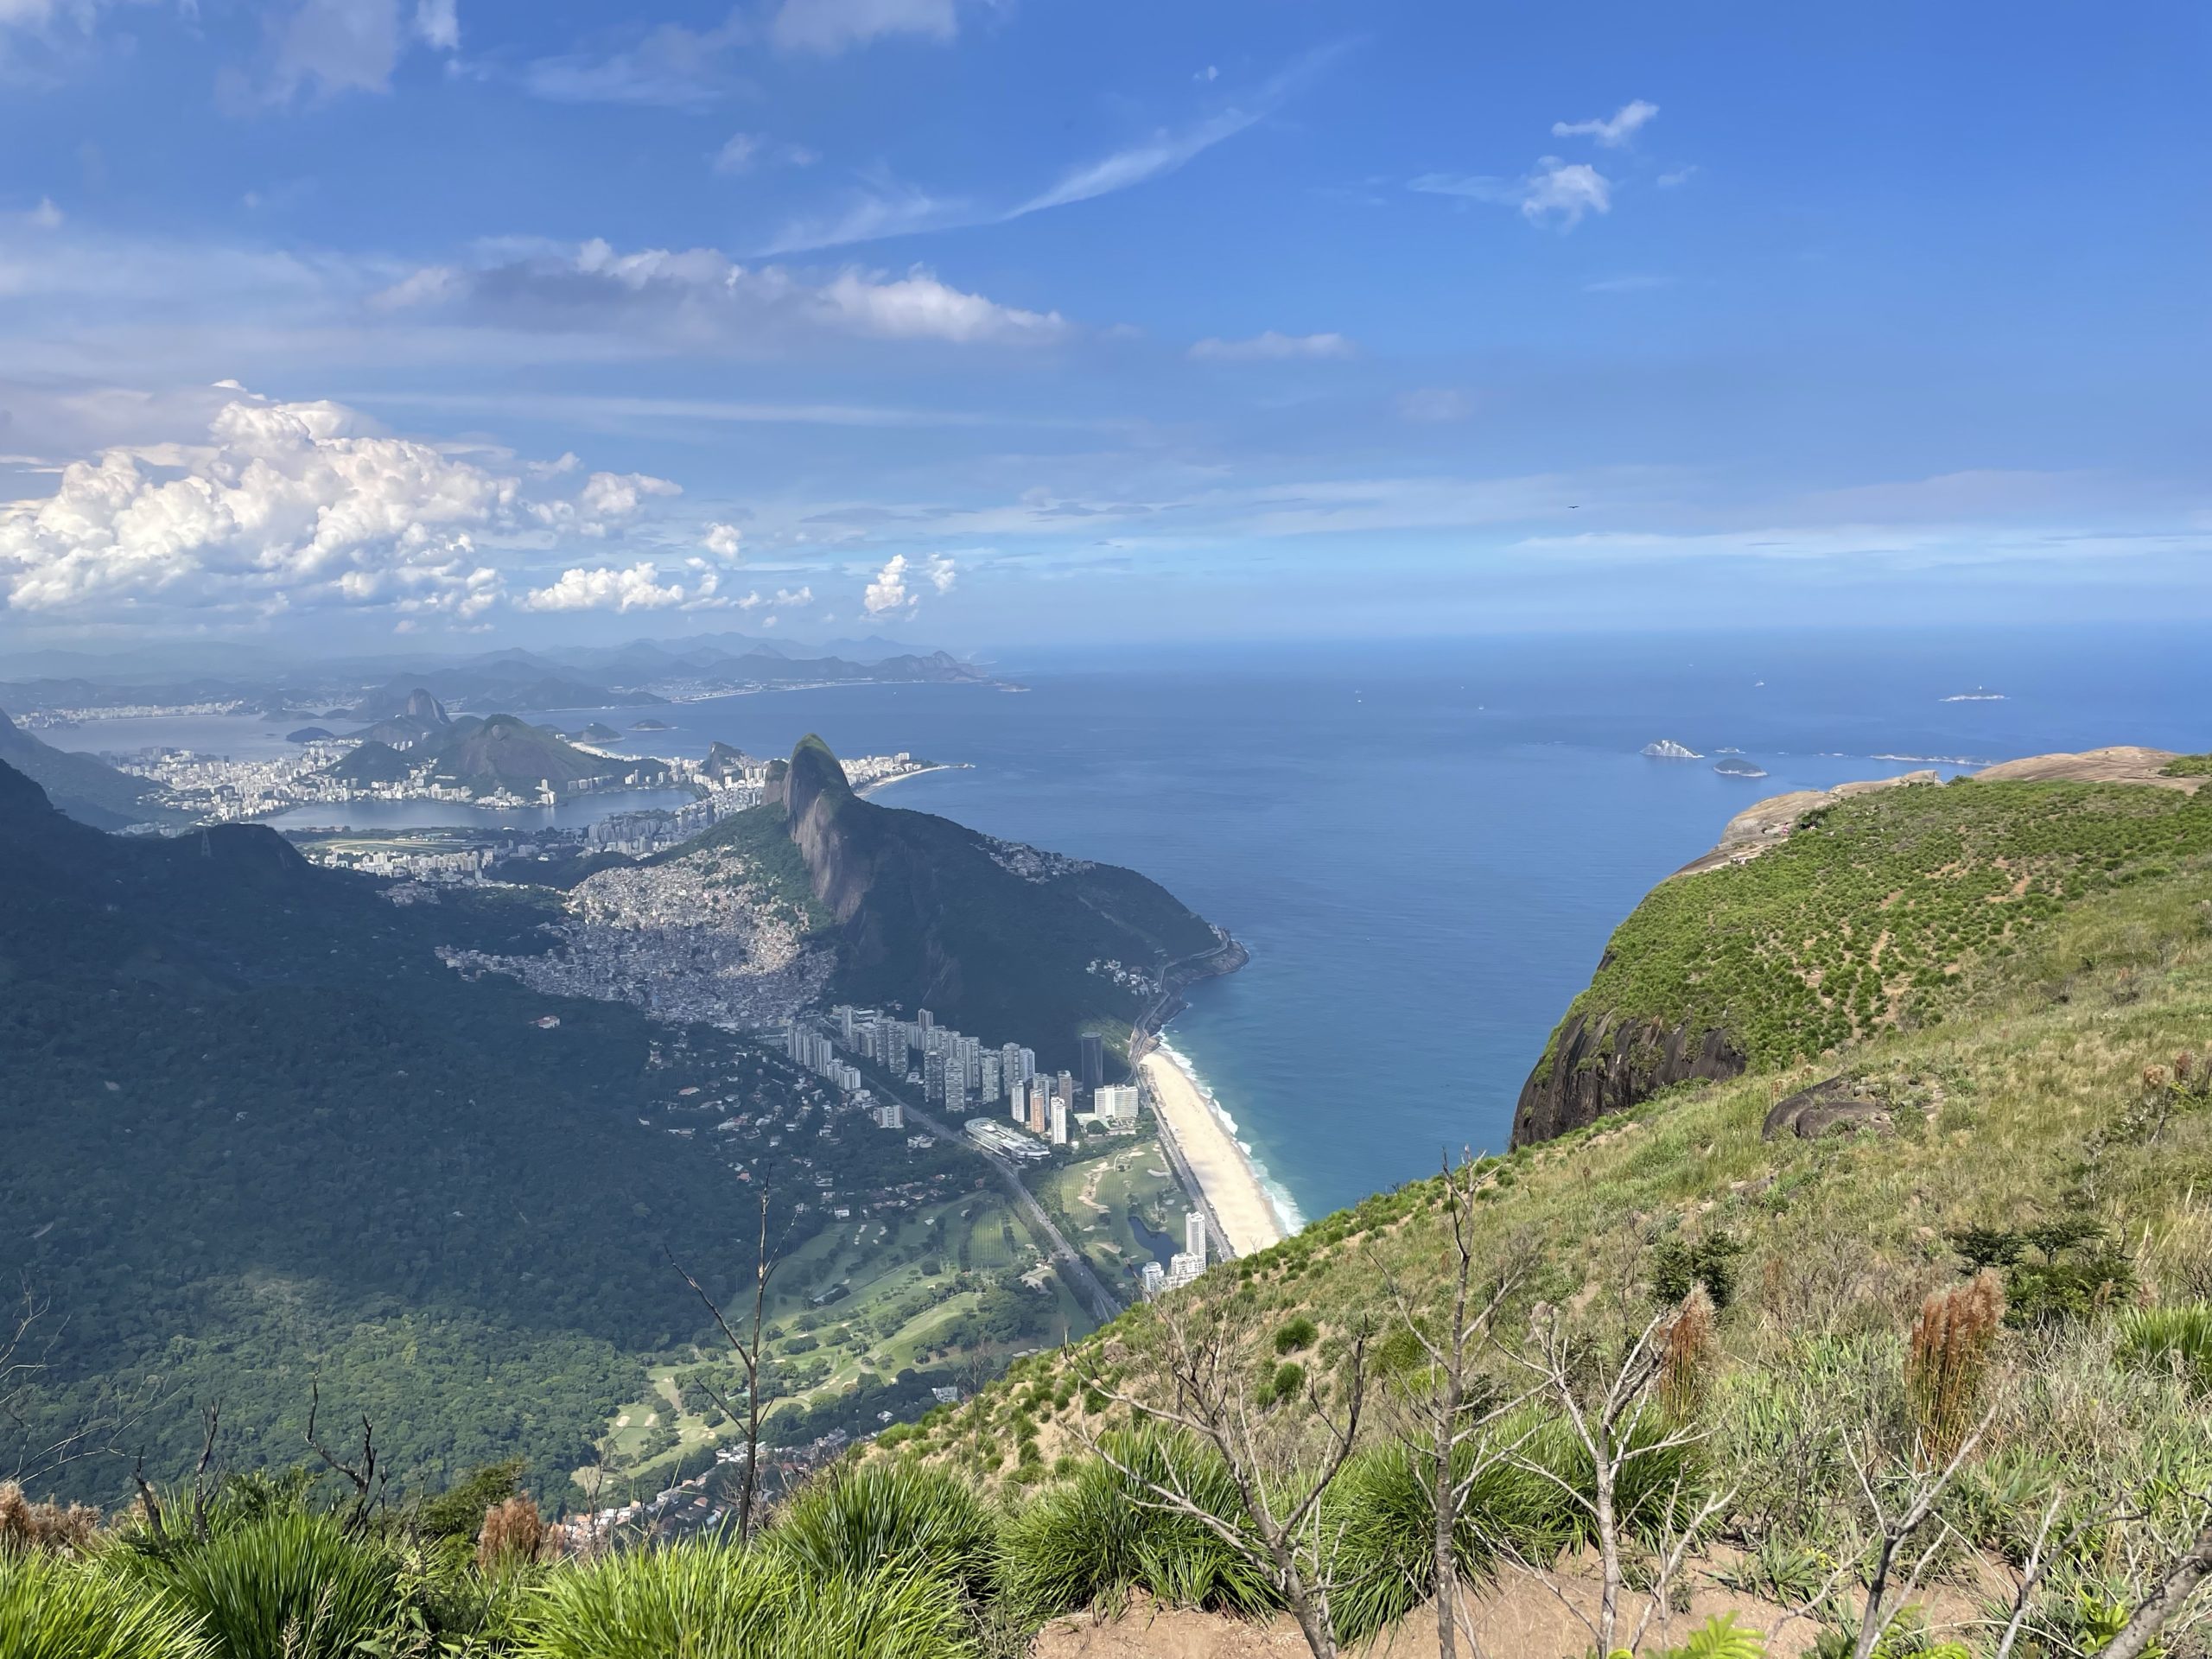
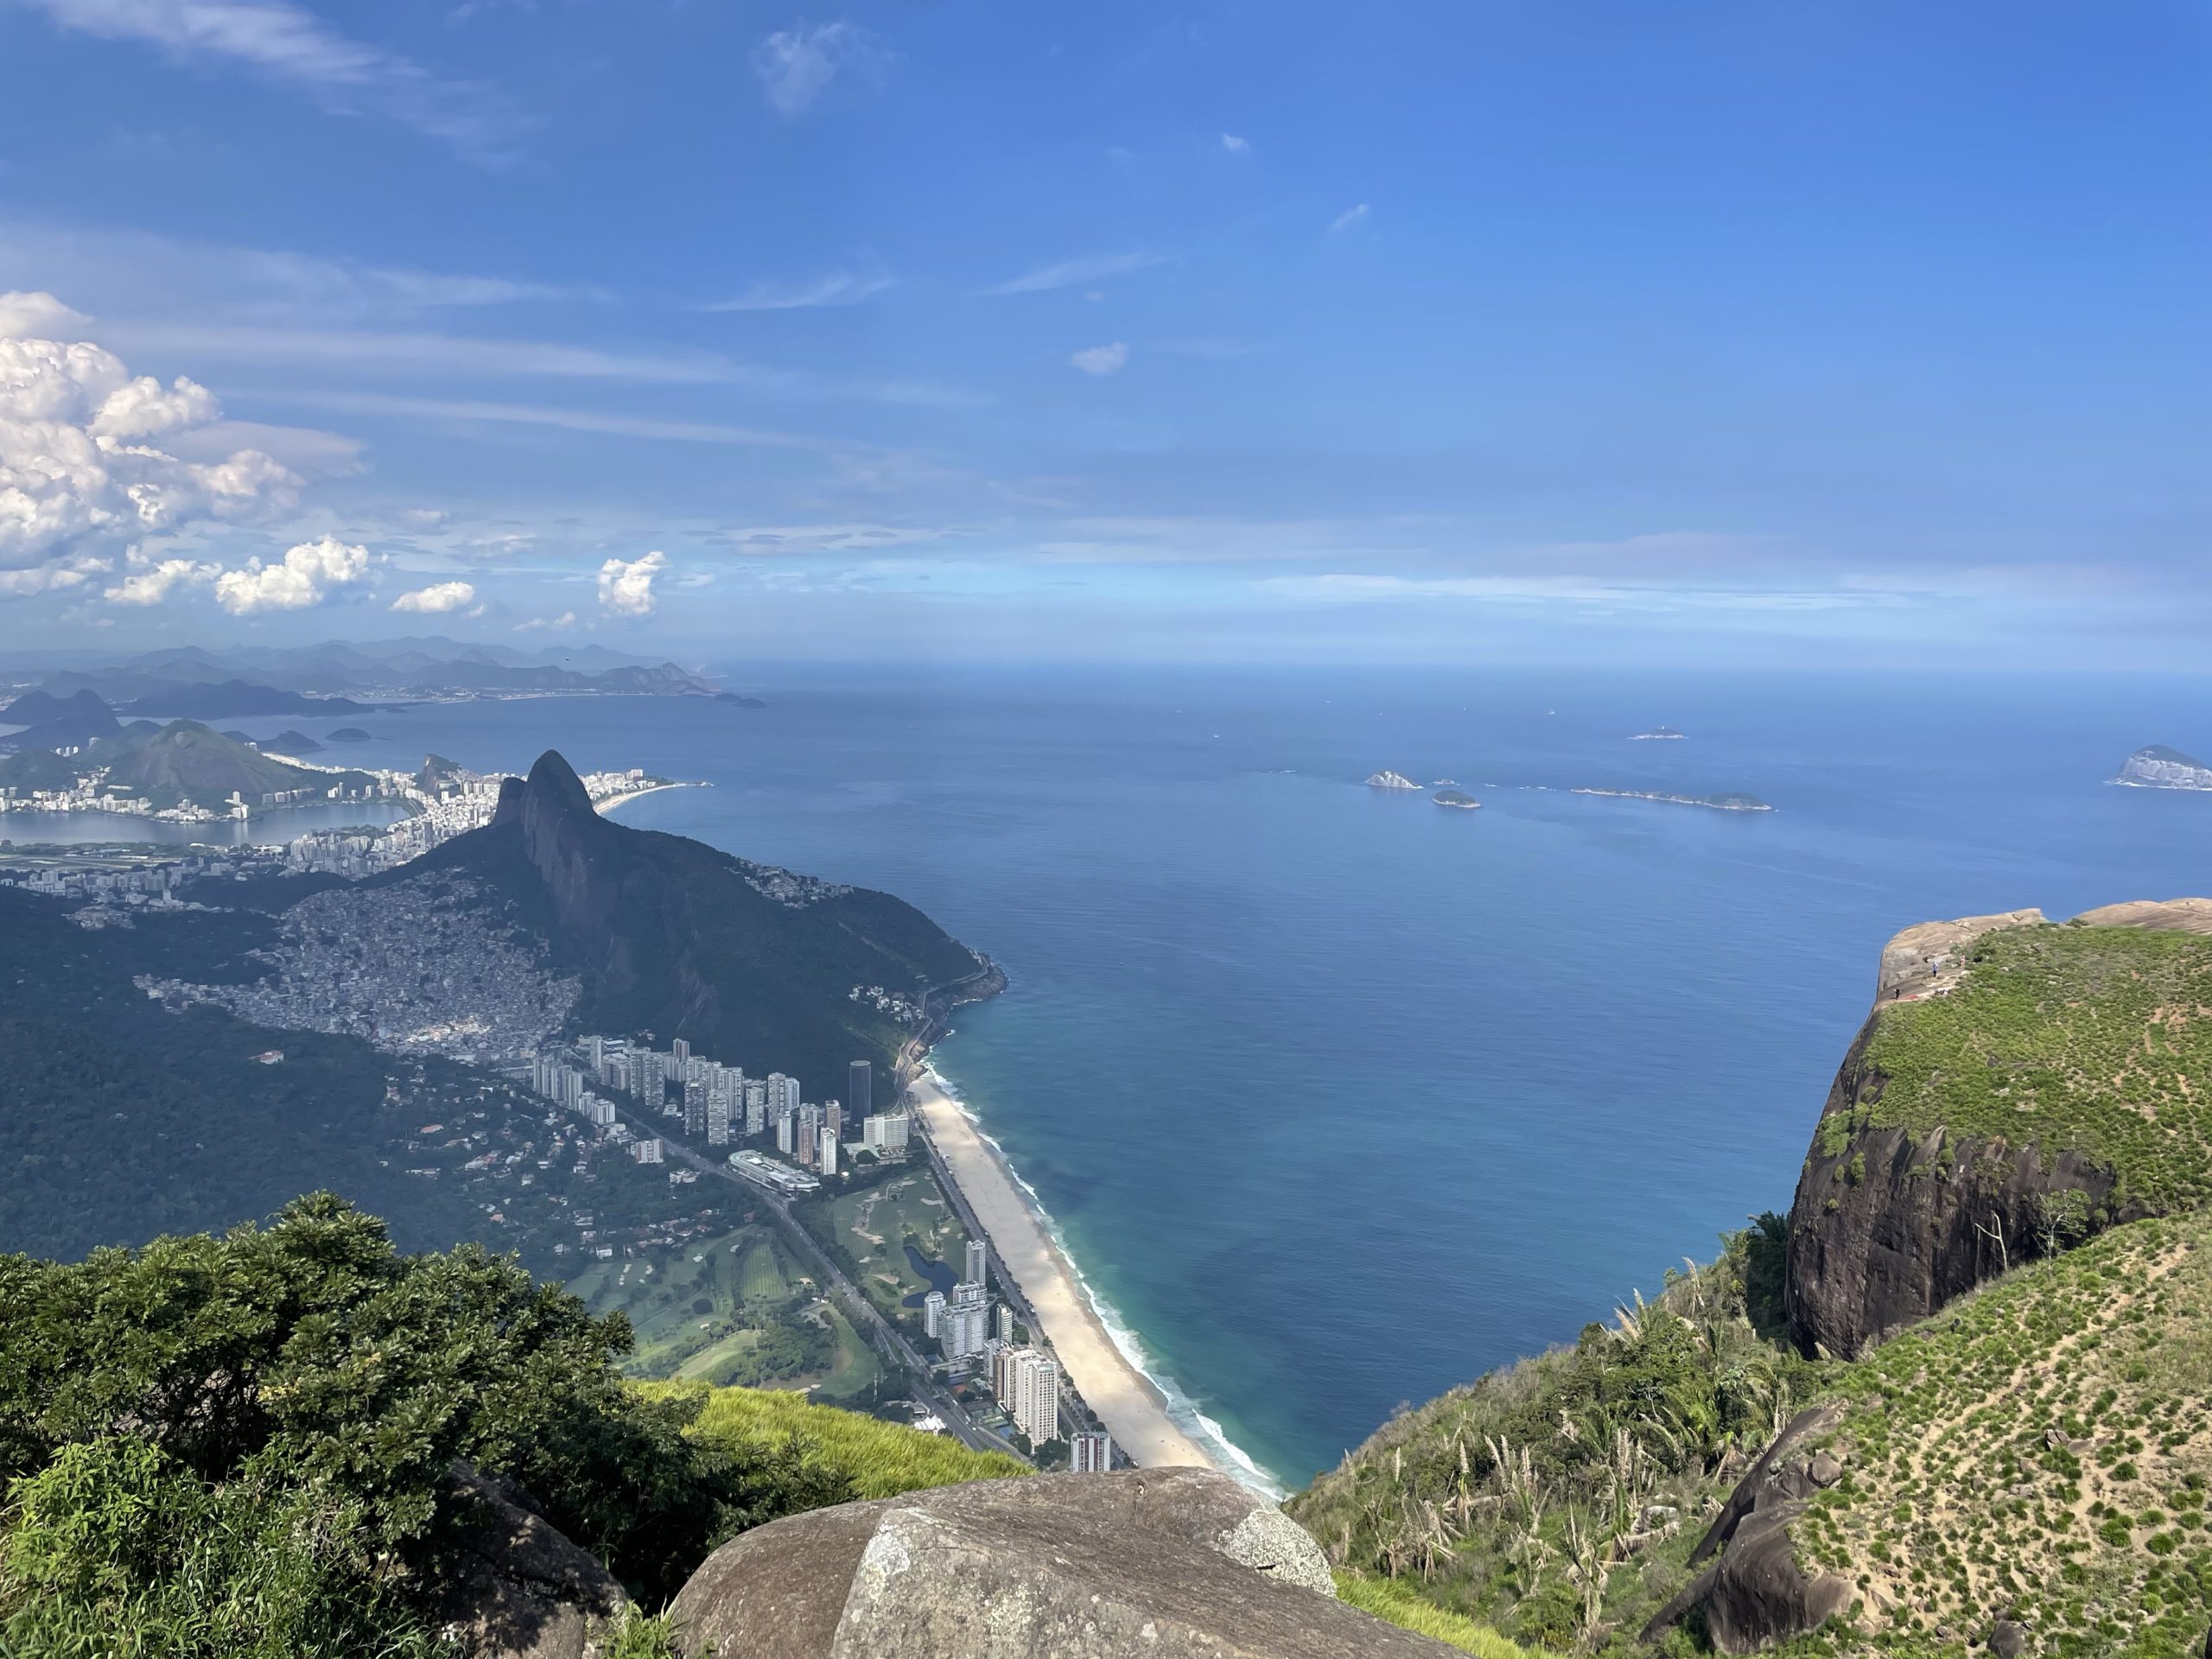
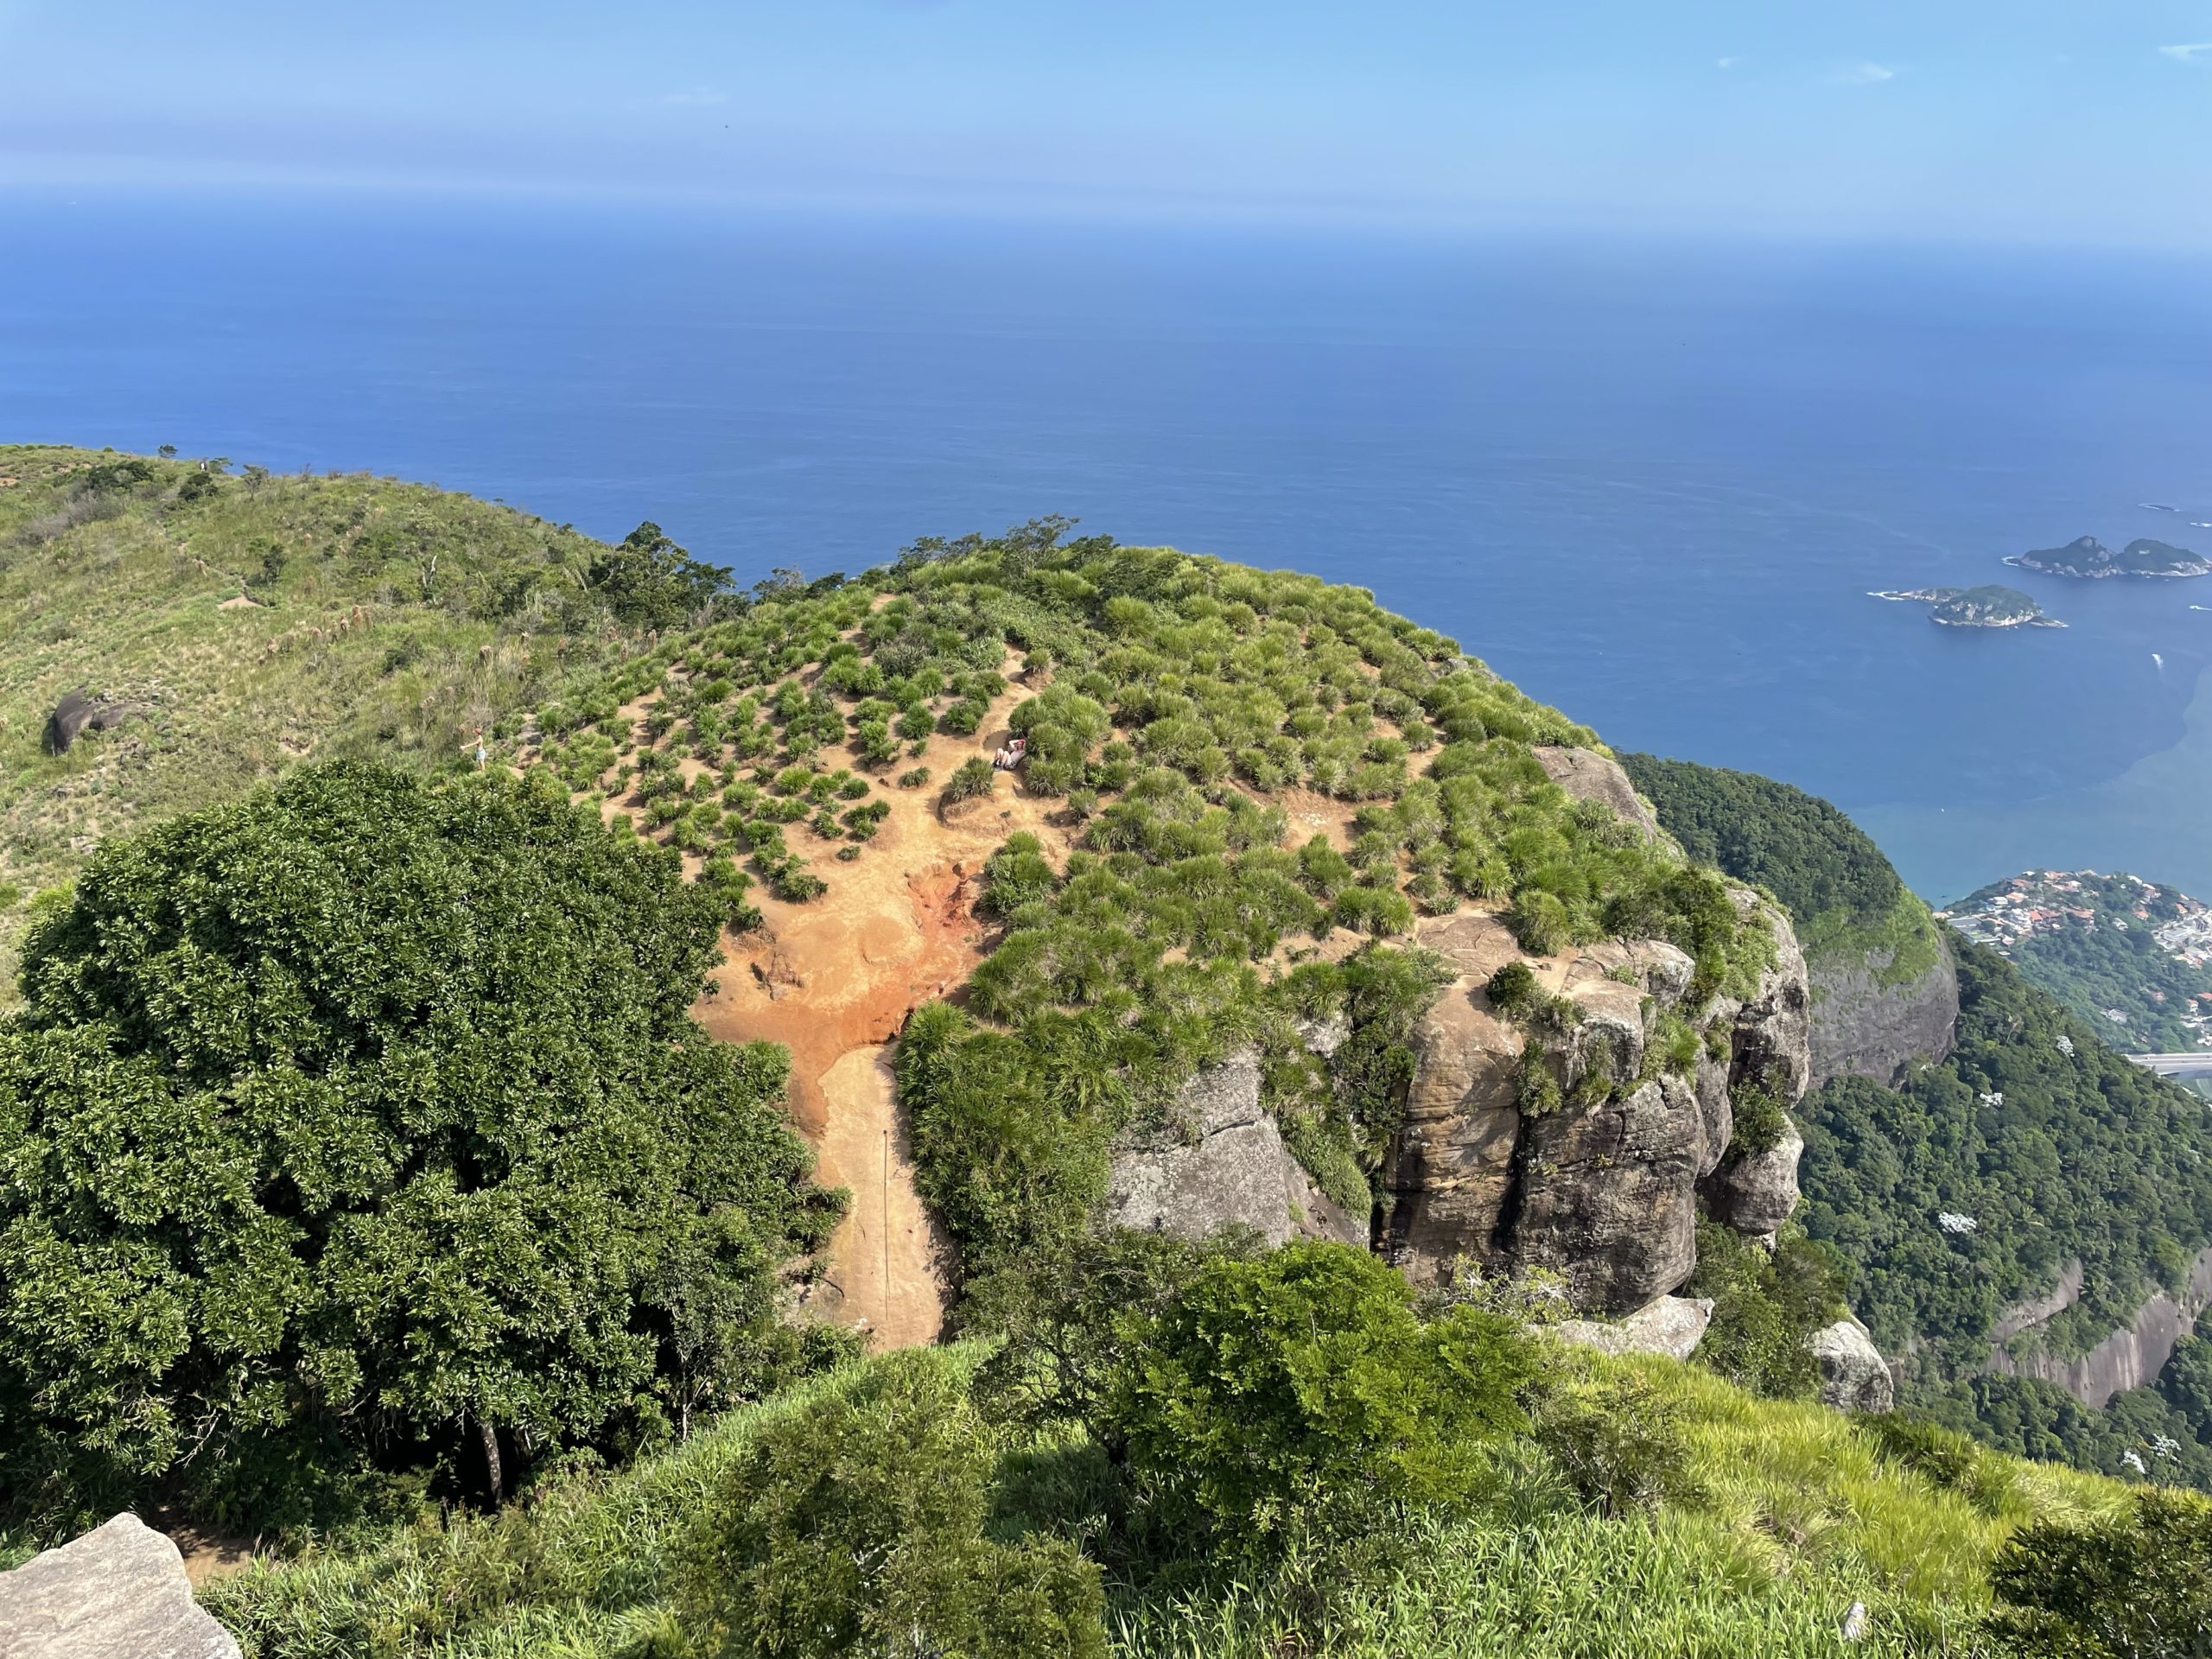
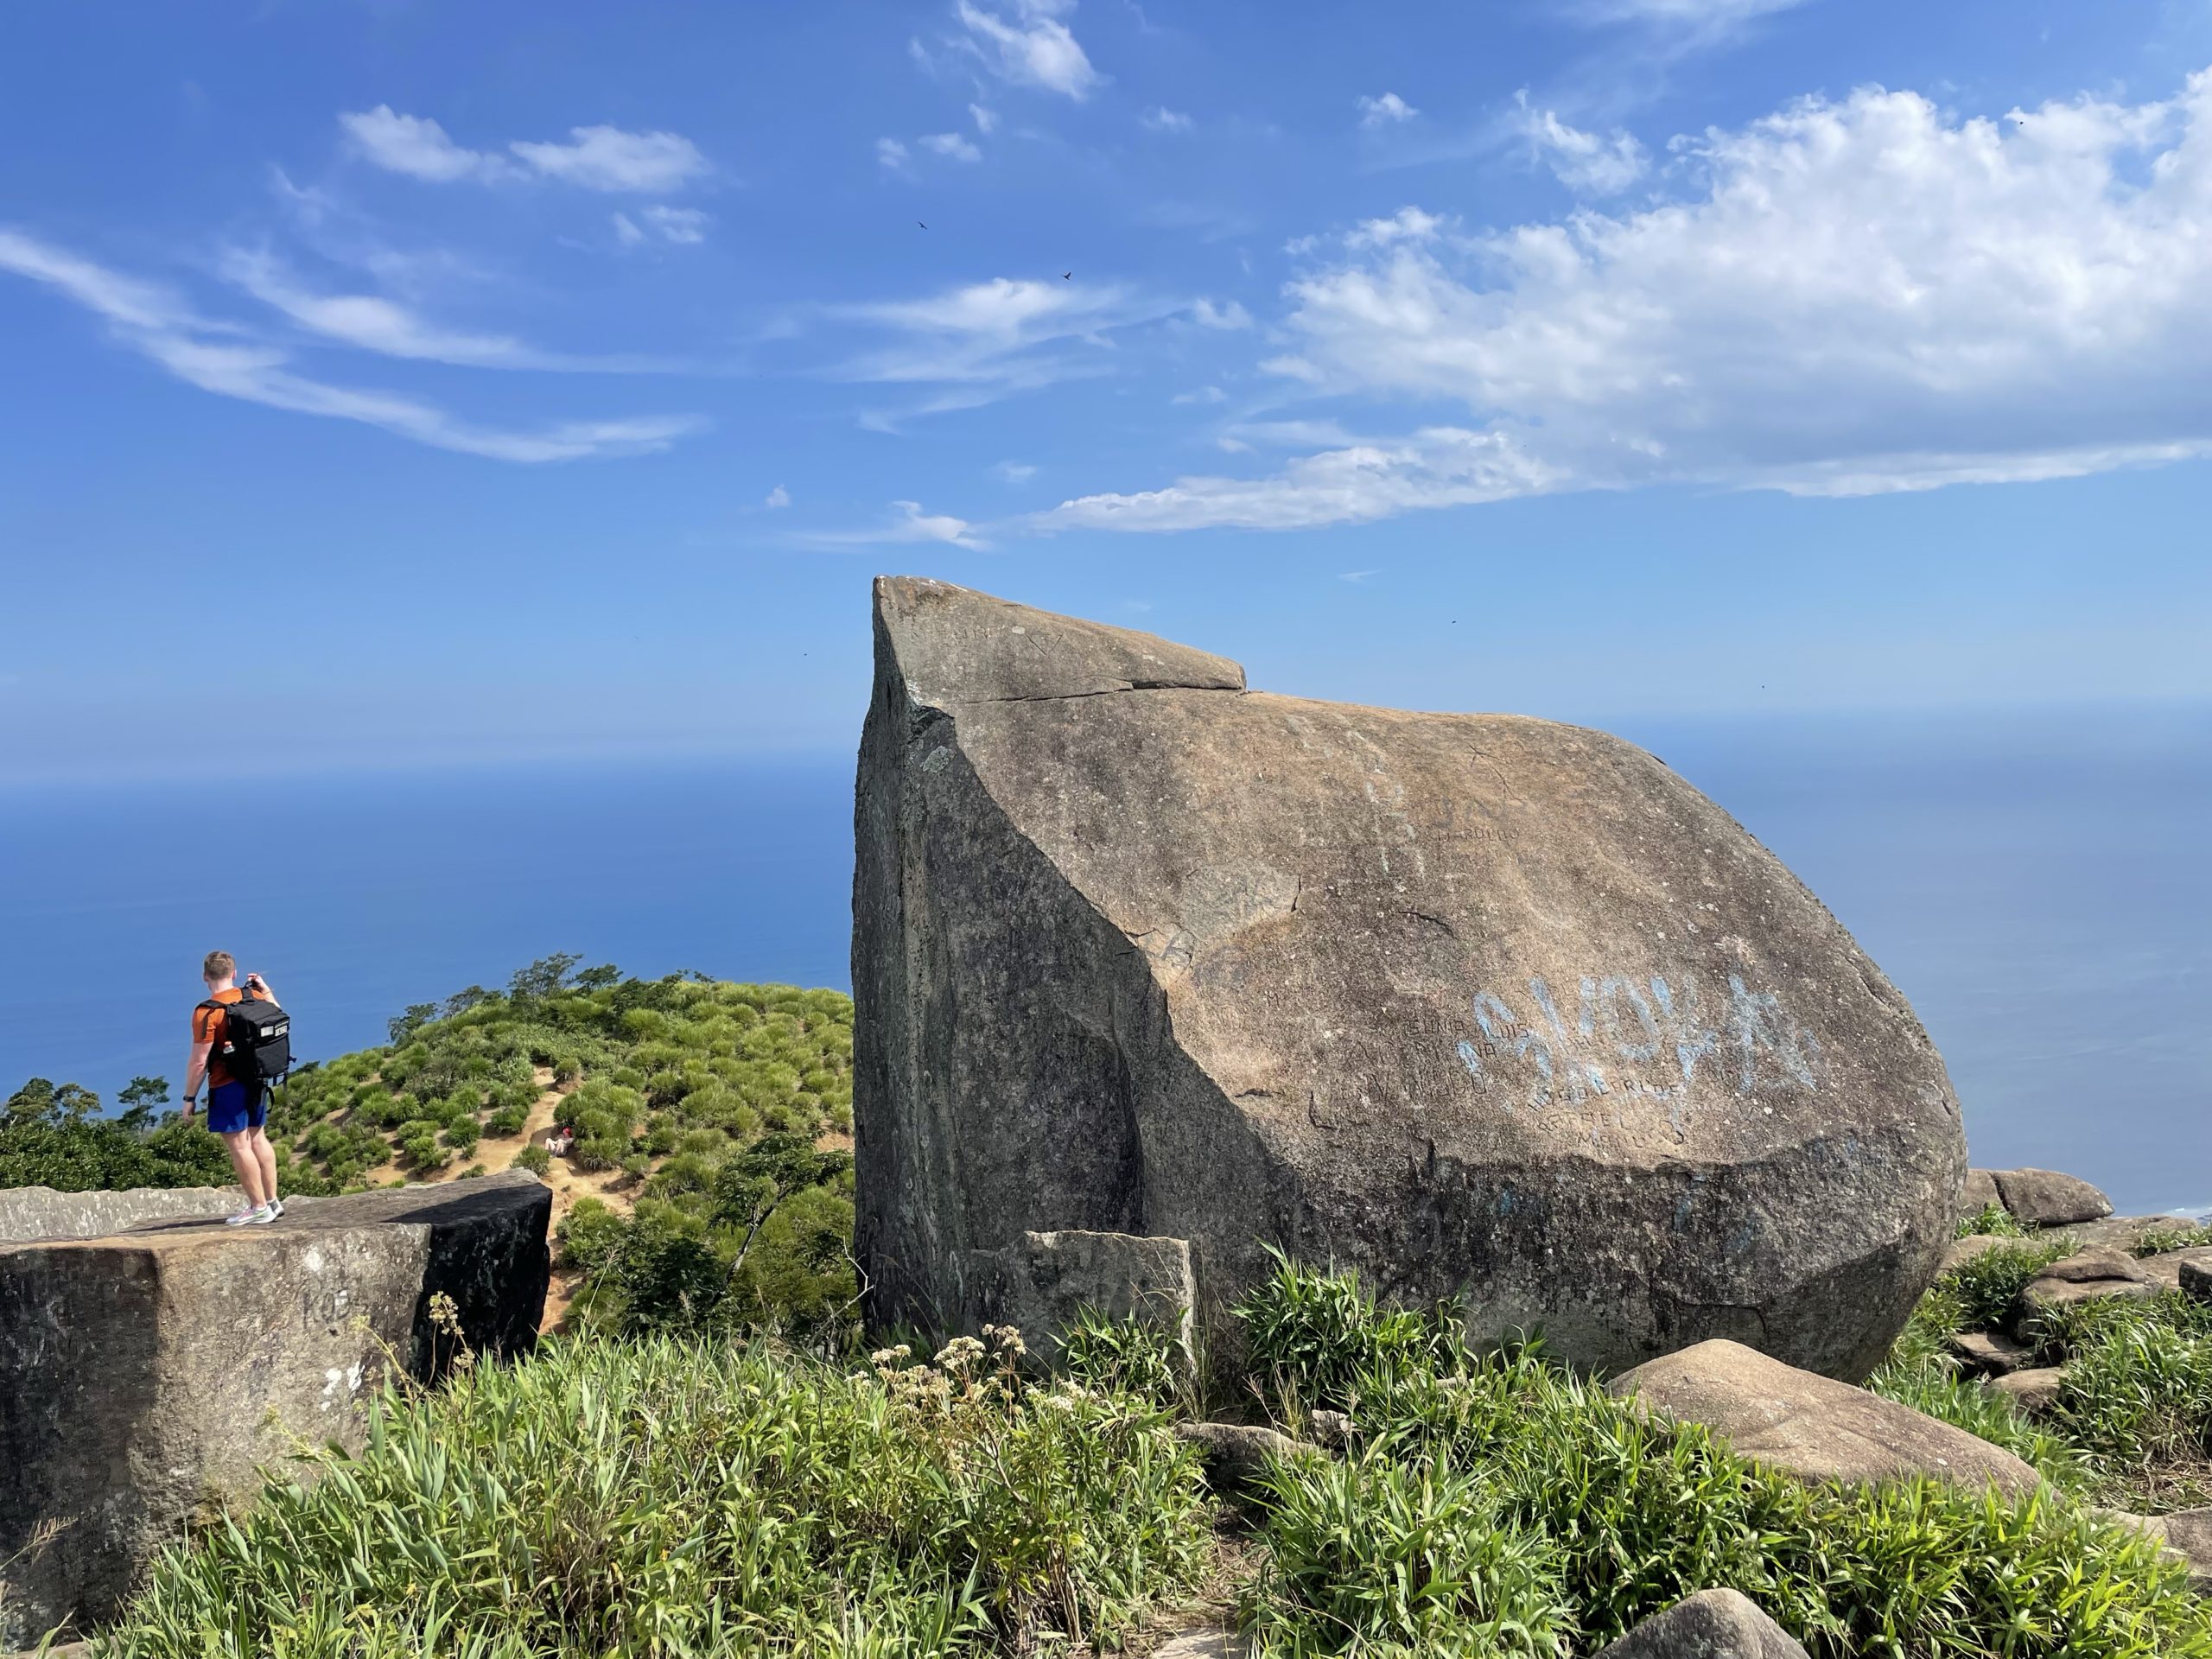
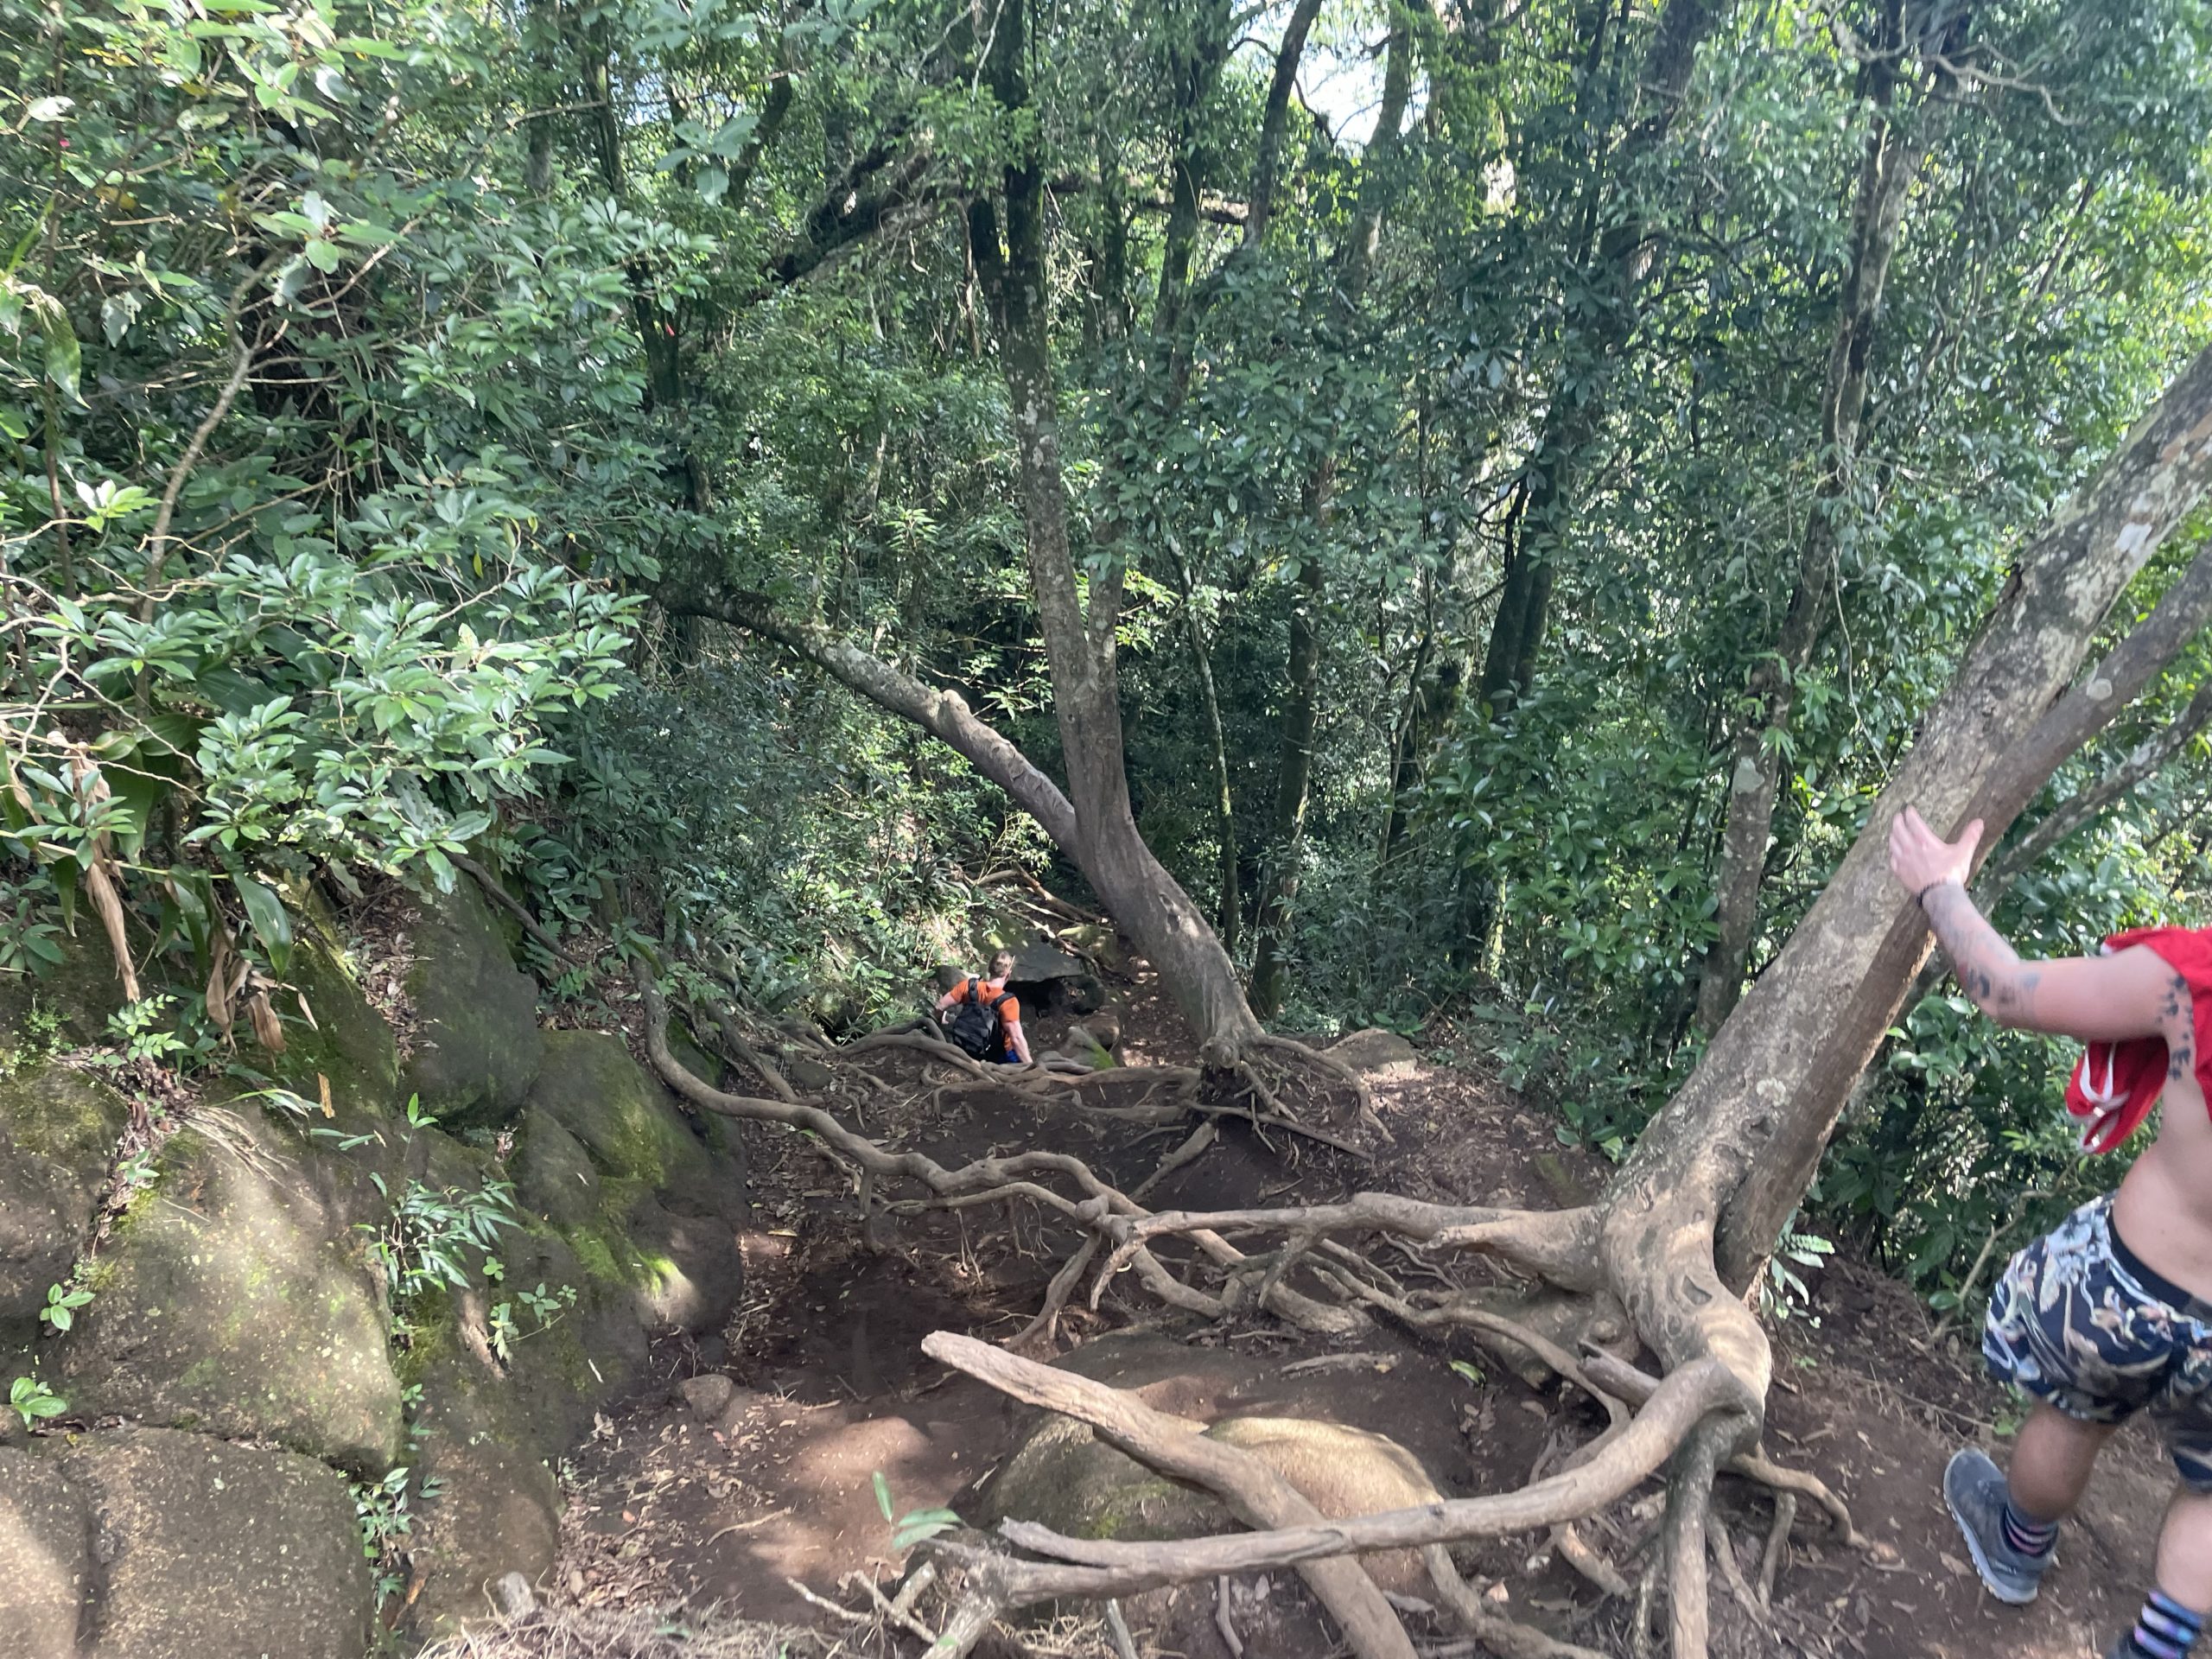
There were ample hand holds and foot placements and most people with a previous scramble should have no problems. Numerous spots up the route also allowed for a standing or sitting break, so there’s time to calm your nerves should you start to feel worried. After this section we continued down a narrow foot path heading further east until the trail veered up again. We encountered some steep tree roots, but nothing problematic. Finally we topped out on to the summit ridge. This is where most people stop their ascent and they head to the eastern most part for the panoramic vantage point. However, the true summit is actually to the west and requires more scrambling and even a short climb to reach.
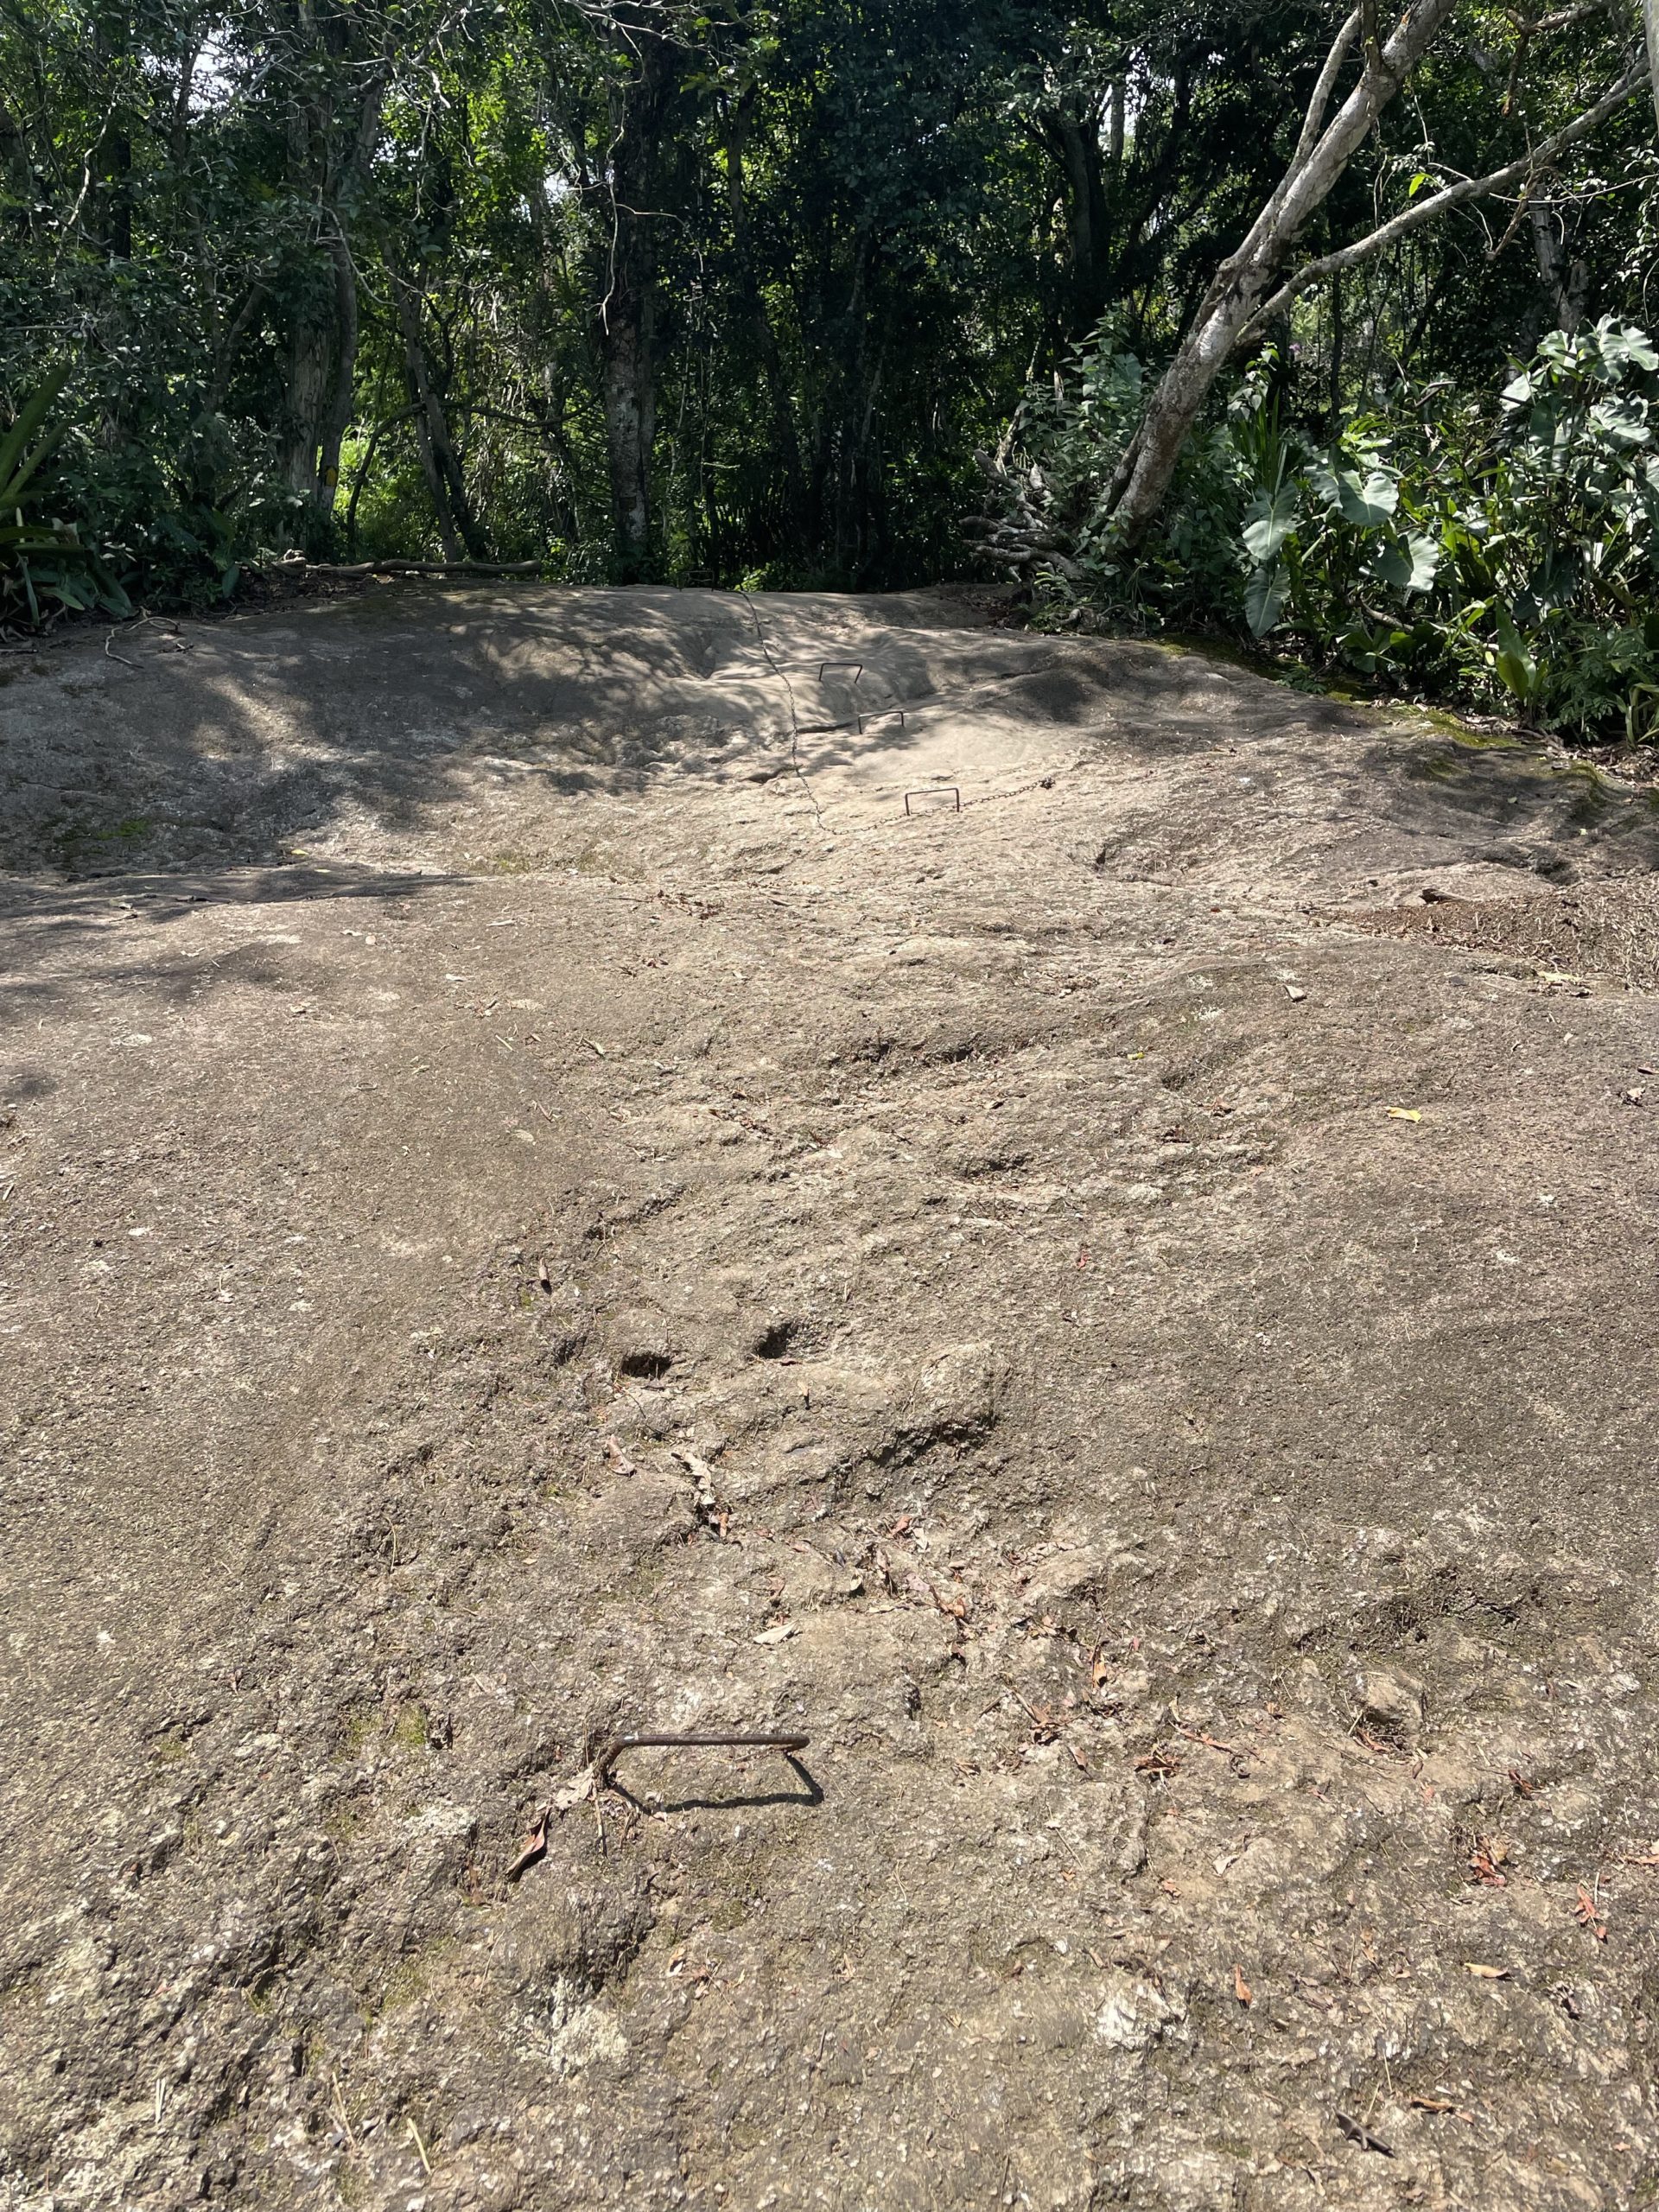
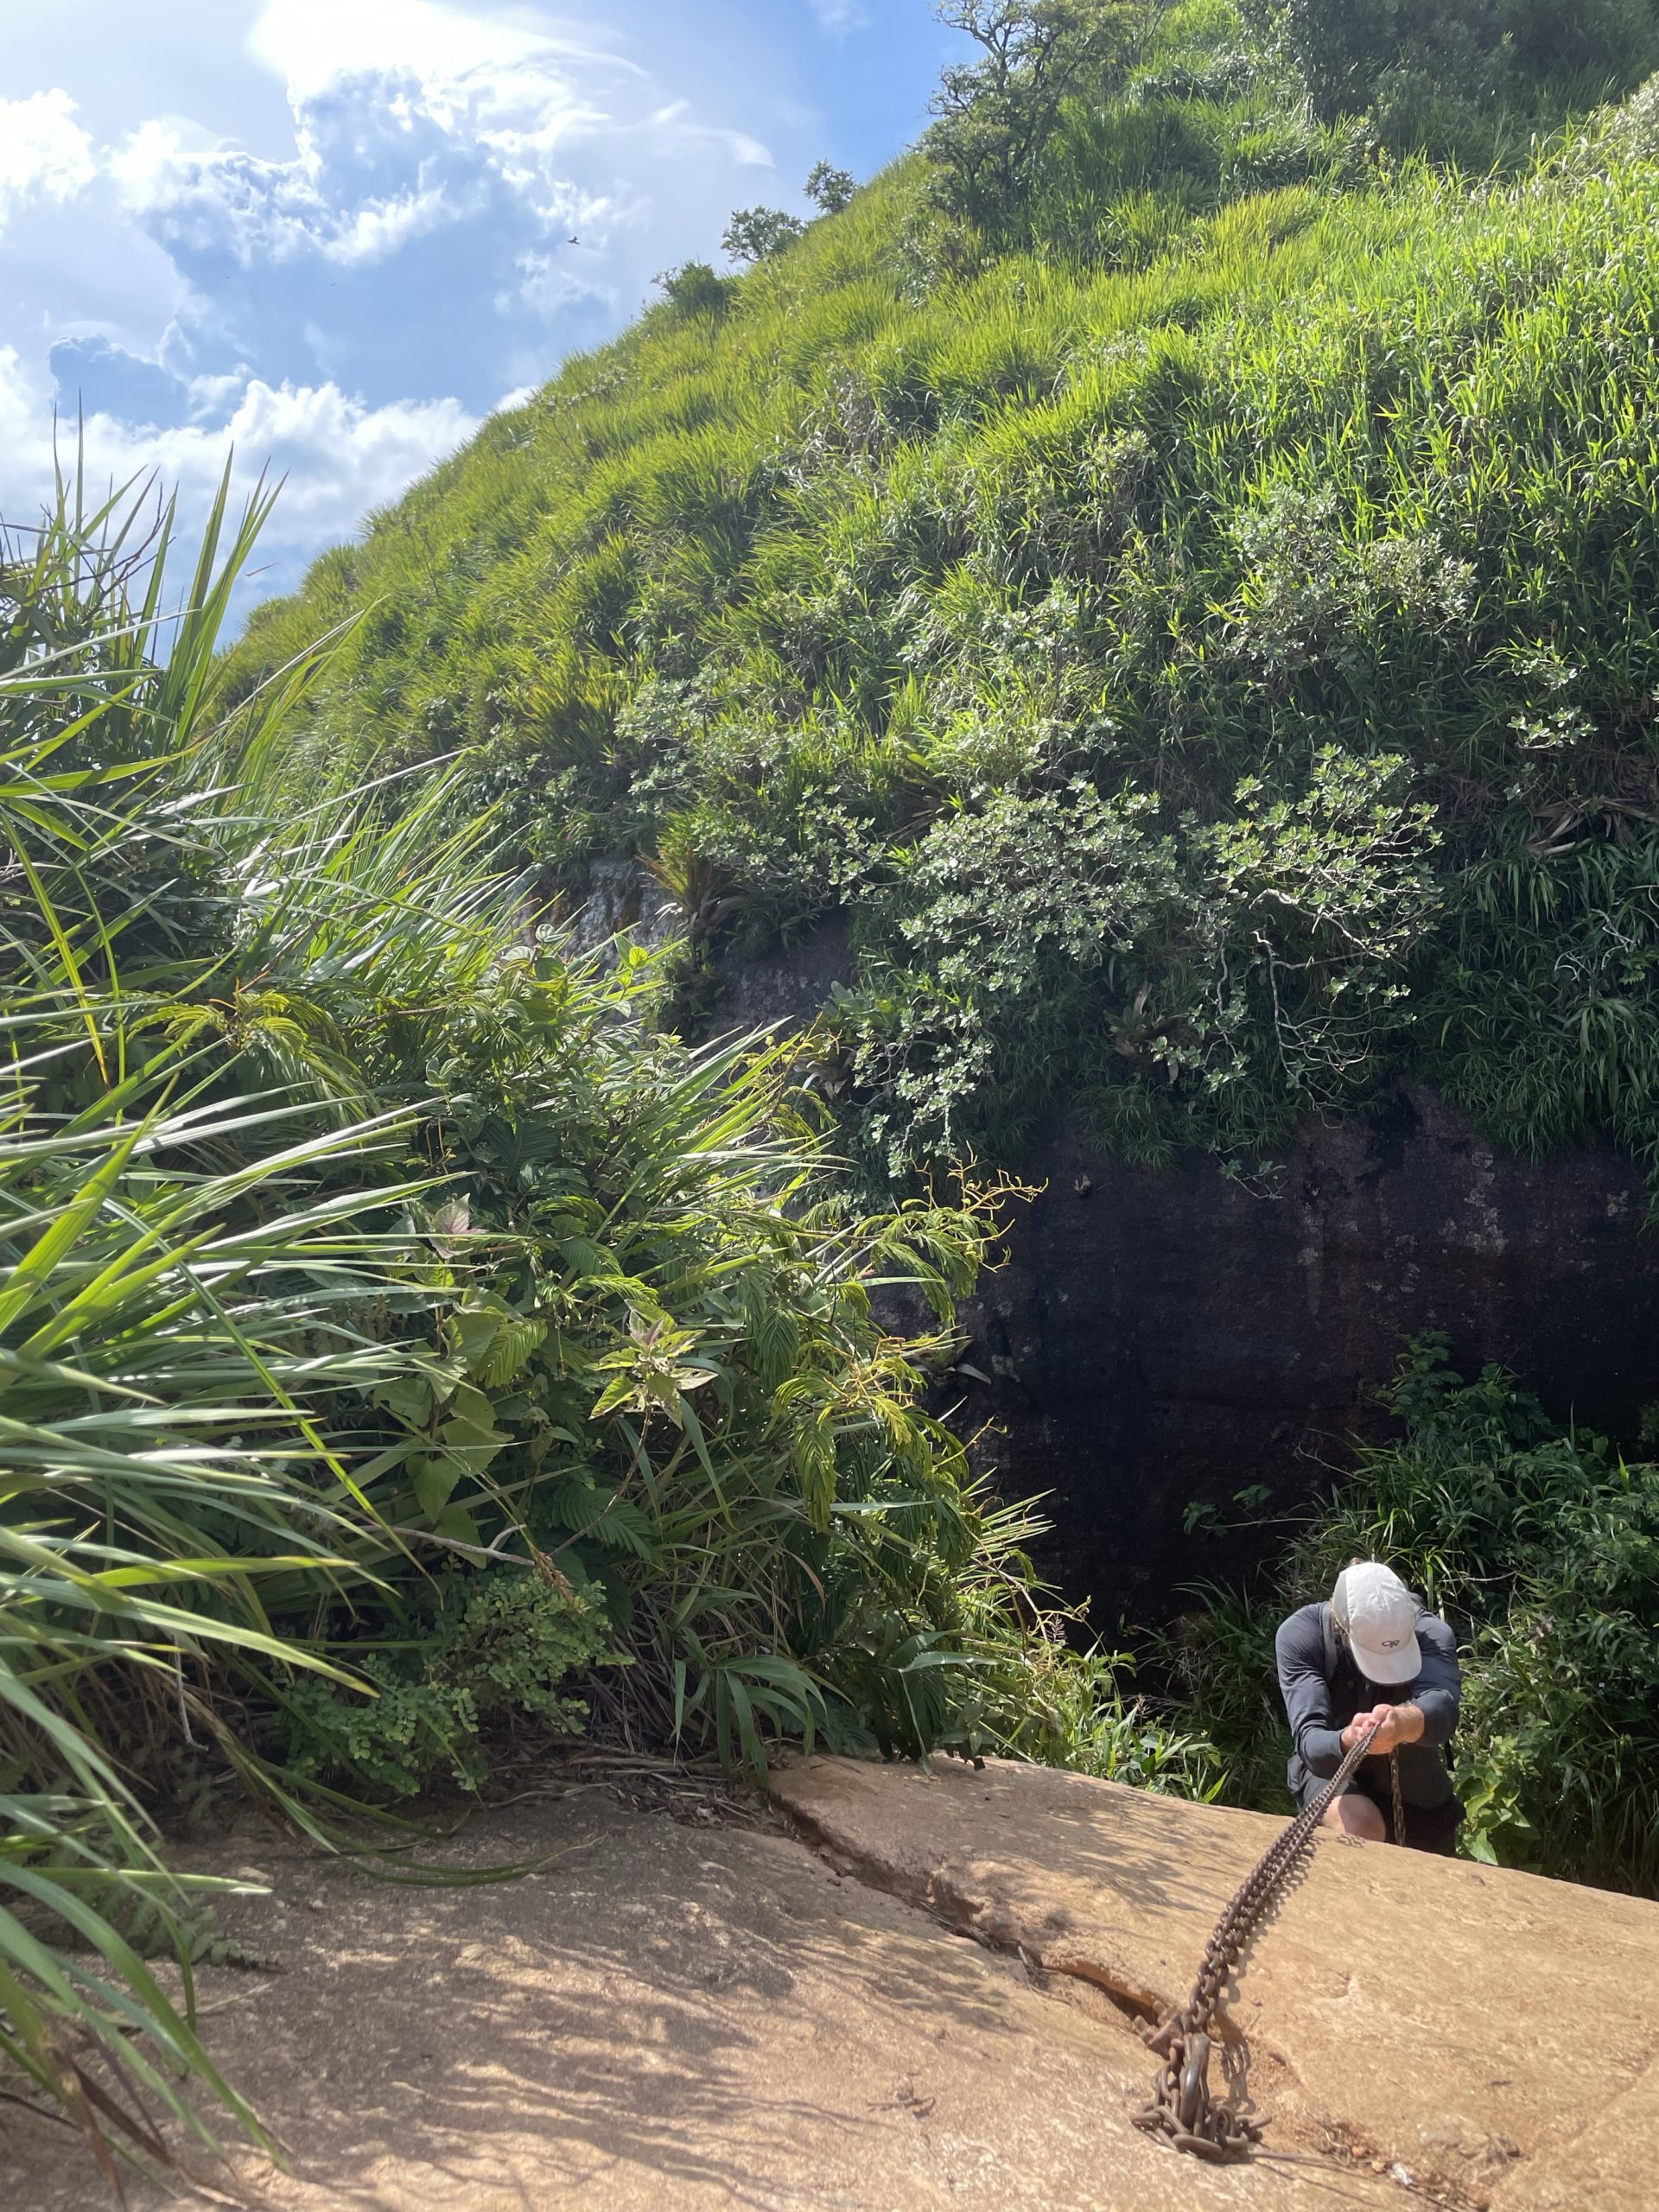
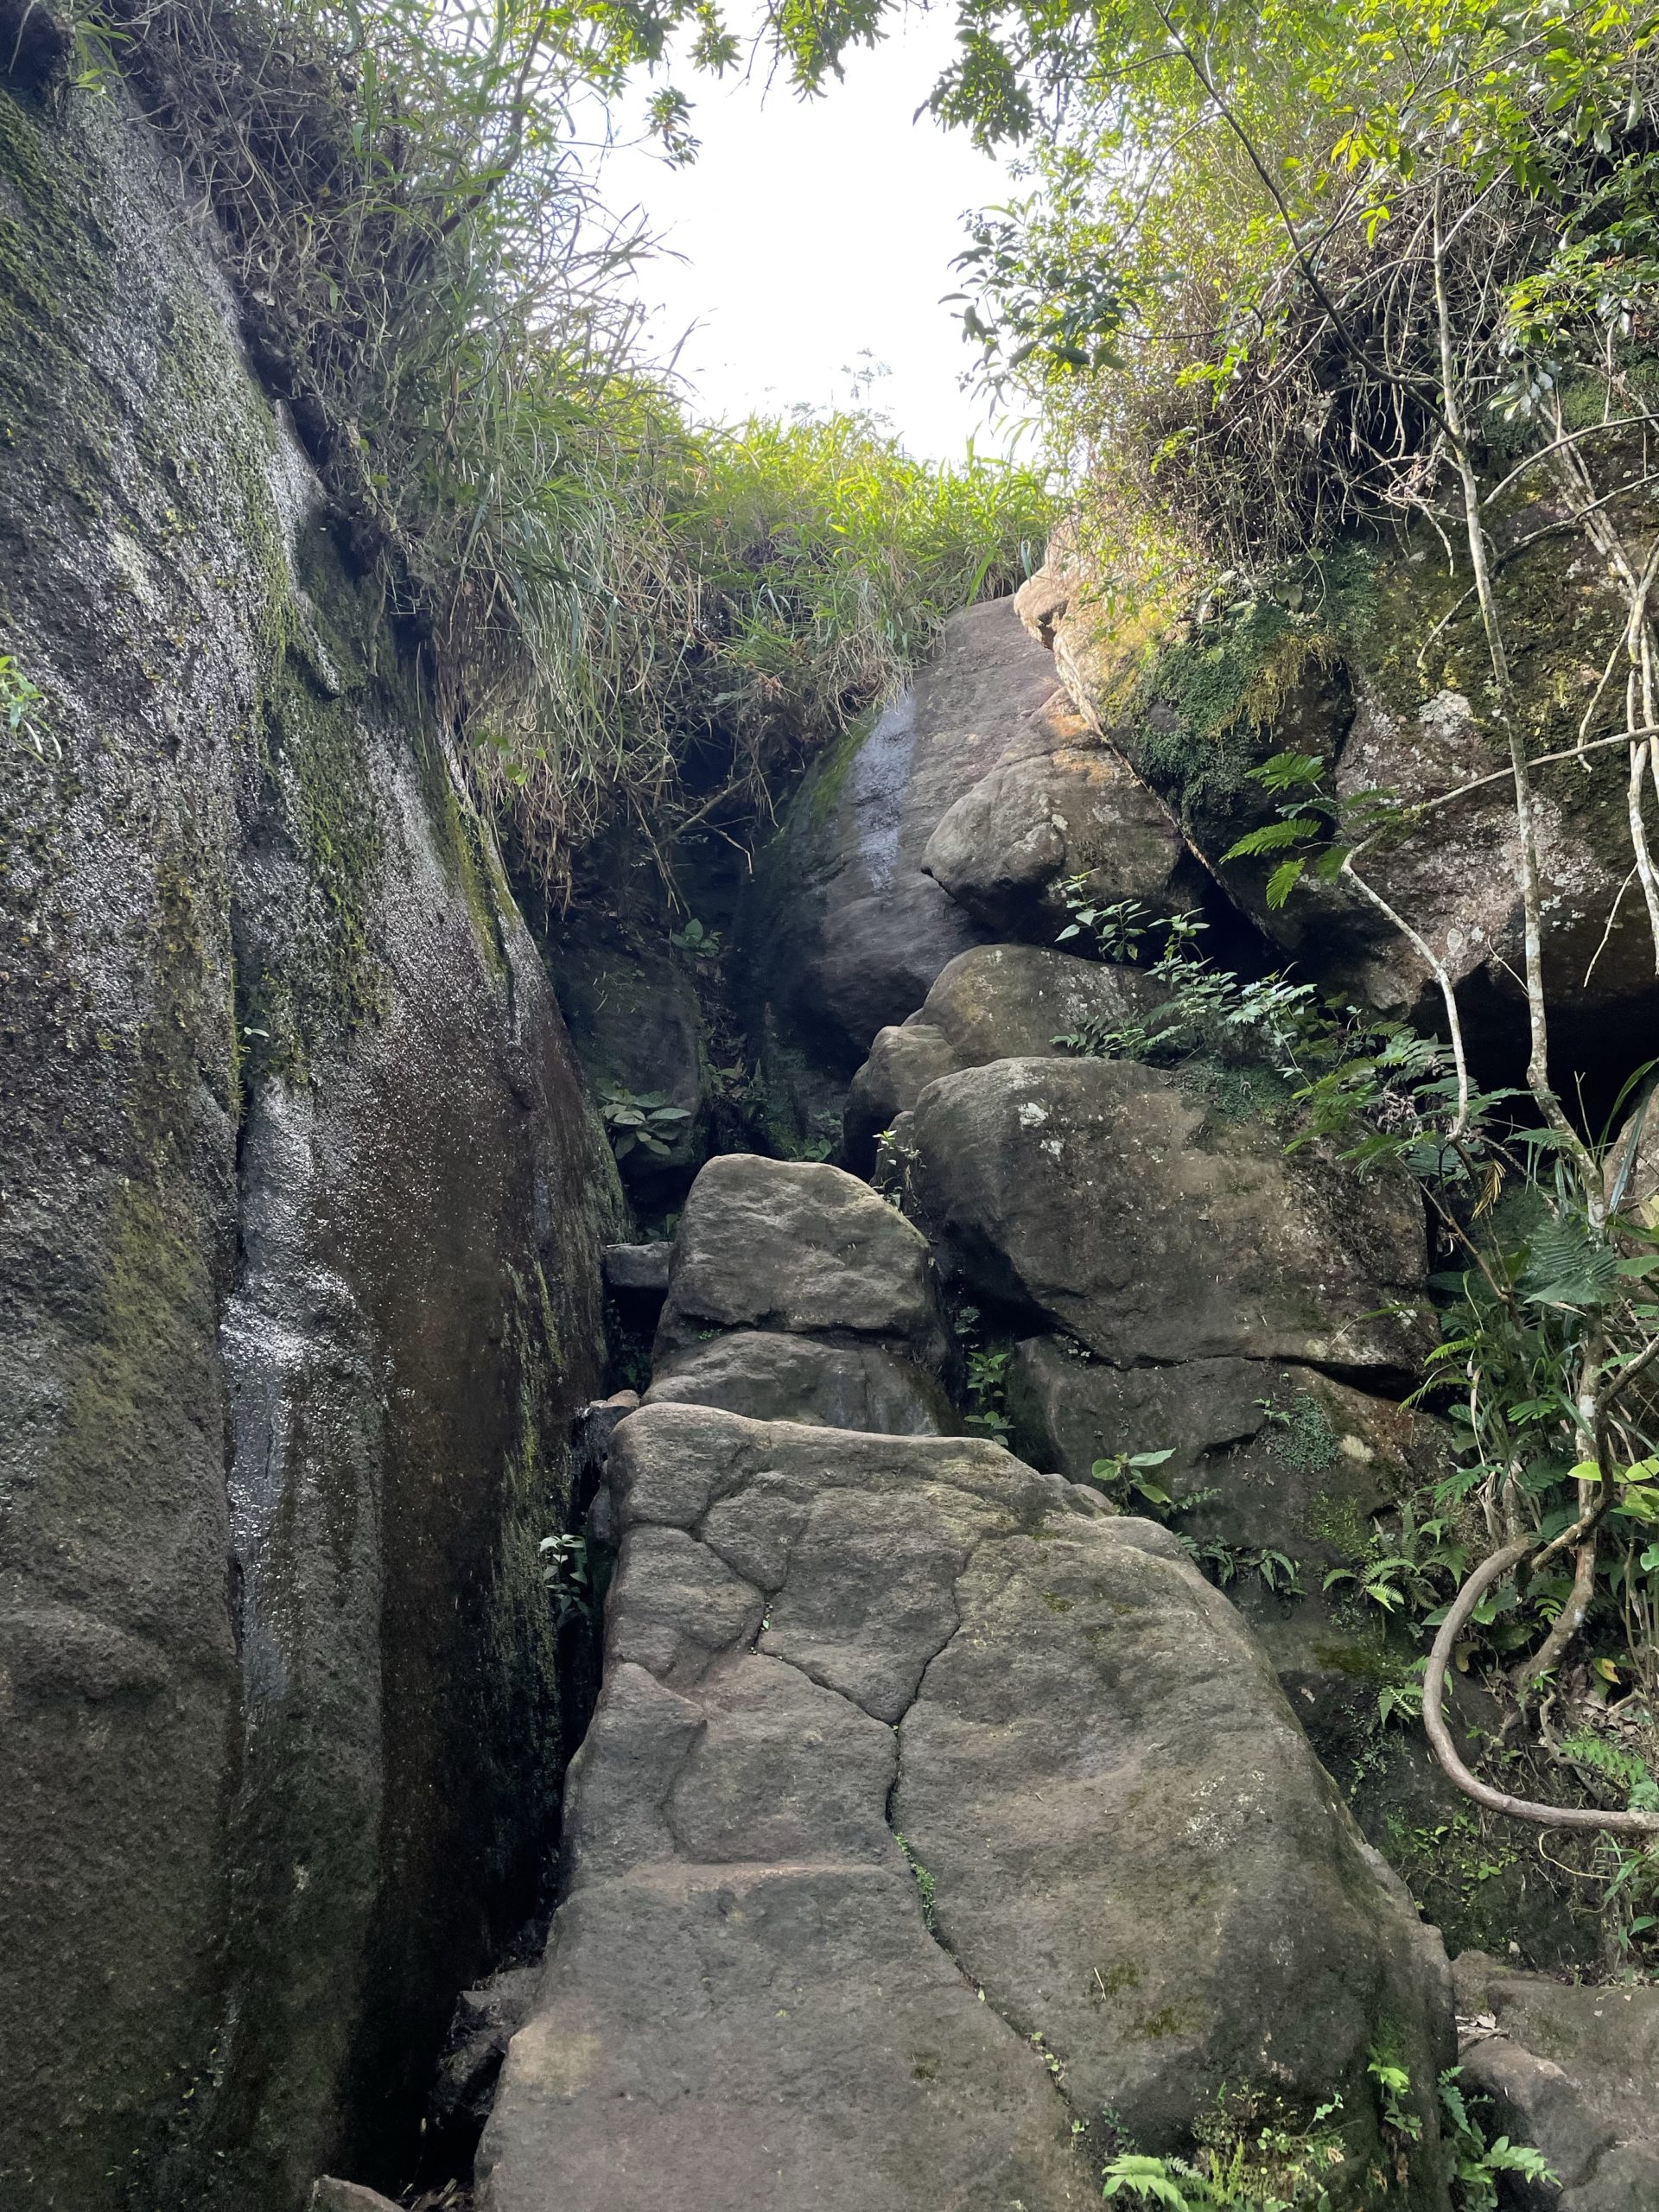
Aly was content to stay on the summit plateau so I pushed on. The first order of business was down climbing a 6-7m slab section by chain. The down climb lead into a small notch and then up a wet 4th class pitch. The last move up this part was exposed and I initially couldn’t find a way up without a sketchy mantle. Thankfully, another person coming up from behind pointed out a foot hold I missed and it was easy to climb up after that.
Here now I thought I’d finished the last technical piece to the summit, but I was wrong. A small trail above the 4th class bit lead to a broad summit area where a 6m slab boulder problem guarded the true high point. To reach it I had to mantle up on two parellel edges then use a small crimp to support my smearing up the slab. After that lower piece it was a walk up. In climbing shoes this would be a breeze, but in trail shoes it proved to be a little tricky. Certainly the hardest part of the whole route up.
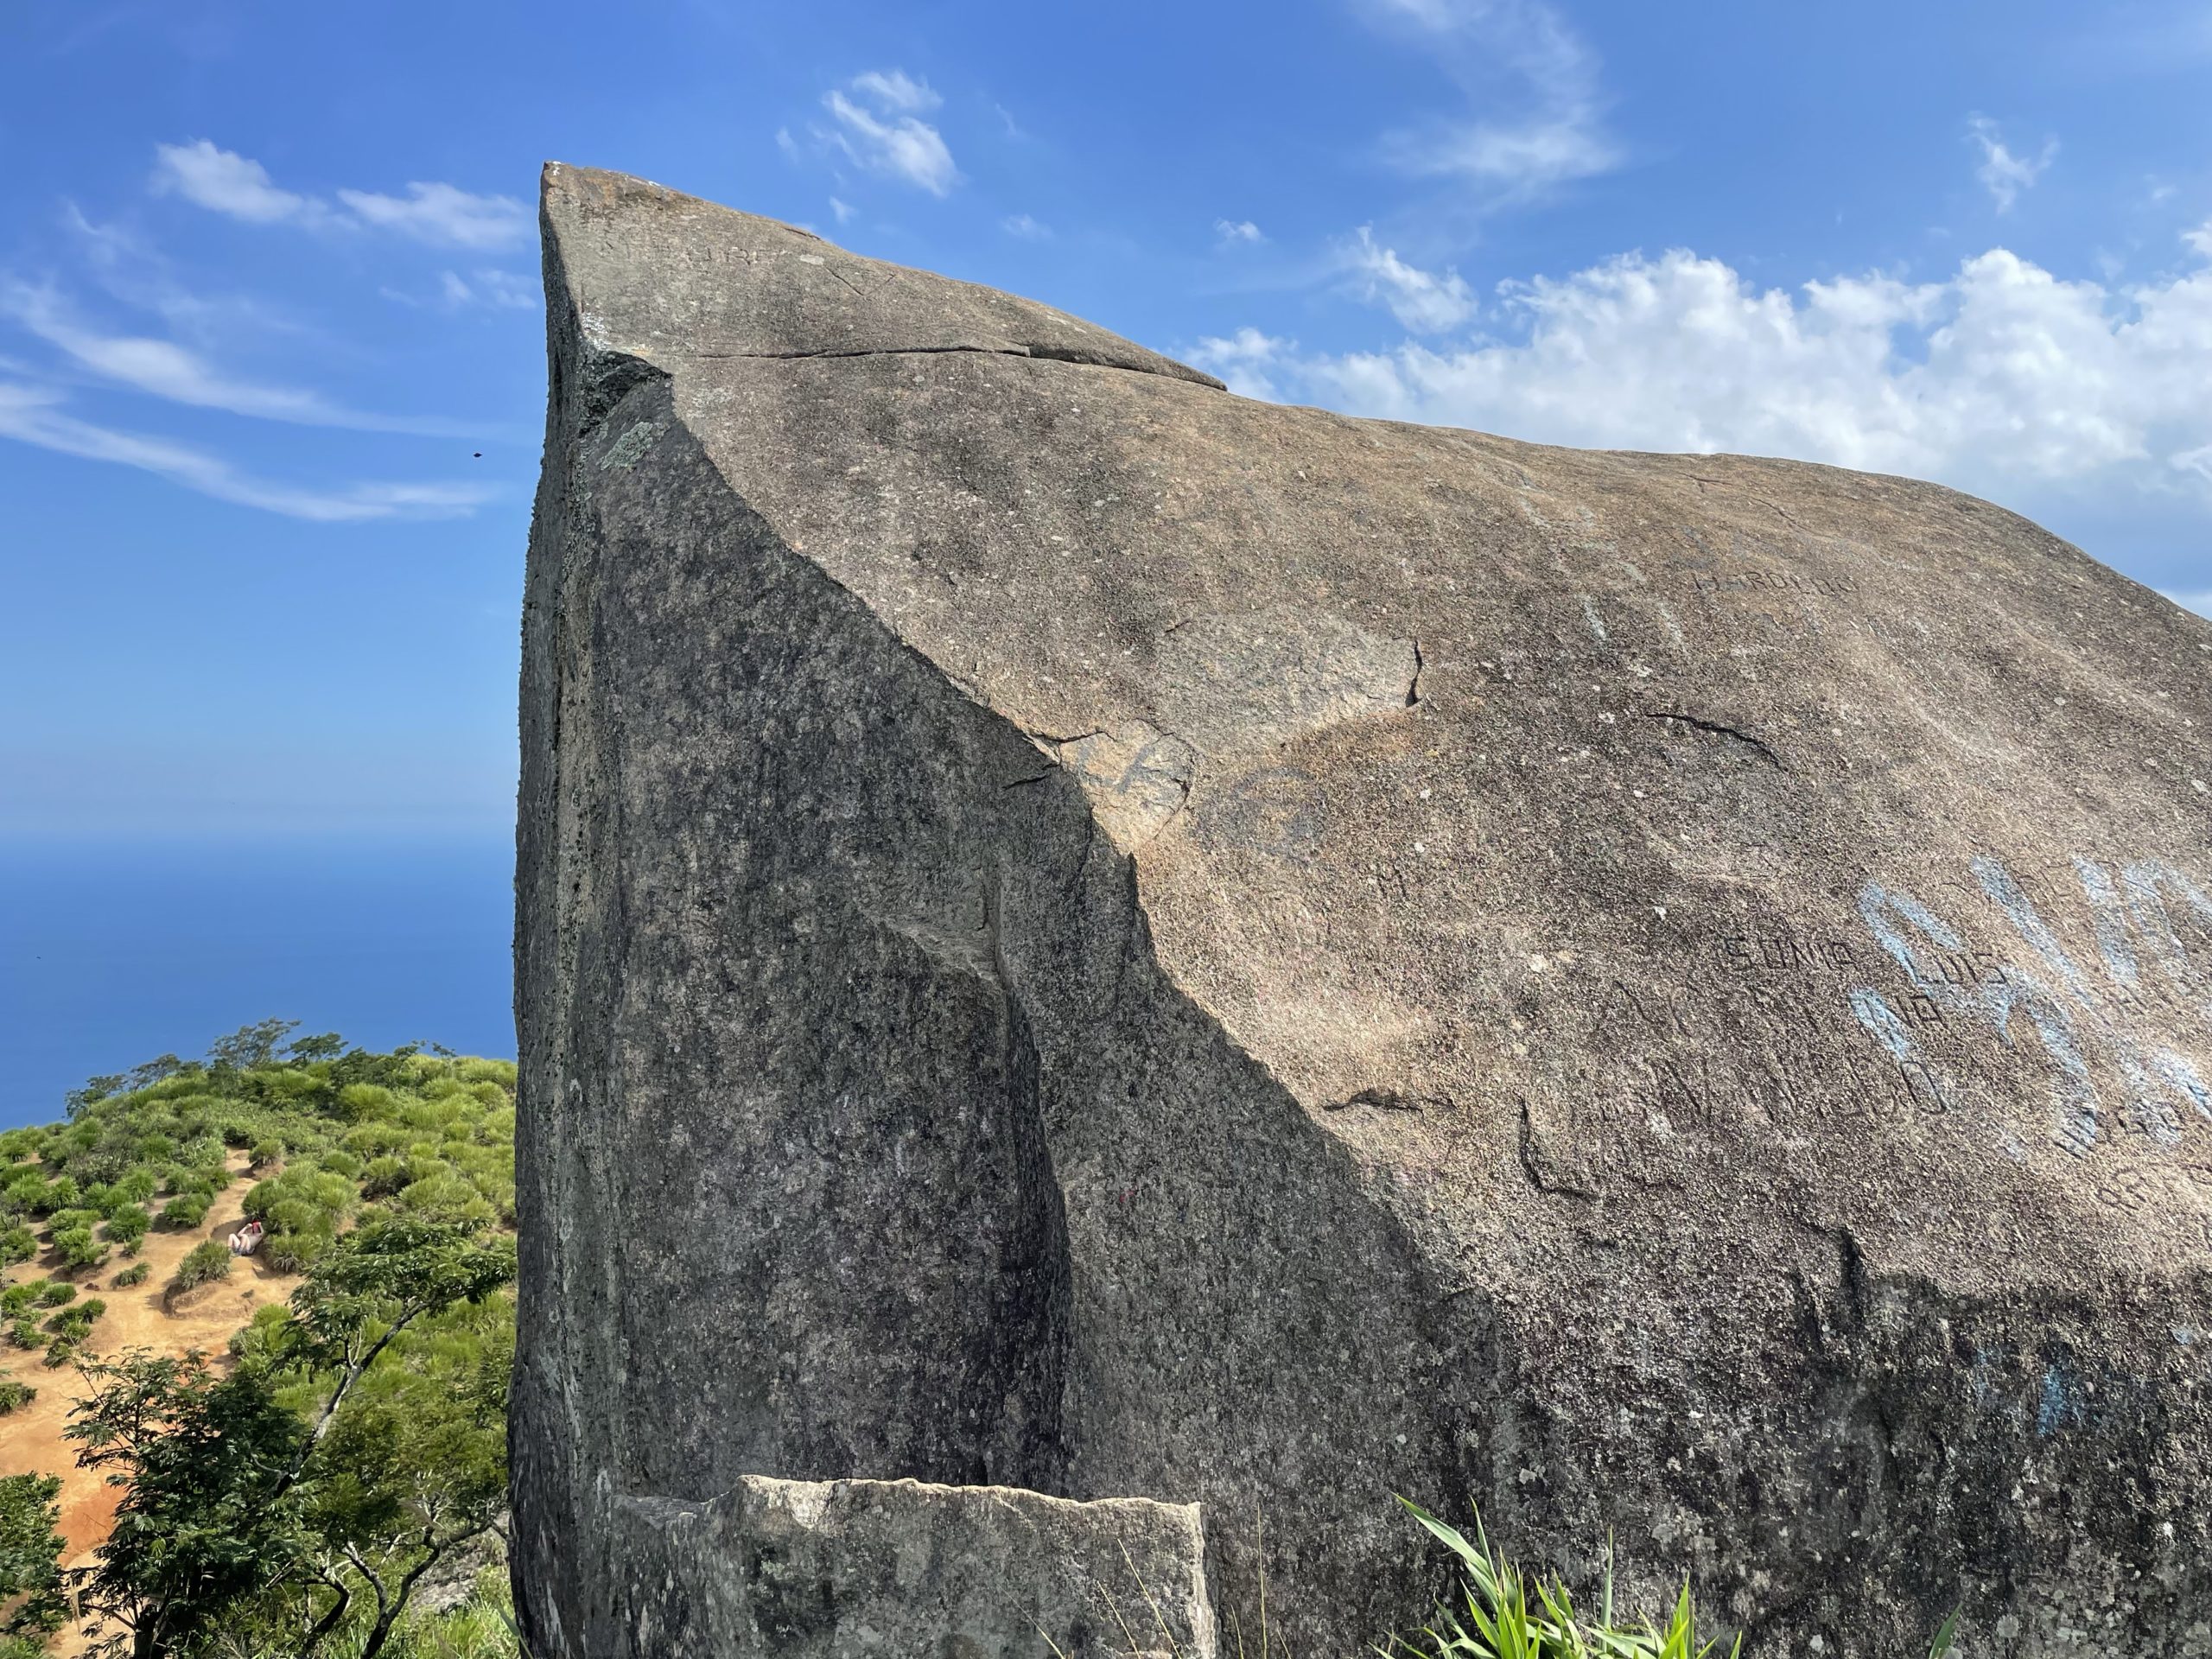
I rested at the top until I heard a thunder clap off in the distance. I looked behind and sure enough a wall of dark clouds were beginning to emerge. Getting down the boulder looked tough. I didn’t have confidence in the grip of my shoes, but did my best to aim for the two edges I mantled up. Once I reached those I was close enough to jump to the stepping stone below and made it safely. Back tracking to the lower summit plateau was easy enough and I rejoined with Aly. We spent a few more minutes taking photos while the clouds approached and then began our way down.
The upper trail was straight forward and then we reached the top of the 4th class pitch. I went slow and paused frequently to guide Aly exactly where she needed to be. There was less trouble on the way down and we descended without much issue. Aly now took the lead and set a half jog down the remainder of the dirt trail. I had a hard time keeping the pace, but did my best.

In 4 hours and 30 minutes we successfully made it top to bottom. We stopped for cold drinks from a local vendor and then rested at a park at the end of the trail head. For anyone interested in a nice scramble, I’d suggested Pedra da Gavea without hesitation. The alleged 5th class is way overstated in my opinion. Meanwhile the true high point is way understated with some decent technical difficulty to reach the top of the boulder. I suspect most people do not climb this part and call the summit when they reach the base of it.
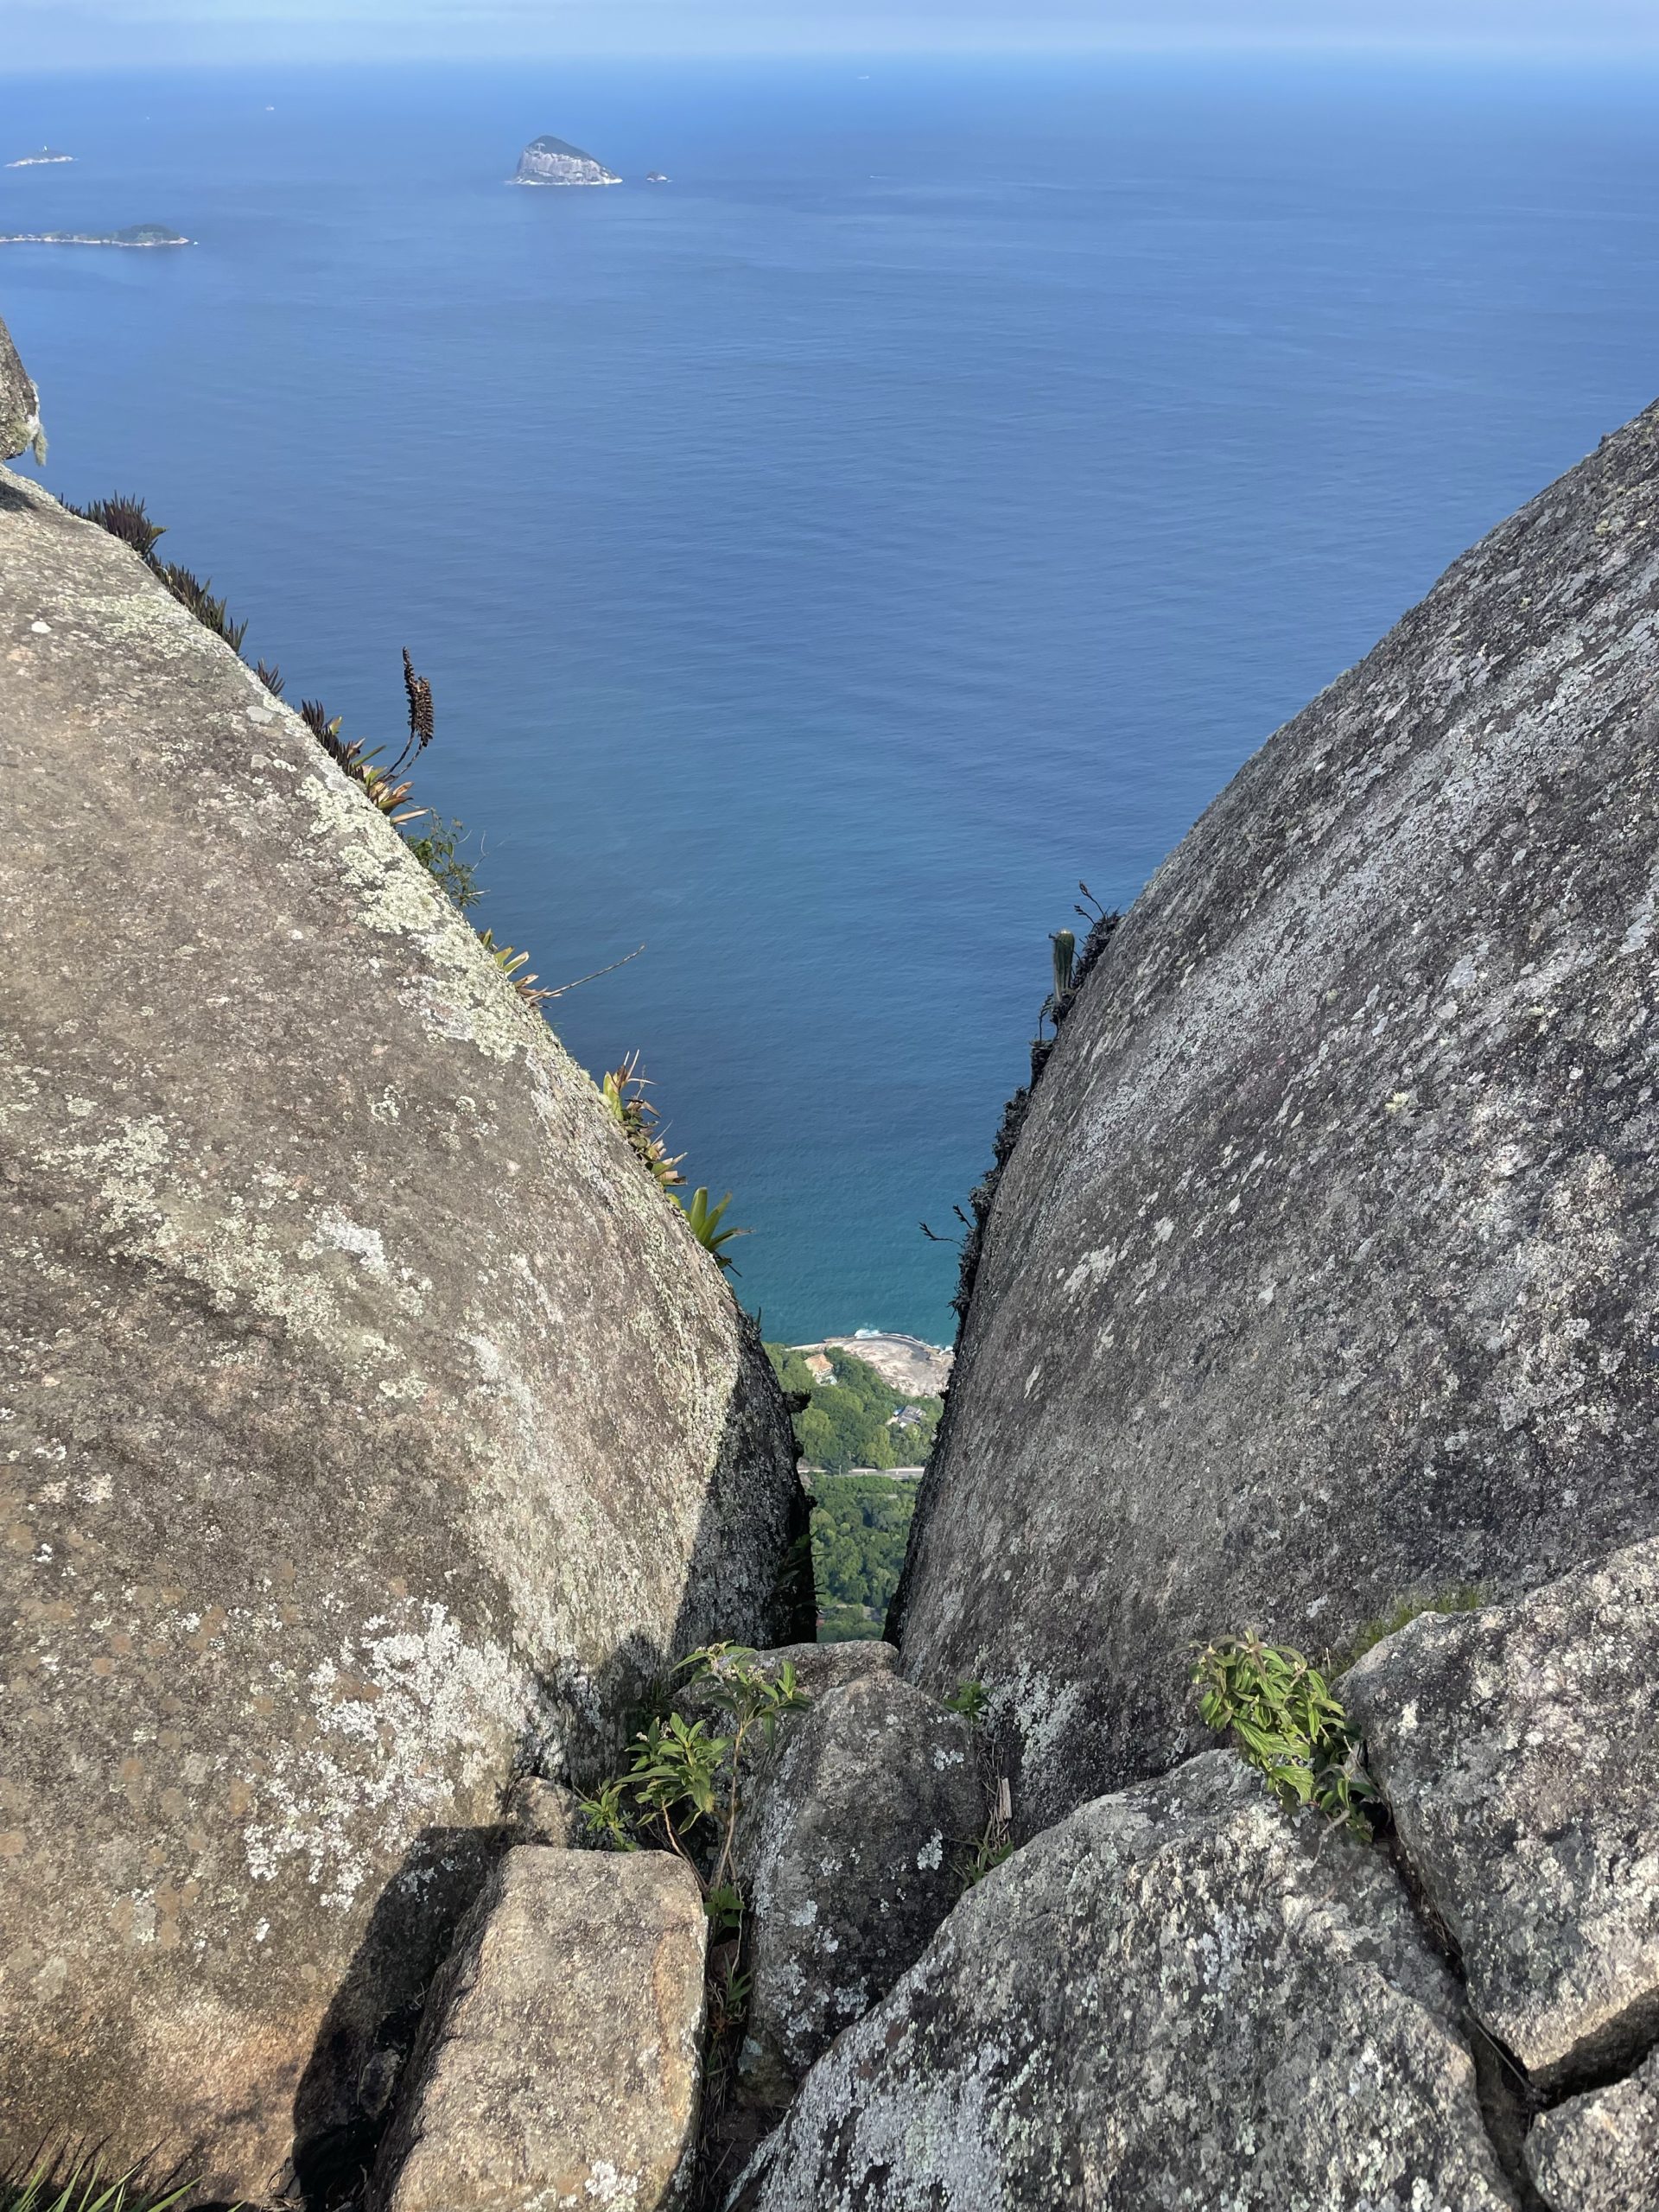
C’était une super journée, du début à la fin! J’ajouterai que l’hésitation à te suivre, au moment d’escalader, est vraiment liée à la vue vertigineuse qui s’offrait à nous! Magnifique btw…. mais le cerveau peut tenter de reprendre le contrôle (haha) et vous dire : arrête toi là tu vas te faire mal si tu glisse! Il faut donc savoir prendre le contrôle (-: et c’est génial ensuite !
Merci pour cette journée, Guide Francis.